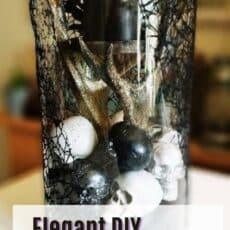
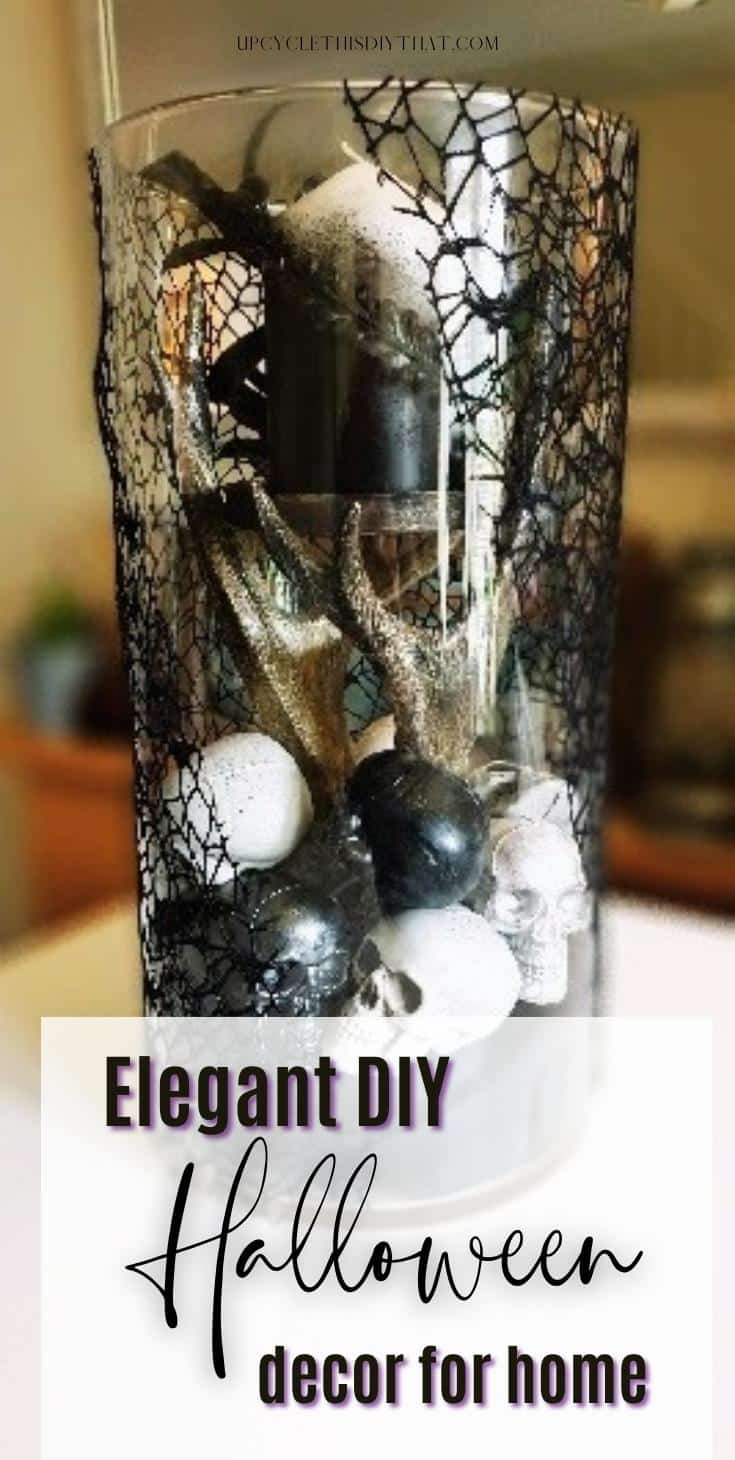
Elegant DIY Halloween Decor- Fab Centerpiece/Candle Display
This post includes affiliate links. If you decide to make a purchase through my link, I might get a small commission for it at no additional cost to you. Thank you for supporting Upcycle This DIY That!
Happy October, everyone! It’s officially fall and time to get into the spooky spirit. Today, I’m going to show you how to create an elegant DIY Halloween decor – a fabulous centerpiece/candle display.
This project is easy and perfect for anyone who wants to add a little bit of Halloween flair to their home without going overboard. The results are sure to impress your guests. Let’s get started!
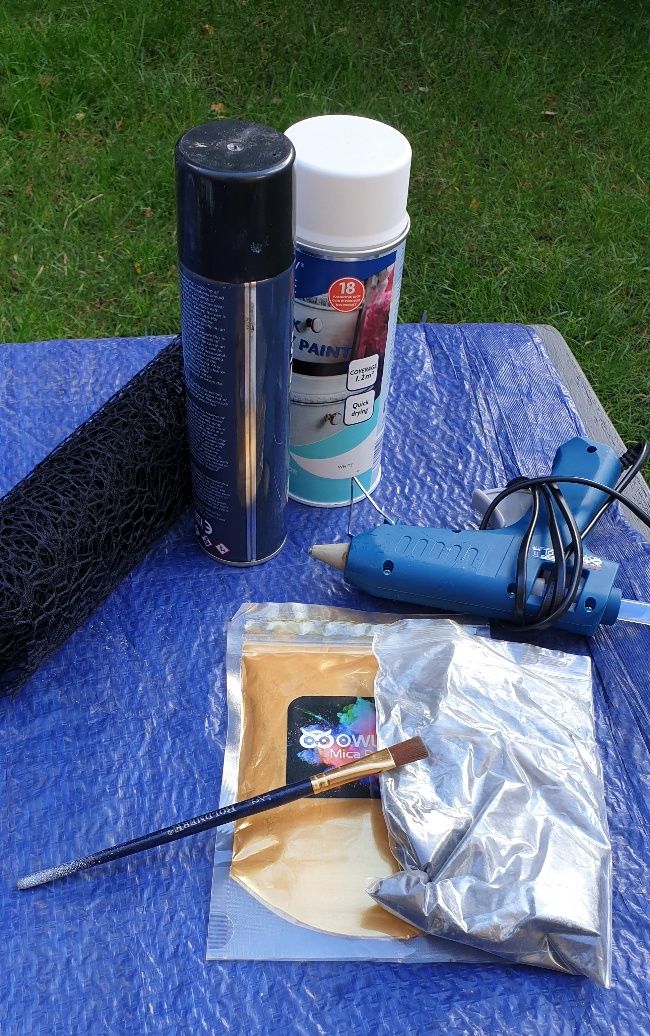
Tools and materials
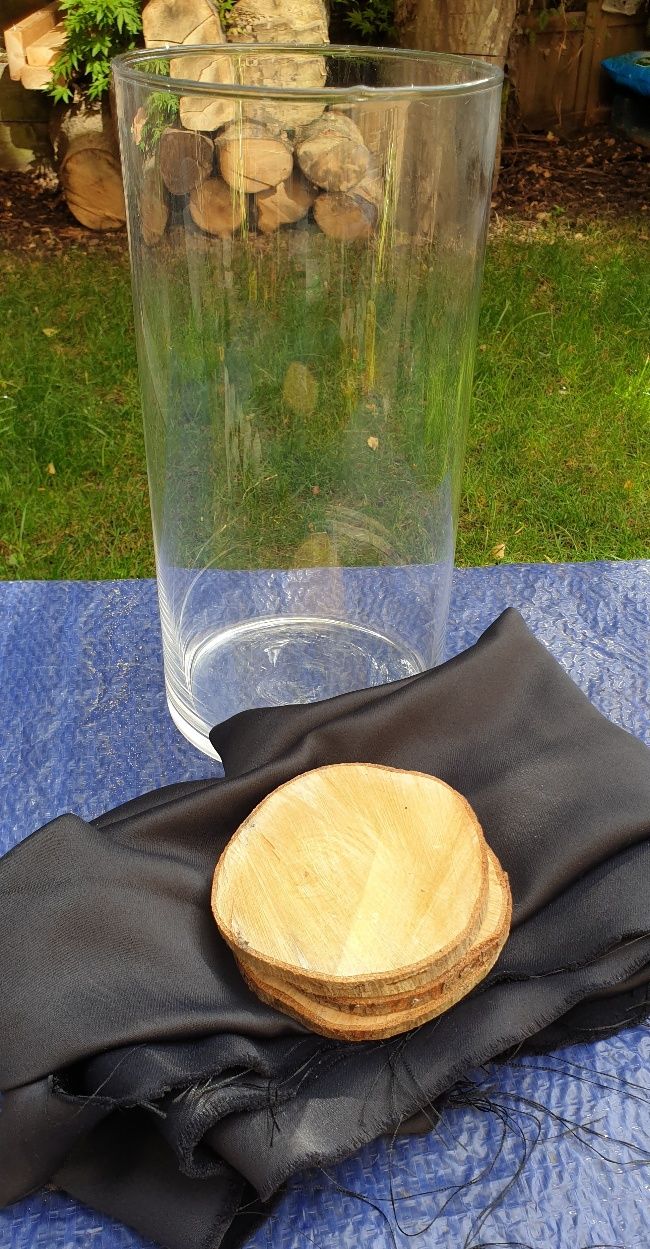
- Glass vase/hurricane vase
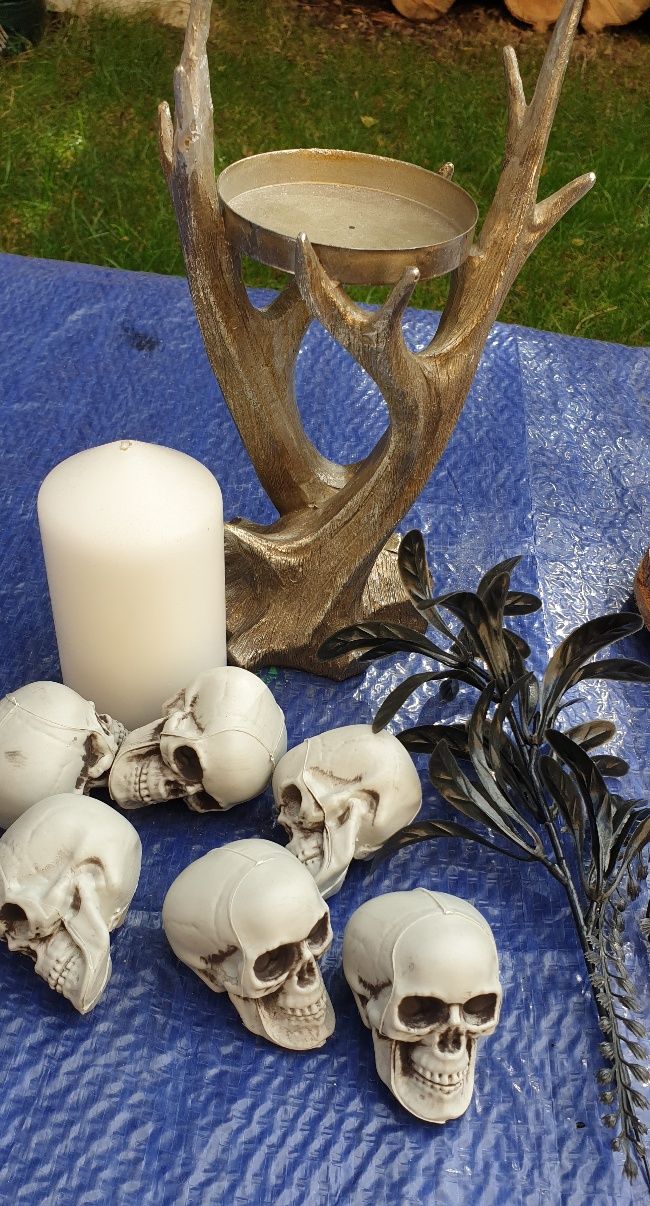
- Antler candle holder
- Piece of scrap wood/floral sponge
- Black fabric
- Black lace/webbing fabric
- Small plastic skulls
- Paint spray in black and white
- Wax
- Mica powder in silver-gray and gold
- Small paintbrush
- Glue dots/hot glue plus a glue gun
- A wax candle or LED candle
- Faux foliage/leaves
- Double-sided clear tape
- Drop cloth or old newspapers
How to make an elegant DIY Halloween decor
Setting the stage
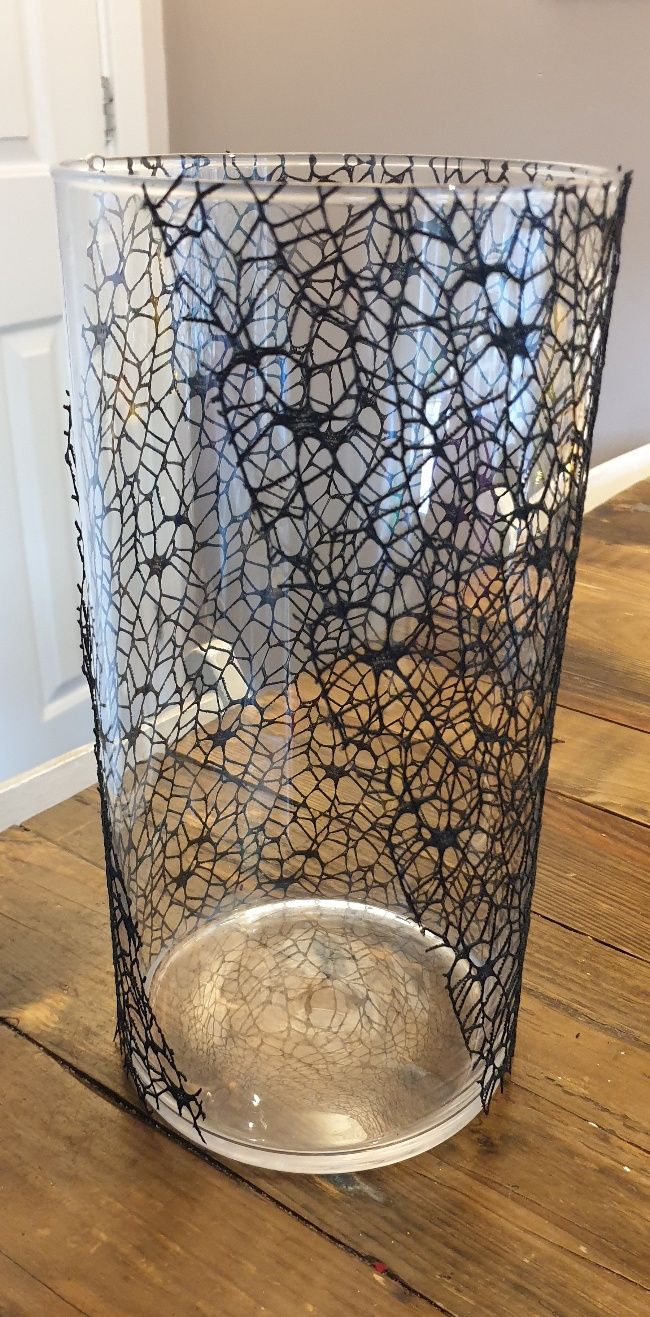
First, I needed to cut the shape of the webbing I was going to use to wrap around the vase. I wanted to leave a clear window so the webbing makes a background and doesn’t obscure what’s in the vase.
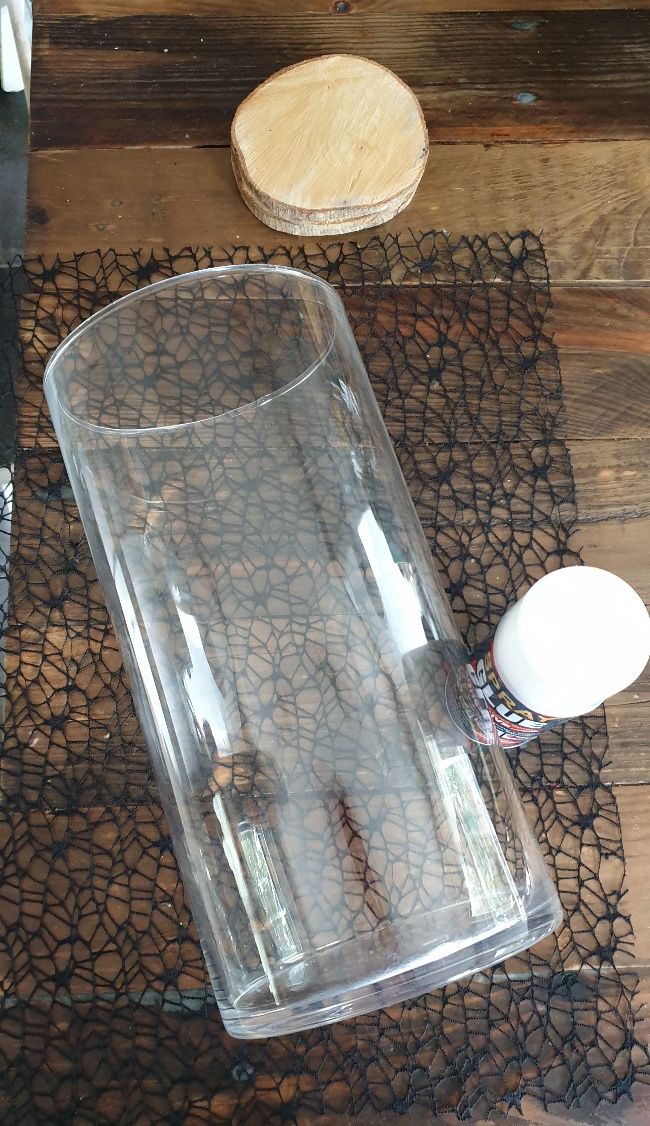
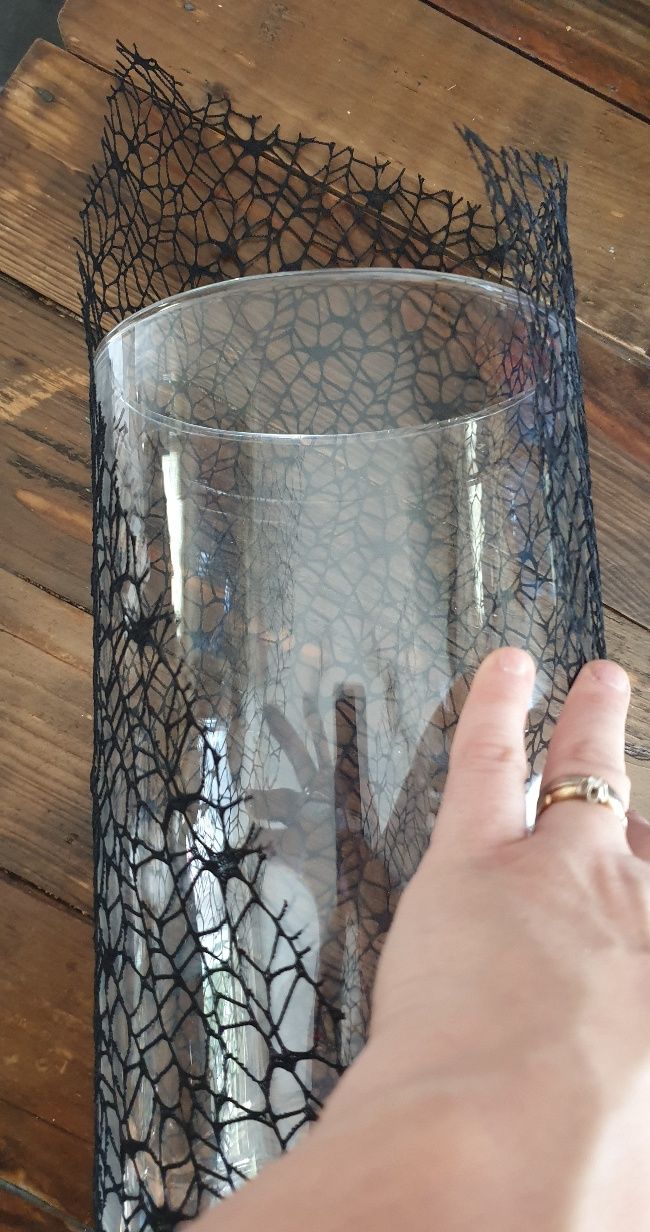
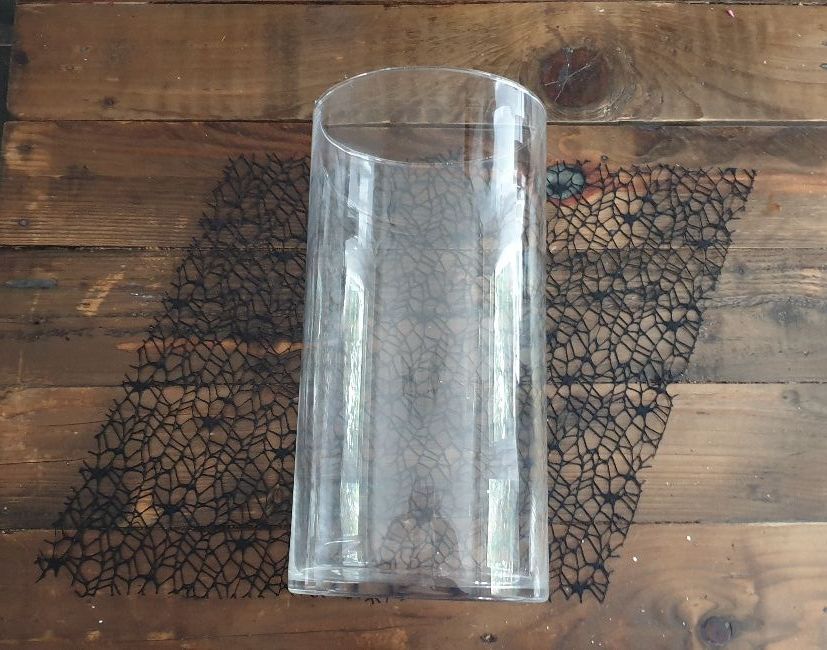
I placed the vase flat on the fabric, then roughly measured what I wanted and cut around the top and bottom edges. The shape I cut was a rhombus shape.
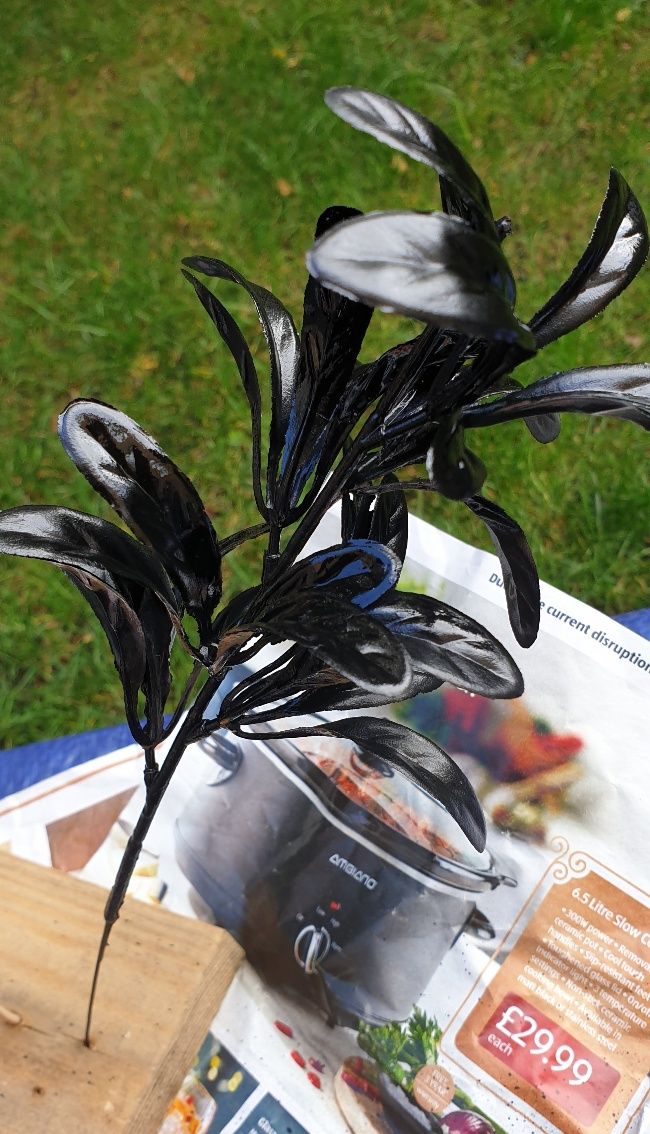
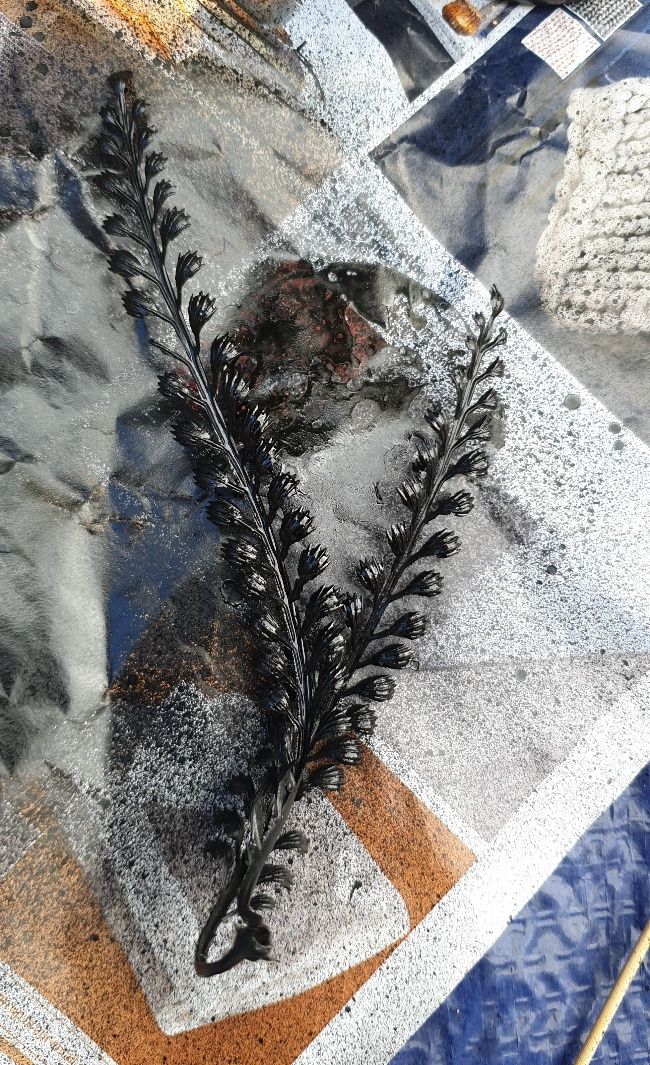
I also sprayed the faux foliage I had with black paint, as the original wasn’t as dark as I wanted.
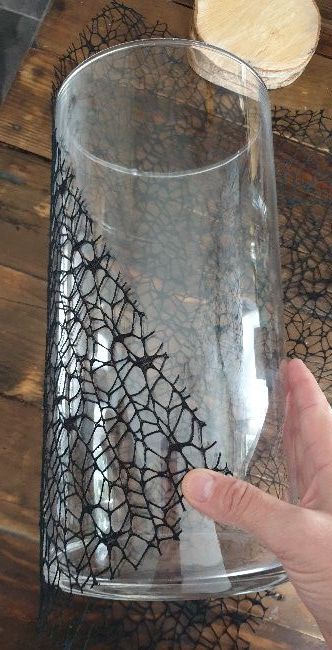
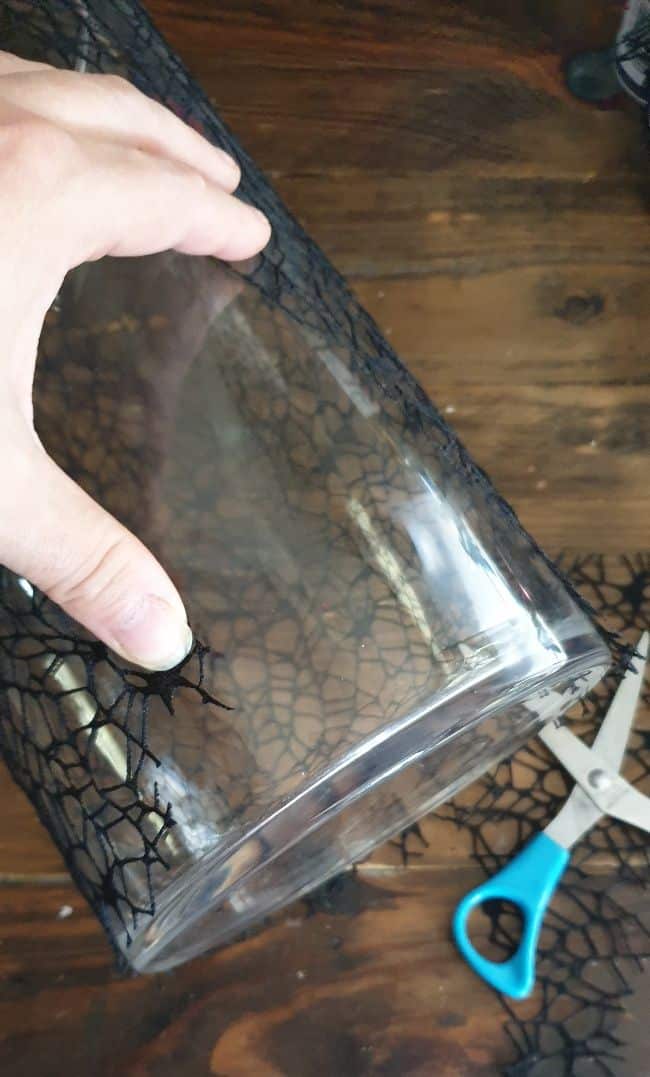
Gluing webbing to the vase
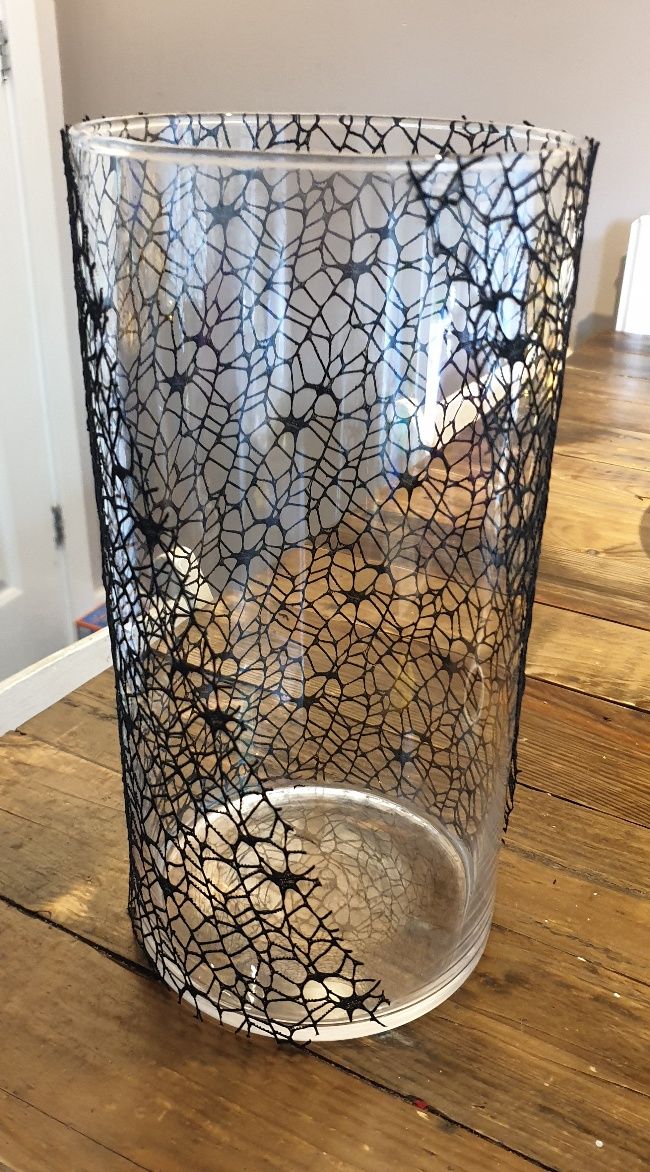
Then I had some trouble attaching the webbing to the glass. Spray glue didn’t really work since the fabric was like lace, so there was not much to hold on to.
I used clear glue dots in the end, but they didn’t hold for too long. Unfortunately, my hot glue gun stopped working while I was going to use it, so this had to do for now. I’ll hot glue the webbing later once my new gun arrives.
YOU MAY ALSO BE INTERESTED IN:
Amazing DIY Fall Decorations Ideas
Halloween Pallet Ideas And Decorations
Awesome DIY Halloween Decorations And Ideas
Spooky Glam: Unveiling The Best Elegant And Chic DIY Halloween Decor Ideas
Hauntingly Handmade: DIY Halloween Wood Crafts And Decor Ideas To Die For
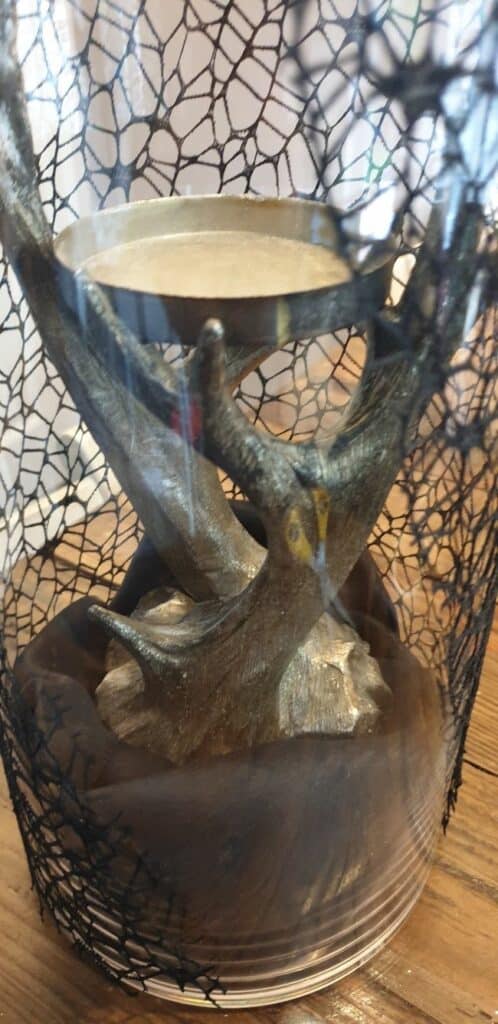
Prepping the base

Insert some sort of base to place the candle holder on. I used some spare wood slices, but you can use whatever you have. Scrap wood or floral sponge is perfectly fine.
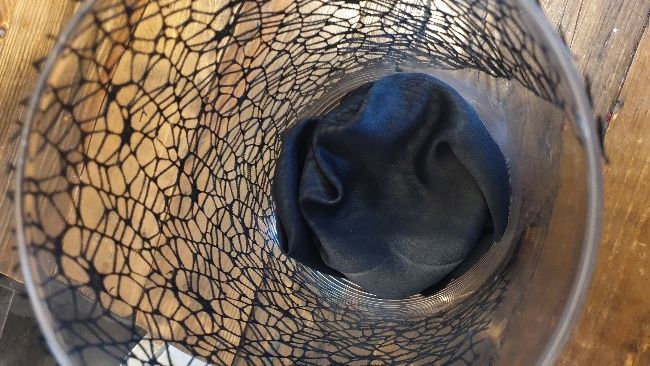

Next, I used a piece of black scrap material to cover the wood slices and make an excellent base for the candle holder and the skulls.
I used a piece of black blackout fabric I had left from another project. One side has a nice smooth, shiny texture that gives an elegant look. I put it in the vase and made sure the wood was covered, making an excellent base.
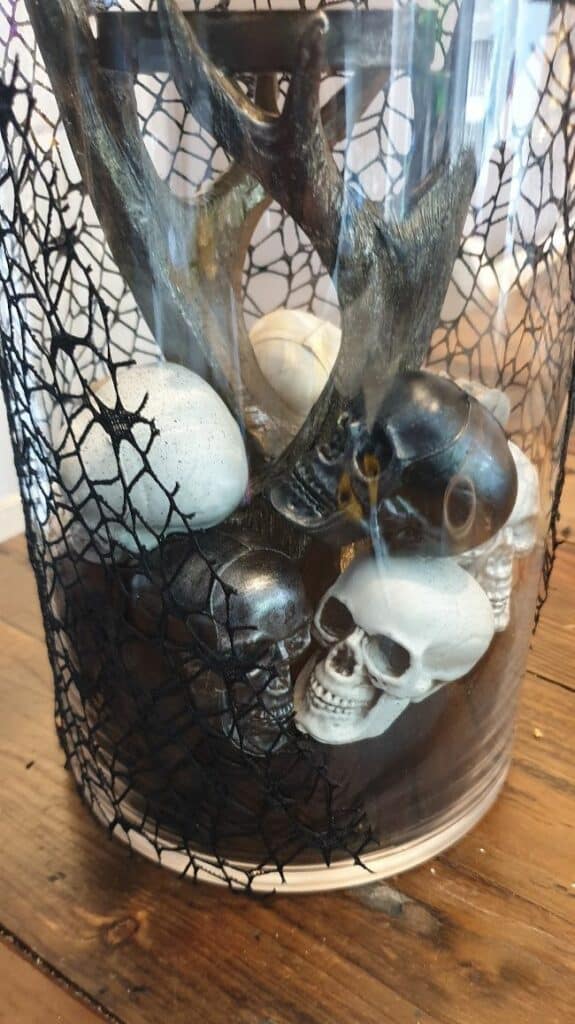
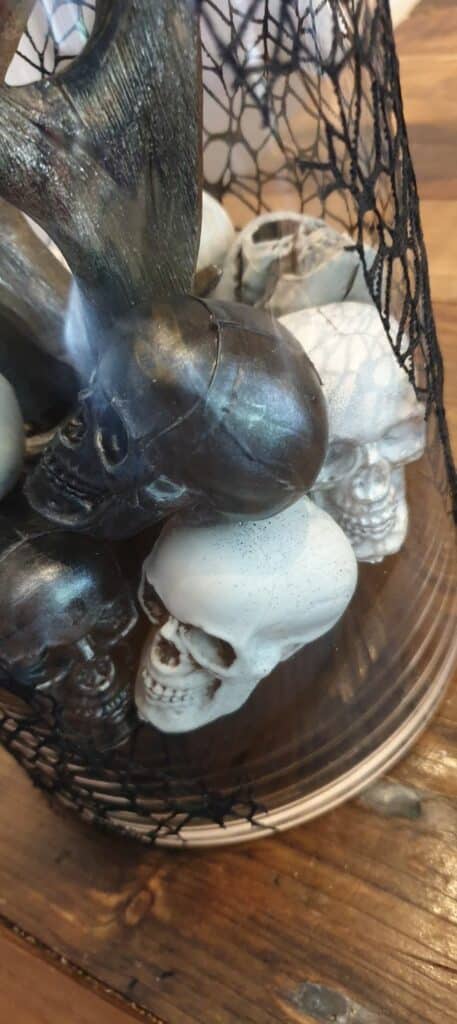
Painting the skulls
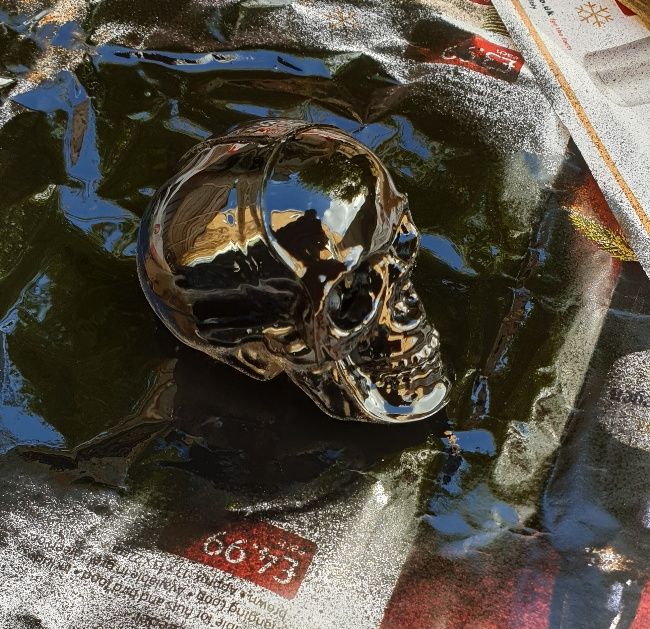
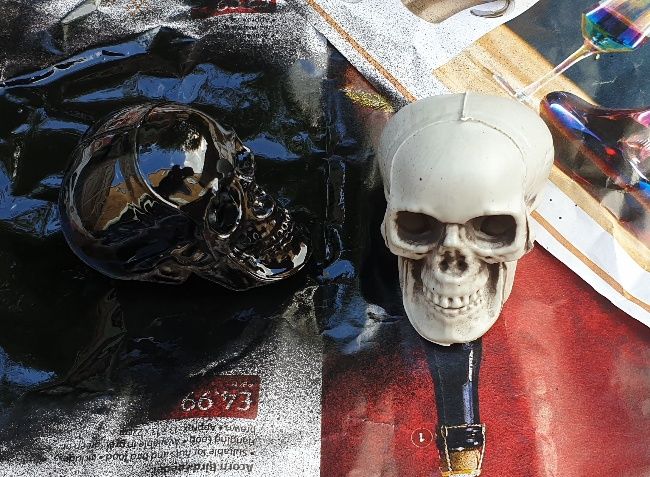
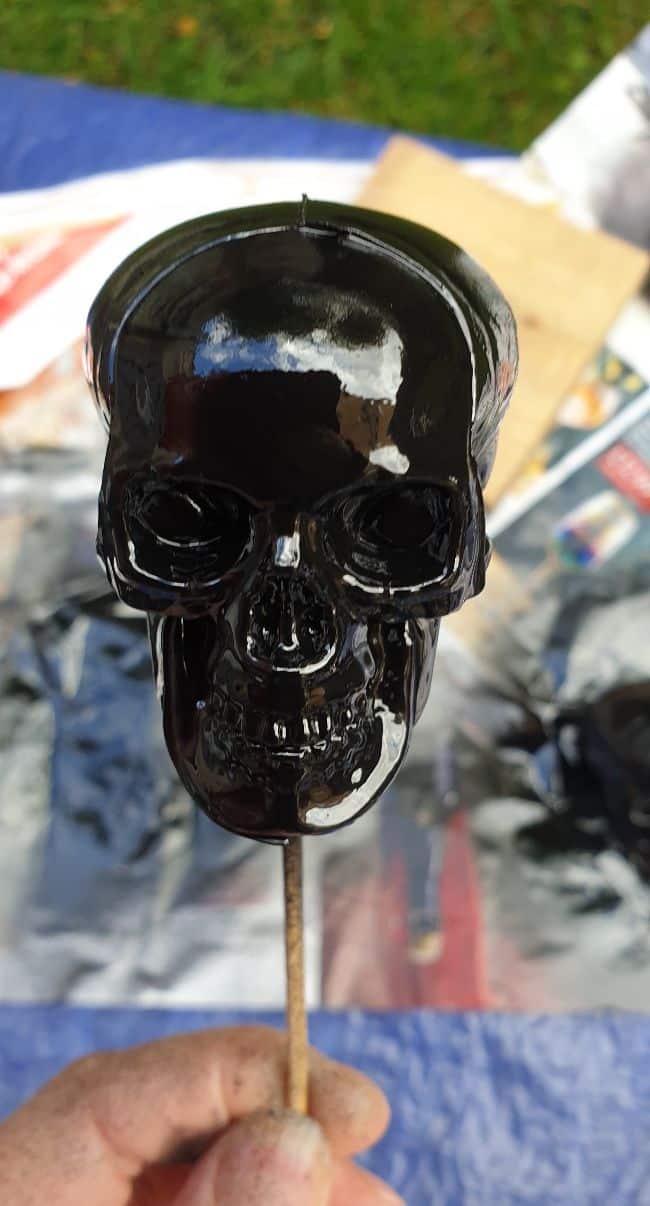
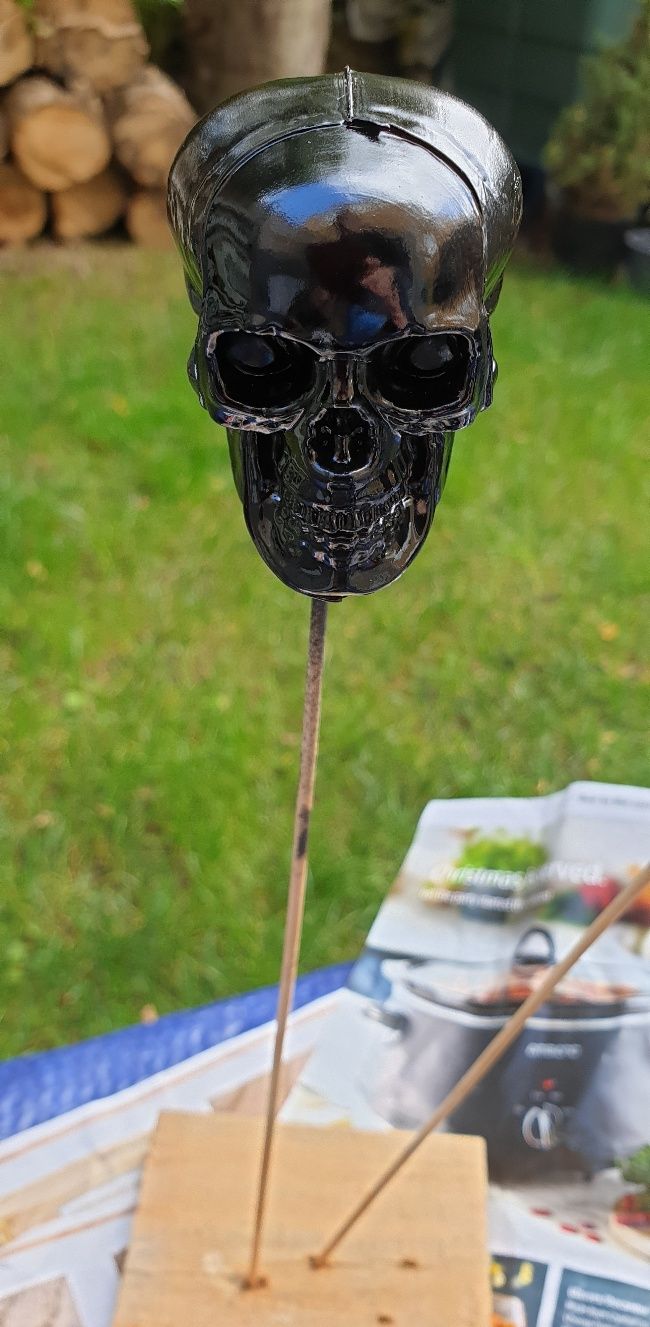
The next step was to make a slight upgrade to the plastic skulls. I’ve left some of them in their original form as they are pretty nice. I spray painted two in matt black and two in white chalk paint( it can be any matt white spray paint).
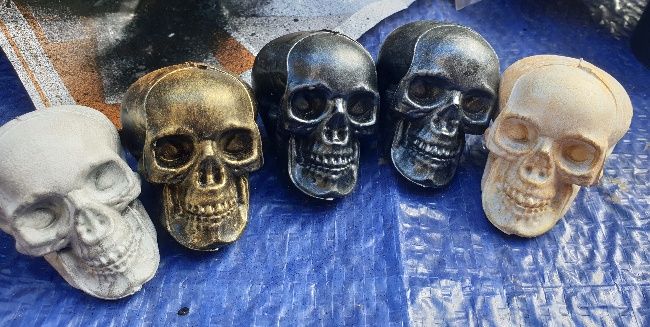
Then I wanted to use my mica powders to add some bling to the skulls. But first, I added some wax(it can be furniture wax or chalk paint wax) to the surface of the skulls. Next, I used a small paintbrush to apply some silver gray, and gold mica powder.
Decorating the candle
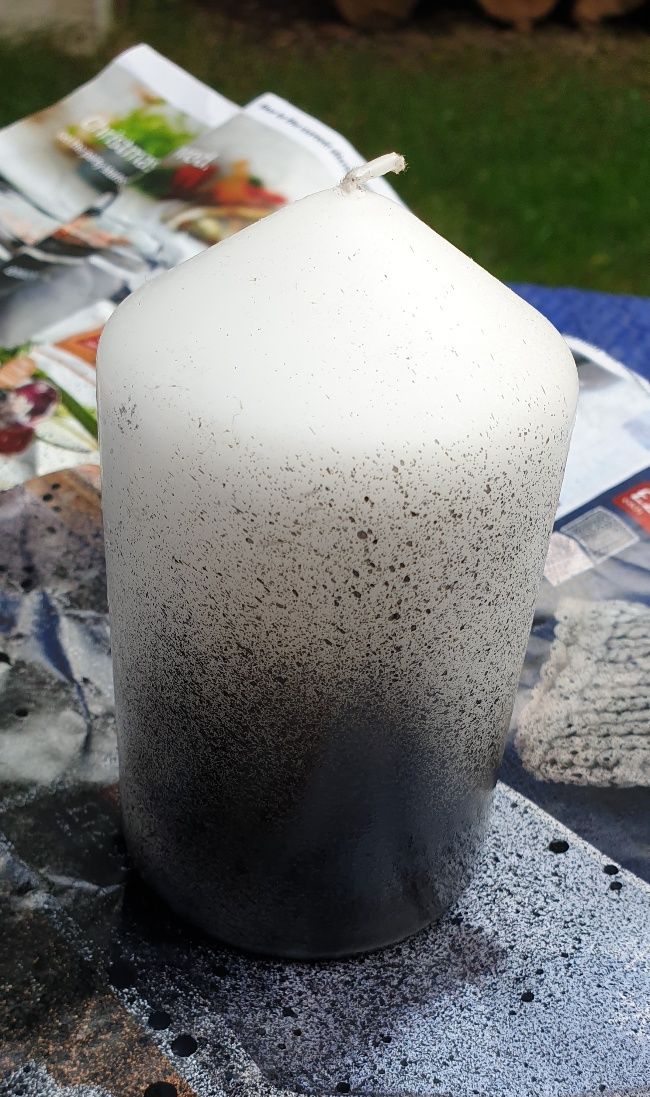
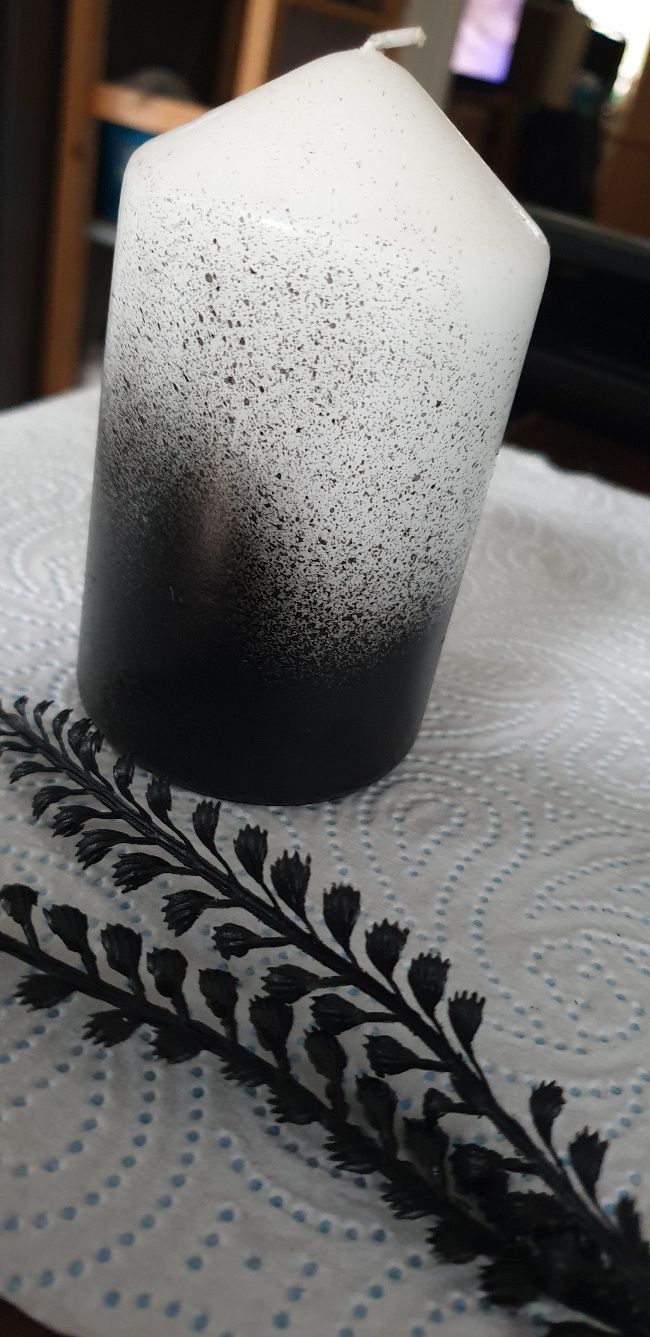
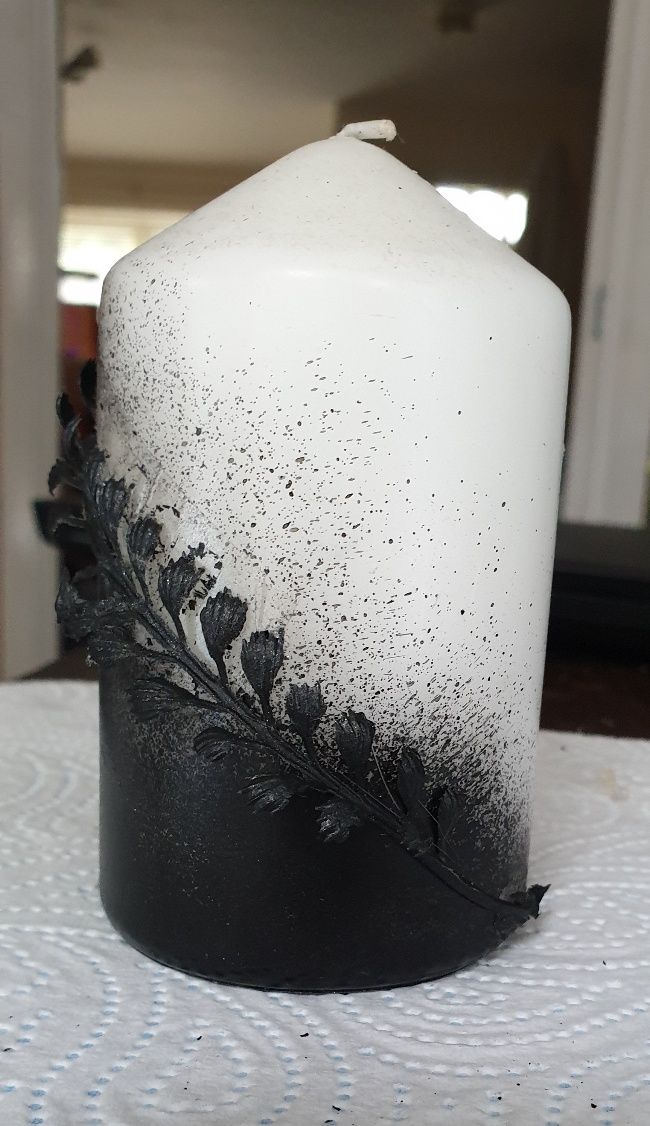
Now it was time to upgrade the candle. It’s totally optional, and you can use an LED candle as well. Once I sprayed the candle with the matt black paint, I wanted to attach some of the plastic leaves; believe me, this was a challenge.
If you using a plastic LED candle hot glue gun will definitely work. But here, with a wax candle, the hot glue didn’t want to hold. It did in one place, and then it wouldn’t.
I used clear double-sided tape and then some metal staplers that I cut to make it work.
Upgrading the antler holder
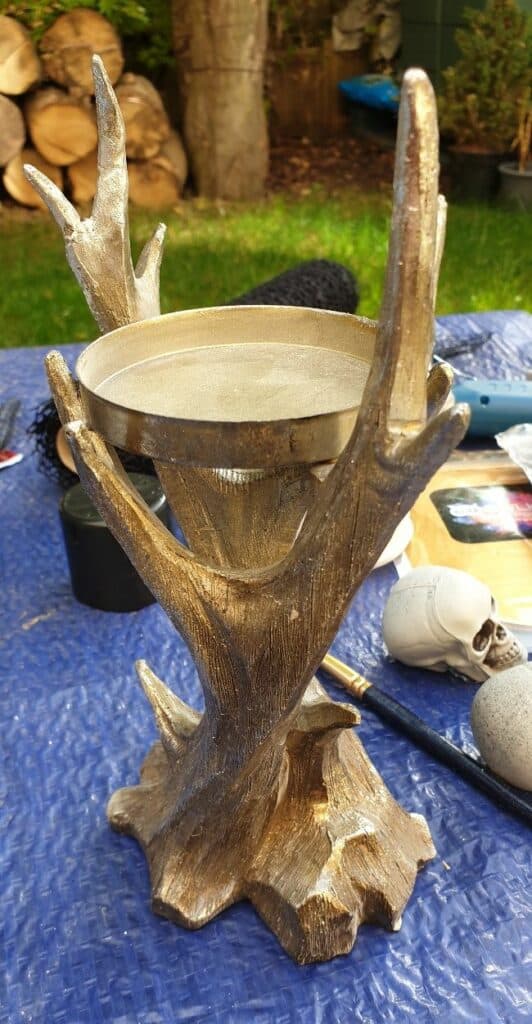
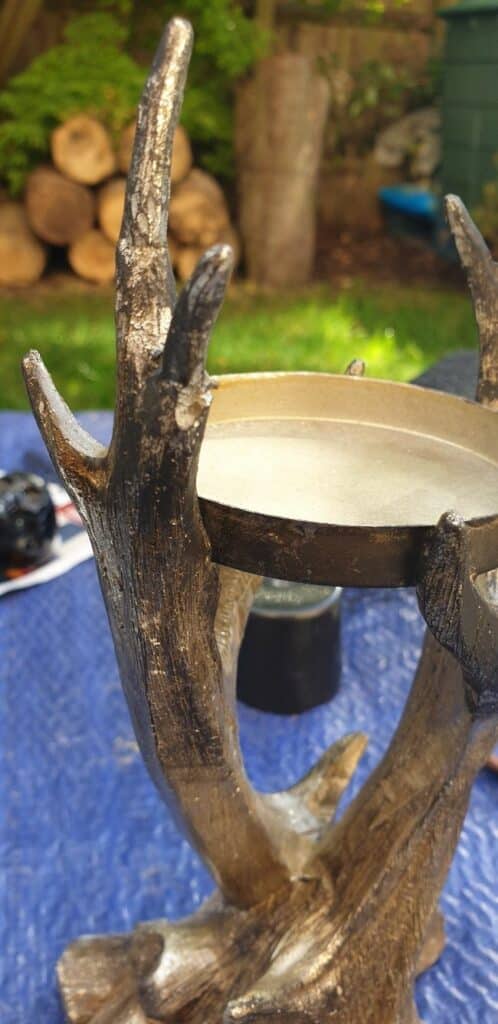
The antler candle holder was a bit shinier than the image in the online store but had a nice texture, and the color wasn’t too bad. The only thing I did was paint the tips and the candle holder with black acrylic paint. Not too much and using a dry brush technique.
Assembly
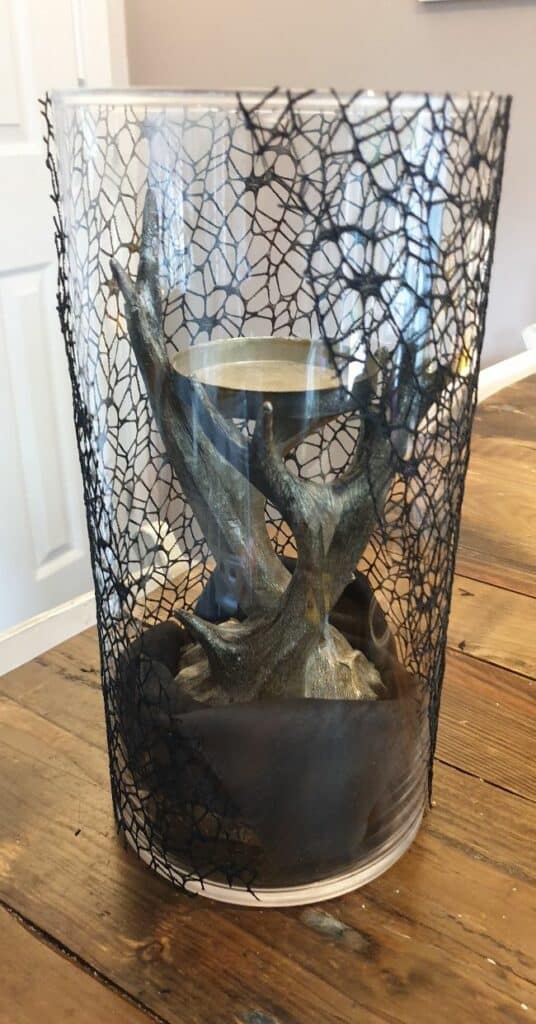

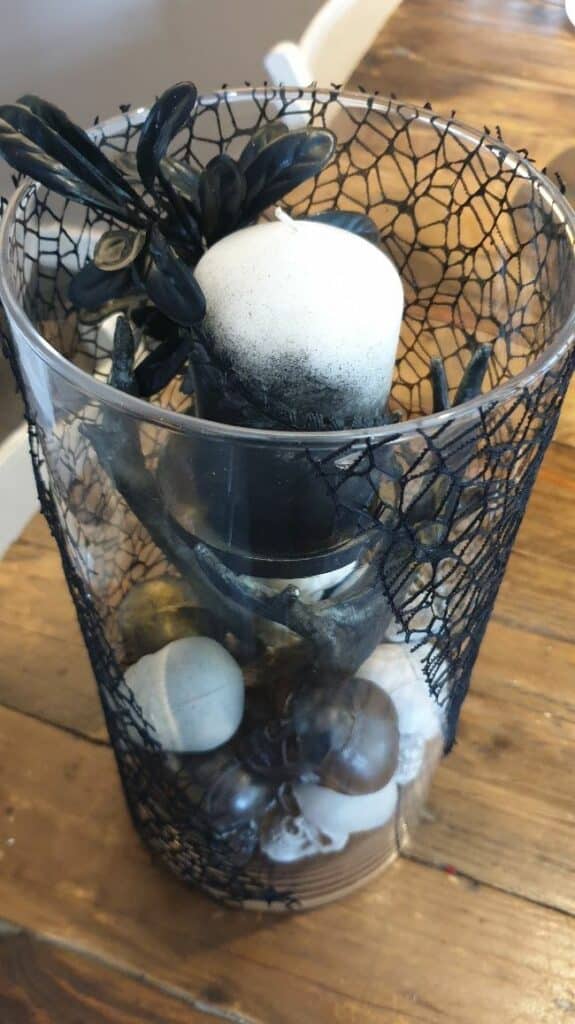
The last step was to assemble the display. I put the candle holder in the vase and placed the skulls around. You could add some LED fairy lights between the skulls at this stage if you want to.
I might do it at some point. Then the candle went on the holder, and some faux leaves branch behind the candle and between the antlers.
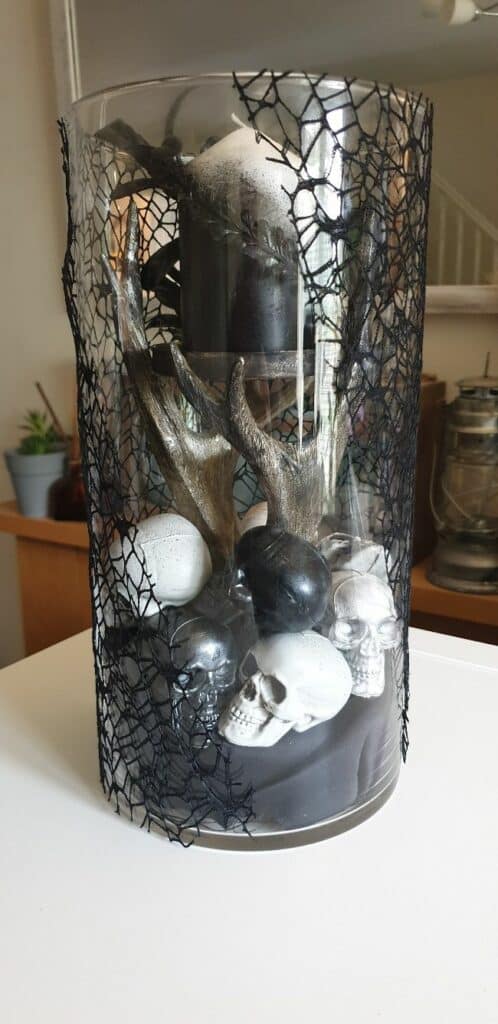
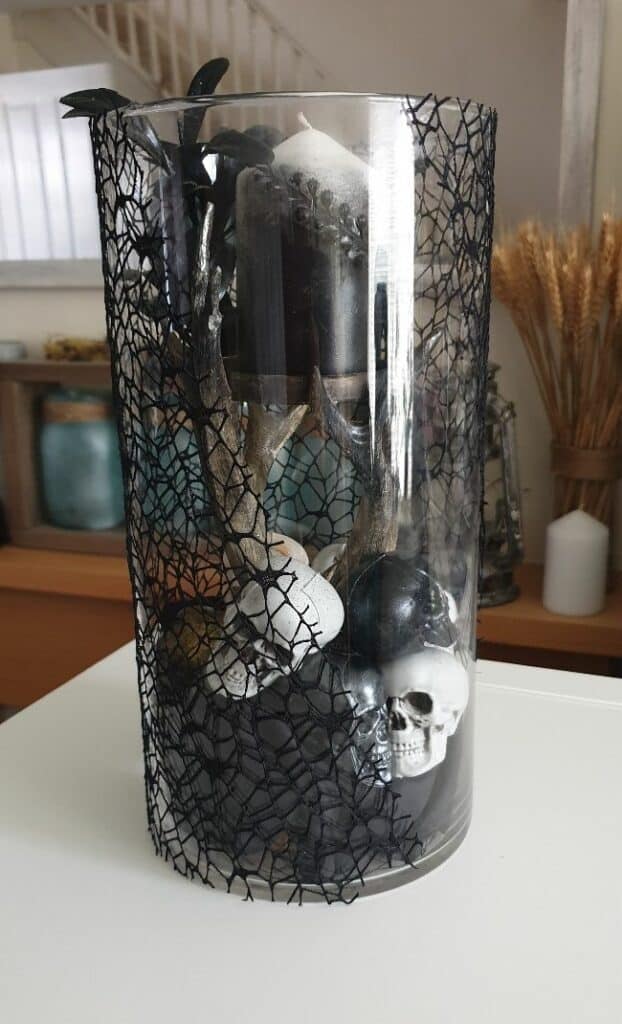
So, there you have it – a spooktacular way to dress up your table for Halloween using some simple supplies and a little bit of creativity.
I hope you’ve enjoyed this tutorial and that your guests will be duly impressed with your ghoulishly elegant Diy Halloween decor centerpiece. Make sure to put your own spin on this spooky decoration! Happy haunting!
Subscribe To My FREE DIY Newsletter!
Stay in touch and receive things like updates, special offers, new projects, tips, gear reviews, and more. No spam, promise!
By entering your email address, you agree to get an email newsletter from UpcycleThisDIYThat. I’ll respect your privacy, and you can unsubscribe at any time. For more details, review our Privacy Policy.