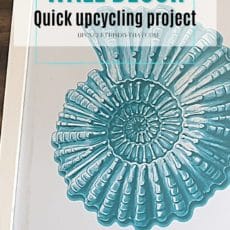
Upcycling Photo Frames to DIY Nautical Wall Decor
This post includes affiliate links. If you decide to make a purchase through my link, I might get a small commission for it at no additional cost to you. Thank you for supporting Upcycle This DIY That!
With summer fast approaching, I decided to make a quick upcycling/ DIY nautical wall decor project for my kitchen. I wanted to add some summery/beach feeling to the house, so I decided on some beach/marine-themed wall art frames.
If you’re looking for a way to decorate your home without spending much money, consider making some of these easy and inexpensive wall art pieces.
This is an excellent project for DIYers and crafters alike who enjoy working with their hands. All you need are some materials and the willingness to get creative!
YOU MAY ALSO BE INTERESTED IN:
Easy Driftwood Finish Effect-Mirror Frame Makeover
What Is Chalk Paint And How To Use It – A Beginners Guide
Painting Laminate Furniture Part 1- Chalk Paint Malm Nightstand Makeover
I decided to paint the frames with white chalk paint and distress them a little. I used the same homemade chalk paint I used for my driftwood finish mirror frame.
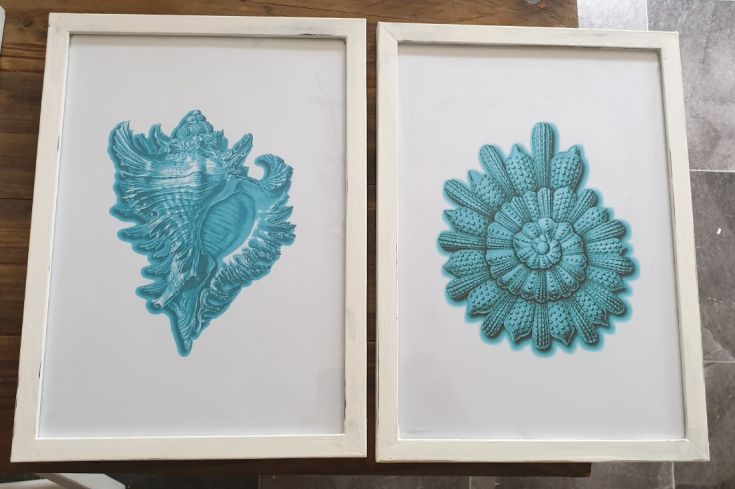
The prints I found on the TheNavagePatch site were perfect but not the color I wanted. She has fantastic freebies, so worth checking out. A couple of minutes in the photo editor, and voila! I got the wanted shade.
Check out how these turned out down below!
How to make a quick DIY nautical wall decor frames
Tools and materials
- Printed art/patterns or printer and images to print
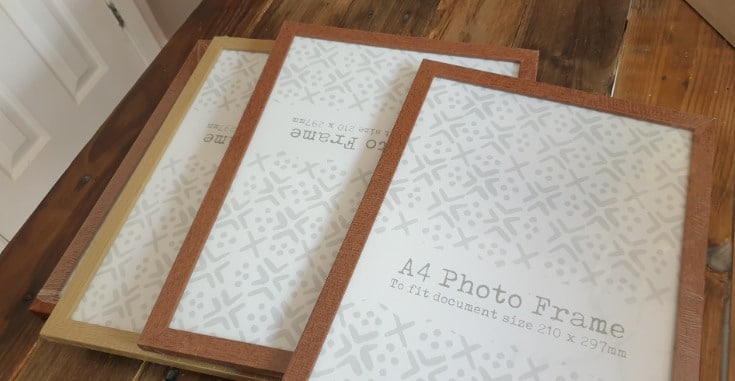
- Photo frames
- Chalk paint/latex paint and chalk paint powder
- Chalk paint/furniture wax plus wax brush/cloth
- Small paintbrush
- Old cloth/drop cloth
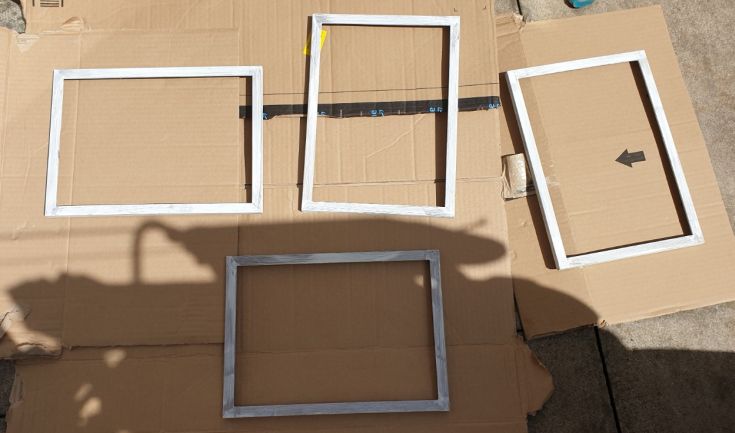
Preparing the frames
Firstly to paint the frames, I had to take all the bits out, including the glass and backing. I put it all in a safe place far away from my two years old 😉 Once that step was done, it came time for painting!
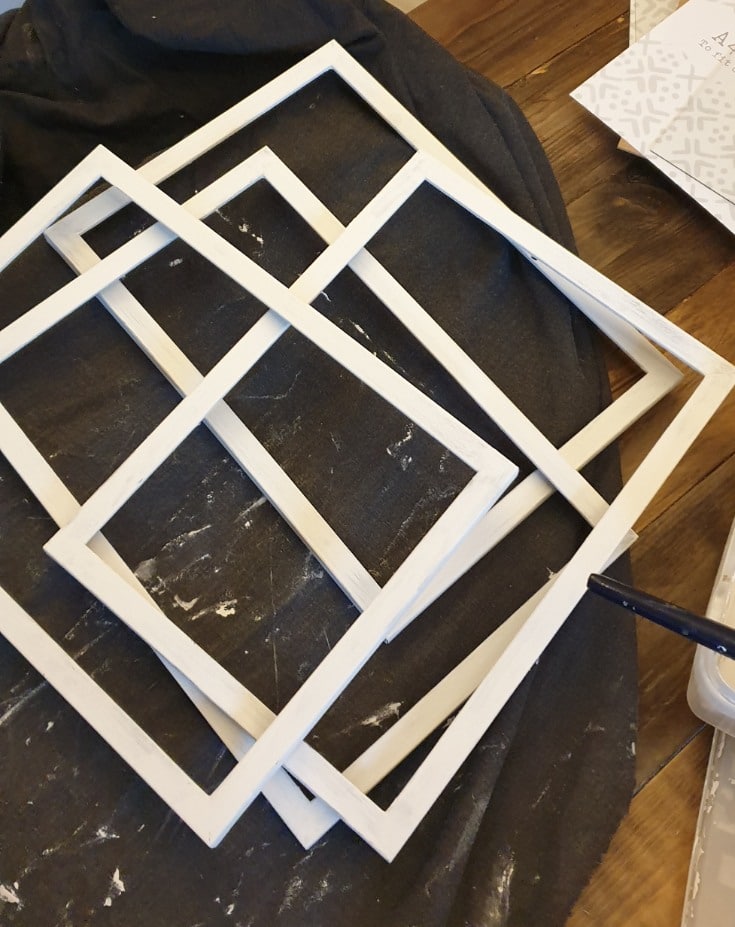
Painting the frames
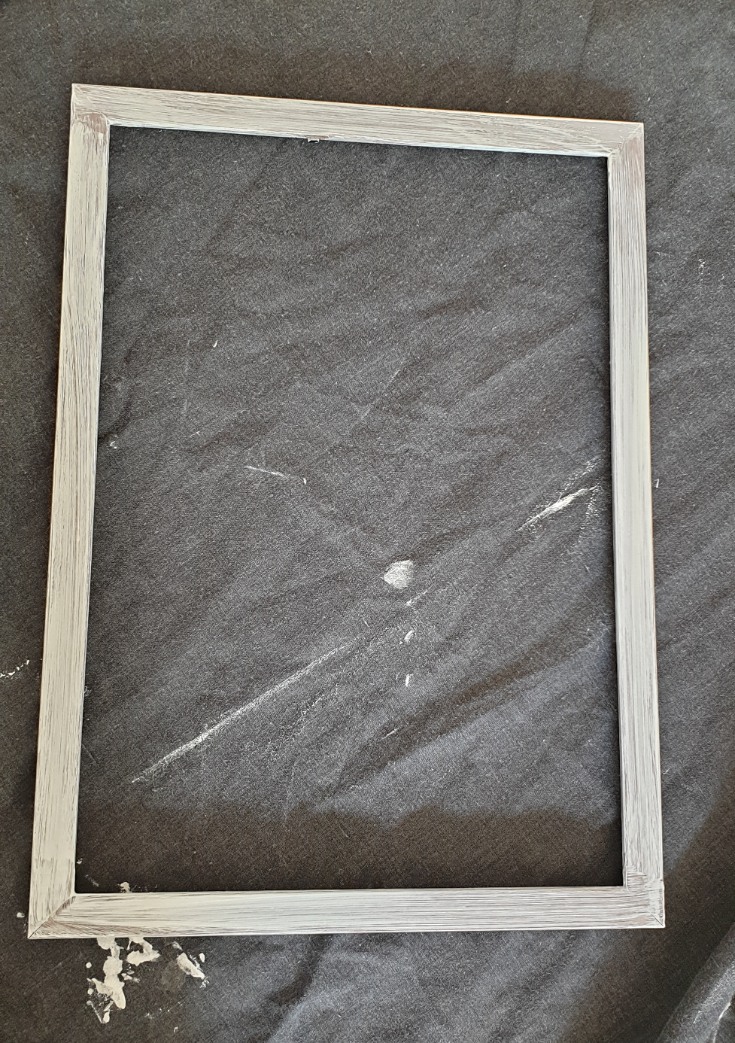
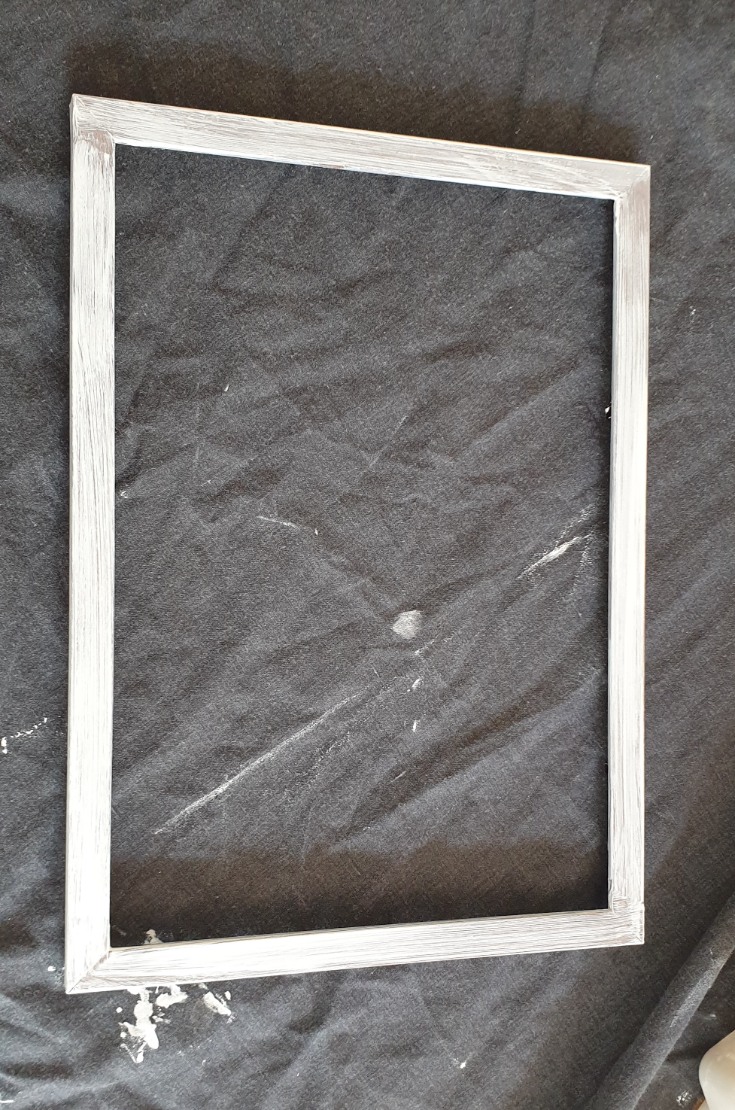
I used a piece of an old bed sheet to cover my table for protection. Then using my DIY chalk paint and a small paintbrush, I painted three layers.
I let them dry in the sun between layers, and after the last layer, I sanded them with a fine sanding sponge.
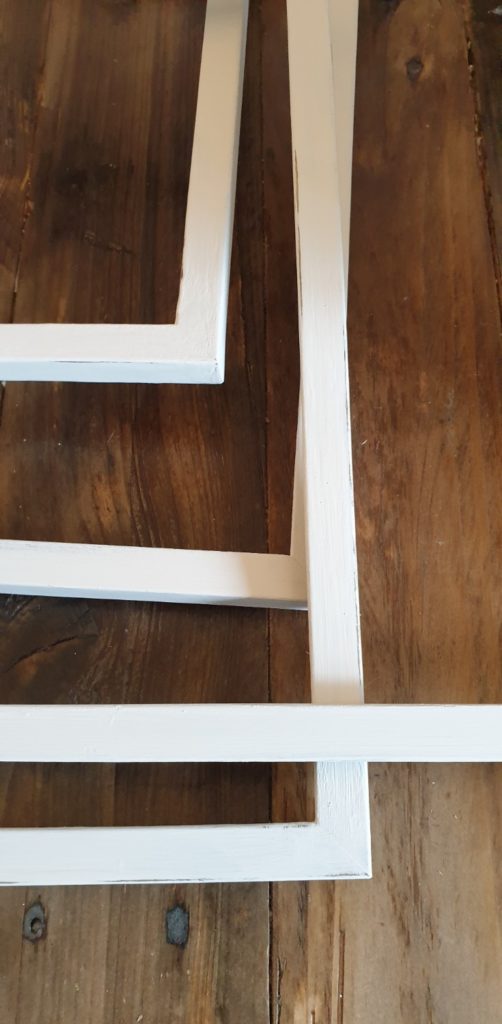
I wasn’t sure at that time if i wanted another layer of paint but decided that three were fine. I distressed the frames gently around the edges.
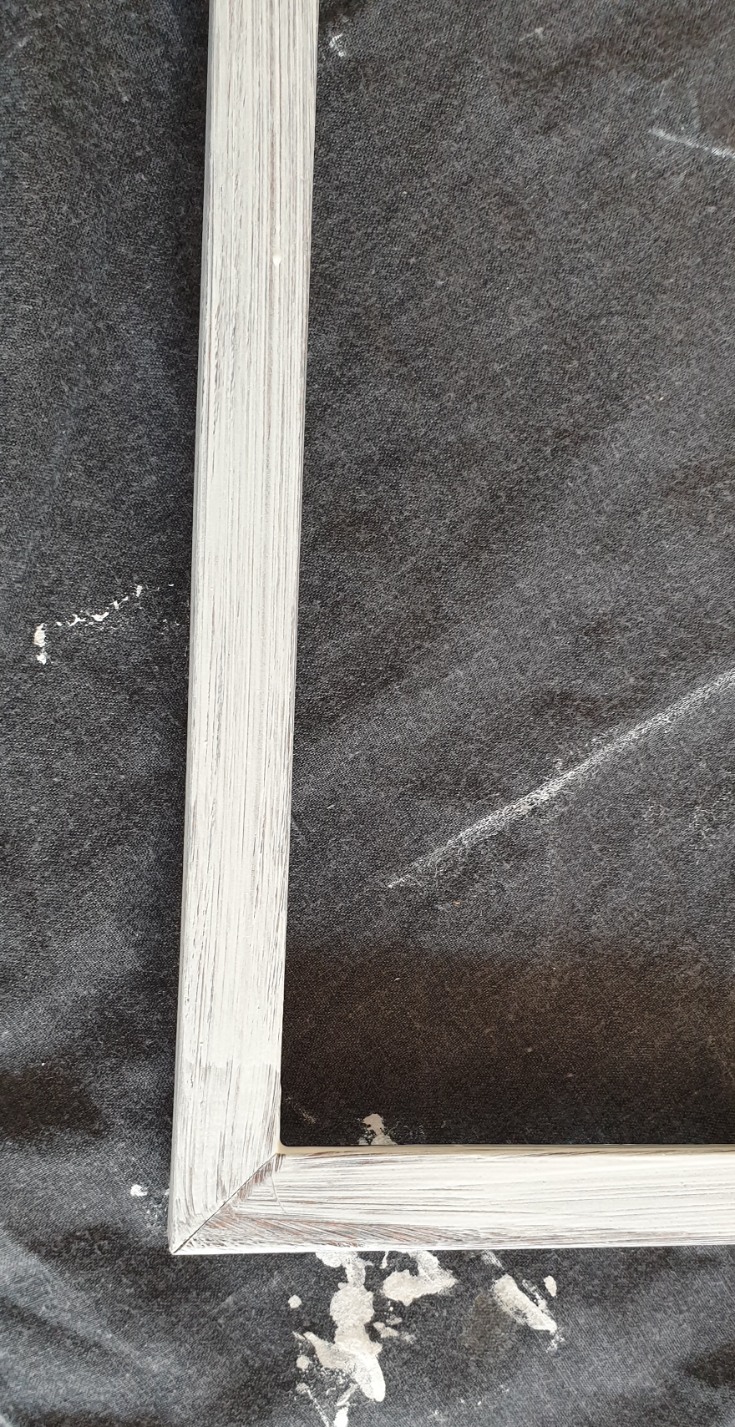
These are cheap foam frames, and i wanted to give them a bit of texture with the paint to imitate wood. I can say mission accomplished 🙂 I then sealed the paint with furniture wax.
Preparing the printouts
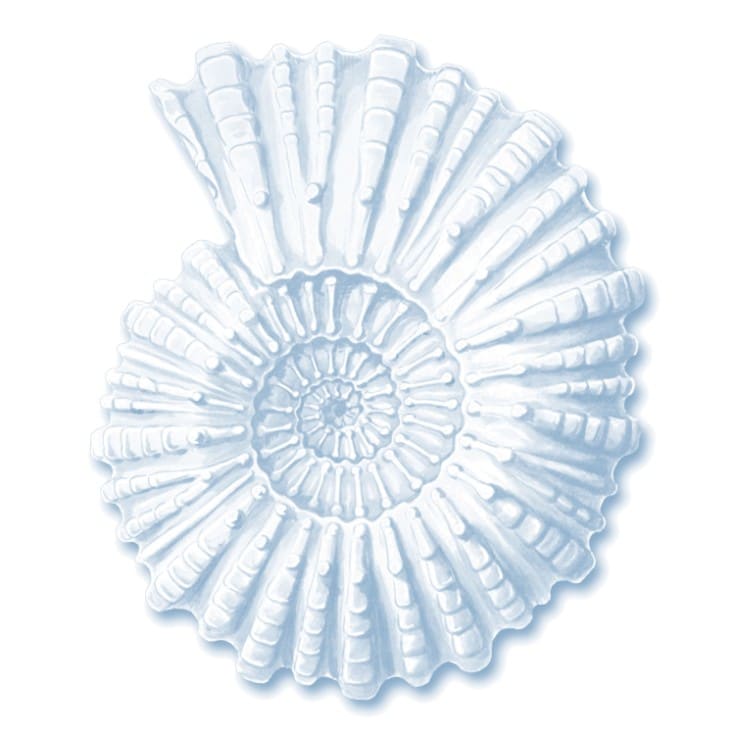
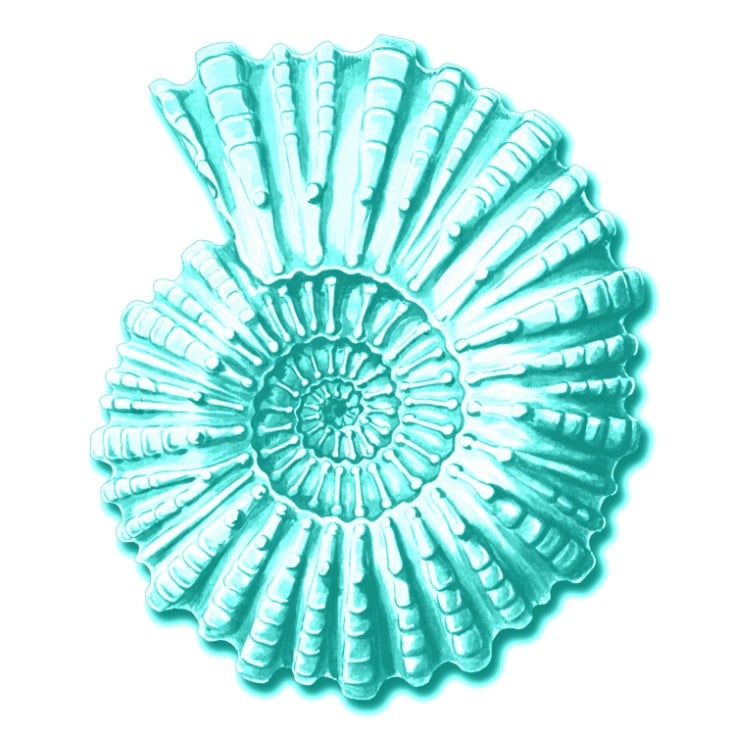
I got these beautiful images from TheNavagePatch, but I didn’t like the shade. I wanted something more blue/greenish or turquoise. I used the IrfanView program(I use it for all my images instead of the MSWindows native program to view/edit photos). You can use any other free/online tool like Canva, for example, to do this.
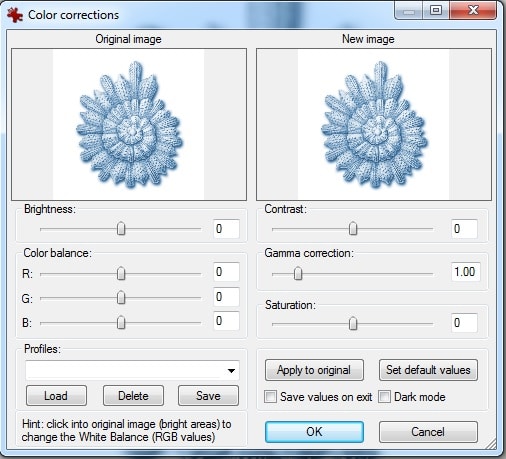
I went to the color corrections tab and adjusted the color until I was satisfied with the effect. You can check out the original and mine below.
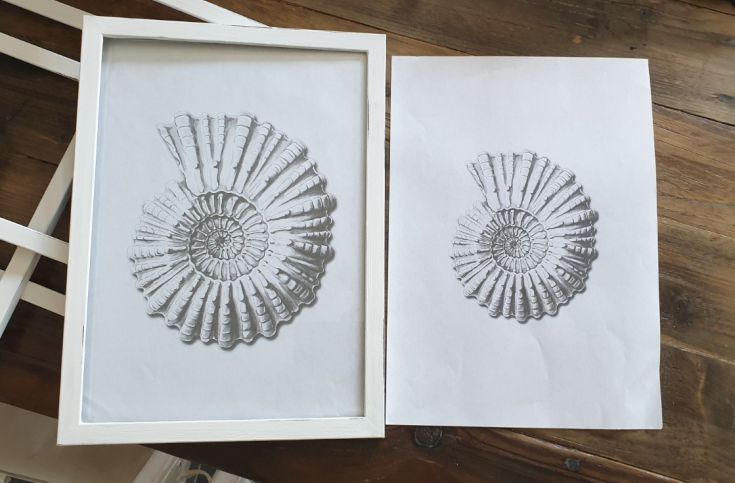
Next, I needed to print the art, but i wasn’t sure how big I wanted the actual images to be. So printed a trial black and white run in different sizes. Then once decided which ones I liked, I printed them on thicker paper with the highest dpi setting.
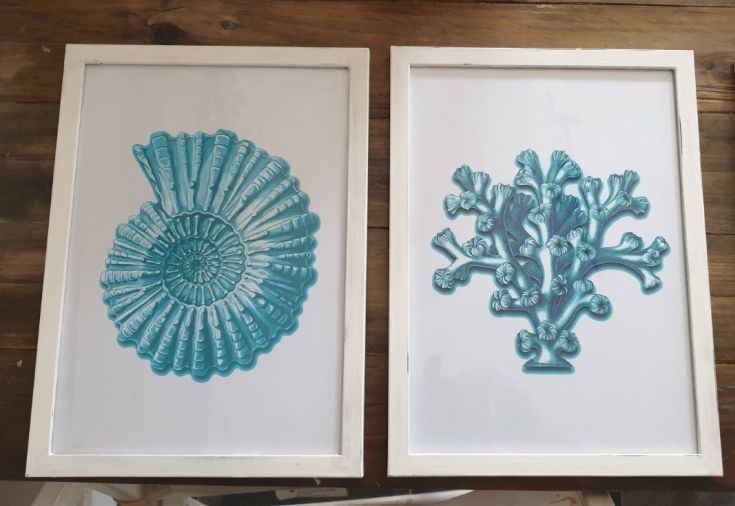
As soon as I got the prints ready, it was time to put the frames back together and figure out where they’ll go on my kitchen wall.
I hope this blog helps you get started on upcycling your frames and making this DIY nautical wall decor. Remember that the creative process is a fun one, so have some patience with yourself as you try to figure out what will work best for you!
I hope you’ll enjoy making your own. If you have any questions, please leave a comment in the box below. Happy crafting!

Subscribe To My FREE DIY Newsletter!
Stay in touch and receive things like updates, special offers, new projects, tips, gear reviews, and more. No spam, promise!
By entering your email address, you agree to get an email newsletter from UpcycleThisDIYThat. I’ll respect your privacy, and you can unsubscribe at any time. For more details, review our Privacy Policy.