Make a Stunning DIY Winter Wreath in Just a Few Simple Steps!
This post includes affiliate links. If you decide to make a purchase through my link, I might get a small commission for it at no additional cost to you. Thank you for supporting Upcycle This DIY That!
The winter season is here, and it’s time to get crafty! With the festive days gone, DIY projects are always a great way to beat the winter blues. Making your own DIY winter wreath is among the most rewarding crafting activities.
With just a few materials and creative imagination, you can create a stunning winter wreath that will turn heads! Plus, with so many different materials available these days, the possibilities are endless.
So if you’re looking for something fun to do this winter season, why not start your DIY adventure today and make your very own DIY winter wreath?
YOU MAY ALSO BE INTERESTED IN:
Super Easy DIY Winter Decor Candle Display/Centerpiece
Super Simple DIY Rustic Winter Pinecone Vase Home Decor To Cozy Up Your Space This Season In Only 15 Minutes
Simple DIY Christmas Decor – A Wooden Vase Holder

Tools and materials
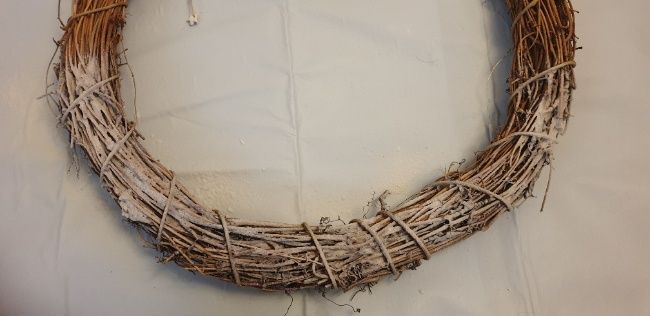
- Grapevine wreath
- Craft knife
- White spray paint – I used chalk paint
- LED fairy string lights
- Bottlebrush trees in different sizes
- Twine
- Hot glue gun and glue sticks
How to make a DIY winter wreath Step by Step
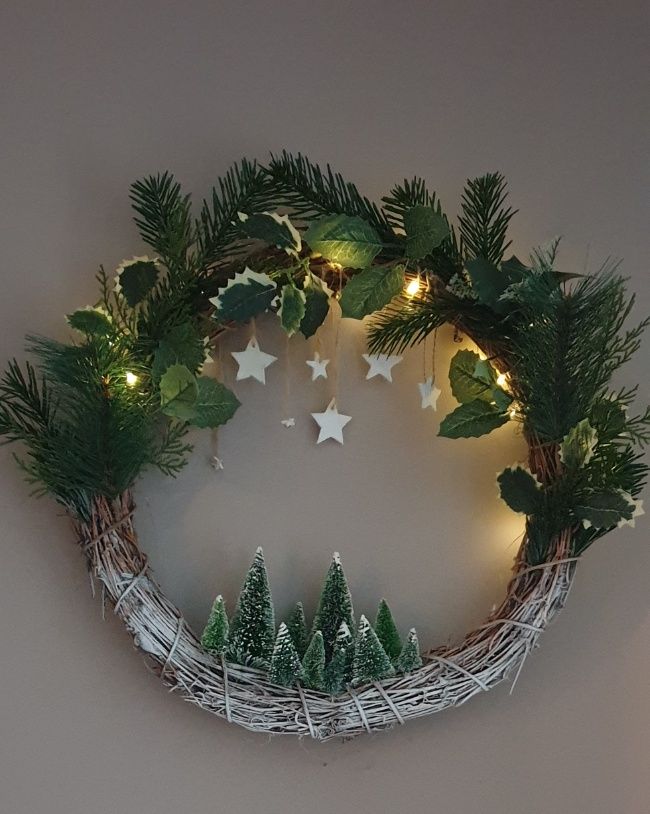
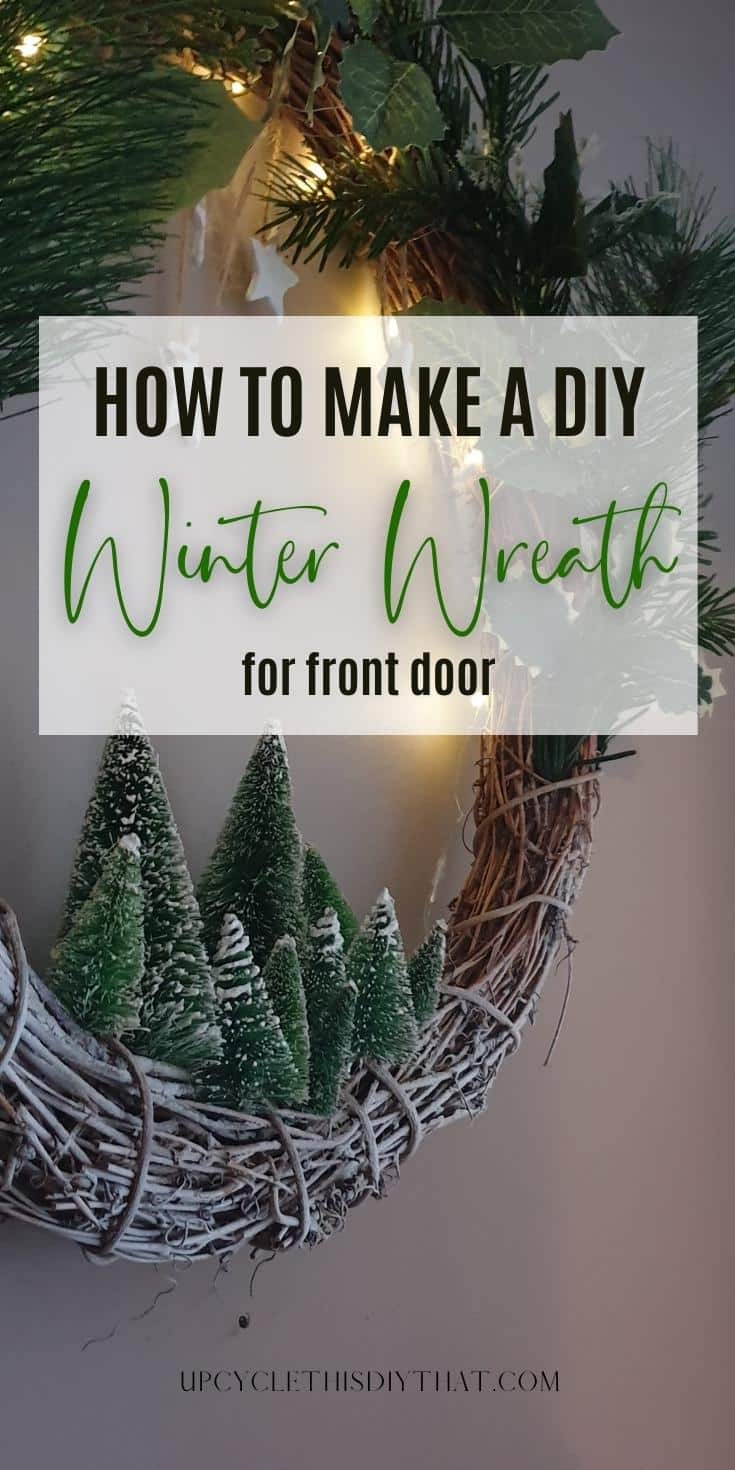
Winter is a cozy and magical season, and what better way to add some of that cheer to your space than with a wreath? This lovely winter scenery wreath will brighten up your door or any space for those long winter months beyond Christmas.
What’s even better is that it’s incredibly easy to make: no hard work so that you can celebrate without stress.
Making stars from air dry clay
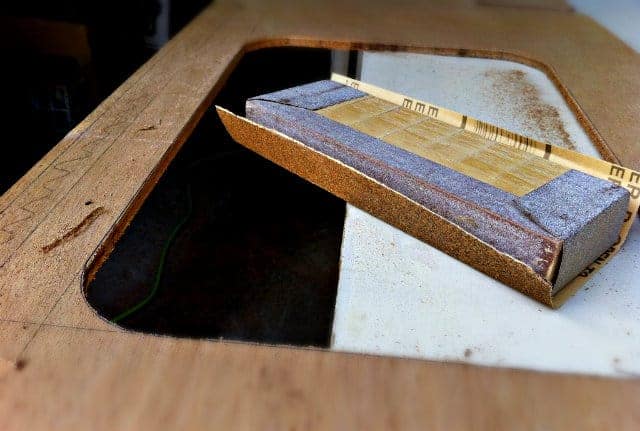
You can buy small clay or wooden stars and skip this step. But if you prefer to make it yourself, these are super easy to make. All you need is some white air dry clay, a rolling pin, and a sharp knife or star (fondant) cutters.
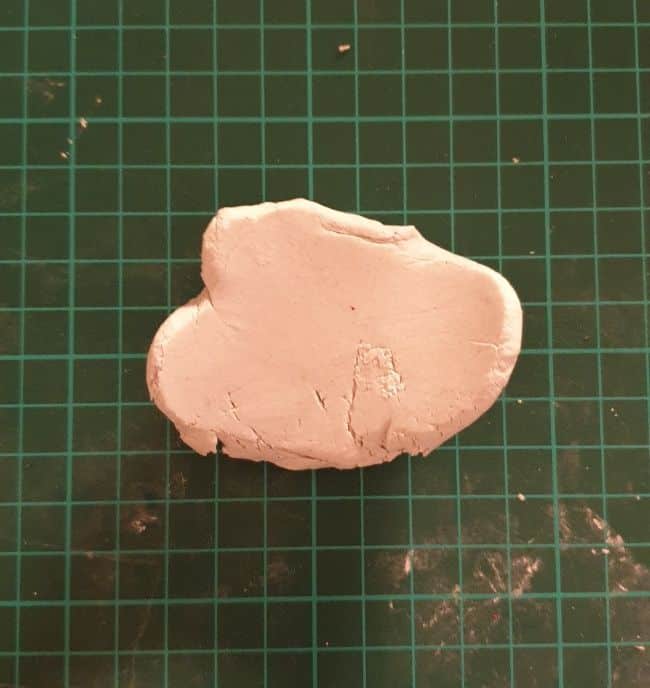
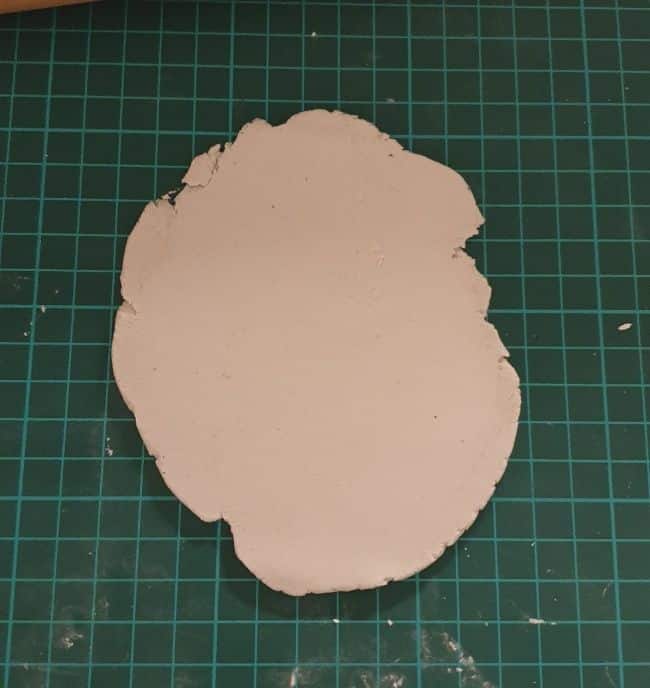

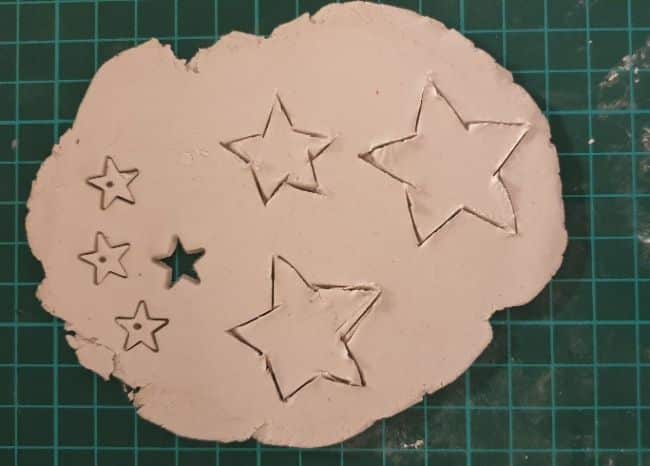
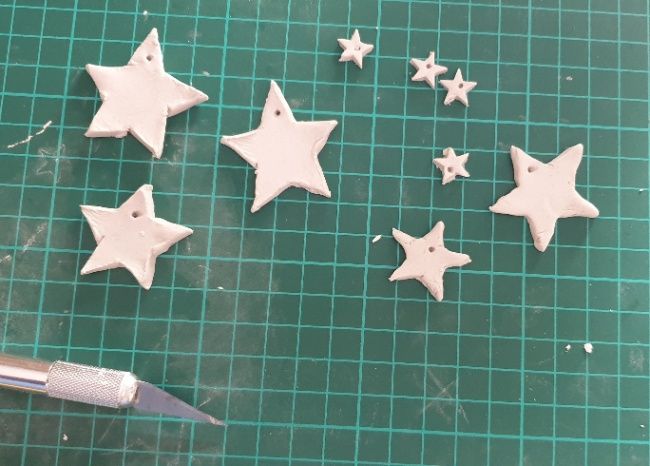
First, you need to knead the clay a bit and then roll it to the preferred thickness. Then cut out the stars in different sizes and let them dry, preferably overnight.
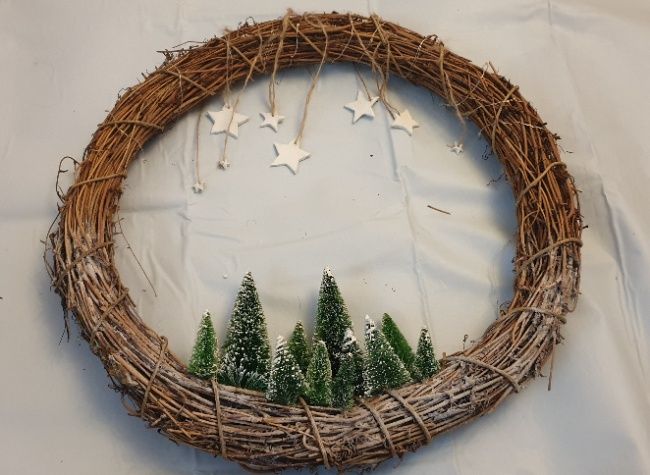
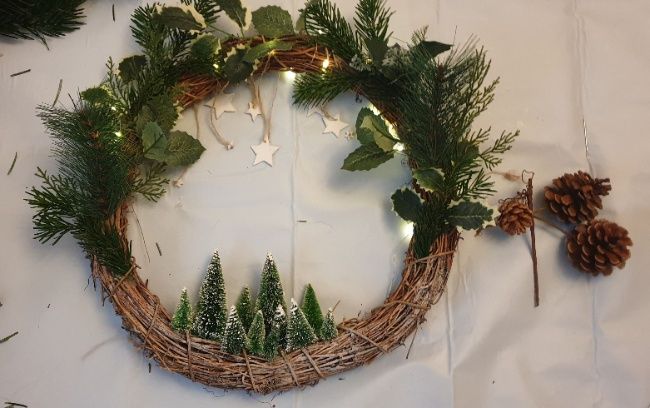
Wrapping fairy lights around the wreath and attaching stars
Let’s head toward the following steps! It’s time to up the holiday vibe. Once you have your LED fairy lights string, wrap it carefully around the very top edge of the wreath.

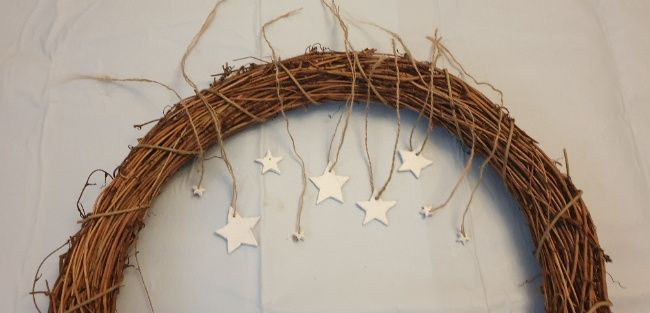
Then once you have some twine or thin string handy, you can hang each star in its own beautifully crafted way from the top of the wreath.
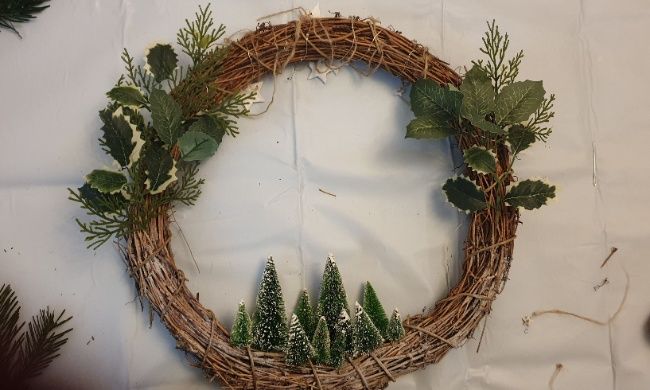
Painting the wreath and arranging the Christmas trees
I had the vision of achieving a beautiful wintery/ snowy look using fake snow spray. But, unfortunately, it didn’t quite do the trick because it began to melt right away. So I opted to use spray chalk paint instead, and I am so glad I did! It was absolutely perfect for my wintry design and brought the entire scene to life.
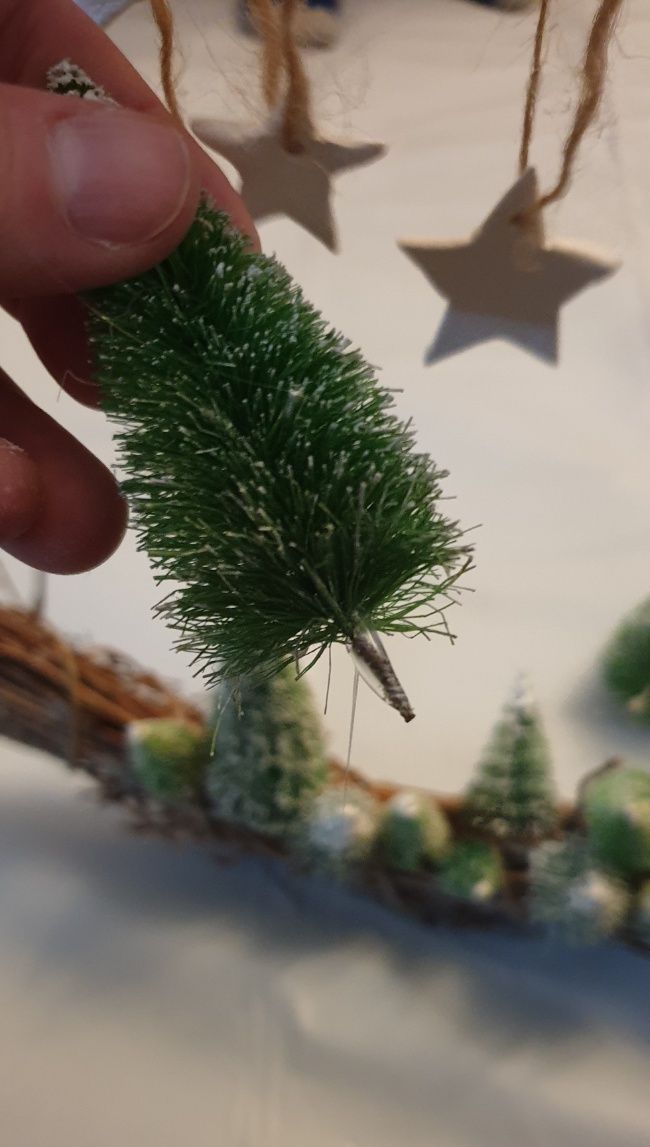
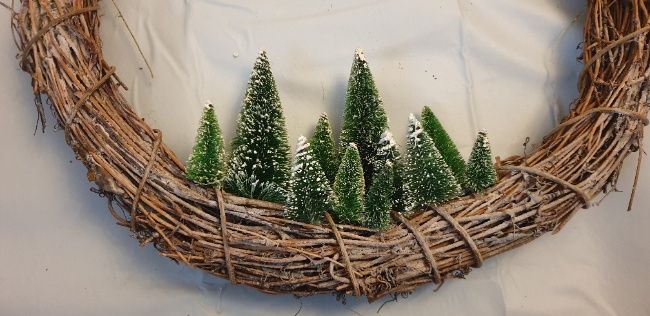
Then for the trees, I had just the thing: bottlebrush trees! They worked perfectly for this winter scenery and were glued into place with my trusty hot glue gun! All in all, it was a delightfully creative process that finally resulted in a wonderful winter decoration.
Adding greenery branches
To complete the wreath, it was time to dress it up with winter greenery branches! Mixing faux and fresh gave it a great final touch – your wreath will look fantastic no matter what materials you have on hand. Don’t be afraid to get creative – bits of holly can look beautiful alongside some pine or spruce.
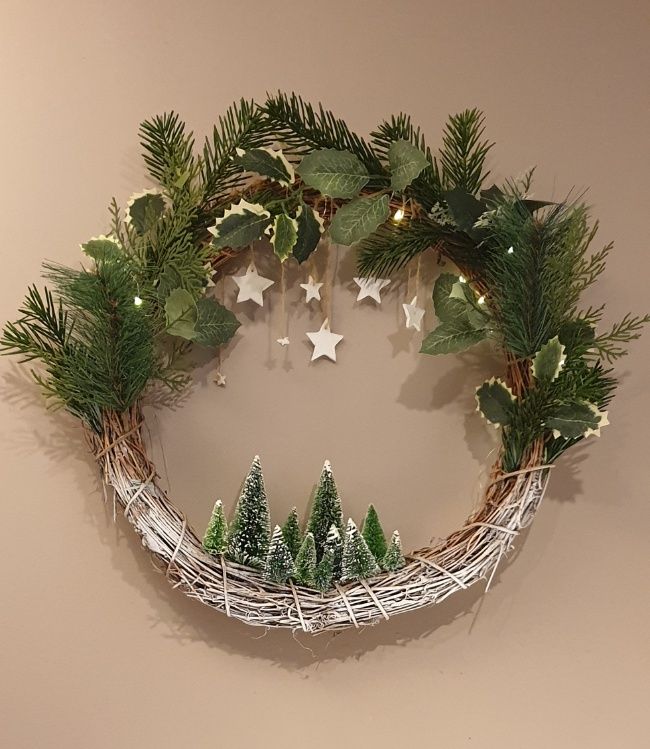
As always, my advice would be to relax, explore different materials, and let these accents lift your wreath to its full potential. Oh, the possibilities… Enjoy!
DIY winter wreaths are a great way to bring a touch of creativity, charm, and happiness into your home. However you decide to decorate yours, don’t be scared to use your imagination – anything goes!
If DIY crafting isn’t quite your thing, then fear not! Your finished result can always look as simple or as elaborate as you wish it to be. When it comes down to it, spending time creating something with your own two hands is sure to put a smile on your face and warm up any living space for the winter season ahead.
Subscribe To My FREE DIY Newsletter!
Stay in touch and receive things like updates, special offers, new projects, tips, gear reviews, and more. No spam, promise!
By entering your email address, you agree to get an email newsletter from UpcycleThisDIYThat. I’ll respect your privacy, and you can unsubscribe at any time. For more details, review our Privacy Policy.