How To Make Beautiful Faux Sea Glass Mason Jars
This post includes affiliate links. If you decide to make a purchase through my link, I might get a small commission for it at no additional cost to you. Thank you for supporting Upcycle This DIY That!
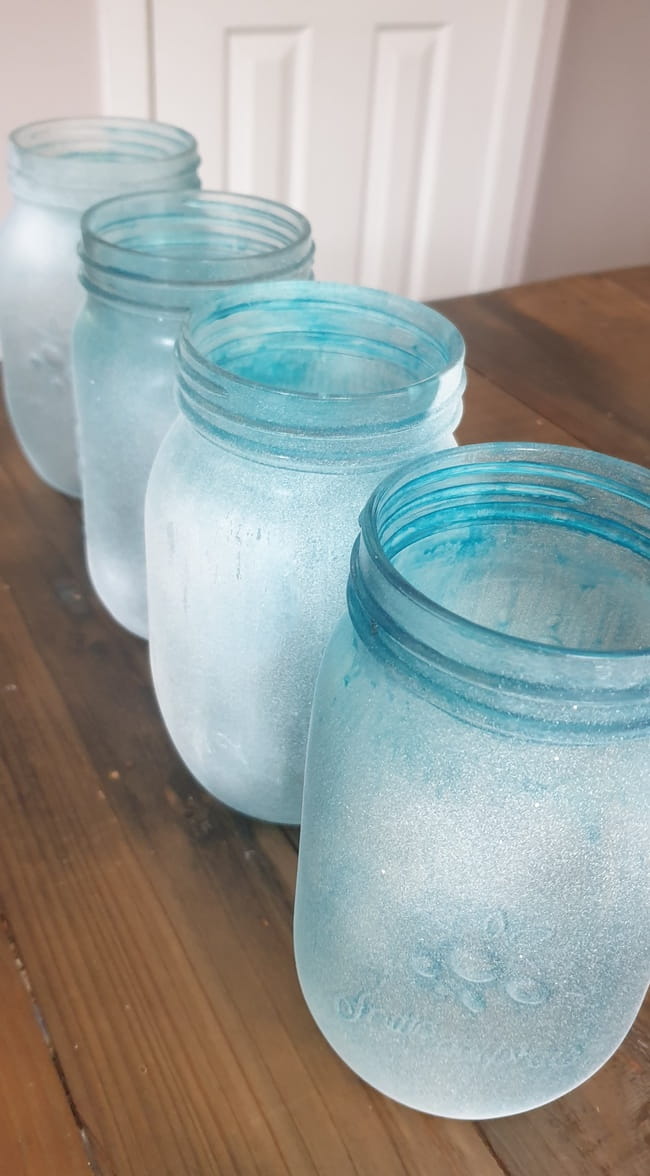
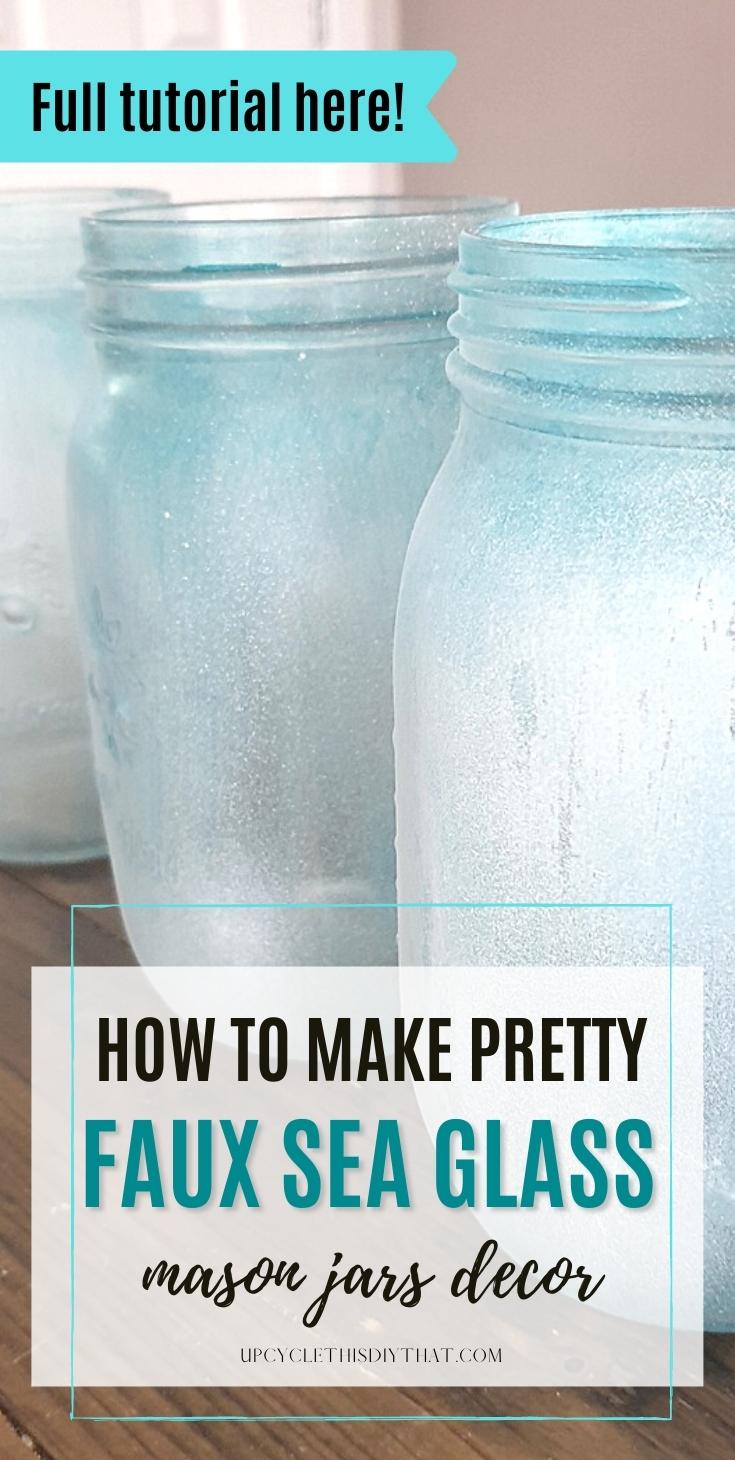
This is a super-easy way to make your own sea glass effect on any glass surface. Funnily enough, I didn’t plan to make those faux sea glass mason jars. Instead, I wanted to stain them with a glass stain in turquoise color.
But as I started to paint them, I realized that somehow I had bought the wrong stain. And the thinner I got for these stains wasn’t working, so the result was streaky and horrible.
I even baked them (as I thought this was the baked stain), hoping it would somehow smooth out, lol.
It didn’t. I tried to scrub the stain off with a scourer but to no avail. So I decided to turn these jars into something else. These jars were going to be displayed in my pallet wood box/frame I made last year.
But you can use them for anything else, like flower vases, light luminaries with led fairy lights, or cute beach-themed decor.
So follow these simple steps to create these faux see glass jars. And yes, you can use sea glass spray paint, but what’s the fun in that, right?
And with this technique, you can create any color of sea glass as long as there is a glass stain in this color.
Making faux sea glass mason jars
This tutorial doesn’t require many tools or materials. Even the wooden/box/frame is pretty easy to make, even for beginners.

Tools and materials
- Mason jars or any other glass/jars/bottles
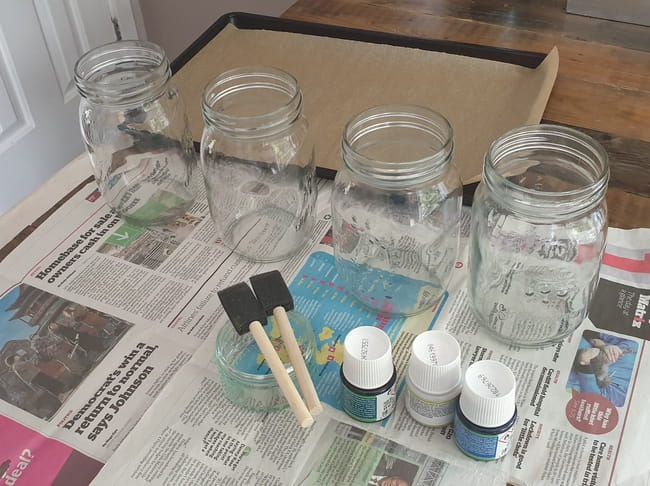
- Pebeo Vitrea glass stain in turquoise(I got the Vitrail stain that’s in the photo above)
- Foam brush
- Pebeo Vitrea thinner
- Frosted glass spray paint
- Chalk paint spray paint in white
- Twine/string
- Sanding sponge
- Baking sheet(optional for baking the stained jars)
Staining the jars with glass stain
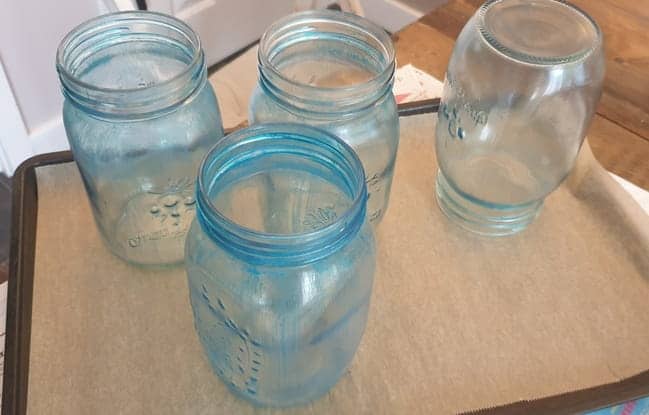
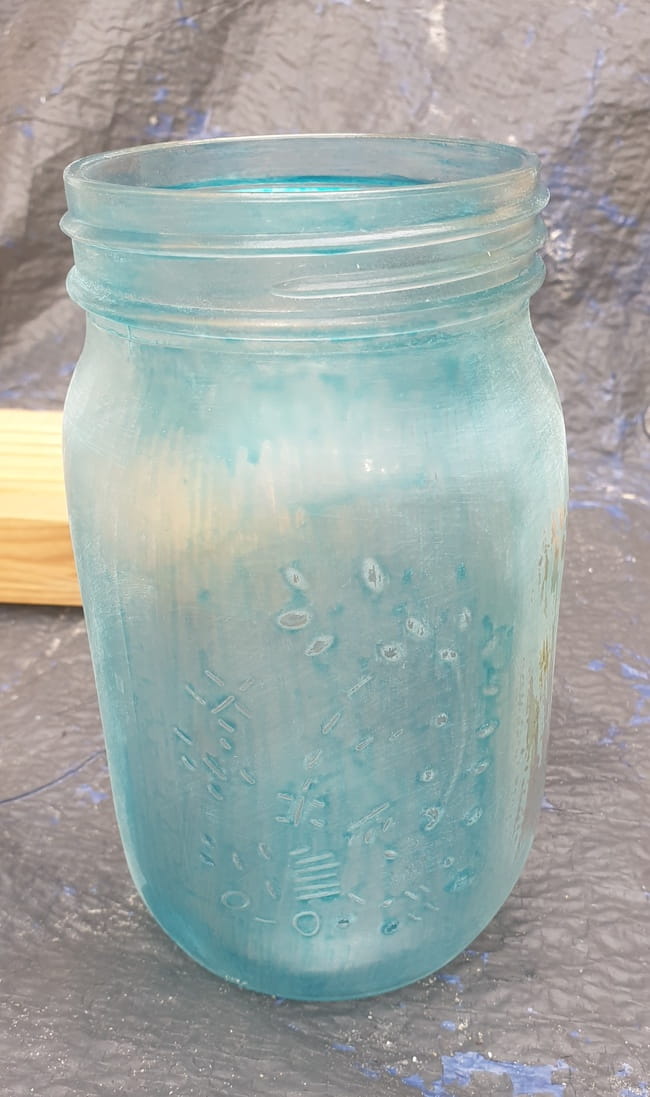
The first step was to stain the jars with a glass stain. Unfortunately, as I mentioned above, I got the wrong type of stain.
Pebeo has two types of glass stain-a baked stain that is waterproof after baking(Vitrea water-based) or a regular stain that doesn’t require baking but it’s not as permanent(Vitrail oil-based).
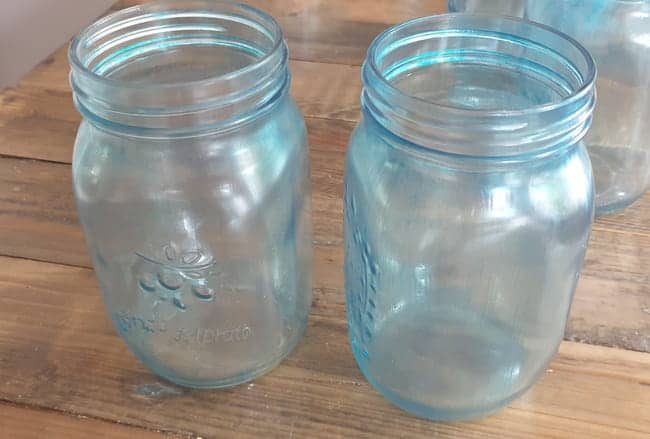
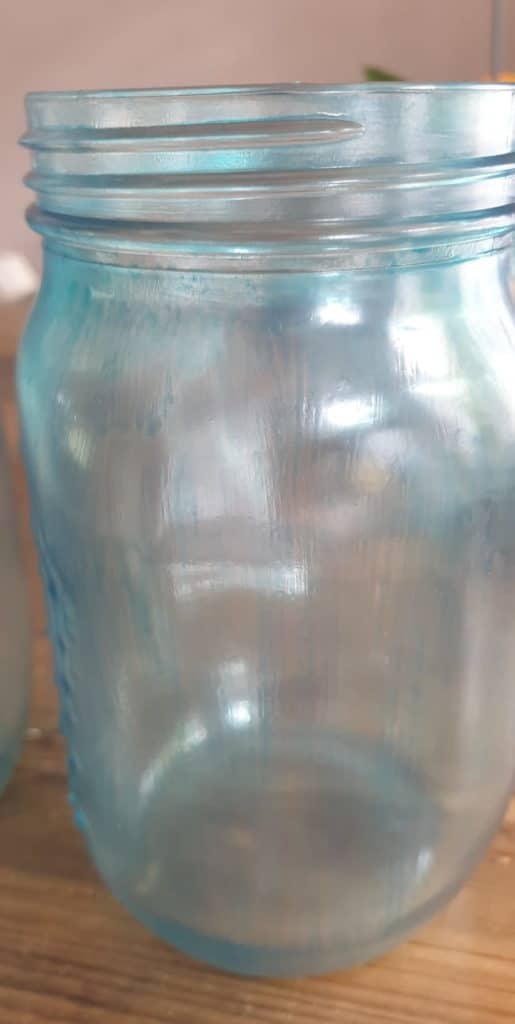
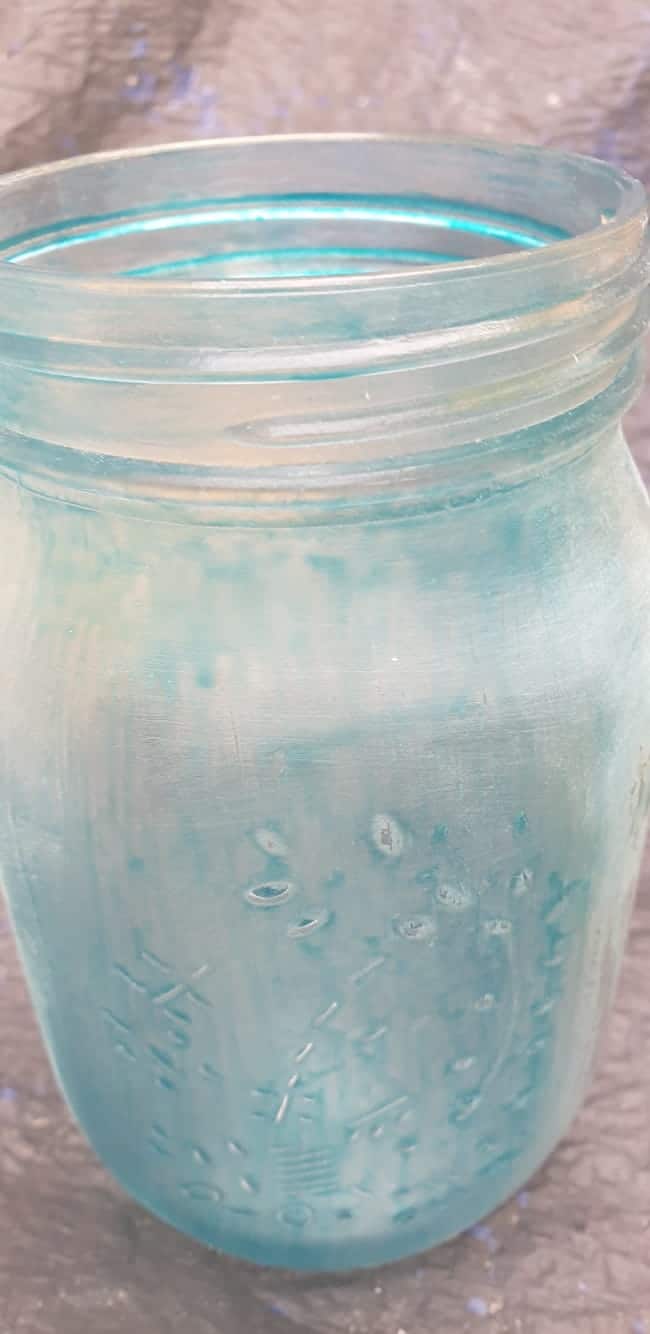
I thought I got the baking type and only realized that I got the wrong type after baking my jars, and the result was horrible and streaky(see photos below).
So anyway, I decided to carry on and make something else out of these failed jars.
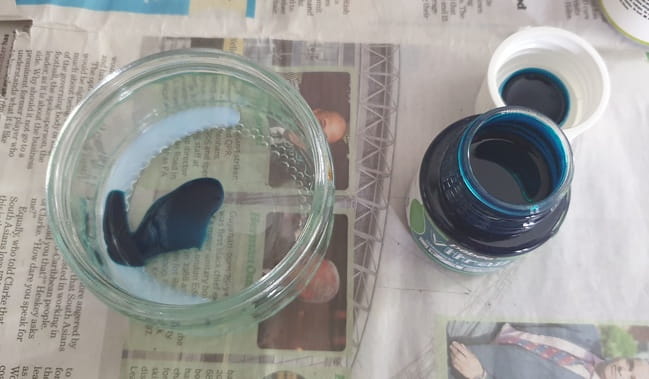
To stain the jars(using Vitrea stain), mix a little bit of the stain in a plastic/glass container and mix it with the thinner.
The stains are pretty thick, so this thinner changes the consistency but doesn’t make the color lighter. (You’d use a lightener for this purpose.)
Then using a sponge paintbrush, paint the jars. Going over pretty quickly until the bubbles disappear. If you want a darker shade, do 2-3 coats and then bake in the oven. Check my post on staining glass jars and bottles for the exact steps.
If you use the regular stain(Vitrail), dilute it with Pebeo odorless mineral spirits and follow the same steps as above minus the baking. Leave the jars to cure/dry.
Sanding
I sanded the jars gently with a fine-grit(P-240) sanding sponge to dull the surface a bit and wiped them to remove any sanding residue.
Spraying with spray paint
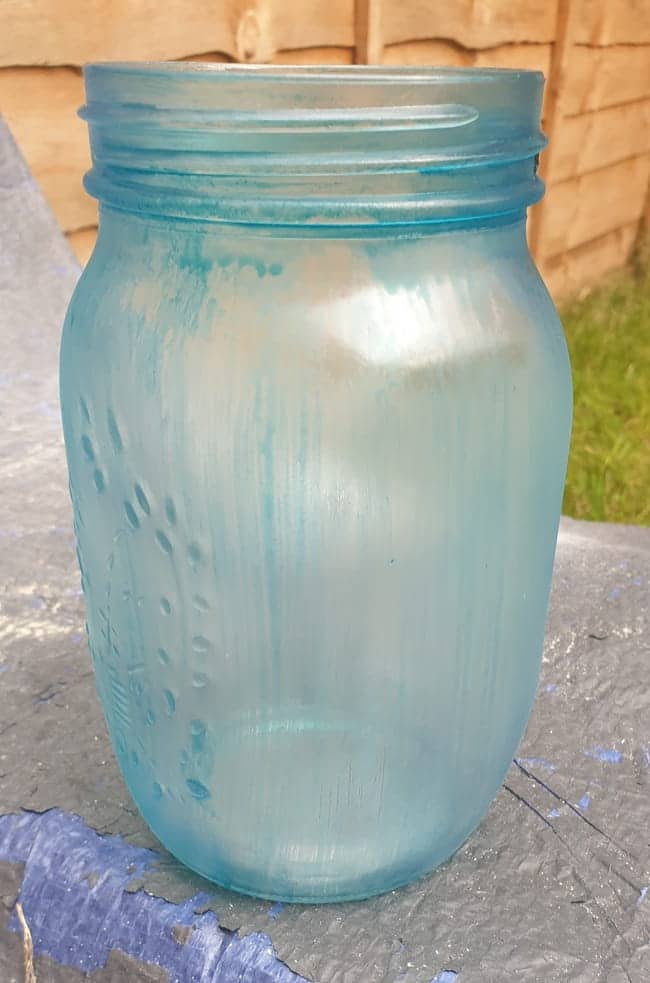
Then I sprayed the jars with a frosted glass spray. I left them to dry. You could probably stop at this point, as they looked quite good.
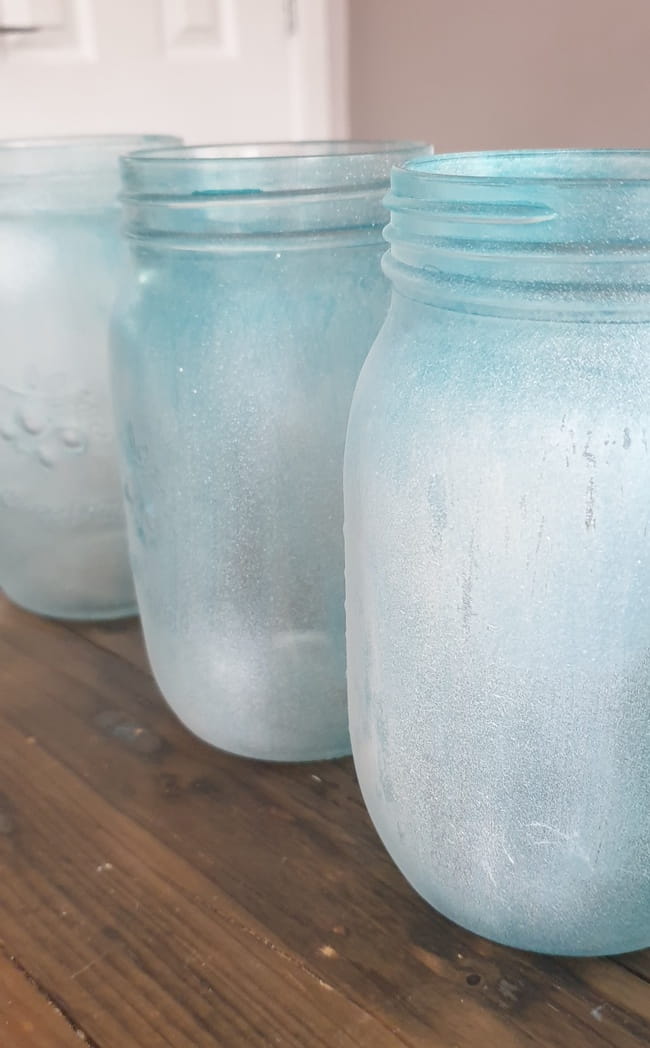
But I wanted to add more dimension to the color, so I used white spray chalk paint and sprayed randomly in a few places. It gave them a bit more of an aged look. I left them to dry again.
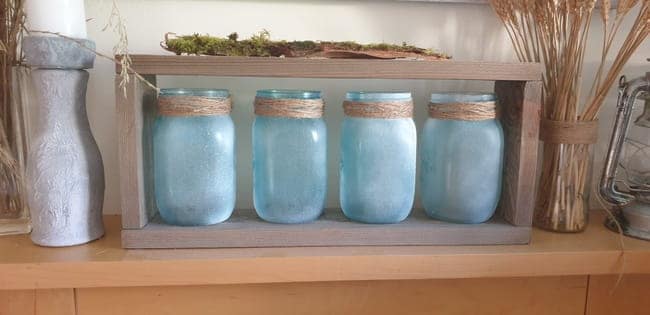
Adding the twine/string
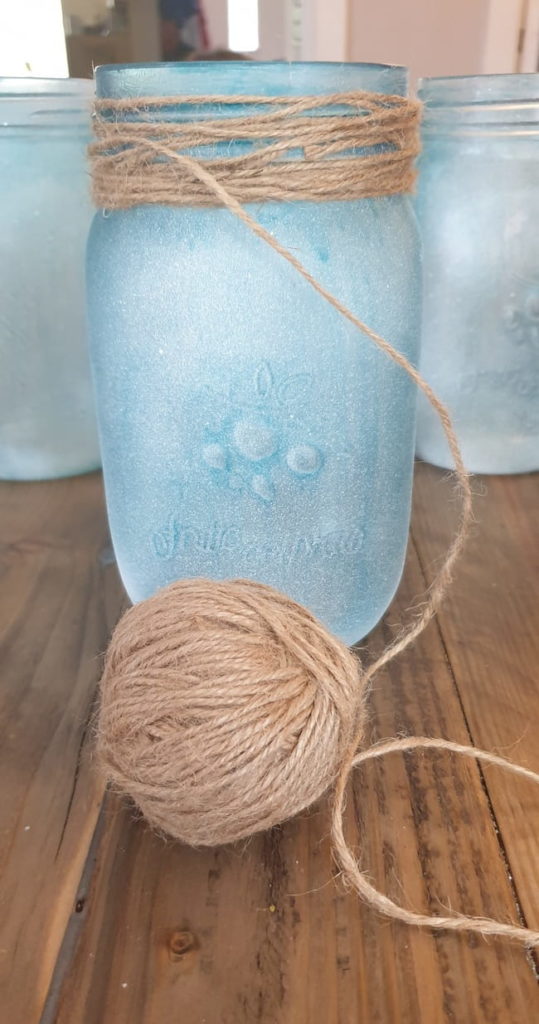
The last step was to add some string/twine to the top of the jars. You could use hot glue or a piece of double-sided tape to secure the string. I just entangled it randomly around the jar’s mouth.
Making the wooden frame
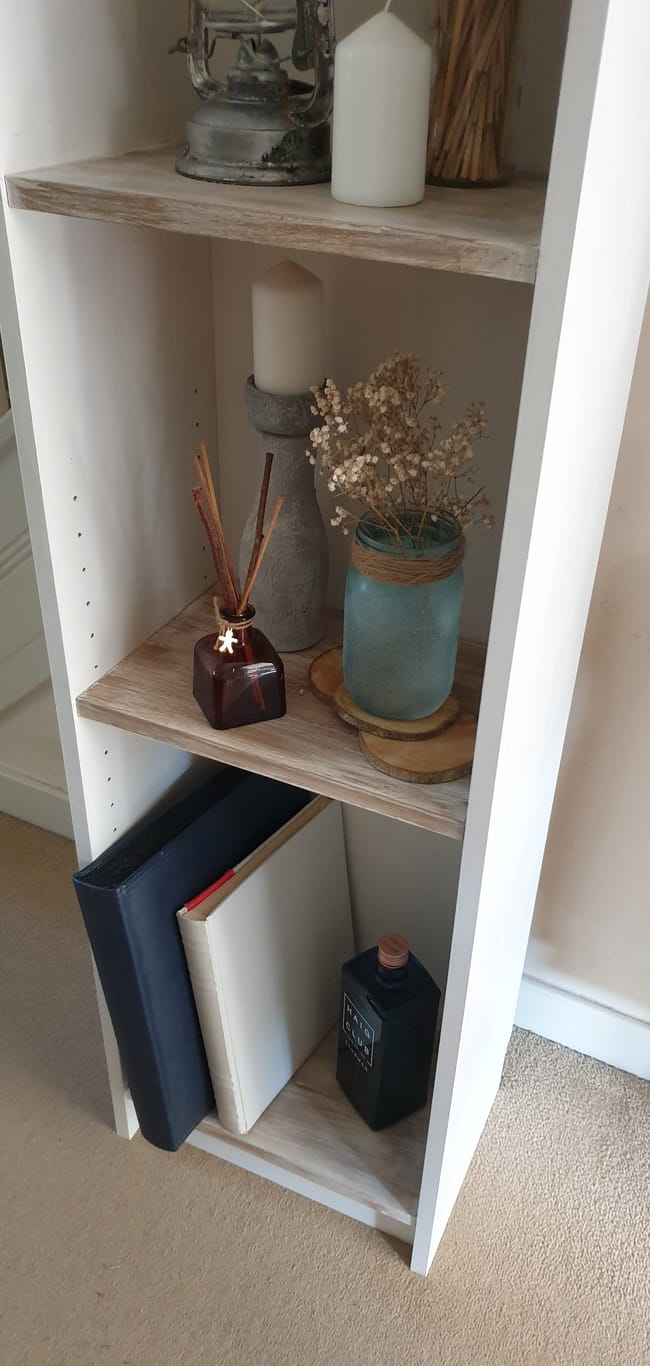
This wooden frame is optional but does make a nice display for those jars. I made it last year and used it with glass bottles for many different themes, including Spring, Fall decor, Christmas, and Valentine’s.
You don’t have to make the holes in the top if you’re using jars, but if you do, you can use fresh flowers or other bits to make it more unique.
Tools and materials
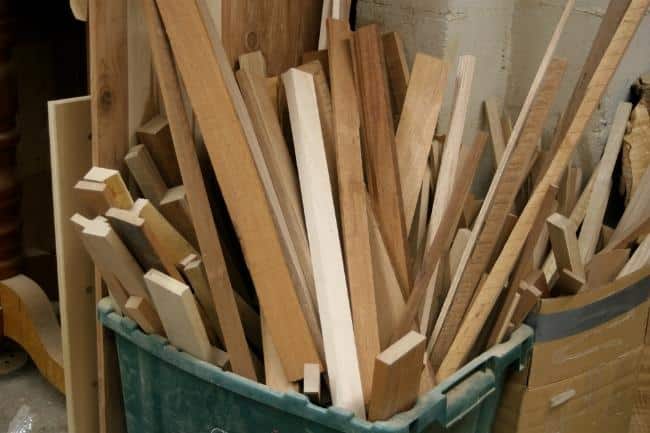
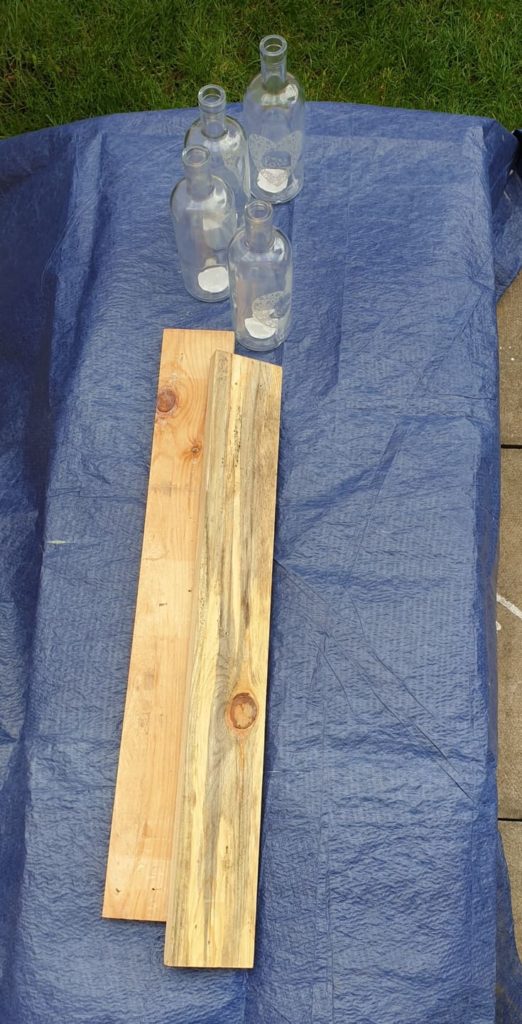
- Two pallet boards or one longer one
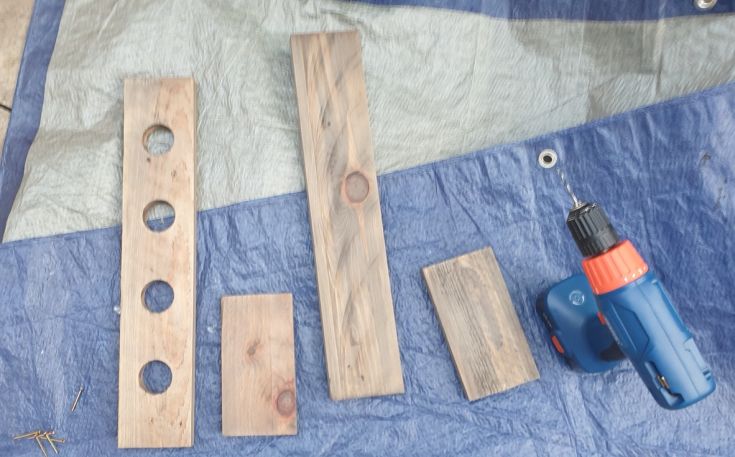
- A jigsaw, circular saw, or handsaw
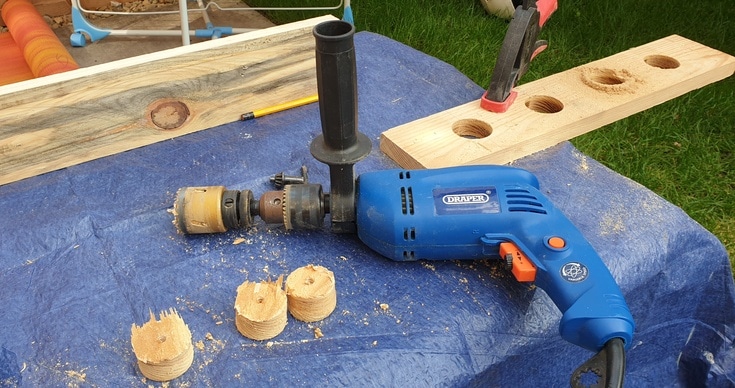
- A drill
- Hole saw bit(optional)
- Screws/nails- 4 or 8
- Wood stain or natural stain(steel wool and vinegar plus tea)
- Sanding block/sponge
- Random orbital sander and sandpaper discs
- Measuring tape and pencil
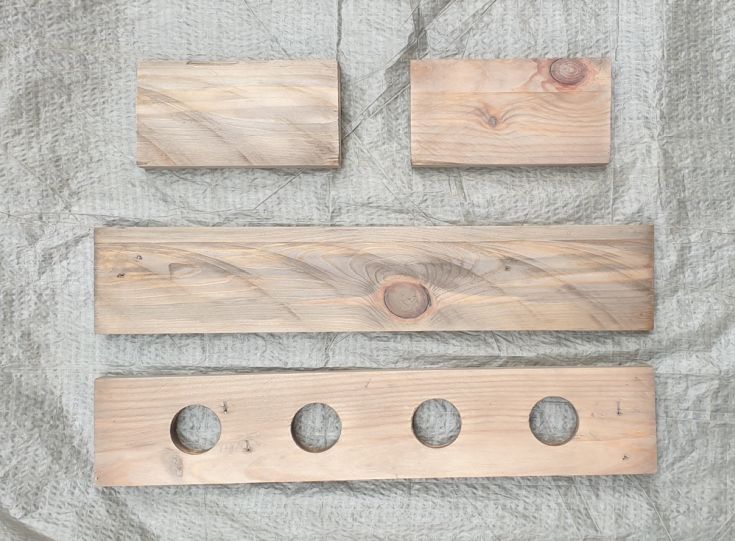
Sading the wood
It only takes two pallet boards or one long one to make it. Sand the planks before cutting, as it’s easier this way (I sanded the pieces after cutting, and the smaller ones were a bit tricky to do).
You can use a sanding block, but a random orbital sander or finishing sander would speed up the process.
Cutting to size
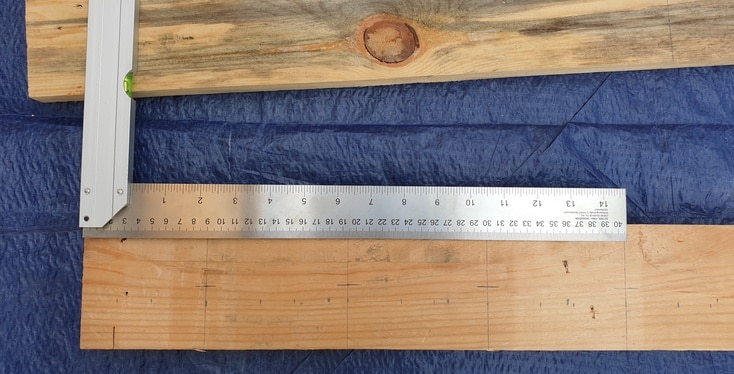
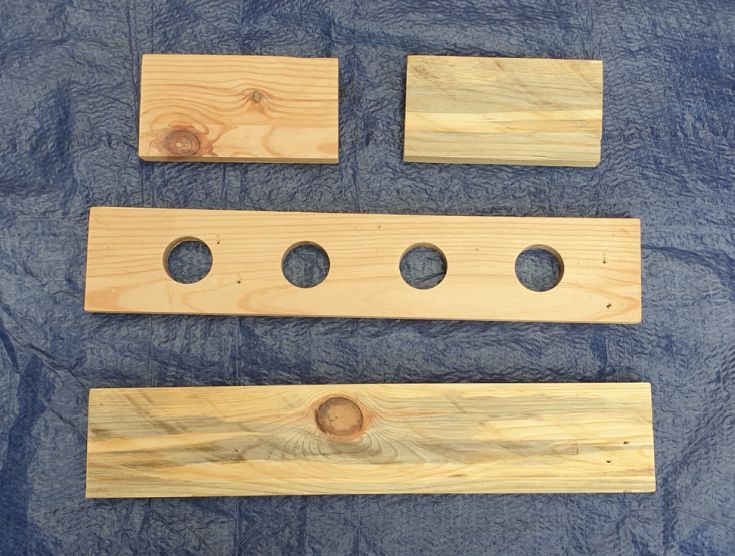
Once you’ve sanded the wood, you need to cut it to size, which mainly depends on the size of the jars. The simplest way to measure would be to place all of the jars on the pallet board and arrange them to your liking.
Then mark the length you need to cut. The size(height) of the side walls depends on the jars’ height. Measure and cut accordingly.
Check my post for a more detailed explanation of measuring this frame.
Cutting out the holes(optional)
This step is totally optional. If you’re not going to use fresh flowers, dry grass, or any other decor bits, just leave it out.
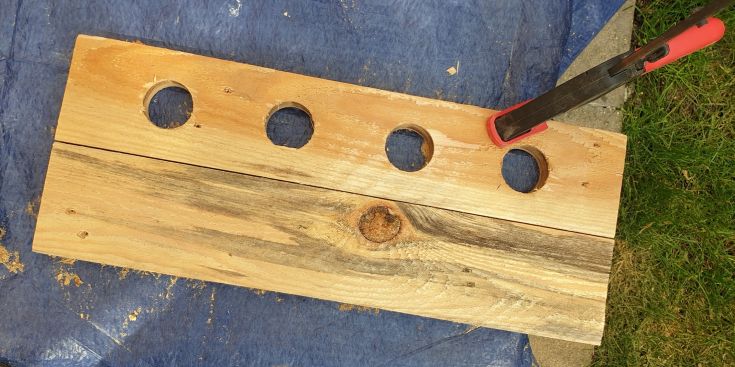
If you decide you want to, the easiest way to do this is to mark the middle of the jar’s mouth and cut the hole out using a drill with a hole saw bit. Sand the hole edges to smooth out any splintering.
Staining with a natural stain
The next step is to stain or paint. Whatever you prefer. I used homemade steel wool and vinegar mix to achieve an aged wood look. Check this post or this one for details.
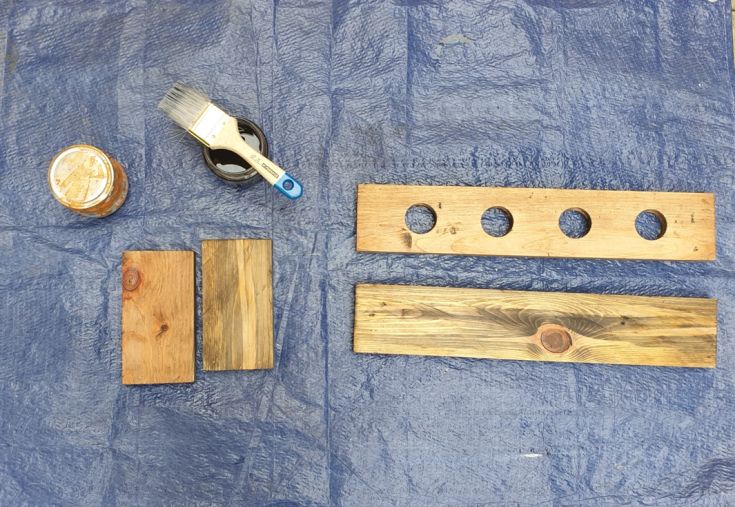
Once the stain is dry, sand the boards with a sanding block/sponge to reveal the aged look. Seal with a flat water-based poly. I used an Aldi matte spray water-based poly.
Assembling the frame/box
The last bit is to assemble the frame. You can use nails/nail gun or screws. Remember to pre-drill holes for screws to avoid wood splitting.
Unfortunately, I don’t have any images showing the process. I used two screws on each end, going from the bottom into the sides.
The top board can be either screwed/nailed, placed loose, or you can be held in place by small magnets on top of the side walls to make it more rigid but removable.
I left it unscrewed with the plan of attaching the magnets later on, but I never got to do it, and it’s perfectly fine. 2 small screws on each end going in from the top should be more than enough.
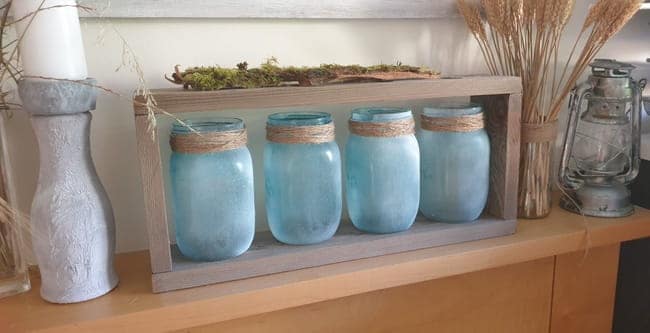
I hope you’ve enjoyed this DIY post and are inspired to create your own faux sea glass mason jars. With a little creativity and some inexpensive supplies, you can enjoy these coastal decor pieces in no time at all!
And if that’s not enough for you, be sure to check out my other post with beautiful seaside-inspired décor—you won’t regret it. Have any questions or feedback? Leave a comment below! Happy crafting!
Subscribe To My FREE DIY Newsletter!
Stay in touch and receive things like updates, special offers, new projects, tips, gear reviews, and more. No spam, promise!
By entering your email address, you agree to get an email newsletter from UpcycleThisDIYThat. I’ll respect your privacy, and you can unsubscribe at any time. For more details, review our Privacy Policy.