Tool Tips: How to Cut Curves Using a Jigsaw
This post includes affiliate links. If you decide to make a purchase through my link, I might get a small commission for it at no additional cost to you. Thank you for supporting Upcycle This DIY That!
Looking to add some curves to your woodworking projects? A jigsaw is a versatile tool that can help you achieve those smooth, flowing lines you’ve always dreamed of. But how exactly do you use it to cut curves? In this blog post, I’ll share some tips and tricks on how to cut curves using a jigsaw.
All you need is the best jigsaw you can afford and the right type of blade, and you are all set to cut intricate shapes in any desired material. Whether a beginner or a pro, you’ll learn valuable techniques that will take your woodworking skills to the next level. So, grab your jigsaw, and let’s get started!
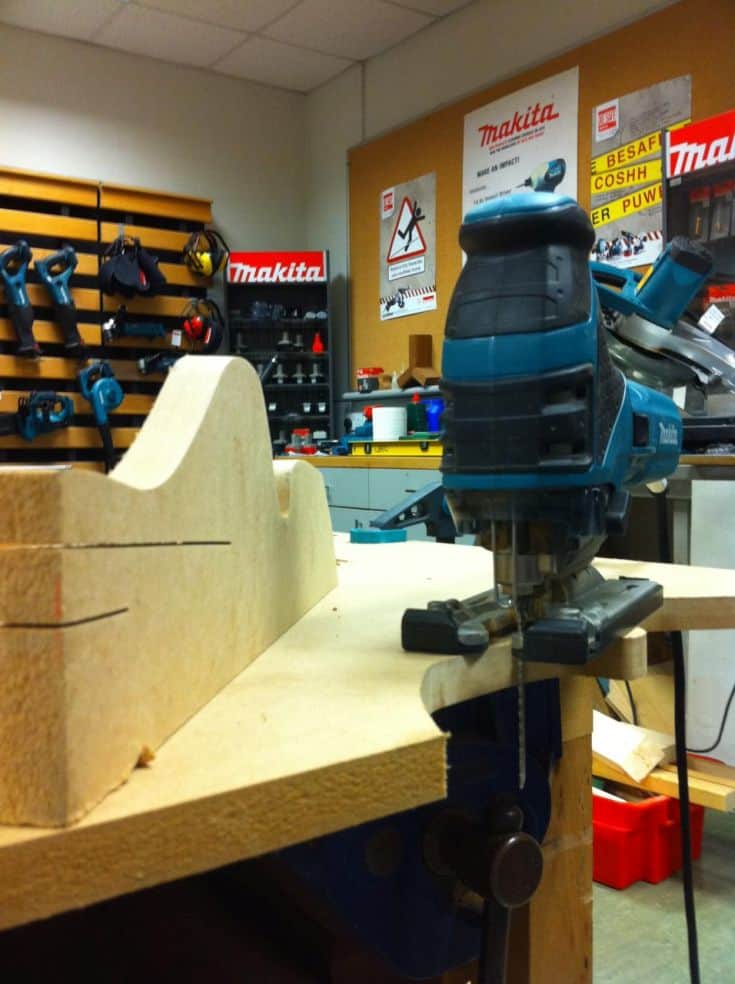
“ Makita 4351FCT Jigsaw ” by Mark Hunter, used under CC BY 4.0
How To Cut Curves Using a Jig Saw?
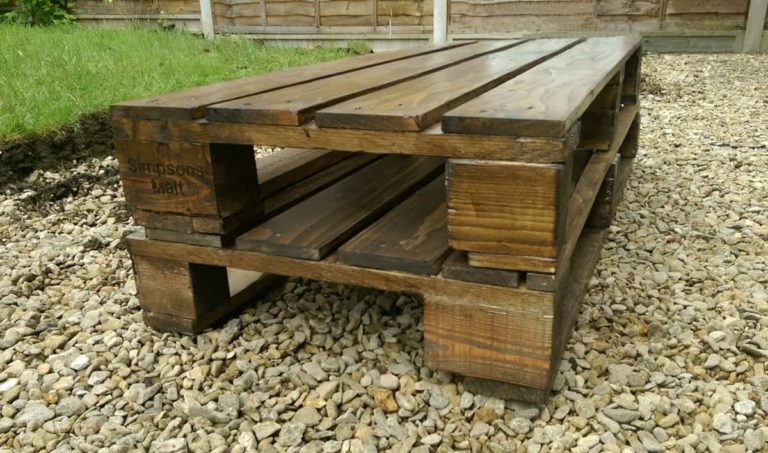
Whether you are building a nice pallet clock for the kitchen or making a new storage table with attractively curved panels, all you need is a jigsaw and the skills to cut a curve in any desired material.
There are many tips and tricks to ensure you cut right across the curvy line making beautiful and precise curves. Let’s find out how.
Things you will need:
- Wooden board marked with a curve
- Clamps to hold the board in place
- Quality jigsaw with the right type of blade for cutting curves
- Eye & ear protection gears
- Working table
Let’s start sawing the curve:
> Clamp the board
The first thing you need to do is place your board with marking on the working table. Ensure that you have more than half of the board on the table and the rest of it kinda hanging in the air.
Now, take a safety clamp and place it on the board and the working table. Here make sure that you have enough room to use the jigsaw on the curve. We recommend using at least two clamps. However, you can use more if required.
> Prepping up
Now wear your protective gear- this includes your eye protection goggles and earplugs to prevent your ears from the heavy sound of the jigsaw.
> Cutting the curve
Once you are all ready, place your jigsaw at the nearest end of the board but do not touch the board. Switch on the jigsaw before you place it on the board to ensure a smooth start.
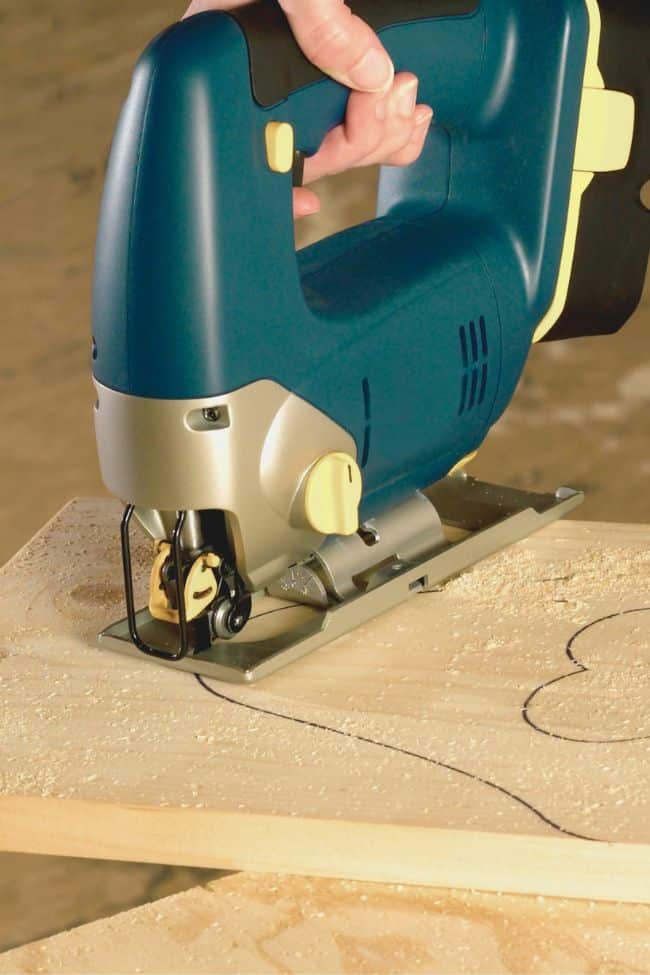
Start nice and slow, moving outside of the marking and cutting precisely in the desired curve. You must keep re-adjusting your blade to ensure that the blade is not beveling. Start from one corner to the other corner of the curve while you cut the board.
> Finishing
The cut might come out a little rough and will need to be finished. No, to worry; you can pick a power sander and sand the curve for a nice, smooth edge.
Things to know before you start
There are certain things that you must know before you actually use a jigsaw. Here is some advice to follow:
- It is very important to pick the right saw blade for your jigsaw. The selection depends on the type of wood (hardwood, softwood, board, panel, or other) you are cutting and the shape itself. Keep in mind that if you have to cut tight corners/curves, you should use a long and thin jigsaw blade so-called scrolling blade.
- Mark the board precisely. You must use a ruler, compass, and a pencil for exact marking.
- For sawing a cutout, you may drill a hole in the marked line to cut the circle precisely and with ease.
- Guide the saw correctly, nice & easily. Keep your hands above the saw blade to ensure precision and ease of cutting.
- Always cut outside the line to avoid destroying the board. You can always use a sander to finish the cut and make a smooth curve.
- Keep your focus on the blades and follow their movement as they move along the curve.
- Make sure the wood is clamped securely to the worktable and doesn’t move.
It is important that you take appropriate safety measures to ensure you can focus on cutting the curve and not on the noise or the flying particles that come out of the process.
This procedure is pretty straightforward and easy to follow, even for newbies, and I hope this post offered you everything you wanted to know about how to cut curves using a jigsaw.
If you have any more tips that you think would be useful for other readers, leave a comment in the box below 🙂 For those who like watching tutorials, a quick video by Anna White explains the whole process. Enjoy!
Subscribe To My FREE DIY Newsletter!
Stay in touch and receive things like updates, special offers, new projects, tips, gear reviews, and more. No spam, promise!
By entering your email address, you agree to get an email newsletter from UpcycleThisDIYThat. I’ll respect your privacy, and you can unsubscribe at any time. For more details, review our Privacy Policy.