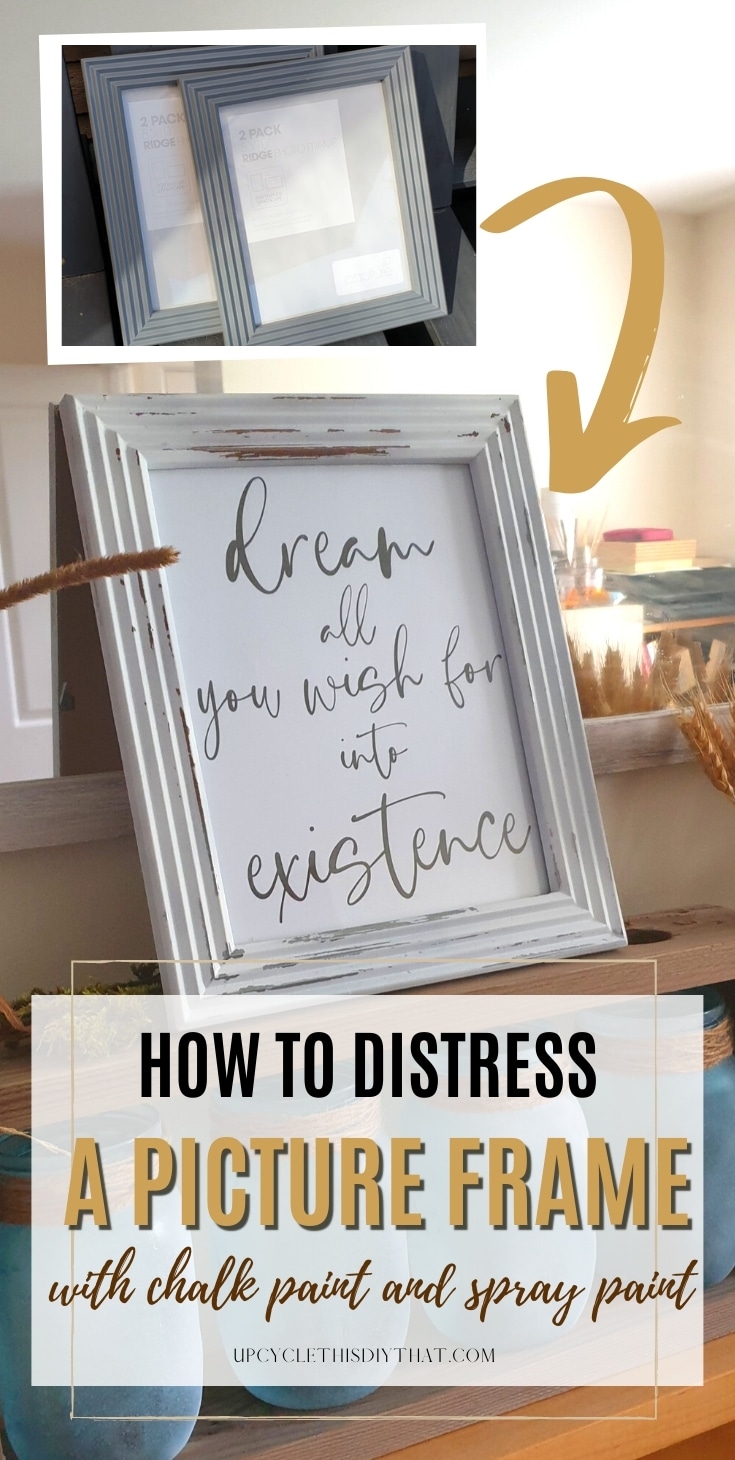
How to Distress a Picture Frame with Chalk and Spray Paint
This post includes affiliate links. If you decide to make a purchase through my link, I might get a small commission for it at no additional cost to you. Thank you for supporting Upcycle This DIY That!
Have you been looking for a way to add some rustic charm to your home? Here is an easy tutorial on how to distress a picture frame with chalk paint and spray paint.
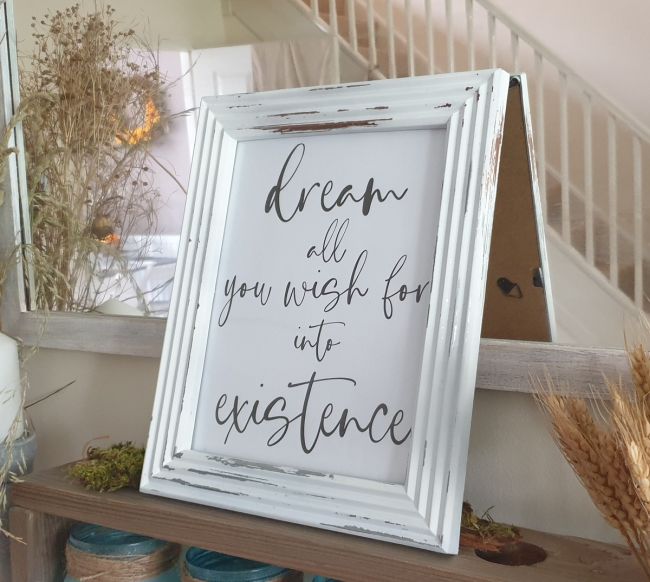
I am so excited to share with you how I made these distressed, rustic-looking frames dirt cheap! This project is perfect for DIYers and crafters who lack time and want a quick decor project.
There are so many ways to get the distressed paint effect. I got a whole article about 16 different ways to distress wood which could give you some ideas.
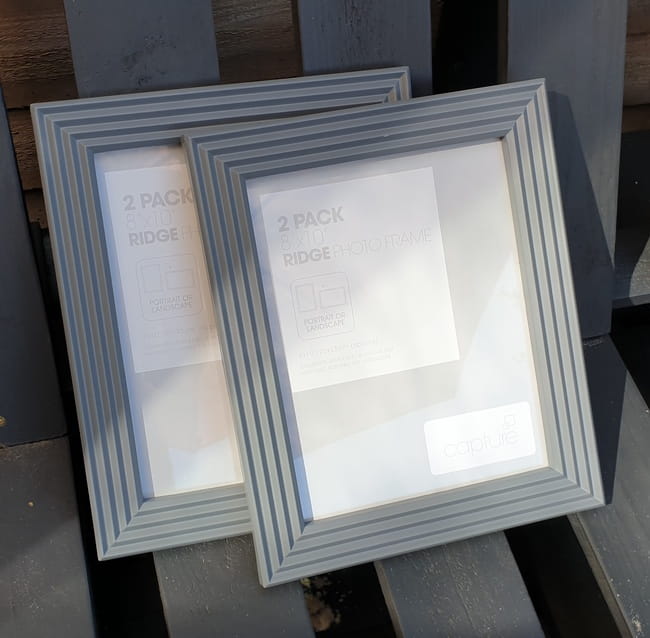
I bought these frames ages ago and couldn’t decide on how to upcycle them. Then last week, I got some metallic spray paint from Aldi and finally got an idea for them. Since these frames are cheap plastic, spray paints are a great way to paint and distress.
I was going for a metal effect base and then a chalk paint topcoat to finish. I used a pray chalk paint, but a regular one should work as well.
Materials and tools:
- Cheap plastic frames(any type would do)
- Metallic spray paint-gold, chrome/silver, and copper
- Candle wax
- Spray paint tent if working indoors
- Face respirator
How To Distress A Picture Frame With Chalk And Spray Paint step by step
Prep and painting

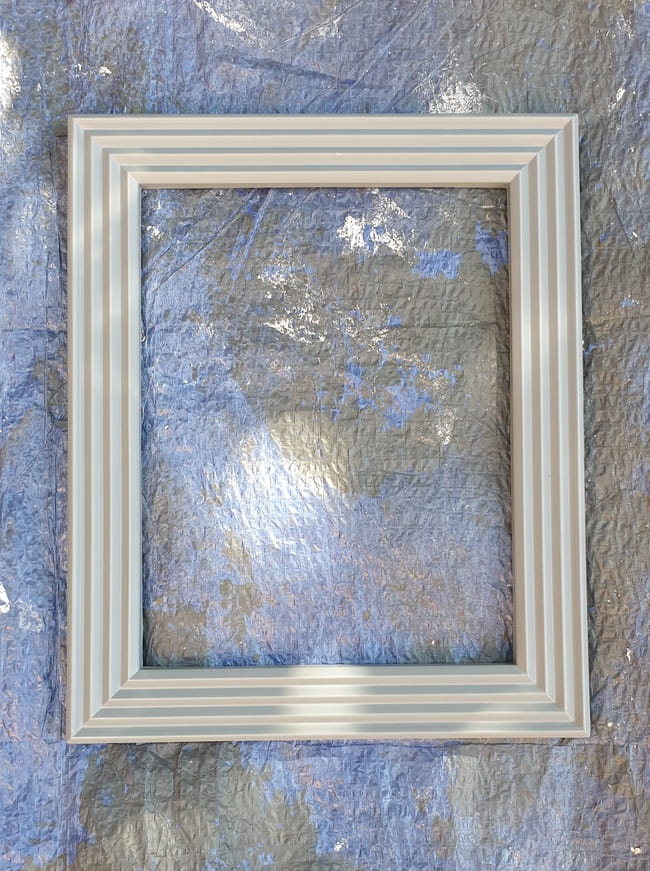
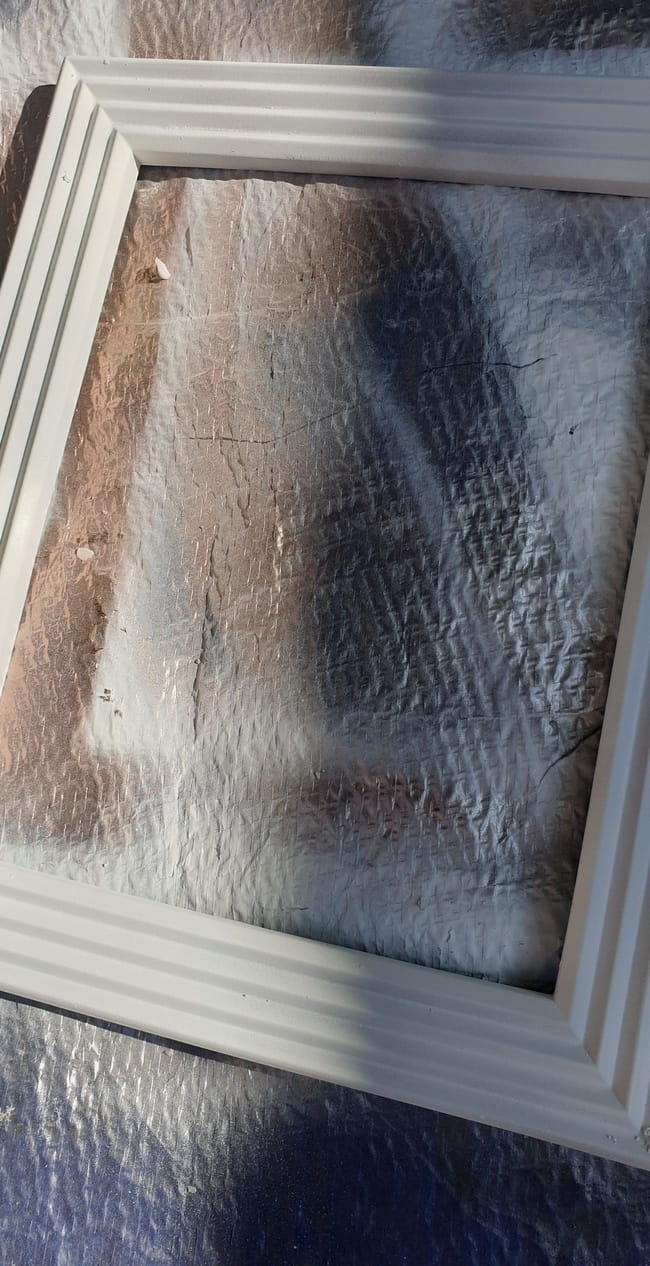
The first step was to dismantle the frames. Put all the bits away, including backing and glass. Then I put them on a piece of tarpaulin and decided what colors to use on each.
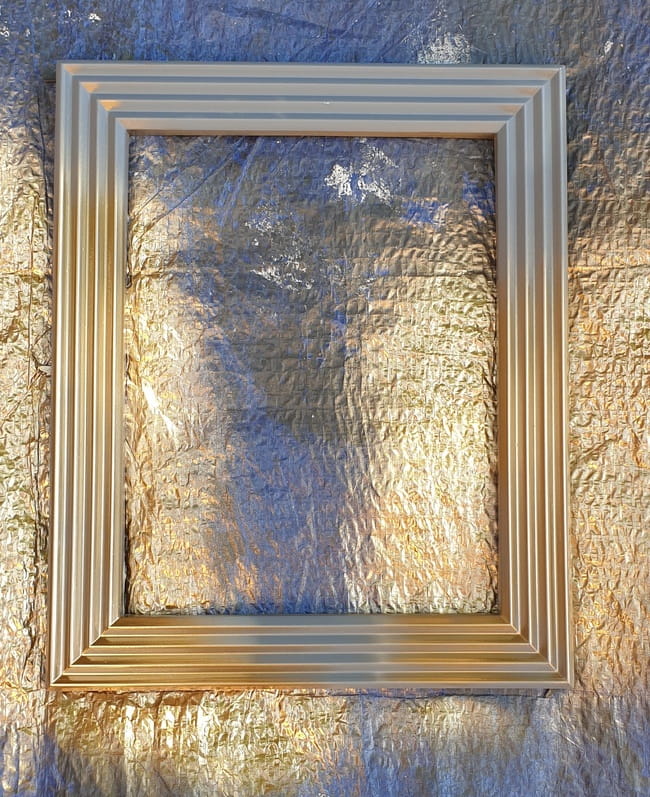

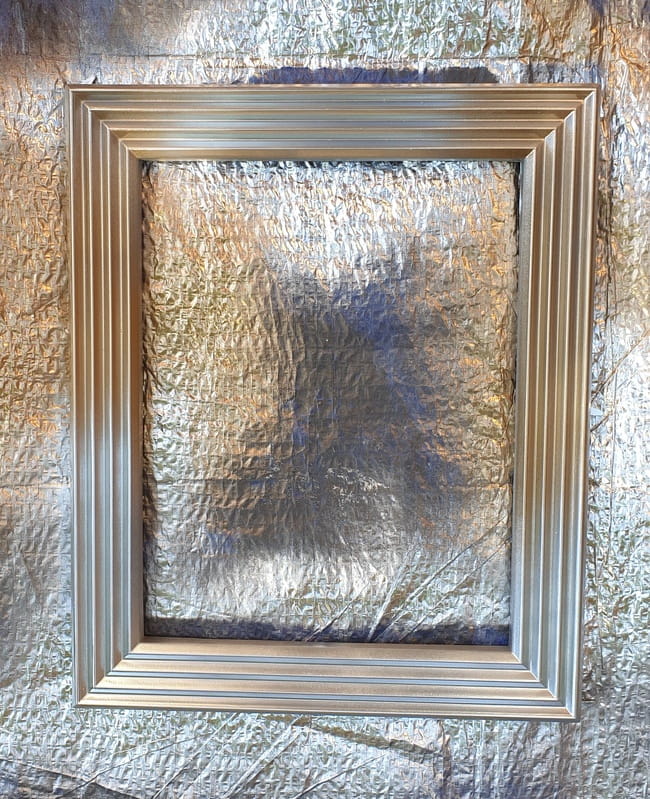
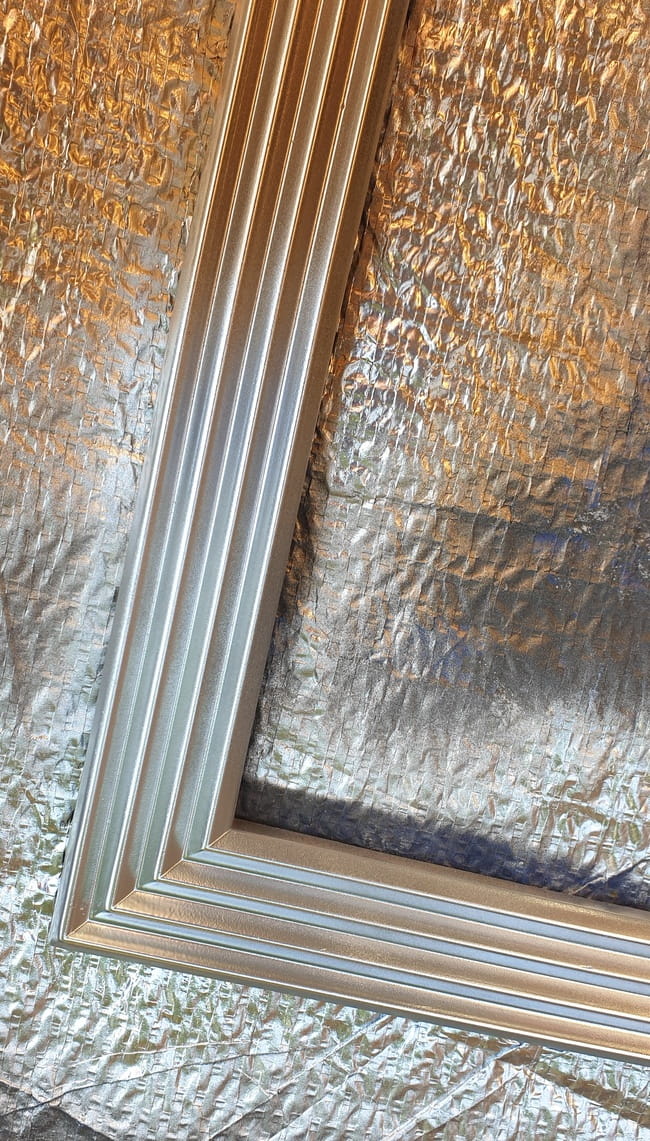
One was going to be sprayed with gold and silver(chrome), and the other one with silver(chrome) and copper. I sprayed them randomly, making sure all the surfaces were covered as the frames had groves.
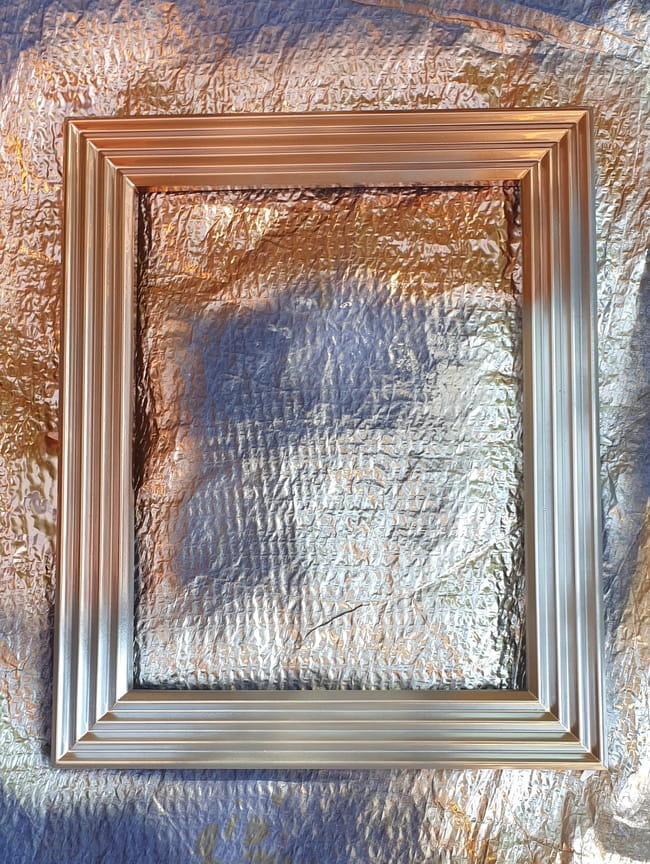
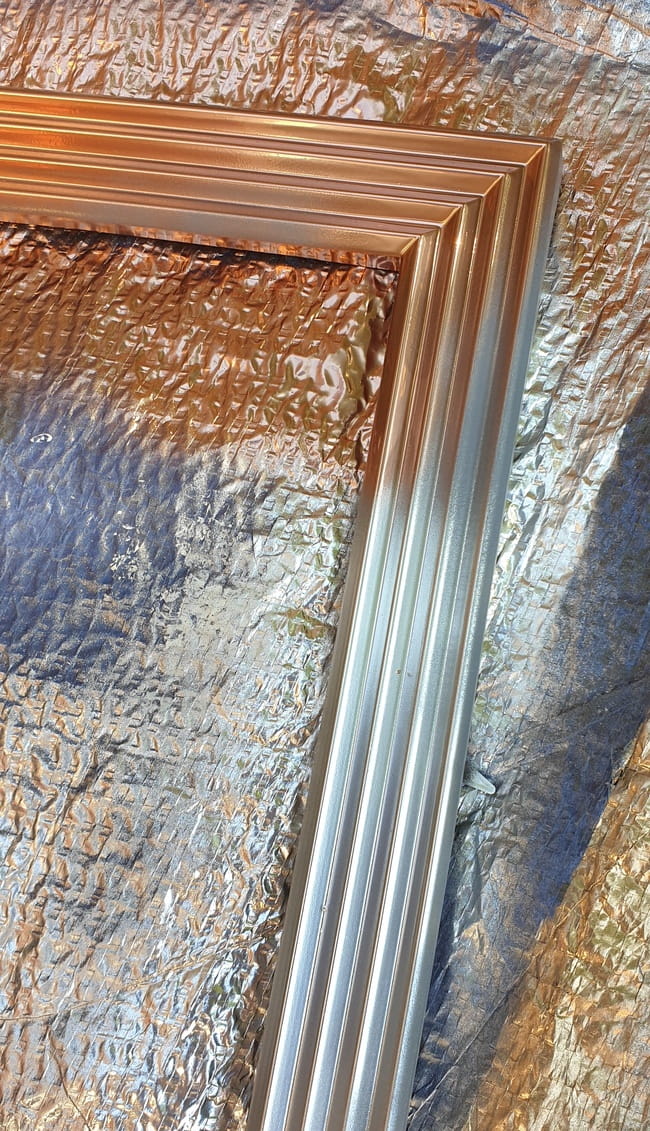
I let them dry for 10-15 min and then recoated wherever necessary, not forgetting about the sides as well.
Distressing
Once they were dry, I started the distressing process. It is one of the wood-distressing techniques mentioned in this article.
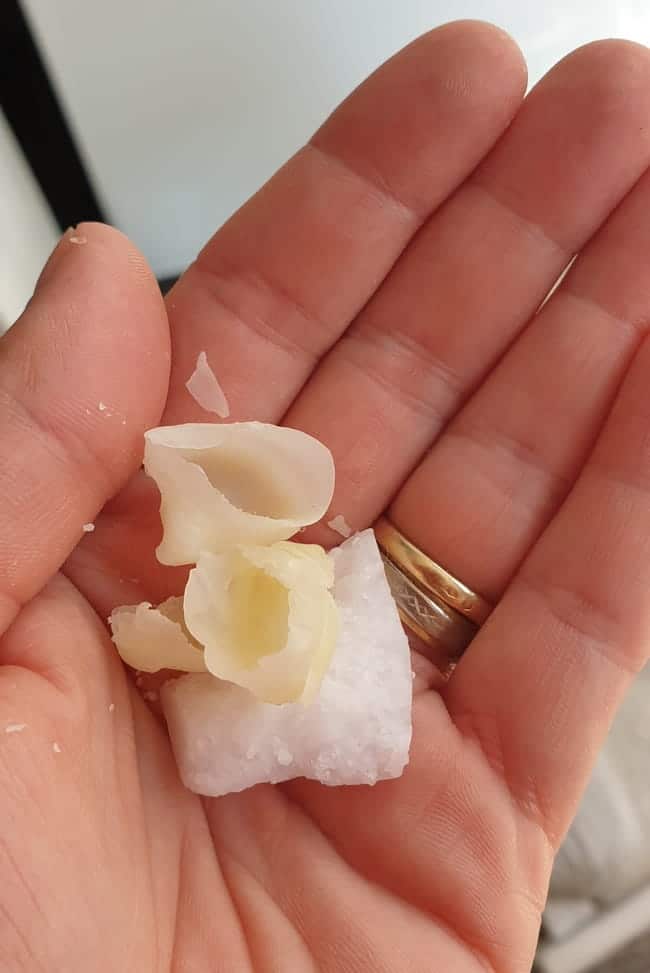
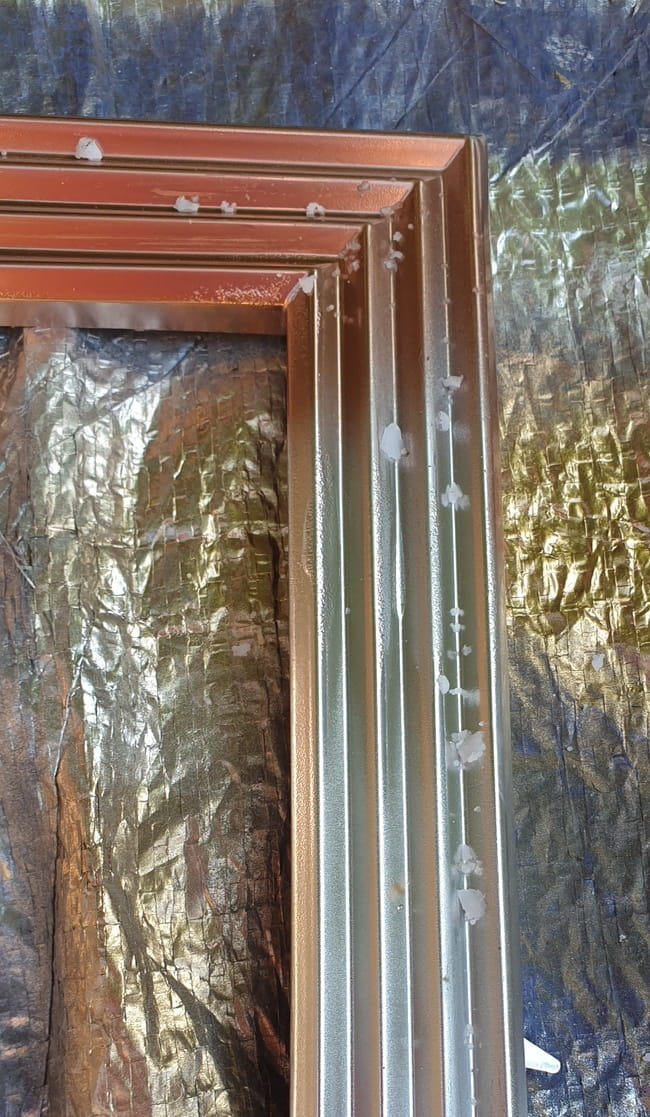
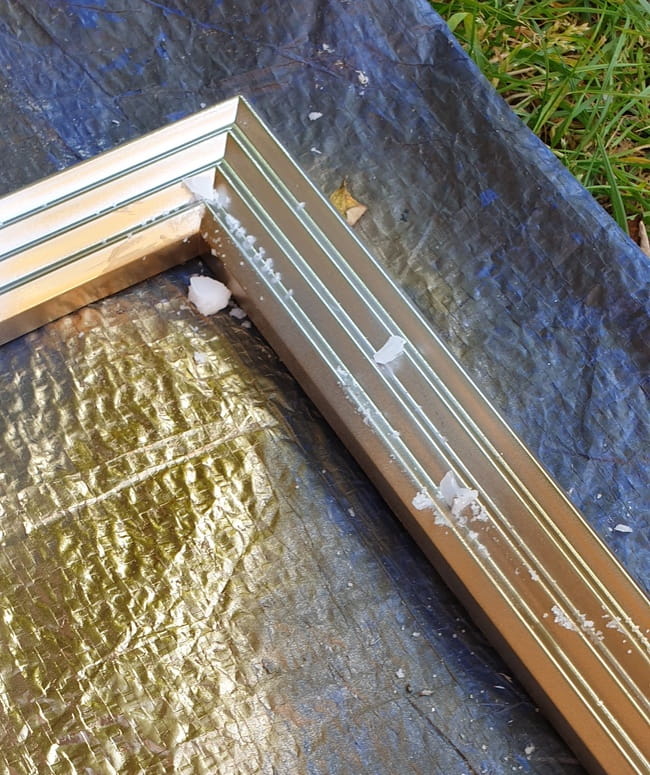
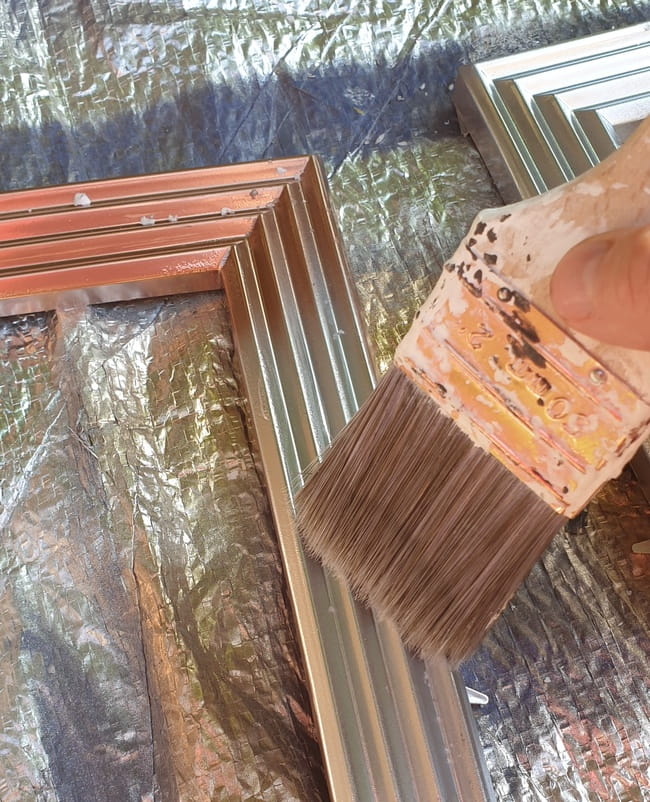
First, I took a piece of candle wax and rubbed it in the places I wanted the base paint layer to show. Then I used a paintbrush to brush off the bits of wax crumbs.
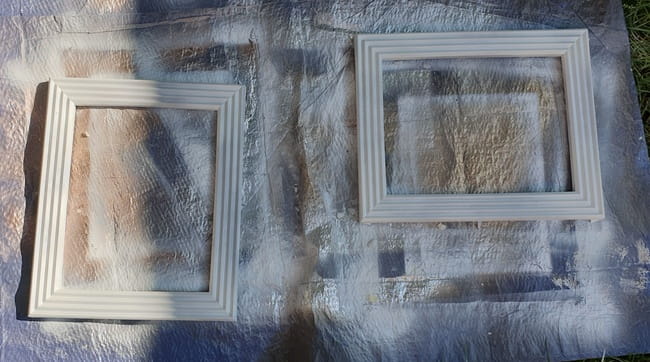
Then I sprayed them with chalk paint and let them dry. Regular chalk paint and paintbrush should work as well. However, the effect will be more textured. Just keep the layers thin so the paint can come off without a problem.
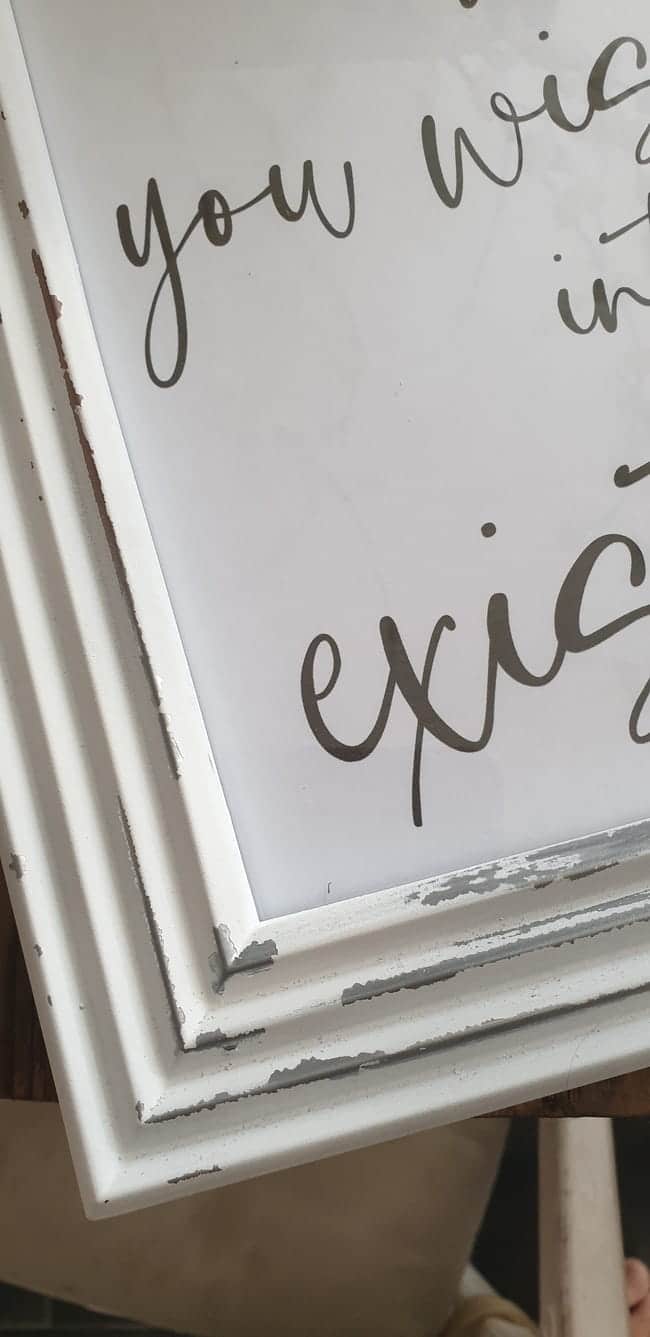
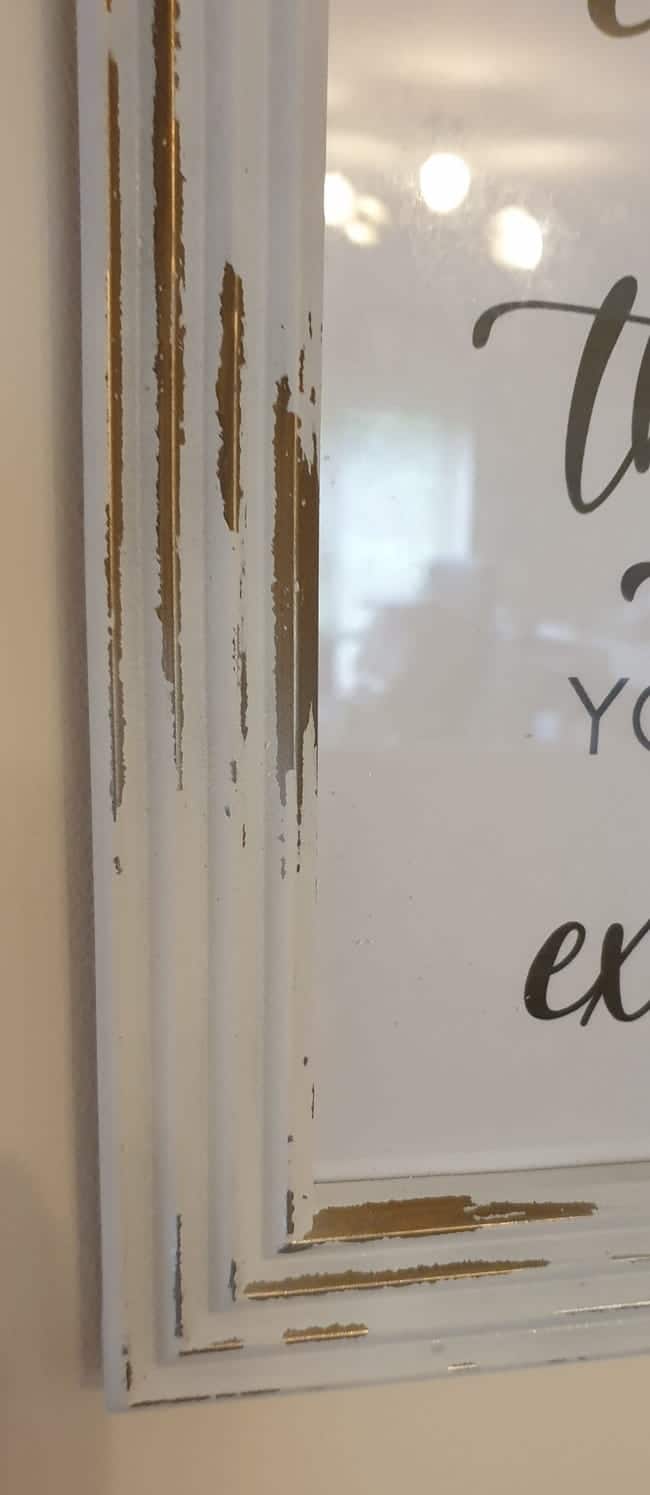
Since the frames were plastic, the chalk paint wasn’t coming off as easily as it would have from wood.
I used my fingernails to scratch the paint off, and in places with the wax layer, it was coming off easily. You can use a sanding block/sponge for gentle distressing as well.
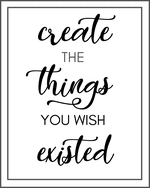
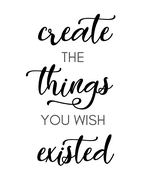
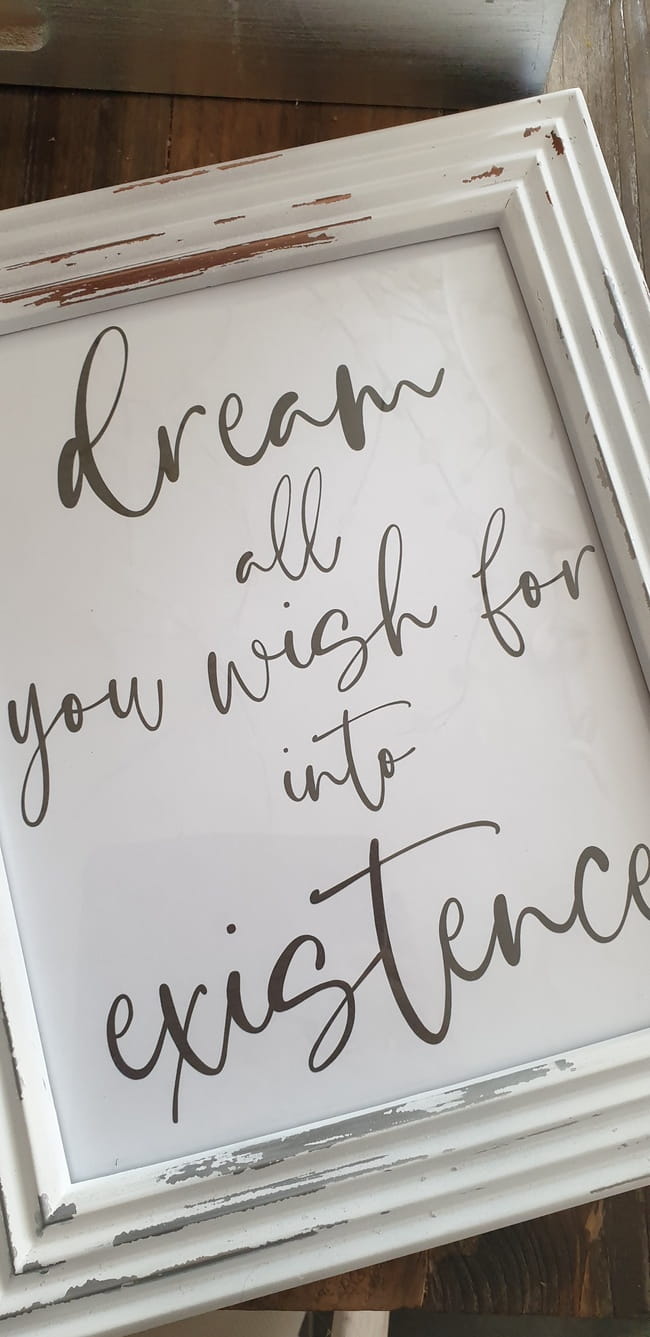
Then I made a couple of simple quote printables, which you can find and download below. They come in 2 different sizes, 8x11in and 11x14in both framed and unframed. I also included a different color for fall I thought you might like.


I hope you’ve enjoyed learning how to create these fabulous frames and also got some inspiration for adding more DIY decor into your home with upcycled finds.
If you’re in the market for a unique-looking frame or are looking to spruce up an old one, then these tips will come in handy! Until next time, happy crafting!
Subscribe To My FREE DIY Newsletter!
Stay in touch and receive things like updates, special offers, new projects, tips, gear reviews, and more. No spam, promise!
By entering your email address, you agree to get an email newsletter from UpcycleThisDIYThat. I’ll respect your privacy, and you can unsubscribe at any time. For more details, review our Privacy Policy.