How to Paint Furniture – the Ultimate Guide on Upcycling
This post includes affiliate links. If you decide to make a purchase through my link, I might get a small commission for it at no additional cost to you. Thank you for supporting Upcycle This DIY That!
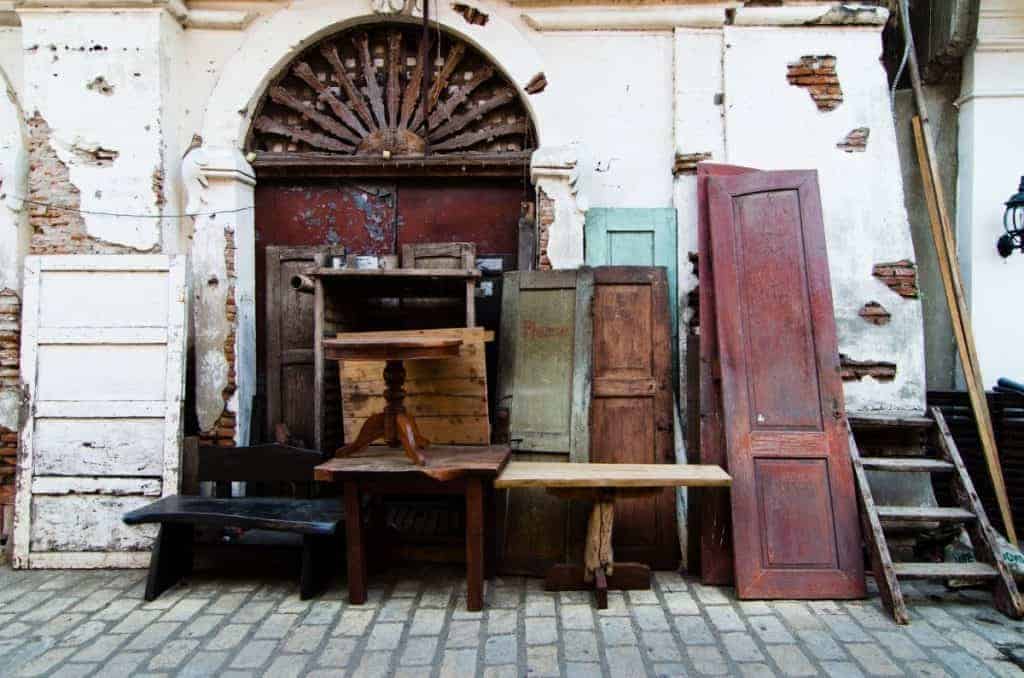
Upcycling furniture is a great way of saving money and adding character to your home at the same time. You can even start your own upcycling business, and I bet you’d want to achieve results that people will rave about.
Knowing how to paint furniture is one essential skill that will help you succeed.
There are many tutorials out there showing different tips and techniques. But I wanted something more complete and thorough.
Something that will try to answer any possible question but it’s easy to follow at the same time. That’s how this guide was born.
Plan before you start
Preparation is important before starting any DIY project. It’ll help you plan ahead and avoid any surprises like missing hardware or not enough paint. When you know what steps to follow, even the most complicated projects seem easier to do.
Prepping workspace
To avoid paint spillages or sanding dust everywhere, make sure you prepare your working area properly. Especially if you’re working indoors.
Use protective sheets on the floor and anything else around to avoid paint stains and dust. If you can’t go outside or haven’t got a workshop, I recommend getting a shop vac and hooking it up to your sander.
This way, the sanding dust won’t get everywhere. It’ll save you a lot of cleanups, but primarily you’ll have less chance to breathe it in (even with a face mask on).
Open doors and windows and paint in a well-ventilated room. Especially if using oil-based paints or finishes. Put on gloves, any old clothes or a protective suit, and a face mask.
Don’t skimp on the money on the latter and get a good quality one, especially if not using any dust removal system like a shop vac.
Prepping the furniture
Be sure to prep your furniture first to get good results. Below you’ll find more detailed info on how to do it properly.
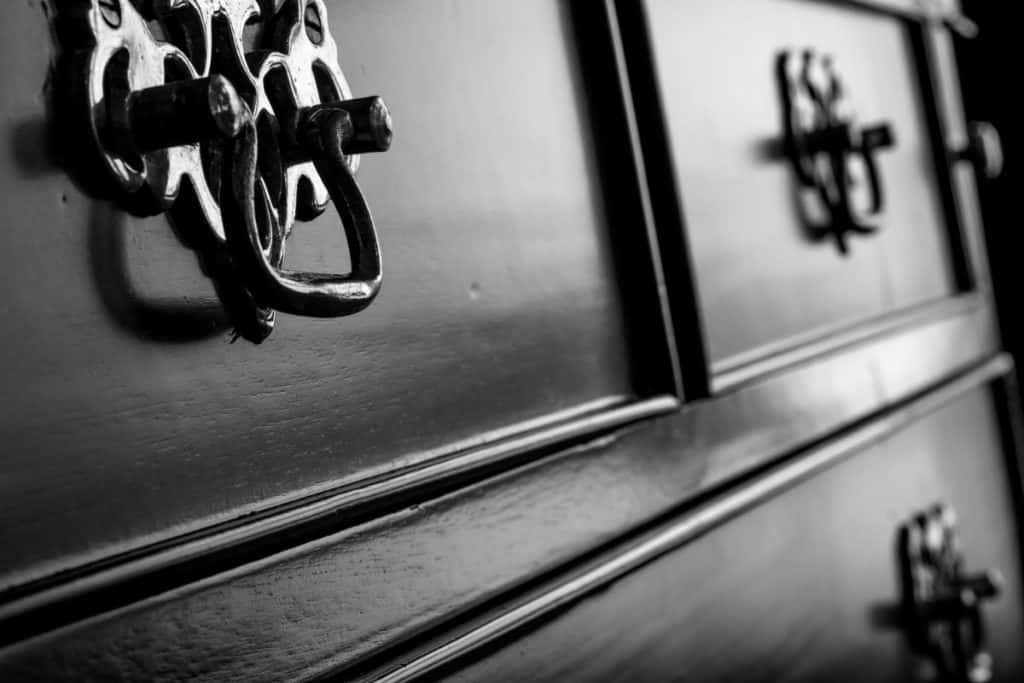
Adding Hardware
Adding new hardware to your piece will give it a fresh look. You can choose from modern to vintage to shabby chic and cast iron ones, depending on your project.
Supplies needed
If you’re about to start your first project, you’ll need quite a few tools. What you need depends on the actual project, so don’t feel like you have to get everything at once.
It looks like a lot, but remember, in most cases, you’ll only need to buy it once. Of course, some of them will need replacing. But I’m sure if you buy quality ones and look after them, they will last you years.
For prepping
- Some cleaning solution like Murphy’s Oil Soap, TSP in powder form (or substitute in liquid form), or a good degreaser
- medium (80 – 120 grit) sanding wedge or sandpaper
- Fine Grit Sandpaper 150-220
- 320 grit sandpaper for topcoat
- Primer
- Tack Cloth
- Plastic protective sheets or old sheets
- Random orbital sander or a finishing sander(check these best finishing sander recommendations)
- Screwdrivers/ power screwdriver or drill and drill bits if replacing hardware
- Paint stripper
- Wood filler/putty
- Filling knife
For painting
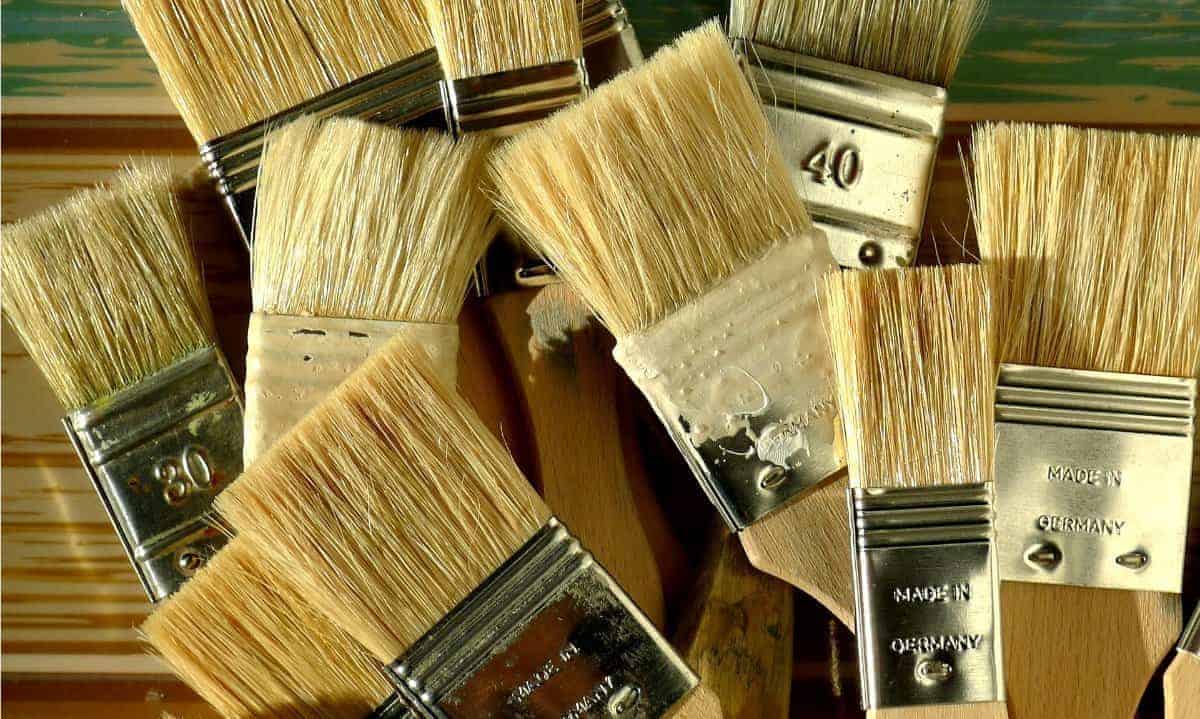
- Paintbrush like Floetrol, 2” angled quality paintbrush
- Foam brush for hard-to-reach places
- Artistic brushes for pieces with a lot of detail
- Foam Roller or nap roller
- Roller tray
- Roller tray inserts
- Painters tape
- Paint stirrers
- Paint triangles
- Paint can opener/flat screwdriver
- Paint Sprayer (Optional)
- Floetrol or Penetrol paint conditioner
- Paint or stain
For distressing
- Wax brush for applying wax with ease
- Wire brush if you want an extremely distressed look
- Chip brush for dry-brushing your piece
- Fusion Crackle for a cracked, distressed finish, but you can use Elmer’s glue as well
- Metallic paint for more
- Black/espresso wax for a more antique look
For Finishing
- Clear wax for chalk paint
- Spray, brush, or wipe on water-based poly-gloss or matte (oil-based will turn yellow over time)
- New hardware
YOU MAY ALSO BE INTERESTED IN:
Wood Sanding Tips for Upcycling and Pallet Projects
Best Sander to Remove Paint
How To Stain Wood – The Ultimate Guide For Upcycling And Pallet Projects
How to Seal Wood and Furniture for High Traffic Areas
What is Chalk Paint and How to Use it?
Removing Paint from Wood – Tips and Tricks
Best Sander for Furniture
Choosing your finish
The finished look you want and the piece itself will determine what tools/materials you need. as well as what prep to do and what painting techniques to choose.
Furniture Paint vs. Wall Paint
It’s tempting to use wall paint for your furniture project. Surely it’s a lot cheaper. But when it comes to using it on something different than the walls, is it really effective? Are you going to get the results you want?
Well, what can I say?
Wall paint is made for walls, period. If you want long-lasting results, you should use quality paint made for hard surfaces. Especially the ones that are high traffic ones that need to lot of cleaning (like tabletops). The choice is huge. But that I will cover later on.
So how do you know that your paint is not fit for purpose? There are a few characteristics to look out for:
- The furniture feels tacky or sticky like it’s never cured
- The paint dents and chips or scratches, it peels off
- It’s extremely hard to clean and easily stains
- It fades, and it doesn’t have a smooth finish
If you’ve already finished your project using the wrong type of paint. And you’re not happy with the final result, there is a way to fix it. You can always use a top coat like a water-based poly. If you did the priming and painting properly, sealing it will make it last longer.
Best Paint for Furniture
When it comes to choosing furniture paint, there isn’t the best paint that will be fit for every project. You should base your choice on the final look you want and the piece itself.
But if you look for an all-in-one, no prep and no finish type of paint. The interior/exterior hard-surfaced enamel should be the one for you.
The finish is hard, smooth, and doesn’t dent. It chips rather than scratches. The surface can be easily wiped off (for instance, on a table).
Stain the wood to preserve its natural appearance
If you are after a more natural look, you should definitely go with a stain. It will penetrate the wood instead of sitting on top, allowing for the grain to be visible. You can then seal it with a topcoat or choose a stain with a sealer.
Use acrylic paint for a smooth finish on most projects
Acrylic paint has a satin finish with a little shine, and it’ll adhere to most surfaces like wood, metal, or plastic. It dries to a smooth finish with little or no brush strokes visible.
There are a lot of shades to choose from. And unless it’s stated on the can that the paint is self-sealing, you must put a topcoat on for lasting durability.
Choose latex paint for unfinished wood projects
Latex paint is used for walls, and as I mentioned before, it shouldn’t be used on furniture, especially in high traffic areas.
It bonds well to unfinished wood, but any other surface should be properly prepped. If you really want to use it, don’t forget about a topcoat.
Otherwise, you’ll end up with a surface that peels off and scratches easily.
Chalk paint for a super-matte, modern look
If you want the matte, chalky finish, go with the chalk paint. It adheres to pretty much any surface and requires practically no prep.
It dries quickly and is also great for distressing. Don’t forget about finishing with a coat of wax to protect your piece.
Mineral, milk, or enamel paint for no prep work, no sealing, and less visible brush marks
Don’t fancy all the prep work and want fast results? Your prayers have been answered. Choose a mineral, milk(self-sealing like General Finishes that is actually acrylic, mineral paint), or enamel paint.
Although they don’t need a topcoat (yay!) I recommend one if used for high-traffic surfaces anyway.
Wood painting techniques for furniture
There are three painting techniques you can use for your projects. Usually, you’ll use more than one at a time. Feel free to experiment.
Using paint sprayer
This technique will give you the most even, smooth finish. It’s great for hard-to-reach areas but requires more sophisticated equipment and a bit of practice.
Using paintbrush
Painting furniture with a paintbrush is probably the most common. It doesn’t mean it’s the easiest technique to master, but it is the most versatile one.
A good quality paintbrush is crucial. It’ll save you time and money and let you achieve excellent results.
But don’t be fooled. Even the best brush won’t do if you don’t have any experience. The coats are usually quite thick, and you can end up with paint drips and visible brush strokes.
So practice practice, practice. You can use old wood scraps for it.
If you feel unsure about your paint-brushing technique, I’ve got you covered. You can find some tips on how to achieve a beautiful, smooth surface further on in this guide. You’re welcome! 🙂
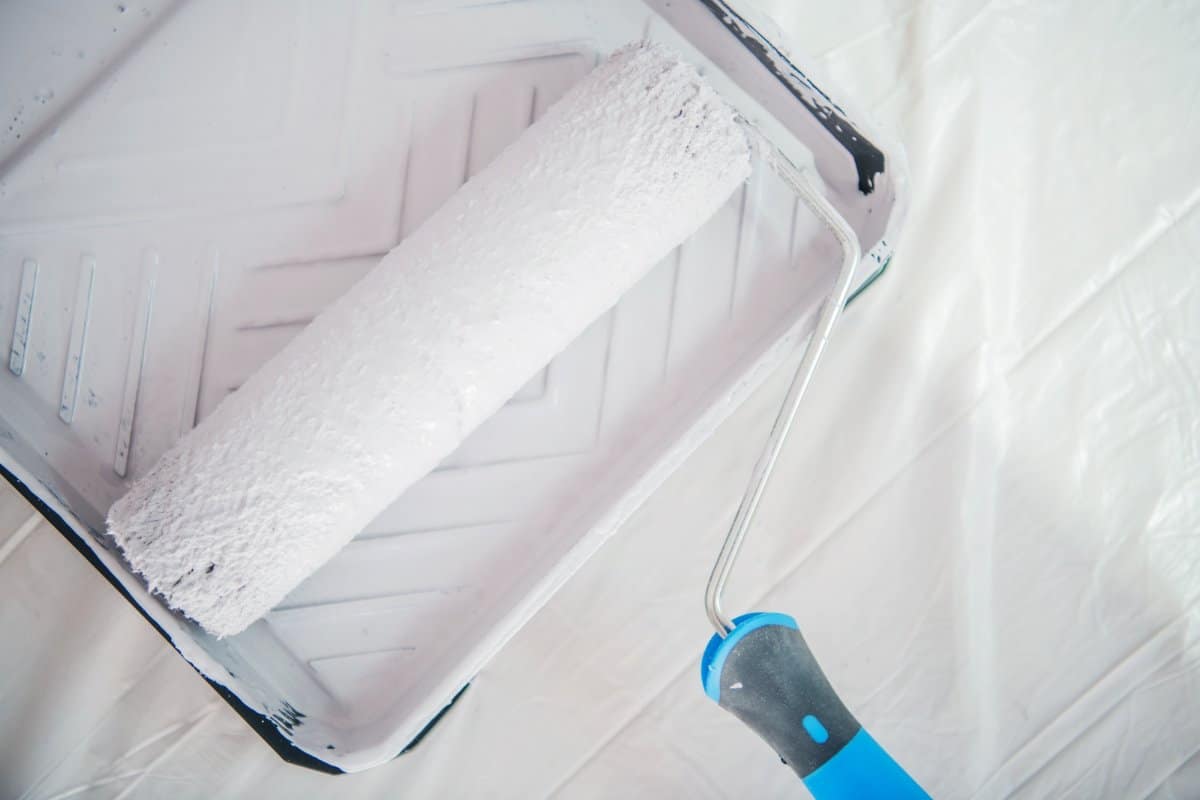
Using a roller
This technique is great for larger, even areas. It’ll give you smoother and thinner coats, but you have to buy the right type of roller.
Otherwise, the painted surface will show some texture, and unless it’s something you’re after, you’d want to avoid it.
I recommend a lint-free roller that has a nap of ¼” or lower. The shorter the nap, the less texture you get. On the other hand, using a foam roller(no nap) presents a different problem. It’s called flashing(different, uneven finish sheen).
A good high-density foam roller with round edges could be a good solution here. Choose a brand used by contractors for cabinets, trims, and doors.
Here are some tips you can follow for great results.
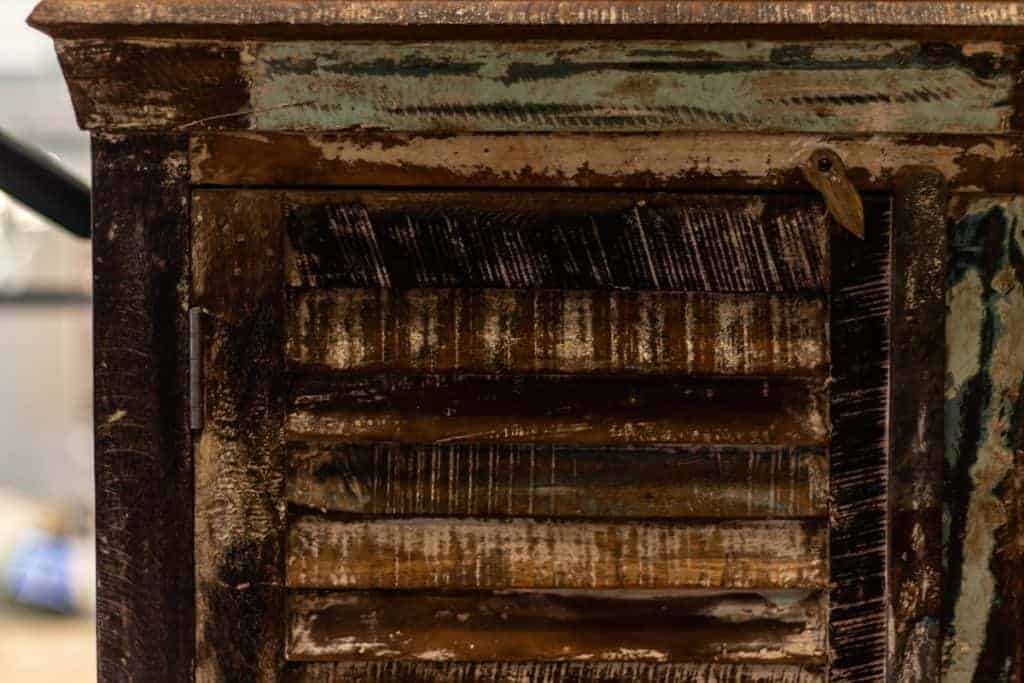
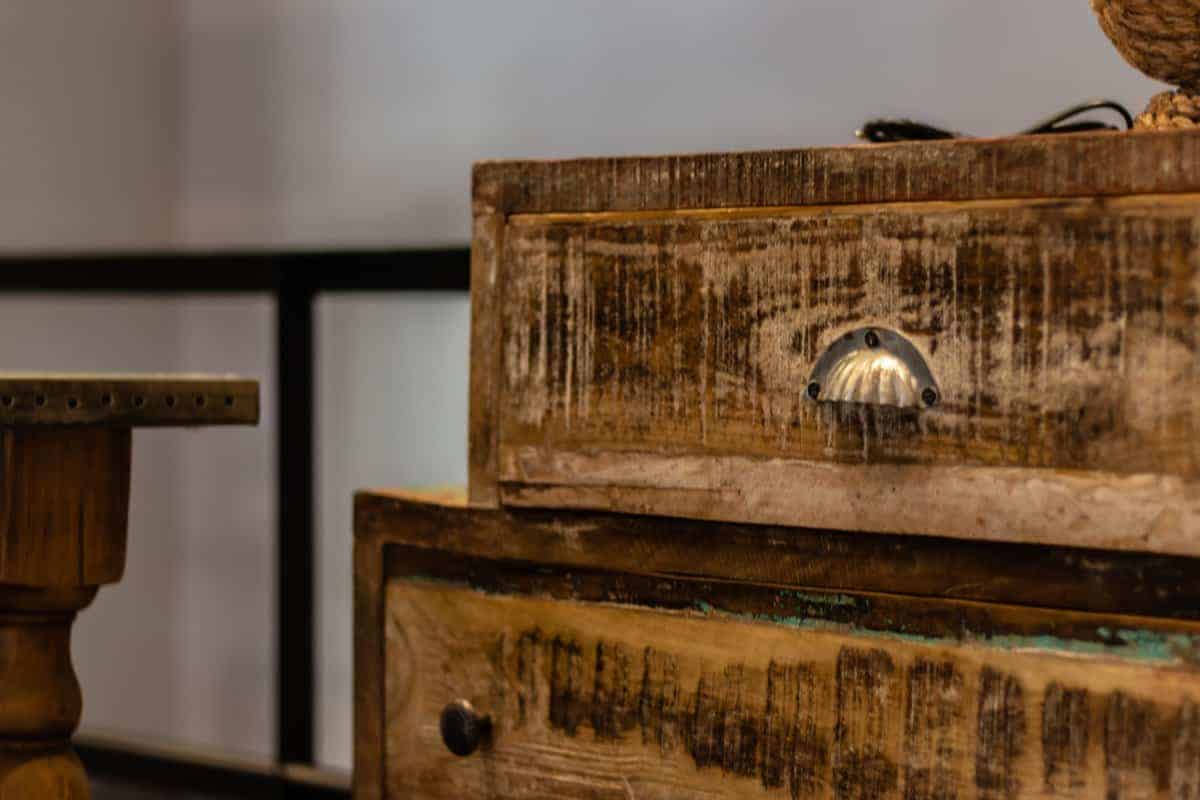
Adding Character/Distressing
Distressing and aging furniture is a great way to give it some character, and it’s great fun. Here in this article on how to distress wood are some techniques you can use on your projects.
You could also transfer photos to wood with glue or other methods to add even more individuality.
Waxing using old socks (for clear wax)
Waxing the furniture is important when using chalk paint but can be quite tricky. Here is a tip: use a clean sock like a glove and rub it on the paint.
Then buff it with another clean sock 2-3 min later. This technique is great for pieces with a lot of carved details. You can use clear wax or white one for a liming effect.
Use black/espresso wax for an aged antique look
For an even more aged look, go with black/espresso wax using a wax brush. Have a look at the video below for more tips:
Dry Brushing
Dry brushing is fast, dries in no time, and requires very little paint. It’s great for a piece with a lot of raised wood grain, as it pulls the texture out perfectly. This technique is great for whitewashing as well. The result is more shabby chic/ unfinished.
Adding Metallics using metallic paint
This is a great way to add more character to the details, like knobs or carved quirkiness.
Crackling
It’s a great way to age your piece, and it’s quite straightforward. You can either use a Fusion Crackle or Elmer’s glue for fantastic results. You paint the base color(that will show through) and let it dry.
Then add a layer of Fusion Crackle and follow the instructions on the bottle. Or use Elmer’s glue and this tutorial here. Lastly, paint the topcoat with a brush or paint sprayer.
Restaining
If you have a nice wooden, stained piece that you want to refresh, it’s pretty easy too. You’ll need a belt sander or RO sander to sand off the old stain.
Bear in mind that stain penetrates the wood, so you’d have to go fairly aggressive with this step, especially with darker stains. Check my post about staining pallets and wood in general for full instructions.
Painting the furniture step by step
When it comes to painting furniture, there is no one way to fit all. It’ll depend on the piece itself and the desired outcome. But there are some steps that you can follow to get great results regardless of project type.
Prep the furniture
To start with, you want to remove any hardware like knobs, wheels, or cushions. If you want to keep it, put it somewhere it won’t get lost. Disassemble the pieces so that you can remove drawers or doors.
Make sure you clean the piece thoroughly using some cleaning solution. Murphy’s Soap, TSP in powder form or substitute in liquid form, or a good degreaser is a good choice.
This step is important. Especially when you choose not to prep the surfaces before painting.
Sand or not to sand?
It’s not necessary to sand for a primer to bind to the surface. But it’s recommended to do so when you want to get rid of any debris or the finish is very glossy.
Lightly sand larger items. Use sanding block/wedge or random orbital/finishing sander(especially for finished surfaces).
Sand by hand in hard-to-reach areas and use medium-coarse grit – usually 150 depending on the piece itself. If it’s a vanished surface, use 80 grit to get rid of the glossy sheen.
But sand only till the surface is dull/no longer shiny. You don’t need to sand to bare wood or use a paint stripper unless you want to use a stain.
Yet, you should go the stripper route if want to remove paint/finish that could contain lead. Sanding, in this case, could be dangerous to your health. Check this article on how to remove paint from wood for more details.
Stripping
As I mentioned before, only use it for a new stain and when the piece has a lot of hard-to-get details.
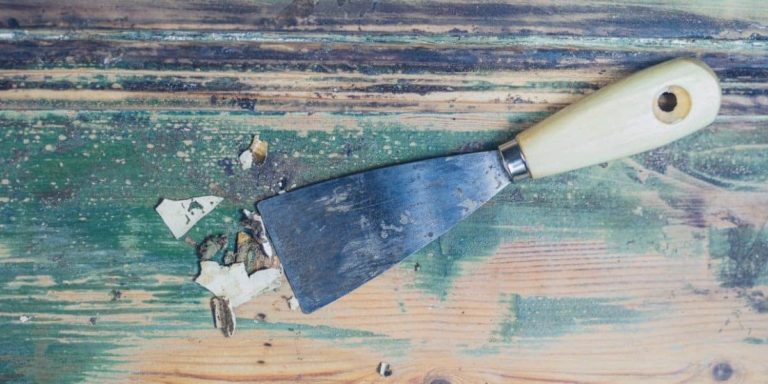
Repairing Scratches, Dents & Holes
If your piece is quite old and/or rough, you’d want to address this first. For smooth, even surfaces, use a wood filler to repair any damage like deep scratches, holes, or chipped edges.
Unless you’re going for a more weathered, distressed look, then just leave them as is.
Use a putty/filling knife and follow the manufacturer’s instructions. Make sure it’s dry completely before sanding it smooth using 150-grit sandpaper.
If you changing the hardware like knobs and/or pulls, make sure you fill in the old holes.
And most importantly, remove any sand dust using a shop vac or a tack cloth. You don’t want any dust particles in your primer.
Taping
It’s worth taping the edges as it’ll prevent seepage and leaks, especially when you don’t have much experience yet.
Testing
To make sure that the prep was done properly. And to avoid any surprises further down the road. You can test if the primer adhered to a surface well before priming.
The surface should be clean, dry, and dull before you even open the paint tin.
Prime or not to prime?
Again it depends on what final effect you want to achieve. So yes, for a smoother surface and long-lasting effect. And for laminate and glossy surfaces.
But not necessarily for a distressed look and/or if you don’t mind paint peeling over time. Chalk and oil-based spray paints work well without primer. As well as mineral and enamel paints.
You usually want to use a primer to prevent a dark stain/raw dark wood from bleeding and making your white paint turn pink.
But what primer to use?
A water-based primer cures longer than a spray one. An oil-based one gives a thicker coat and works faster.
A thicker coat(or 2) of primer will work great for heavily used surfaces. Use a spray for the rest, like drawers, or if you want less coverage/visible wood grain.
Use a mini foam roller and foam brush for hard-to-reach places. Or spray primer like painter’s touch. Choose a primer according to the color of the finish used (dark for dark paint, white for light paint).
After you’re done, and the primer has cured, it’s time for sanding. Use 220 grit sandpaper and wipe again using a tack cloth.
You can sand between each coat if you want, or at least before the last one for a smooth finish.
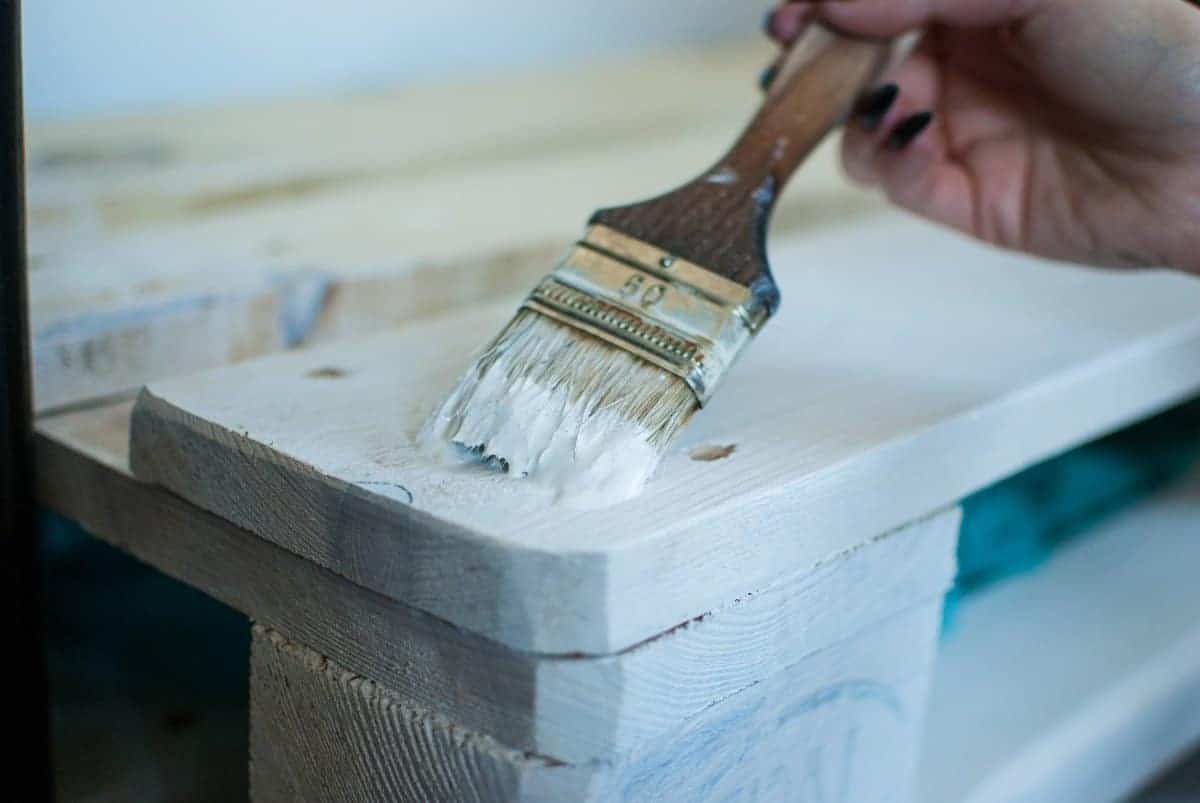
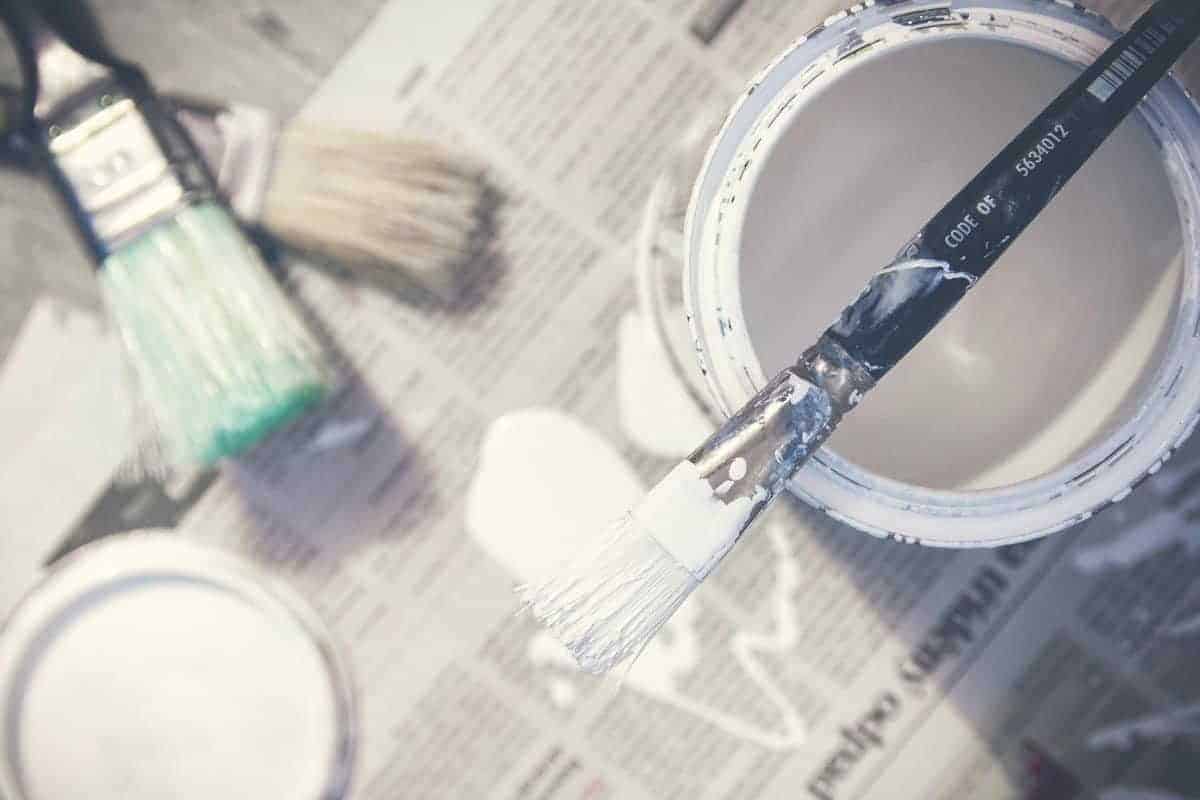
Painting your piece
Now you’re done preparing your piece; we get to the fun part. Follow these steps, and I’m sure the final result will be fantastic!
For pieces with trim and molding, cut in before painting the bigger flat surfaces. Use painter’s tape to avoid bleeding at the edges.
Wipe excess paint – you don’t want drips from the brush all over the place. I recommend painting in one direction, usually with grain. But it’s not necessary when using chalk paint like the Anie Slone brand.
If you want to minimize brush strokes or roller marks, use paint conditioners like Floetrol or Penetrol (for oil-based products). Believe me. It’ll be a lifesaver.
What it does it slows paint drying time. It improves paint flow and workability, so it’s less likely to drag.
It won’t change the color of your paint, and you can use it with any water-based paints, stains, and primers. It’s a no-brainer to me.
2-3 thin coats are better than one thick one, but remember that spray paint will take more to build up coverage. If you sand the surface to bare wood and wood grains are visible, thin coats will show it off.
And if that’s what you want, you should use spray primer for less coverage.
Wipe away any drips straight away but don’t touch up missed spots, as you can mess it up more. Let it dry, and fix it with the next coat.
Paint into the wet edge rather than away from it, and for long-lasting effect, leave 6-8h between coats. I know some paint is quick-drying and can be dry to the touch in just a couple of hours, but I don’t recommend rushing.
Make sure the layer dries properly, and you are less likely to have problems later on.
This is an important step for smooth results. Sand between layers with 220-grit sandpaper. And wipe the dust off again with a new tack cloth to fix any mistakes and drips.
Here are some useful painting tips for your projects:
- Painting around glass
The easiest way to protect any glass surfaces while painting is to use painter’s tape. It’s as simple as that. But what if you don’t have any on hand and you just need that project done?
A simple trick is to go over the painted glass with a dry paper towel and let it sit for a while. Then go back with a razor blade. The paint will just fall off the glass.
- Storing Your Paint Mid Project
Sometimes you won’t be able to finish your project in one go/on the same day. To avoid cleaning all the equipment like paintbrushes, rollers, and paint trays (which I do recommend), put them in a plastic bag(like a garbage bag) and seal them off from the air.
This solution is not ideal. But sometimes, life gets in the way of your projects, and this trick will save you time and paint.
- Paint Pyramids
What the heck are paint pyramids, you ask?
Ever wondered how to get great results painting cabinet doors and smaller pieces (like shelves)?
Paint pyramids are the answer. These little plastic tools allow you to lift the piece you’re working on off the ground.
- Should You Paint Inside of the Furniture?
It’s up to you. You’d usually want to paint the back of doors and all visible parts, like the frame. It really depends on the piece itself.
I’d avoid painting inside the chest of drawers as this could prevent the drawers from sliding in and out. Especially with many layers of paint. But as I said, it depends on the case.
Finishing up
Finally, wrapping up. Yay! Now that the final paint coat has dried, you’re ready to finish your piece.
Final Touch Ups and Reassembly
Dried paint (dry to the touch) doesn’t mean it’s cured. And this means it can still chip and scratch. Before you try and reassemble the furniture, let it rest and cure properly.
Finish sand with 320 grit before sealing
If you’re still not happy with the finish (it’s not smooth enough, with visible paint strokes). Finish sand with 320 grit sandpaper before moving on to sealing.
This will give you a very nice, even, and smooth surface. Remember, you do it after you’re done with painting, distressing, etc.
Seal the furniture with a topcoat
Depending on the kind of paint used, finish the furniture with a protective layer. For stains, acrylic and latex paints use a water-based poly that can be sprayed, brushed, or wiped on.
And for chalk paint, use clear wax. Any milk, mineral, or enamel paint doesn’t need sealing. Let the paint and sealer cure for at least 24 hours. You want to make sure the surface is dry and hard.
Reattach any hardware and enjoy your hard work
If simply reattaching the old hardware screw it back in place. If you’re adding new and drilling new holes, make sure you measure it properly and do it before the topcoat. This way, if there are any mishaps, you can easily fix them.
fAQs
Summary
Painting furniture can be frustrating. To avoid any difficulties you just have to follow the steps laid out in this article. Remember that preparation is crucial and so are quality tools and paints. It is quite simple. Prep, paint, and seal. And most of all have fun!
If you liked the article don’t forget to pin it to your Furniture Upcycling or Furniture Painting board 🙂
Subscribe To My FREE DIY Newsletter!
Stay in touch and receive things like updates, special offers, new projects, tips, gear reviews, and more. No spam, promise!
By entering your email address, you agree to get an email newsletter from UpcycleThisDIYThat. I’ll respect your privacy, and you can unsubscribe at any time. For more details, review our Privacy Policy.