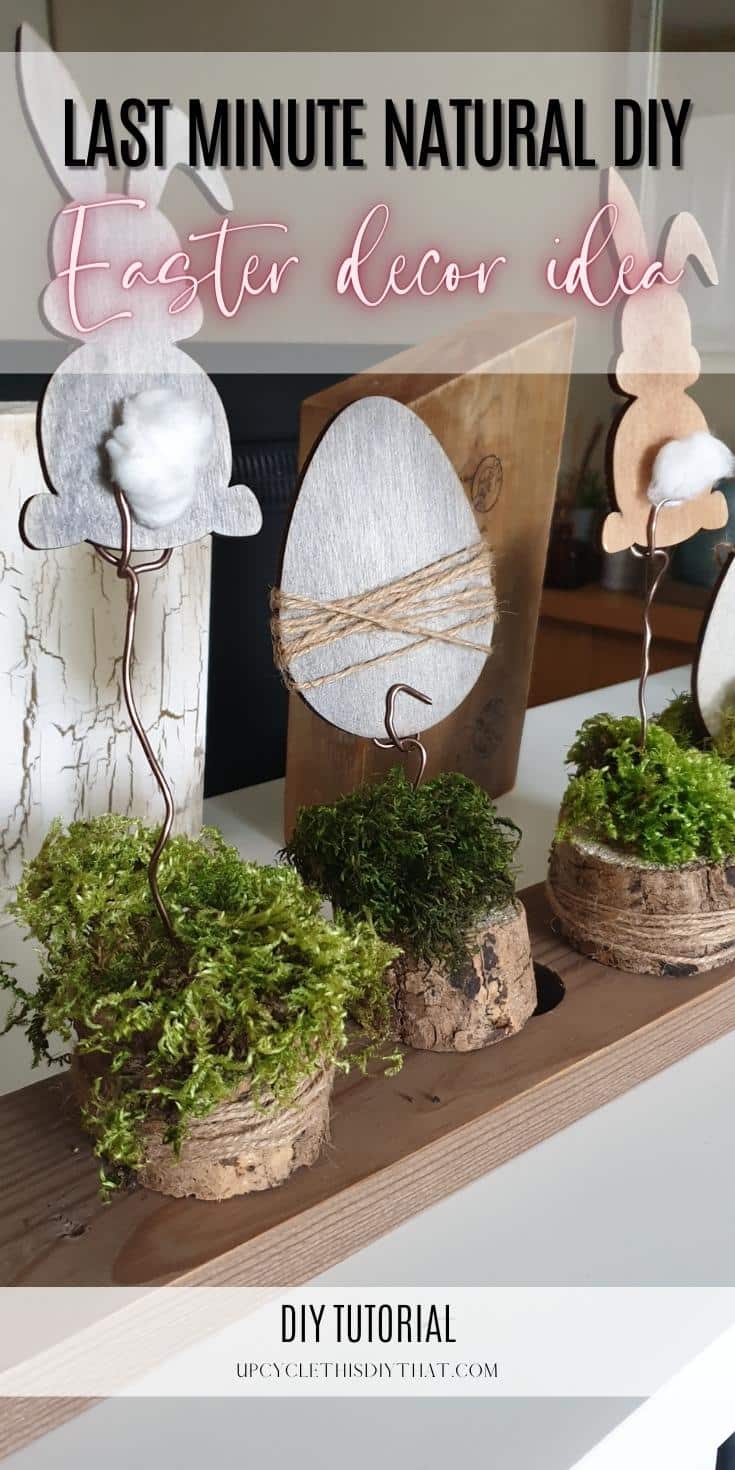
Last-Minute DIY Easter Decor Display: Create a Natural and Rustic Charm with This Simple Decorating Idea!
This post includes affiliate links. If you decide to make a purchase through my link, I might get a small commission for it at no additional cost to you. Thank you for supporting Upcycle This DIY That!
Spring is finally here. Sunny and warm days are on their way, and Easter is just around the corner! If you’re anything like me, you’re scrambling to put together some last-minute decorations to make your home feel festive and welcoming.
But don’t worry. You don’t have to break the bank or spend hours crafting to create a beautiful DIY Easter decor display. In fact, some of the best decorations are the ones that are simple and natural.
By using materials you already have on hand and incorporating some of the beauty of nature, you can create a stunning Easter display that will impress your guests and make your home feel warm and inviting.
So let’s get started and bring some light and airy Easter vibes into your home!
How to make a quick natural rustic DIY easter decor display
This DIY easter decor is super simple and quick and only takes minutes to put together. The longest bit is to make the steel wool/vinegar stain for that beautiful silver-gray finish.
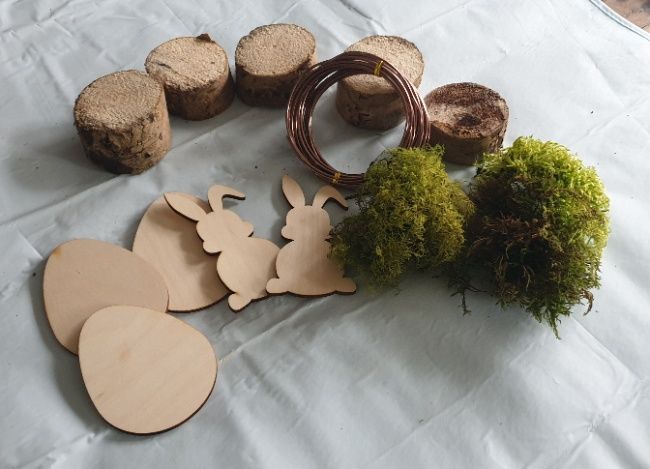
Tools and materials
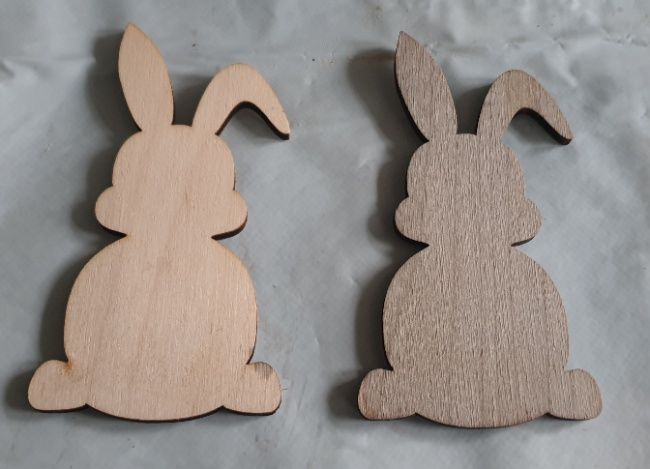
- Thick wood slices around 2-in in diameter-foraged or bought
- Wooden cut-out shapes- bunnies and eggs
- Metal, craft wire, and wire cutters
- Drill and drill bit
- Twine
- Moss-faux or real
- Cotton wool ball
- Glue/hot glue
- Steel wool and vinegar stain
Making the stain and staining the wooden shapes
The first step is to make the stain. This is one of the methods I discovered over the years for aging wood and used for many of my DIY/decor projects.
Place the wool into a glass jar and cover it with spirit vinegar. Don’t cover the jar and wait between 2-24h. The wool doesn’t need to dissolve, and the longer you wait, the darker the stain will be. The intensity and shade of the stain depends also on the type of wood you use.

Tip. Don’t leave the wool to soak for longer than 24h because if you do, the stain will have a more brown/rusty color.
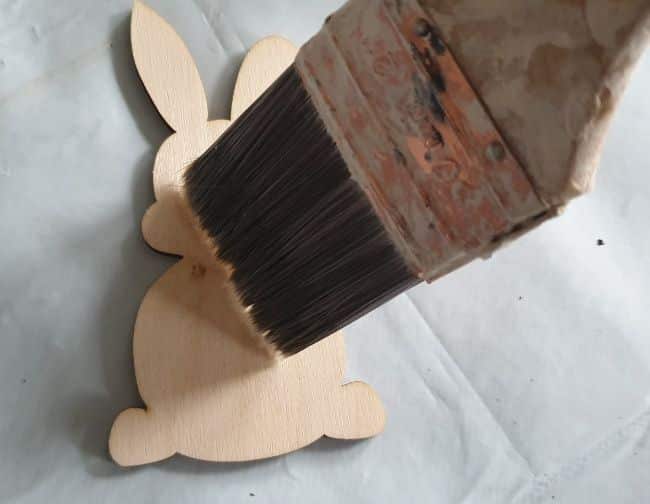
Next, once the stain was ready, I stained the shapes using a paintbrush and left them to dry. I used this new batch of stain on two eggs and two bunnies. I left one egg plain and stained one of the bunnies with my old/rusty vinegar stain. The fresh stain didn’t come out as dark as I had wanted, so I brewed some black tea.
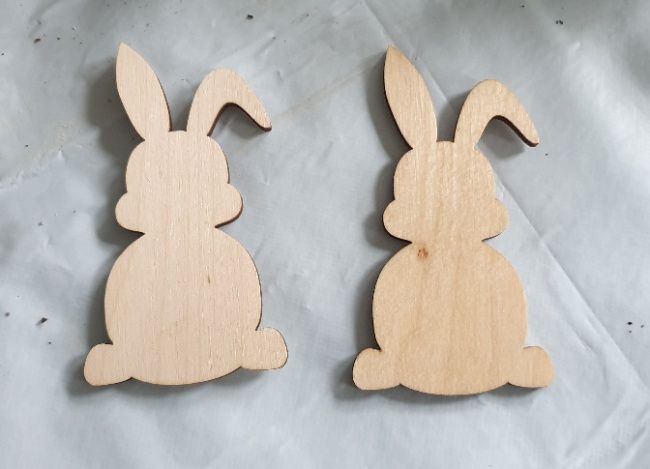
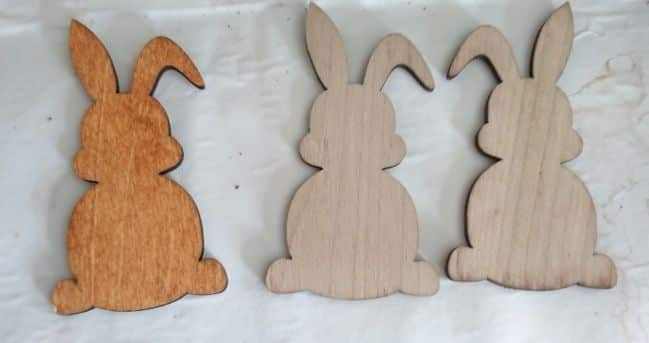
Once the vinegar stain was dry, I used a paintbrush and painted the tea onto one of the eggs and one of the bunnies. To my delight, the gray color darkened instantly. I left it to dry again.

Then I used a sanding sponge to sand the shapes gently. The last step is totally optional. I used a mix of clear wax and silver-gray mica powder on the darkest egg/bunny to add extra depth of color and some shimmer as well.
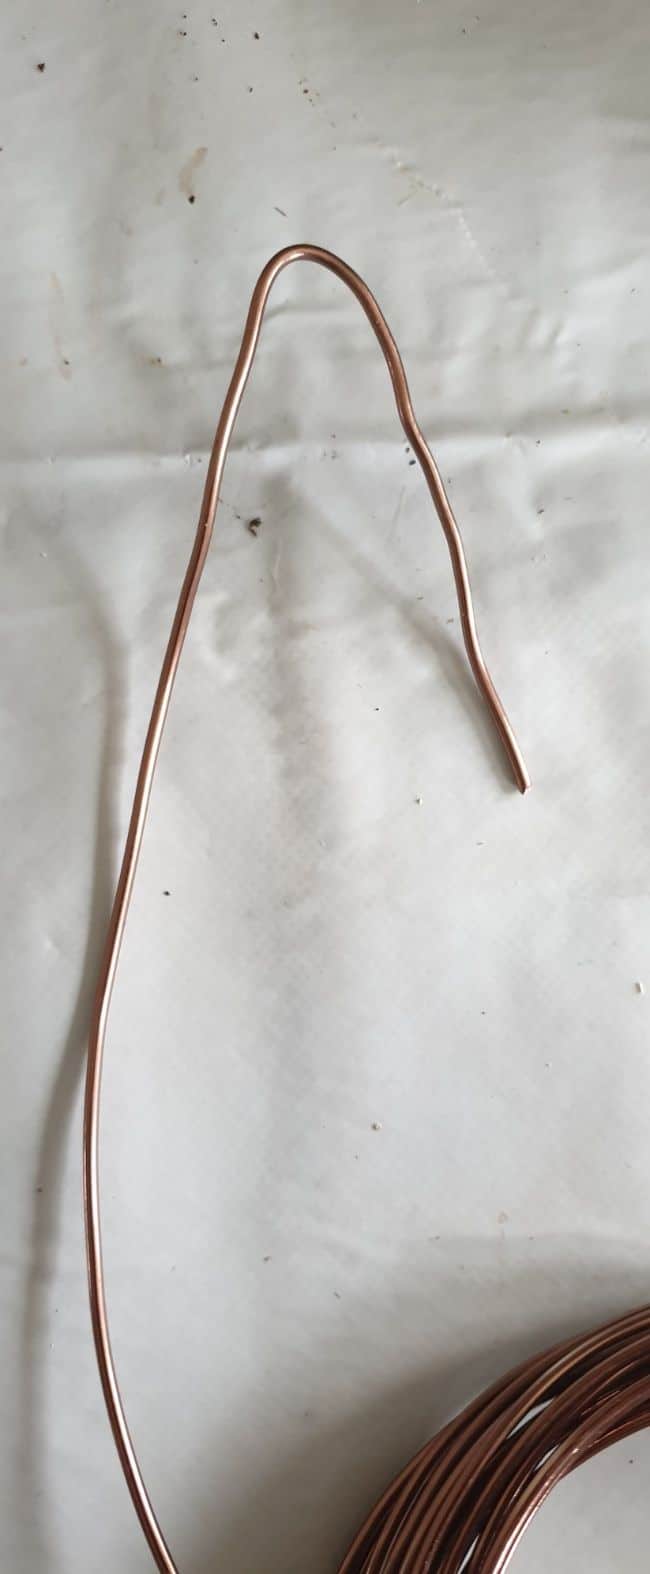
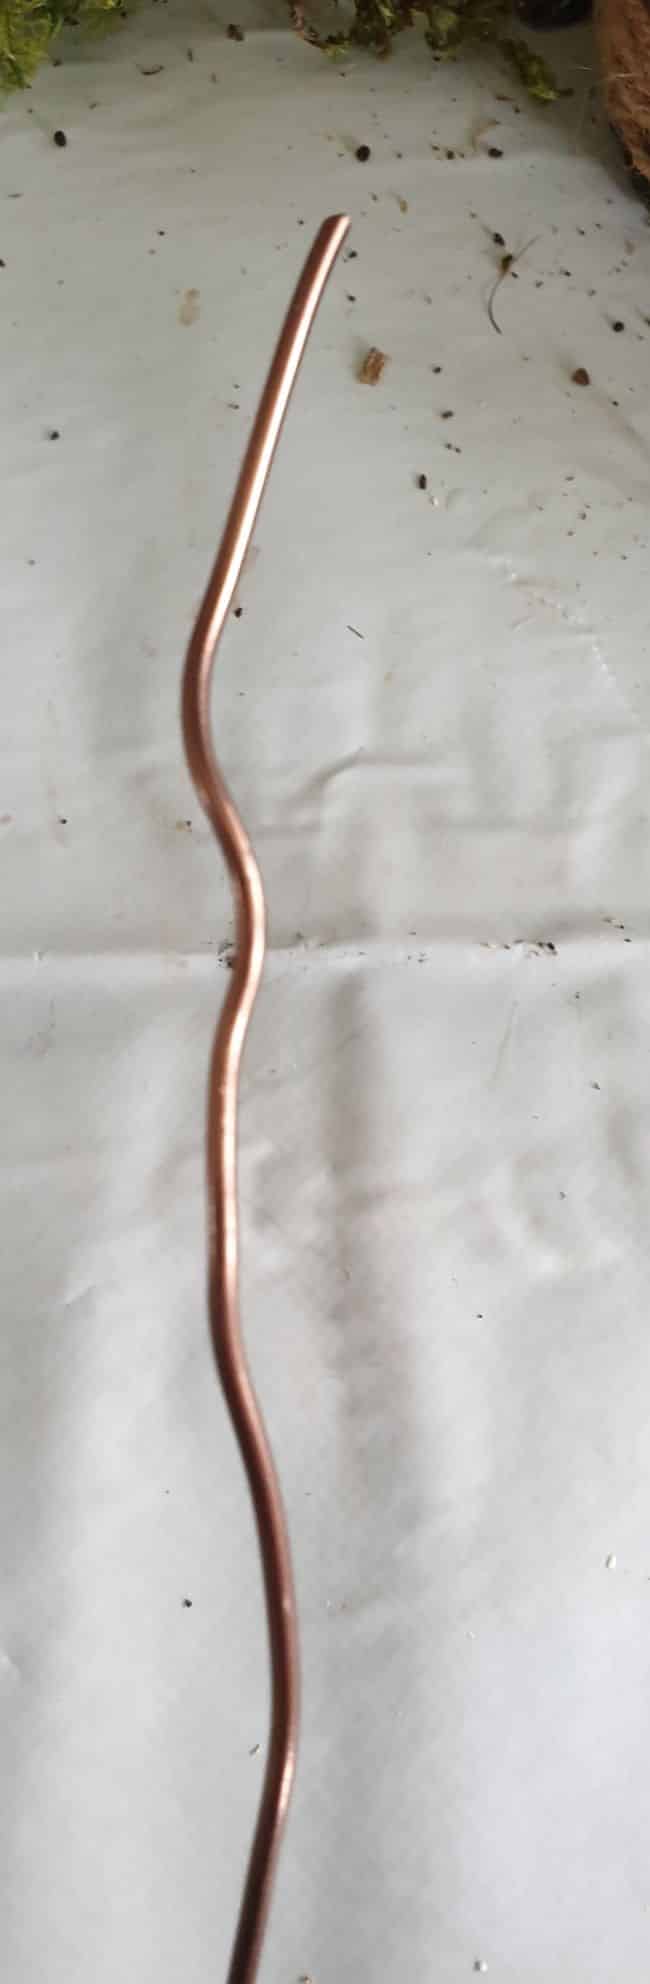
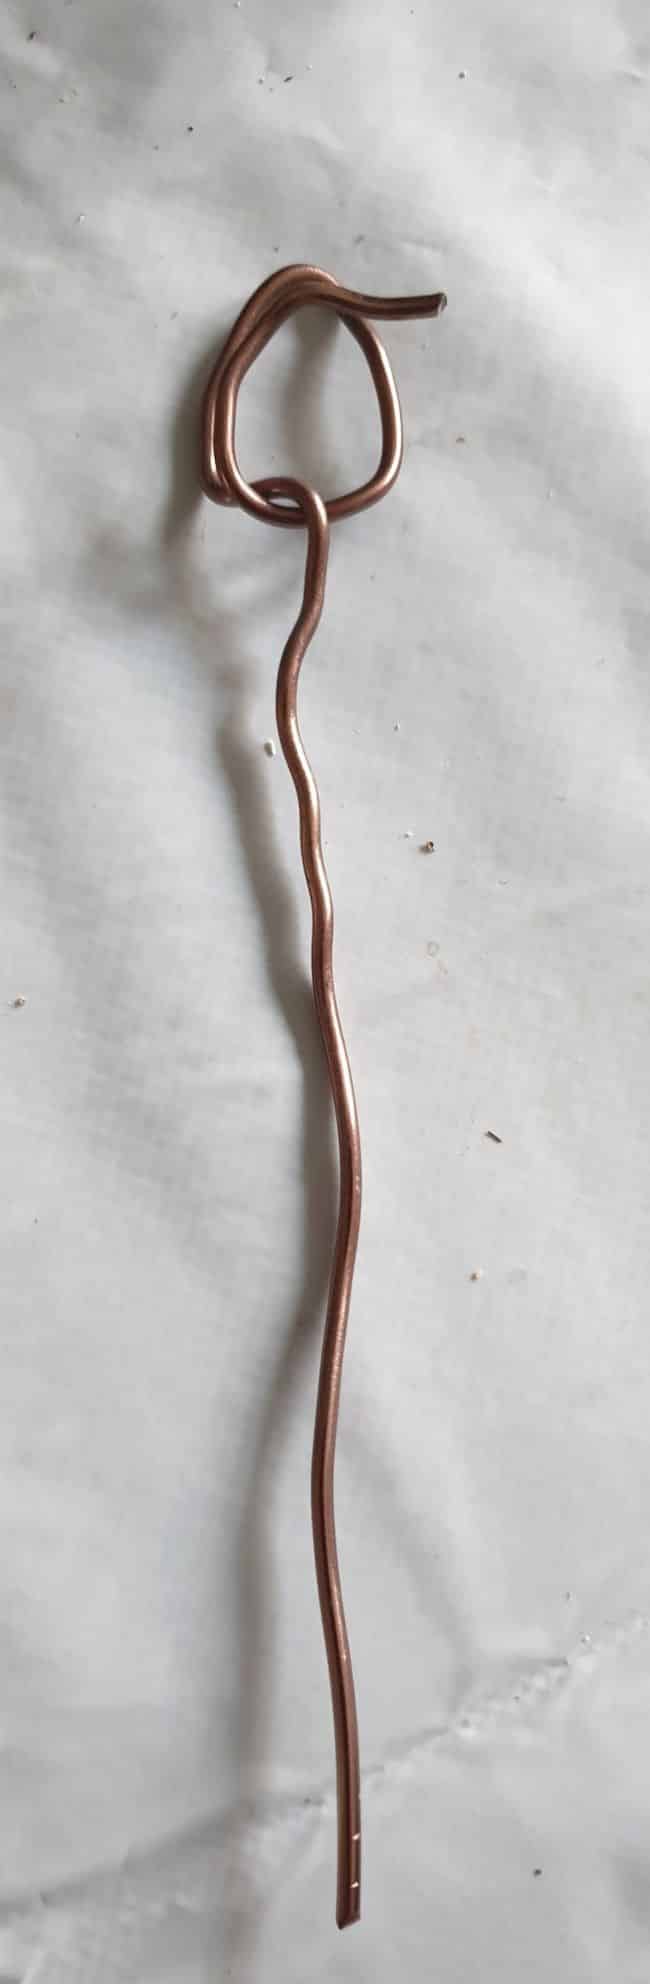
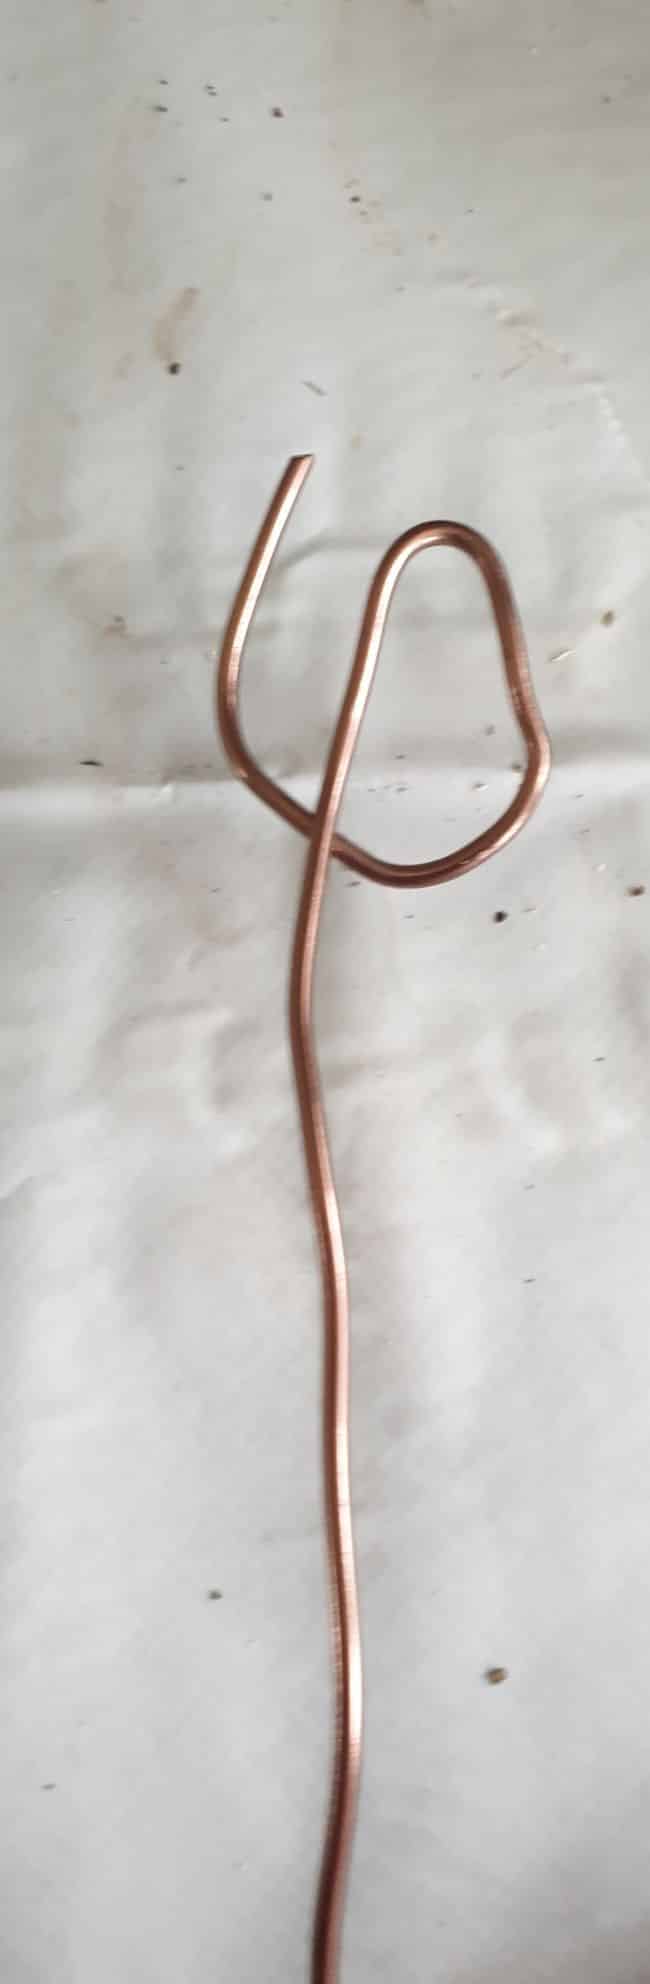
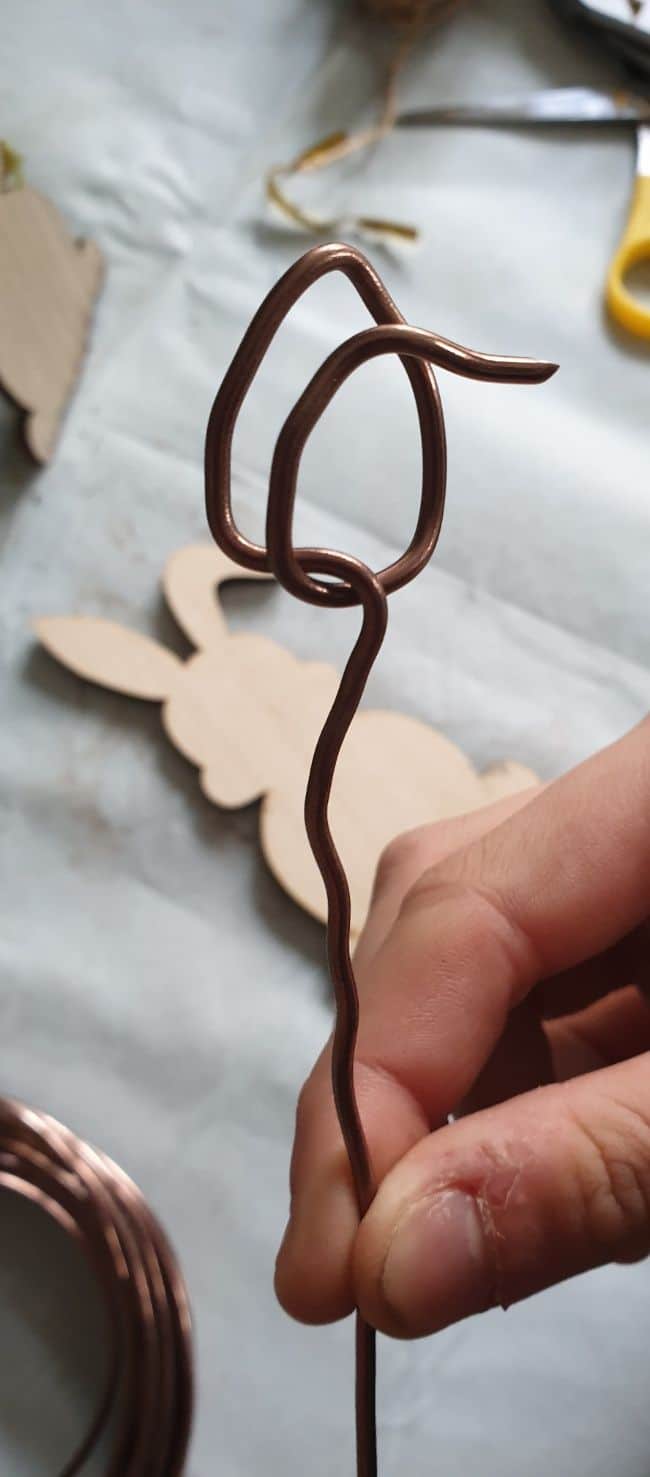
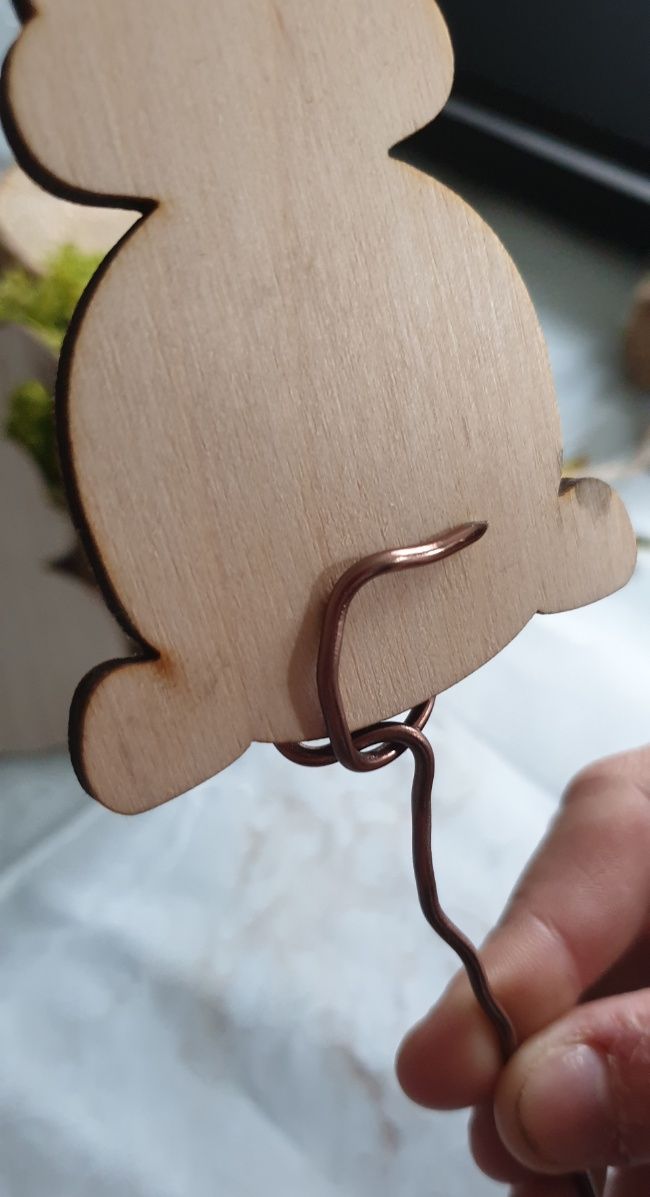
Making wire holders
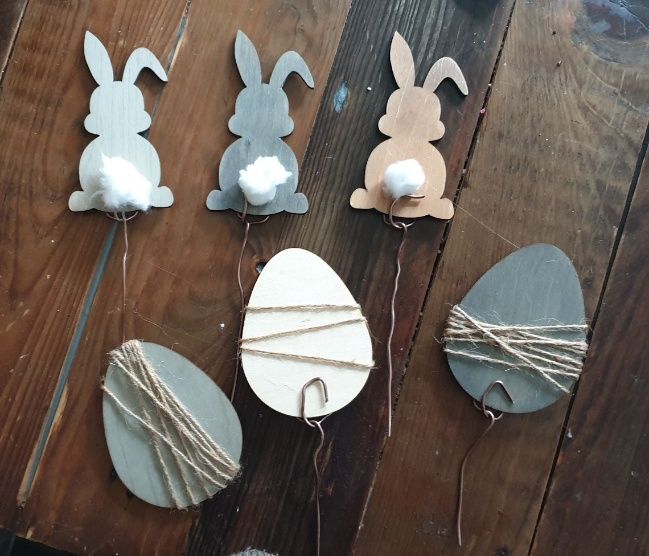
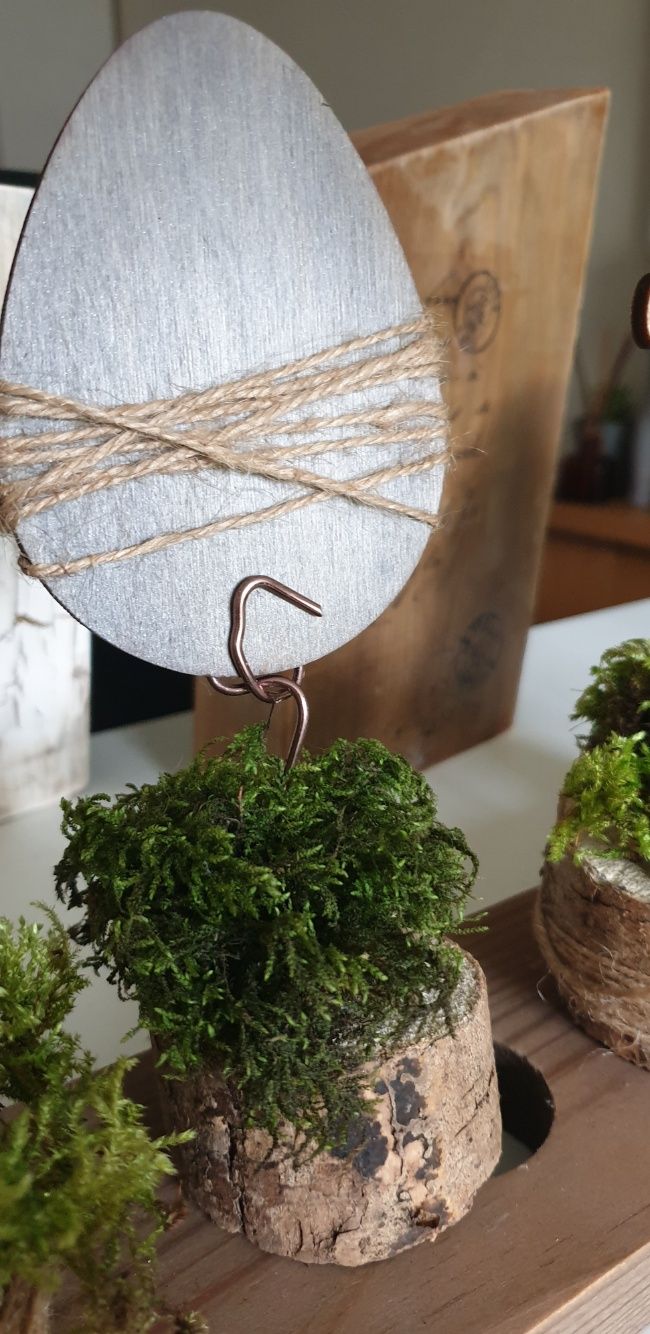
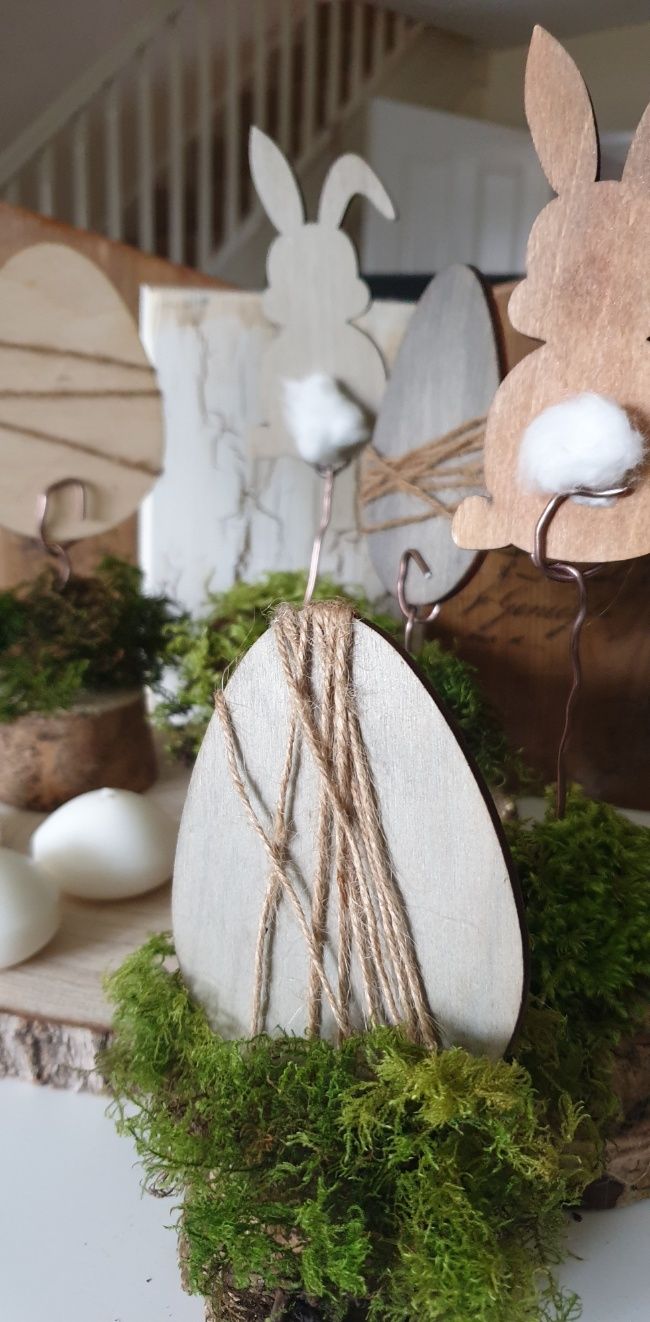
Cut the wire to the desired length and make a loop at one end to create a holder for the wood shapes. I don’t have precise instructions for making this work as I‘ve improvised myself. Make sure the loop is big enough and tight enough to hold the egg/bunny in place. You can also glue the wire to the back of the egg/bunny with a hot glue gun.


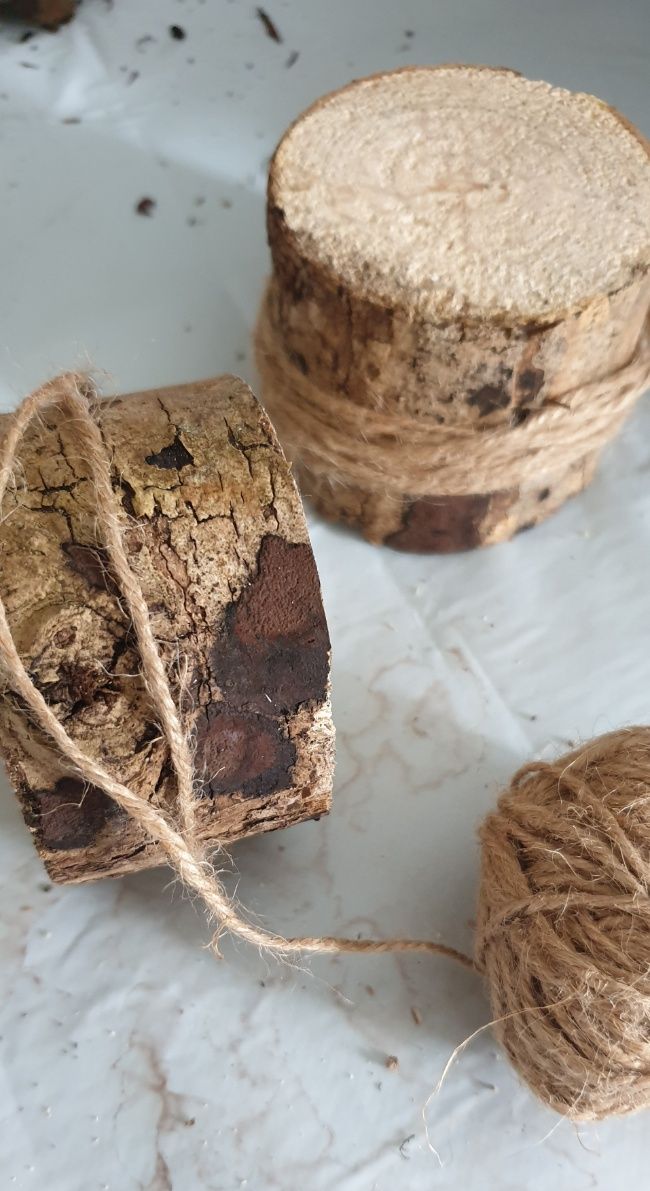
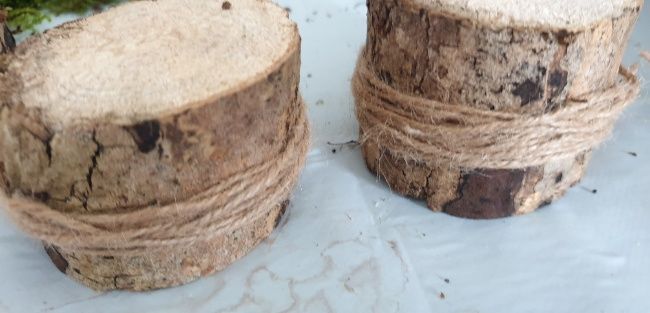
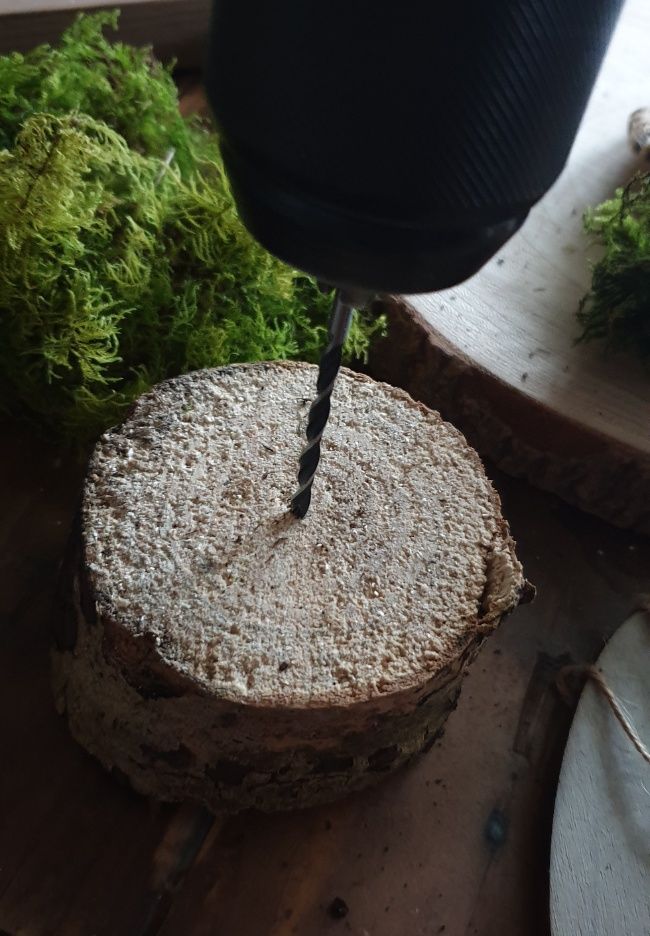
Prepping the wood slices
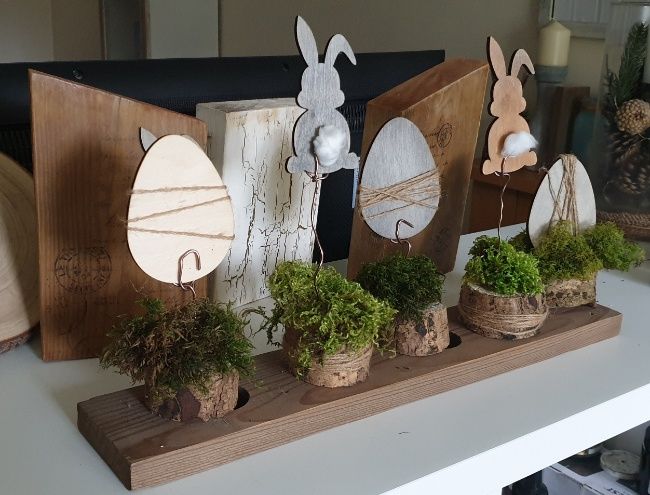
I’ve cut the slices from a tree branch I had in my garden for another project. I made them random in height and not straight to make them look more natural. I’ve wrapped some twine around a couple of them for a more rustic look. Then i drilled a hole in the middle of each slice for the wire holder.
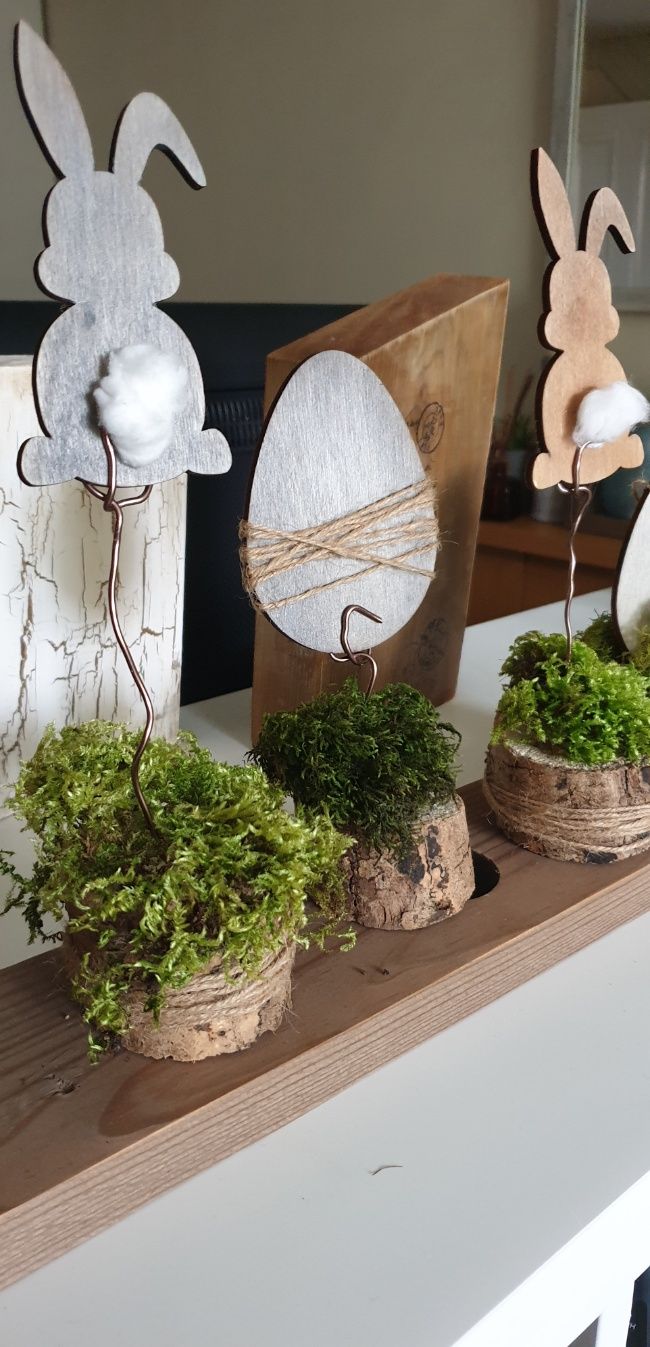
Assembling
Once you have all the bit ready, it’s time to put it all together.
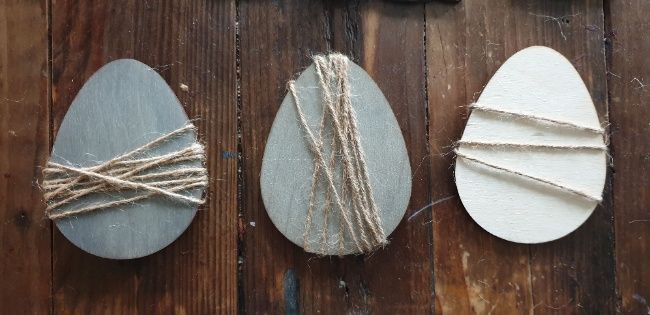
As you can see in the pictures, I wrapped the eggs with twine in random directions, which I then secured with hot glue at the back.
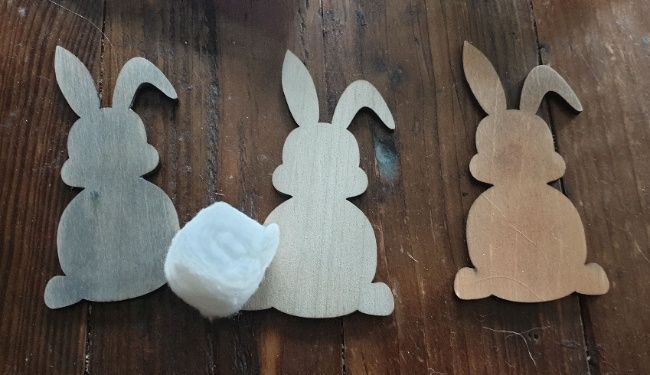
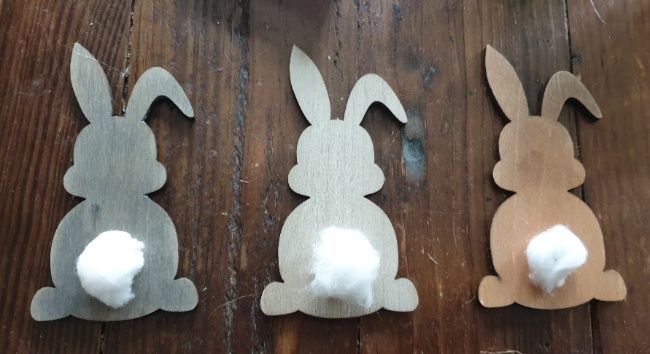
I made cute bunny tails using a piece of cotton wool and glue.

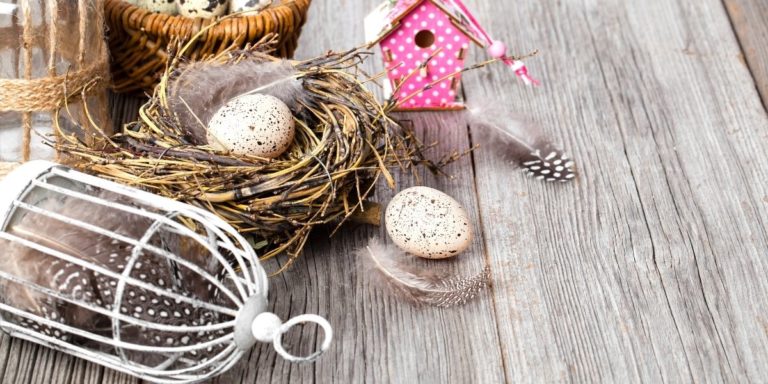
I placed all the shapes apart of one egg in the wire holders and inserted the wires into the wood slices. I put the egg I left out straight onto the moss. I covered the remaining wood slices with moss and arranged them on a wooden board.
Creating a beautiful DIY Easter decor display doesn’t have to be a daunting task. By using natural, rustic elements and incorporating some of the beauty of the outdoors, you can create a stunning decor piece that will surely impress your guests and make your home feel warm and festive.
Whether you’re working with limited time or a limited budget, there are plenty of simple and creative ways to bring the excitement of Easter into your home. So let your creativity flow, have fun with it, and enjoy the beauty of the season!
Subscribe To My FREE DIY Newsletter!
Stay in touch and receive things like updates, special offers, new projects, tips, gear reviews, and more. No spam, promise!
By entering your email address, you agree to get an email newsletter from UpcycleThisDIYThat. I’ll respect your privacy, and you can unsubscribe at any time. For more details, review our Privacy Policy.