
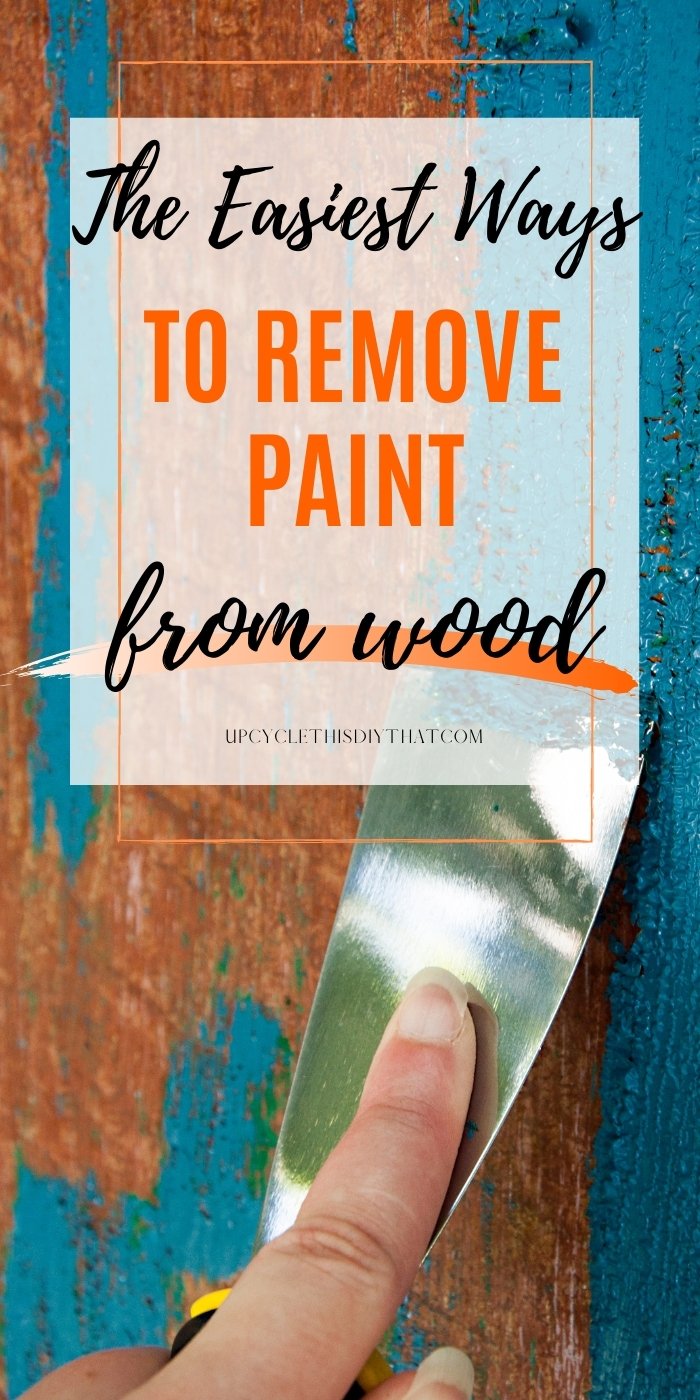
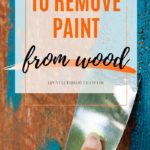
Tips, Tricks, and Techniques for Removing Paint from Wood
This post includes affiliate links. If you decide to make a purchase through my link, I might get a small commission for it at no additional cost to you. Thank you for supporting Upcycle This DIY That!
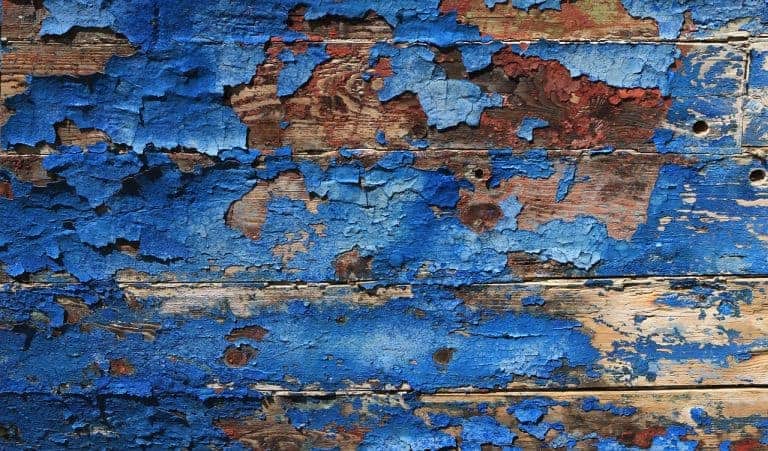
Removing paint from wood/wooden furniture
Painting furniture is fun and has become very popular in recent years. You can basically turn any old piece found on a curb or on Craigslist into a modern or shabby chic one. But painting wood or furniture is one way of bringing it back to life.
Sometimes it is worth trying to restore the beautiful wood surface hidden under a layer of paint. Or simply removing old paint is necessary for the new paint to stick to the wood surface properly.
But removing paint from wood can be tricky, and you should know the best approach for your project. The method you’ll choose depends on the object(like a door or furniture or even an old wood pallet project), the project’s size, and the result you want to achieve(restoring wood surface/restaining or repainting).
What is the quickest way to remove paint from wood?
It is a tricky “it depends” answer. Mainly because it depends hugely on the project you want to complete. It will differ if you have furniture to strip, an old door, or a wooden floor. But I can give you a few pointers to help.
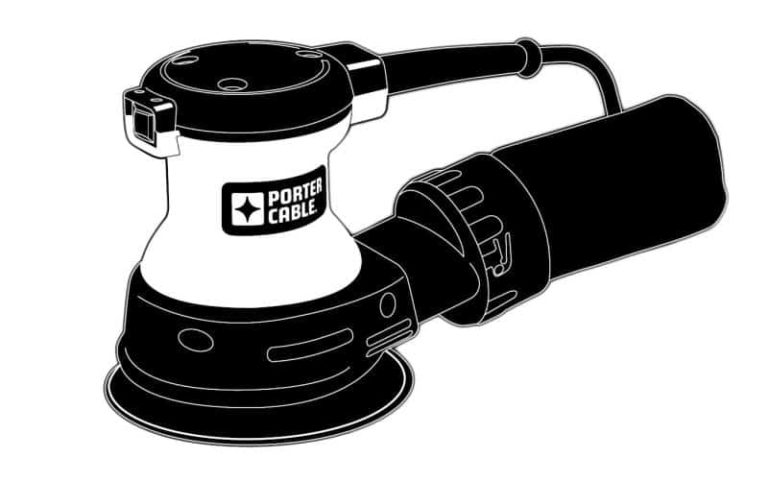
One of the quickest ways to remove old paint from wood is sanding. But only if you have only a layer or two to remove and the surface is not too big. If your painted surface is not even(has groves and crevices), then the paint stripper would be the quickest option.
A heat gun is a great way to remove old paint as well. It could be a case that you’ll end up with the mix of methods found below for the best result.
Sanding vs. stripping vs. heat gun
There are three main ways of removing paint from wood. A physical scratching, aka sanding(by hand or with a sander), stripping – using a chemical solution- a paint stripper to loosen the paint and then scratch it off the wood surface.
And using a heat gun to loosen the paint and then scratching it off the wood. All of them include some type of physical labor, i.e., scraping or/and sanding at some point.
How to remove paint from wood without chemicals
If you simply don’t feel comfortable using harsh chemicals like paint strippers to remove paint from wood or don’t have the conditions to do it, you can follow two of the methods below. You can use a
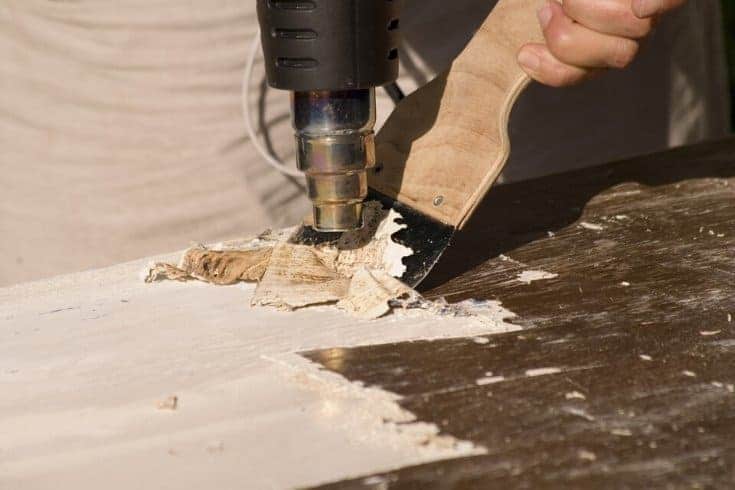
Using a heat gun to remove paint from wood
Using a heat gun will help you if the painted wood surface has a lot of paint layers and you want to get to the bare wood. Although I must say it’s quite labor-intensive, it’ll speed up the whole process.
It’s also safe in case the paint contains lead. You should be aware that you mustn’t sand lead-containing paint as this is a health hazard. You also must make sure you’re working in a well-ventilated area, and you’re wearing a good-quality respirator.
Materials needed
- heat gun
- scraper/putty knife
- RO(random orbital) or a finishing sander(check this post for the best finishing sander recommendations)
- sanding block/sponge
- sandpaper for the sander
- safety goggles
- face respirator
- bucket with water(in case of fire)
How to use a heat gun to remove paint from wood – step-by-step method
- Test the paint for lead
- Read all the instructions included with your model of the heat gun
- Make sure you work on a small area at a time
- Use safety goggles and a respirator(especially important if working with lead paint)
- Heat the paint until it bubbles. Use a special nozzle if available. Make sure you don’t burn the wood surface.
- Scrape the paint with a metal scraper
- Repeat if necessary(if you have a lot of paint layers)
- Sand the wood surface with a sander or sanding block, sponge starting with P120 and then P180
Using a sander to remove paint from wood
If you’re planning on repainting the surface, then you don’t have to remove every speck of paint from the surface. Scuff it enough for the paint/primer to be able to adhere.
However, if you want to restore/restain the wood, you’ll have to sand it all to the bare wood. Using a sander is viable when you have a lot of flat surfaces, to do. It’ll speed up the whole process. Just make sure you pick the right tool for the job. If you’re not sure, check my article on the best sander for removing paint.
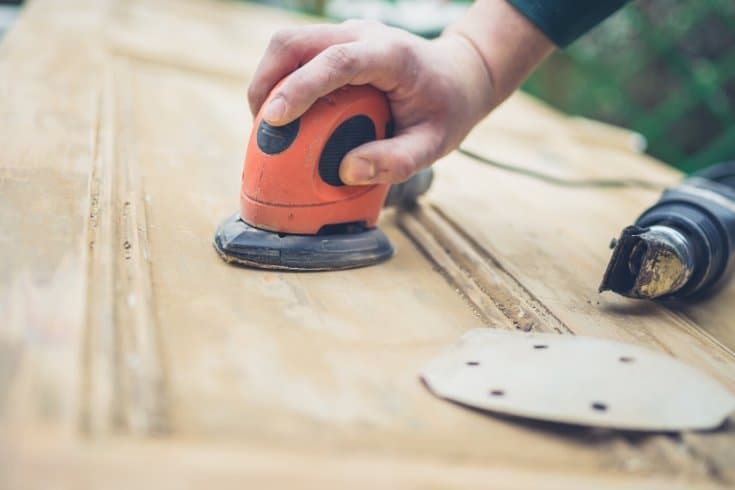
For small objects and delicate surfaces, and surfaces with a lot of details, you can always sand by hand using a sanding block or sponge. It’ll take a lot longer, though, so I’d consider using a paint stripper in this case. Make sure you test the paint for lead before you start!
tools and Materials needed
- lead paint test(!)
- cleaning solution
- RO sander or belt sander
- sandpaper discs or belts
- rags
- sanding block/sponge
- Safety goggles
- Face respirator
How to use a sander to remove paint from wood-step by step method
- Clean the surface with a cleaning solution or soapy water and let it dry
- Use the belt sander only to remove the paint.
- Belt sanders are used for fast stock removal and are quite powerful but can be difficult to control. If you haven’t got any experience using one, I’d advise choosing a RO(random orbital) sander with variable speed and plenty of power.
- Choose coarse grit sandpaper for the sander like P80- you can use special sandpaper for sanding paint.
- Change the sandpaper as soon as it gets dull.
- Once you’ve removed the paint, change the sandpaper grit to P120 and make sure you sand along the grain.
- Once the whole piece is sanded with P120, change the paper grit to P180
- If you plan on staining the piece, I wouldn’t go higher than P180-the stain might not take. You can use higher grits for sanding between finish coats.
Check out these articles if you want to learn more about wood sanding, sandpaper, and how to use sanders:
How to use an orbital sander
Best sander for removing paint
Best sander for furniture
Wood sanding tips for upcycling and pallet projects
A quick guide to sandpaper for woodworking
How to remove paint from wood without a sander or a heat gun
While the methods above are reasonably effective, sometimes using a paint stripper is necessary, like when the wood surface has many nooks and crannies. Or have layers and layers of paint. Or you simply don’t own either a heat gun or a sander. It’s also a way to go with lead paint removal.
Removing paint from wood using a chemical stripper(paint stripper)
When to strip wood/furniture
Using paint strippers isn’t always necessary. I’d only use them in cases like:
- Removing paint to restore/restain wooden surfaces
- The paint I want to be removed contains lead
- The wood surface is covered in a lot of coats of old paint, and new paint won’t adhere to it, even with sanding and priming.
- The surface has a lot of detail, groves, and hard-to-reach places, etc.
When not to strip wood/furniture
- The surface is going to be repainted
- The surface is mostly flat and can be sanded
- The surface has a few scratches
- If it’s painted- sand lightly and repaint.
- If it’s stained/sealed – use a wood scratch repair kit.
Choose the right type of paint stripper
There are a lot of paint-removing products available on the market to remove paint from wood. You can choose from different forms like liquid, paste/gel, or spray. Or different strengths like professional-grade ones, for instance. There are also products more natural with a low odor, like the Blue Bear paint stripper made from soybeans.

- CITRISTRIP Safer Paint & Varnish Stripping Gel is easy to use.
- Stays wet and active for up to 24 hours allowing stripping of multiple layers in one step.
- Removes dried latex and oil-based paint, varnish, lacquer, polyurethane and shellac.
- Strips multiple layers from wood, metal and masonry surfaces.
- No methylene chloride or NMP.
Word of caution
Before you go along with using a chemical solution as a way to remove old paint, make sure it’s safe to use and doesn’t contain methylene chloride. This chemical is harmful, and most manufacturers stopped using it in their products. But please check anyway to be on the safe side.
Make sure you dispose of all used paint stripper/stripped paint and all the gunk properly according to safety regulations for your country/state. Especially if the paint contains lead.
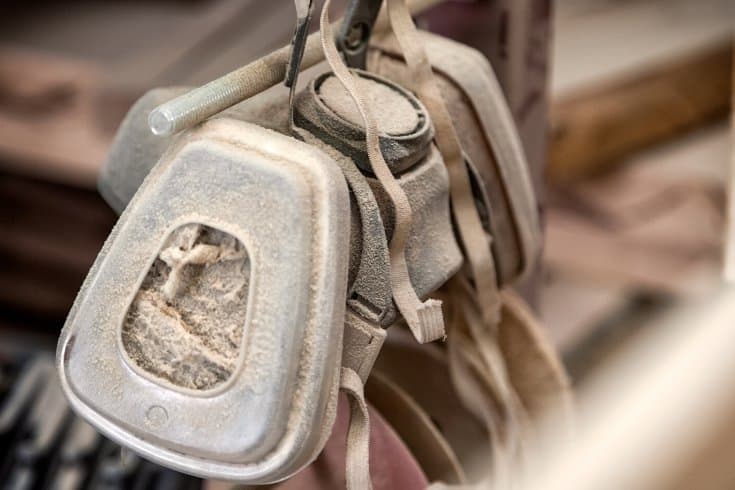
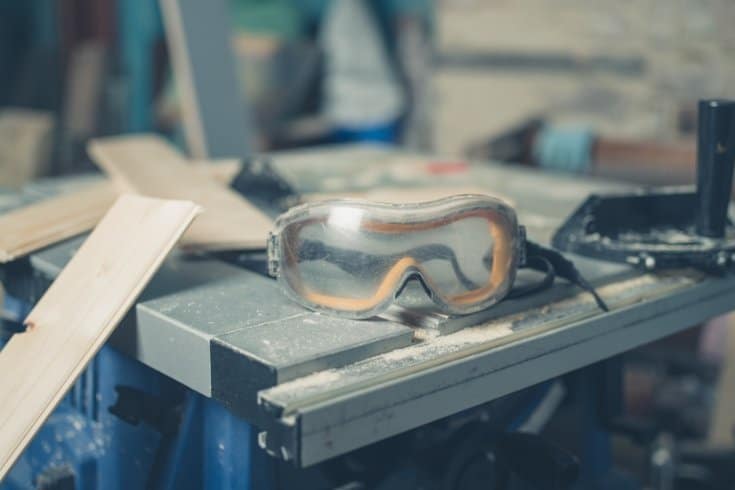
Always use chemical-resistant gloves and safety goggles, as chemical strippers can harm your eyes and skin. Use the respirator when working in poorly ventilated areas, especially working with chemicals like mineral spirits.
tools and Materials needed
- Thick rubber chemical-resistant gloves
- Face mask/respirator
- Safety goggles
- Paint strippers like Citristrip
- Steel wool/wire brush
- Mineral spirits
- Paintbrush
- Small bowl/metal bucket
- metal paint scraper/putty knife
- rags/tack clothes
- random orbital sander or finishing sander
- sanding sponge
- Sandpaper
- Vacuum(optional)
How to strip wood/furniture step by step
Stripping paint is not a complicated process. You’ll need some tools and materials for this to work. Please have a look. The list includes links to the products so you can find them easily.
- Prep the space
Before you start stripping paint, make sure the area you’re working in can get dirty and messy. There are no carpeted floors, and the place is very well-ventilated. Place a protective plastic sheet/drop cloth/old sheets/old towels on the floor.
- Prep the piece
If the piece has any upholstery, make sure it is covered. Remove any hardware. You can sand the wood surface a little with coarse-grit sandpaper to make the paint stripper work even better. But remember to check the paint for lead beforehand.
- Apply the stripper
Fill a tin bucket with the paint stripper, and using a paintbrush, apply it to the surface in a thick layer. Make sure you get all the nooks and crannies. Then you have to wait for it to work as long as it says on the packaging.
- Scrape the paint
Now it’s time for the elbow grease. Although most of the paint should come off easily, you still have to remove it using a plastic putty knife or a paint scraper. If you’re using a metal scraper, make sure you dull the sharp edges on a piece of sandpaper so you don’t damage the wood. Unless you’re repainting the piece, then you can skip it. For all the groves, nooks use a wire brush to remove the paint. - Apply another coat of paint stripper
Wipe the rest of the dissolved paint with an old rag and apply the second coat to the places you’ve missed or are more stubborn. - Remove the rest of the paint (mineral spirits and wire brush)
Once you remove most paint from wood, use steel wool, a wire brush, or a putty knife and mineral spirits to remove the remaining paint in all the hard-to-get places, groves, corners, and crevices. - Wipe it all with a damp rag and let it dry
- Sand the wood
After you’re done with the paint stripper, it’s time to sand the wood surface. You can use either a finishing/sheet or a random orbital sander. If you have a lot of nooks and crannies, use a sanding sponge. Start with P120 and then switch to P180. - Clean the wood surface
You can either use a shop vac to remove the sanding dust or a damp rag. But make sure to get it all. Otherwise, you’ll end up with some dust particles in the stain/topcoat or paint.
How to remove paint stains from wood
Sometimes you only want to remove paint stains from the wood surface, not the whole paint coat. Below you’ll find some useful tips to help you with your task.
Water-based paint-fresh stain
For water-based paint stains on wood surfaces, use water and a cloth to wipe them off while still fresh. If it doesn’t want to come off, use a cloth soaked with denatured alcohol instead. That should do the trick. Use gloves and eye protection as well as a respirator.
Oil-based paint-fresh stain
If it’s an oil-based paint stain, wipe it off with a rag and mineral spirits.
How to Remove dried paint from Wood
If you need to remove a dried paint stain, you can soften it with boiled linseed oil. Soak the rag with boiled linseed oil and press it on the stain leaving for 30-60 sec. Then wipe off. Make sure the cloth you’ve used with this oil is dried thoroughly before disposing of it, as this oil can spontaneously combust.
If the stain doesn’t come off after soaking with oil, use a putty knife to remove the dried paint. Remove any stubborn residue with a linseed oil paste(boiled linseed oil and rottenstone. Mix the oil and rottenstone to make a paste, and then, using a cloth, rub it onto the paint stain along the wood grain.
Summary
Removing paint from wood doesn’t need to be complicated or difficult. Choose the right method for your project, follow the steps, and you should be good. The tools and products that you’ll use are also crucial to your success.
Whether you choose a mechanical or chemical way to remove paint from wood surfaces, make sure you take all the safety precautions necessary to protect yourself. I hope you liked this article and got all the information needed to help you with your project. If you have any more questions, I’ll be happy to help. Just leave a comment in the box below.
Don’t have time to read now? Pin it for later to your DIY tips board. Thanks!
Subscribe To My FREE DIY Newsletter!
Stay in touch and receive things like updates, special offers, new projects, tips, gear reviews, and more. No spam, promise!
By entering your email address, you agree to get an email newsletter from UpcycleThisDIYThat. I’ll respect your privacy, and you can unsubscribe at any time. For more details, review our Privacy Policy.
Last update on 2024-04-18 / Affiliate links / Images from Amazon Product Advertising API

Thank you for sharing this informative blog! All the information provided by you is really very helpful for all. Whenever we do a paint job so the problem we face is to remove dust particles from the surface. I agreed by using tack cloth you can keep your project dust-free. Everyone should follow the tips provided by you, it will make their work easier. Keep Posting! Keep Sharing!
Thank you!
Thank you for all the tips and ideas! We recently started renovation of our kitchen and are wanting to paint our kitchen cabinets. We needed to strip the current paint before we started, and this greatly helped us! Keep the posts coming!
Thank you, Addie,
I’m glad you’ve found this information useful.
These are such great tips! I ended up going with the heat gun to remove the paint from our cabinets. It went a lot smoother than I thought, and I actually forgot how much I liked what the wood looked like underneath! I was going to repaint them, but instead, I think I’m going to have someone come and do cabinet refinishing on them! I feel like I fell in love with the wood all over again! Thanks so much!
You’re very welcome, Kara! I’m glad you’ve found them helpful :))