A Quick Guide to Sandpaper for Woodworking
This post includes affiliate links. If you decide to make a purchase through my link, I might get a small commission for it at no additional cost to you. Thank you for supporting Upcycle This DIY That!
For someone who just begins woodworking or pallet/furniture upcycling, even the topic of sandpaper can be confusing. Instead of working on your projects, you spend time searching and gathering the info.
Even when you make your decision, perhaps you’re still not quite sure if you made the right choice.
If it’s you getting confused about what sandpaper to choose for your projects, this article will walk you through the basics. From grit numbers to materials used.
Everything you need to know about sandpaper for woodworking to get the results you want.
Sandpaper Basics
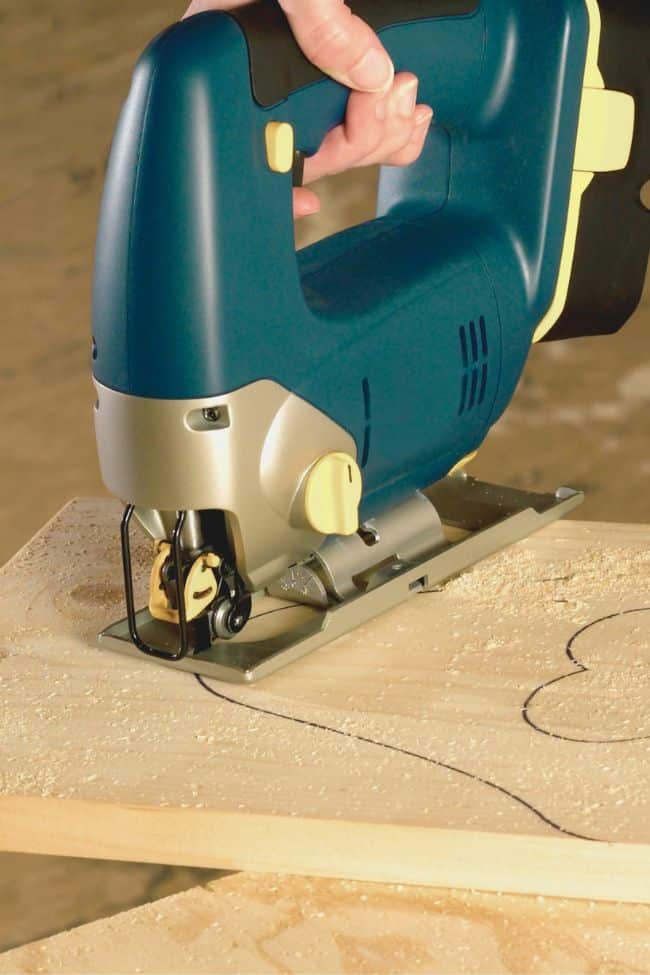
When it comes to sanding, you can either do it by hand or use power tools. Both methods have their applications. Using power sanders allows for wood shaping and removing a lot of material, blemishes, and irregularities.
It’s a lot faster, but you have to learn how to use power sanders to achieve the best results and don’t damage the surface.
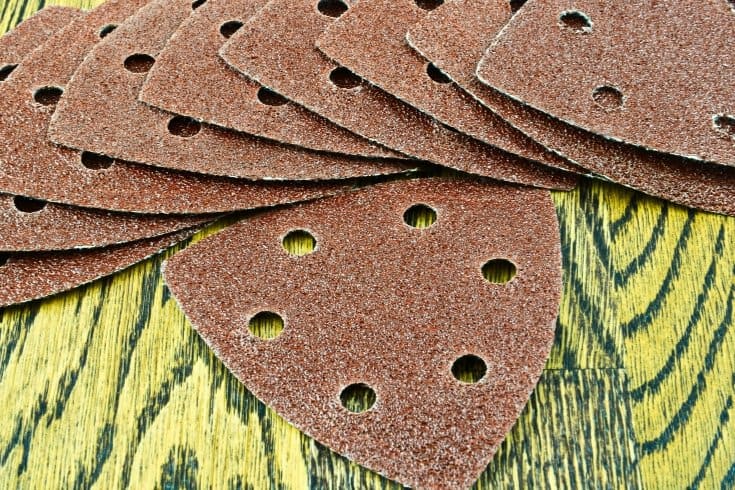
Sandpaper used with power tools comes in different shapes and forms as discs or sheets. Discs are used with random orbital sanders and are mostly attached by hook and loop systems. Square or rectangle sheets are used with finishing/sheet sanders. They are mostly attached by a set of spring clamps.
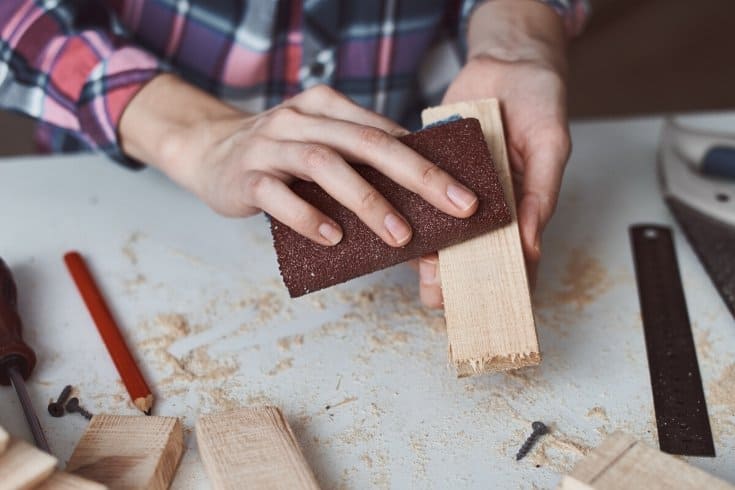
Sanding by hand is usually a lot more labor-intensive and a lot longer. But you have more control over the sanding pressure, and you’re able to reach places the power sander wouldn’t be able to.
Hand sanding would be the go-to while preparing your piece for finishing and between the coats of finish(stain, poly, wax). You can use the standard sandpaper sheets or sanding blocks/sponges for hand sanding.
YOU MAY ALSO BE INTERESTED IN:
Wood Sanding Tips for Upcycling and Pallet Projects
Best Sander for Pallets
Best Sander for Furniture
Best Finishing Sander-Buying Guide and Sanders Reviews
Best Sander for Removing Paint
Best Random Orbital Sander – Buying Guide and Sander Reviews
When To Change Sandpaper Grit For Woodworking And DIY Projects
Tool Tips: How Often And When To Change Sandpaper-A Quick Guide For Beginners
Grading Sandpaper
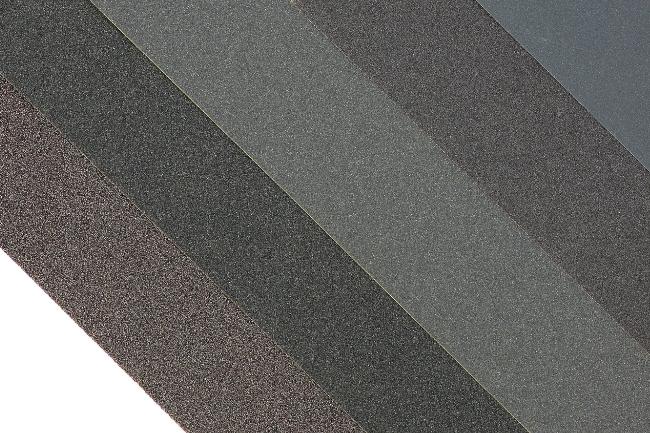
When it comes to sandpaper types, there are mainly two types: commercial and industrial grade. They differ in abrasive material used, the backing material(paper, fabric or plastic), and glue. The industrial-type paper uses superior-grade materials for all three components.
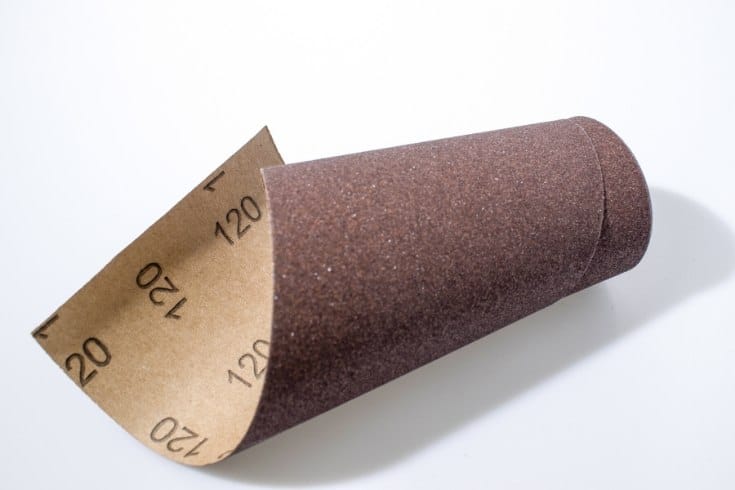
Grit Numbers
These numbers are used to mark the size of the abrasive particles. The higher the number, the smaller the particles and the finer sandpaper. The lower the number, the coarser the sandpaper as particles go up in size.
The larger the particles, the more visible the scratches they create. The grit of sandpaper ranges from 24 to over 2000, but for woodworking, a range of 60-220 is what is usually used.
Why Grit Matters
You may ask why does it matter what grit I use as long as it does the job? Well, it turns out it matters quite a bit.
Specific grit numbers are used for particular tasks, as you’ll see below. From sanding rough wood to wall and floor sanding to automotive work.
You don’t want to damage the sanded surface by using grit that is too coarse. Or you don’t want to use too finer grit if you’re going to stain wood, for instance, because the surface will be too smooth and the stain won’t take.
Normal Grit Ranges and Reading a Sheet
The sandpaper used to have all the info about particle size, type of abrasive, and even glue type used printed at the back. Nowadays, you usually only find the brand and the grit number.
Grits that are marked with P-X, where X is the grit size, are standard in Europe. In the US is usually the number only. There is a slight difference between them when it comes to the actual particle size.
In lower ranges, the difference is minimal, but if you go up the grit, it becomes quite significant. It’s pretty much the same going up to 240 grit, anything above, and you should pay attention- P800 is the equivalent of a Standard 400.
Since we only talk here about wood sanding, this doesn’t matter much, as you won’t be using ultra-fine grits. But I thought it’s worth mentioning.
- P12 – P 36 – extra coarse usually used for hardwood flooring initial sanding, very fast removal of material
- P40 – P50 – coarse, cuts through old paint, shapes, and round edges; not recommended for plywood as you can sand through the face layers
- P60 – P80 – medium i.e.sanding of bare wood, gentle removing of varnish, and final finishing
- P100 – P 120 – fine, used for cleaning plaster and water stains from wood, preparing wood for finishing
- P150 – P220 very fine, sanding of bare wood
- P240-P320 very fine, sanding finishes between consecutive coats and drywall and wood
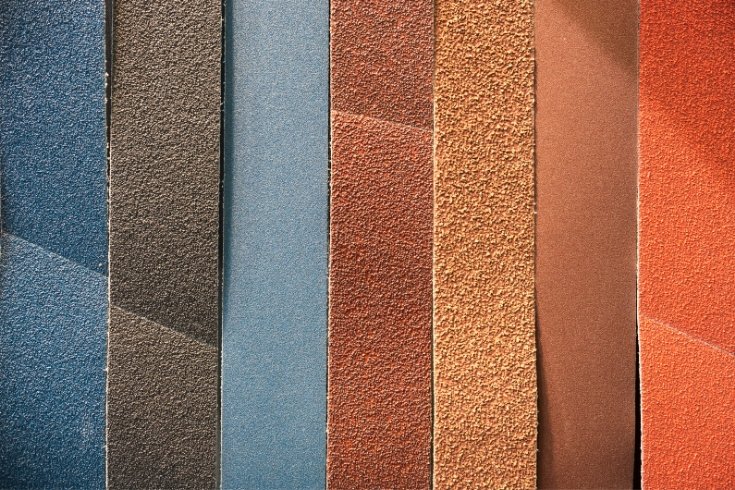
Types Of Abrasives
As I mentioned in my post about sanding wood for upcycling projects, the materials used to produce sandpaper have changed
over time. What we used then is entirely different from what we use now. In general, we have two types of abrasives- natural and man-made. All have various applications and outcomes.
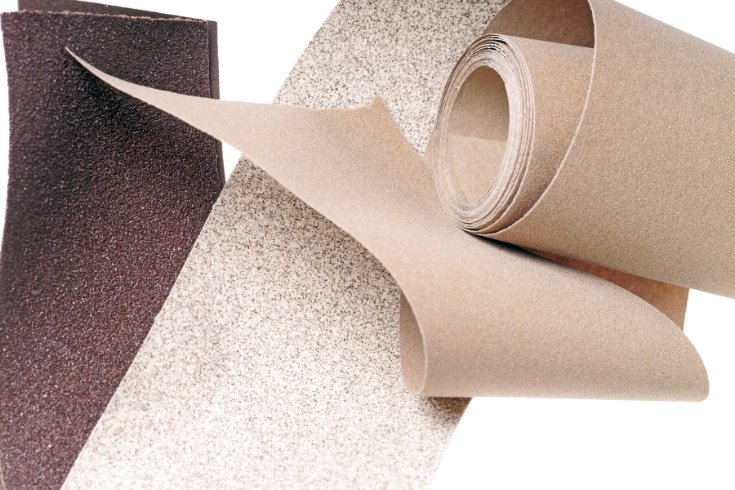
Natural
- Garnet – brownish-red in color, usually used for hand sanding. It’s great for raw wood, removing light scratches, and preparing surfaces for finishing. Using garnet won’t sand the wood fast but will give a better finish.
- Emery– comes with a cloth backing, and it’s great for sanding metals. Too soft for other uses, though.
- Glass – glasspaper is yellow in color and lightweight. Since it deteriorates quickly is rarely used for woodworking.
Man-made
- Aluminum oxide – more durable than garnet but doesn’t leave as nice of a finish. The most common type used in woodworking, especially with power sanders but used for hand sanding as well. The particles break during use revealing new, sharp edges.
- Silicon carbide– extremely hard but not as durable as aluminum oxide. Used mainly to sand metal surfaces, i.e., to remove rust or to sand drywall to smooth joints. It allows for wet sanding using water as a lubricant. And while it also can be used to sand between coats of finish, it’s not typically used for woodworking.
- High-tech ceramic– one of the most durable and long-lasting abrasives on the market. It allows for aggressive sanding and fast material removal on wood. It’s mainly used in belt sanding belts and disks for power sanding. It will usually leave a very rough finish, so proceed with caution while sanding ply or veneer.
- Alumina zirconia– very similar to silicon carbide and garnet but cuts faster and lasts longer. Although not as durable as ceramic. Its particles will break off during sanding, exposing new, sharp edges. It’s used in sanding belts, discs, and pads.
Clog stoppers
The way the sandpaper performs is determined by the number of abrasive particles per square inch of paper. Fewer particles and more space between mean less clogging with dust particles.
- Open coat- coarse grits are typically open coat, which means around 30% fewer abrasive particles and more space between. Best used for hardwood and metals.
- Closed coat- for finer grits 150 and above, where there is less chance of clogging, the paper is fully covered with abrasive particles. Best used for soft or resinous wood like pine or fir.
- Zinc stearate- a soapy substance used to treat sandpaper to prevent clogging. Recommended for resinous wood and sanding painted surfaces.
Choose the Right Sandpaper for every sanding chore
Choosing the right sandpaper for the right task will yield better and faster results. So take your time. Choose the best type of sandpaper as well as grit numbers for your sanding job.
- For fast removal of stock, use a sanding belt or disc (ceramic or aluminum oxide)
- For contoured surfaces, use a flexible sanding sponge (aluminum oxide)
- For smoothing flat surfaces, use a sanding disc or sheet (aluminum oxide)
- for smoothing clear finishes; uses water as a lubricating film use cloth-backed wet-or-dry sheet (aluminum oxide)
- For all-around wood-sanding tasks, use a paper-backed sheet (garnet)
- For buffing the edges of cut glass and plastics or producing a bright sheen on aluminum or copper surfaces (silicon carbide)
Which sandpaper grits should I use?
With the type of sandpaper decided, you now have to determine what is the starting grit that you need for your project. Then you’ll be going through the grits of sandpaper.
Each finer grit removes the scratches from the previous one until you’re satisfied with the final smoothness/result.
The starting grit depends on the wood itself, and for the piece milled to thickness with a planer, you can start with (P)150. But for upcycling pallets, you would often start with 60 or even 40 to remove blemishes and irregularities.
The next grit shouldn’t be higher than 50% of the previous one. So if you start with 60, you then go to 80, 120, and 180.
Getting a great finish
The next question is, at what point should I stop sanding? It depends on what you want to achieve. Finer grits smooth out the wood surfaces more, so it won’t take as much finish. So if you use oil or clear finish, you would generally stop at 180.
There is no need to go higher, as you’ll be sanding between coats of finish. The end result is a smooth finish on the wood, not the wood itself.
If you use a stain or dye, you can go up to 220. Anything higher, like 320, will create a very smooth, glass-like surface that won’t take much of the finish.
However, there are cases when I’d use such a high grit, and that is sanding chalk-painted surfaces before sealing for a very smooth finish on furniture. This would remove any brushstrokes that are typical while using chalk-type paint.
Summary
Sanding is not a woodworker’s favorite task, but turning a piece of wood from rough to smooth one is somehow satisfying. Choosing the right tools, including sanding paper, will help you achieve desired results and cut the time you spend on this task.
Make sure you pick the type of abrasive according to your project. Start with the right grit number and finish with the right one, too, to get the results you want.
I hope this article has answered the questions you may have had. However, if you’re still confused and unsure, just let me know, and I’ll try to help you the best you can. Just leave a comment in the box below.
Don’t forget to pin it to your woodworking/DIY tips board! Thanks!
Subscribe To My FREE DIY Newsletter!
Stay in touch and receive things like updates, special offers, new projects, tips, gear reviews, and more. No spam, promise!
By entering your email address, you agree to get an email newsletter from UpcycleThisDIYThat. I’ll respect your privacy, and you can unsubscribe at any time. For more details, review our Privacy Policy.