When to Change Sandpaper Grit for Woodworking and DIY Projects
This post includes affiliate links. If you decide to make a purchase through my link, I might get a small commission for it at no additional cost to you. Thank you for supporting Upcycle This DIY That!
Sandpaper grit is one of the most important factors when it comes to getting a perfect finish with your woodworking project. It may seem difficult to know which grit size to use and when to change the sandpaper grit when you are just starting out.
There are many different types of sandpapers that have varying degrees of coarseness and hardness. When should I change my sandpaper grit? Read on for some helpful tips!
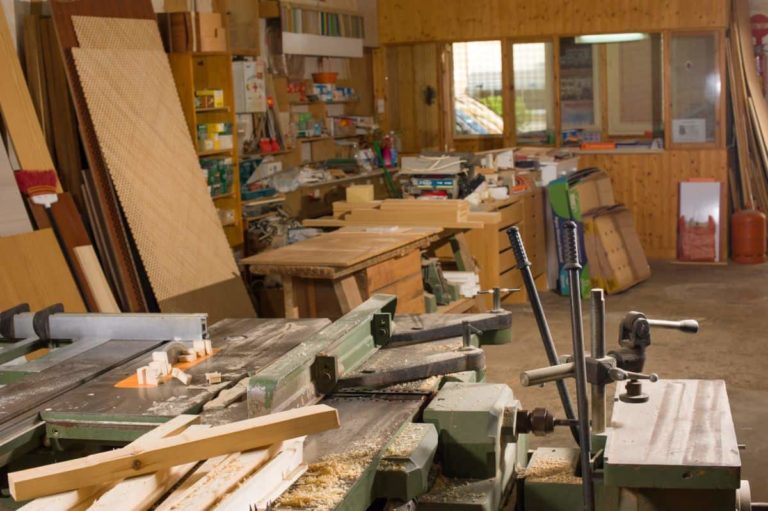
Start out with coarse/medium-grit sandpaper
The first thing you need to do is identify the project you are working on. Different woods have different tendencies and require different sandpaper grits to achieve the desired results.
For example, hardwoods like oak should be sanded, starting with a coarser grit than pine, which is softwood. If you sand old wood like used pallets, you would want to start with a coarser grit as well.
In addition to the type of wood you are working with, you also need to take into account the project’s overall size and complexity.
A small, simple project may only require a single grit/a couple of grits for the entire job, while a larger or more complex project may require multiple grits in order to achieve the desired finish.
As a general rule, it is usually best to start with a coarser grit and then move up to a finer one once the bulk of the work has been done.
Always start out with coarse/medium-grit sandpaper and then progress up in grit size depending on the wood’s hardness and your desired finish.
There are also other factors to consider when changing your sandpaper grit. The type of sander you are using can make a difference and how much material you are trying to remove.
When removing large amounts of material, use a coarser grit with a random orbital or belt sander; when just smoothing the surface, use a finer grit using a finish/orbital sander.
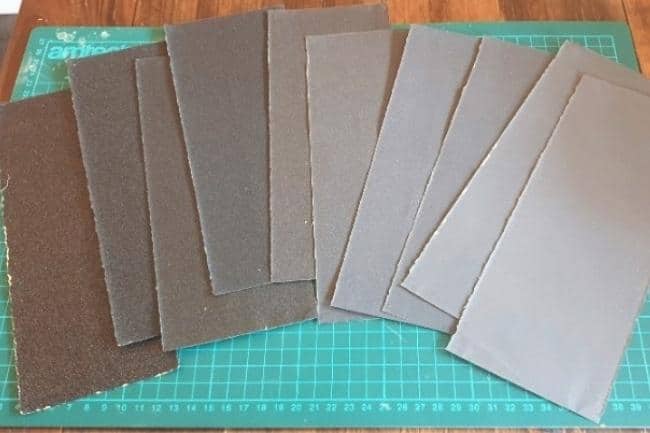
When to change sandpaper grit
So once you finished with one grit, let’s say P60 or P80, then you move to the next higher grit, in this case, P120? This is a common question for woodworkers and DIY enthusiasts.
The answer is not always so straightforward, as it depends on the type of material you are sanding and the desired results.
In general, you will want to use a finer grit than the one you used to smooth your initial rough surface. The rule of thumb is to move up 50% in the grit number.
For example, if you started with P60 and then moved up to P80/P100, you would continue with P120/P150 and then P180/P220 for a very smooth finish.
I’d stop on P180/P220 for raw wood before staining. If the wood surface is too smooth, the stain may not take in properly.
Then once you’re ready to finish with a top coat, I’d move to higher grits. Remember to sand between coats and change the grit to finer accordingly.
However, if your final goal is a rougher texture, then using a coarser grit may be more appropriate. As always, experiment until you achieve the look you desire.
When working with harder materials like oak or walnut, it is often necessary to use grit as fine as P400 or even P600 to achieve the desired results.
Conversely, softer woods like pine can be sanded with grit as coarse as P40 without damaging the surface. Keep in mind that the lower the number, the coarser the grit.
What factors should be considered when determining the number of grits needed for a project?
When it comes to determining the number of grits needed for a woodworking project, there are a few things to consider. First off, you’ll want to think about the type of wood you’re working with. Softer woods like pine or cedar may require fewer grits than harder woods like oak or maple.
The size and complexity of the project also play a role. Larger projects or projects with intricate details will require more grits to ensure a smooth finish. You may need to use finer grits for smaller details or hard-to-reach areas.
The type of grit you begin with affects how many grits you’ll need overall. If you start with a lower grit, you’ll need to use more grits to get a smooth finish. If you start with a higher grit, you’ll need fewer grits to get the same level of smoothness.
However, if the wood surface is rough to begin with, starting with a higher grit won’t work well because you won’t be able to remove much material at first, and the final result won’t be as smooth as needed.
The desired finish is also a factor to consider. If you want a highly polished finish, you’ll need to use more grits to achieve a smoother surface. If you’re going for a more rustic or textured finish, you may be able to use fewer grits.
Also, as mentioned above, if you want to use wood stain at some point in the project, you shouldn’t go too fine with the grit. The smoother the wood, the more difficult for the stain to take in evenly.
And finally, it’s worth considering personal preference. Some people might be satisfied with a less polished finish, while others may want to put in the extra work to achieve a highly polished surface.
In summary, it’s a good idea to start with a lower grit and work your way up to higher grits to achieve a smooth finish. This may require several rounds of sanding with progressively higher grits until you achieve the desired finish.
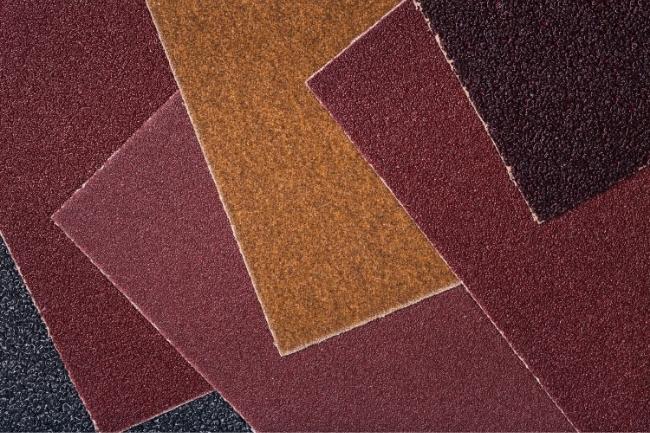
Sandpaper wear and tear
It is also important to note that sandpaper wears down with use. As the paper becomes clogged with sawdust and other debris, its effectiveness decreases.
When this happens, it’s time to change your sandpaper sheet for a fresh, clean one. Be sure to check your sandpaper often and make the necessary changes as needed for optimal results!
Ideally, you should change your sandpaper every time you switch from a coarse grit number to a finer one. So if you’re starting off with 80-grit paper, then you would finish up with 120-grit paper before moving on to 180-grit paper and so on.
However, changing the grit of sandpaper is not always practical(such as if you’re refinishing an entire house’s worth of furniture).
When that’s the case, then it’s typically best to change your sandpaper when you switch from a coarse grit number like 60 to a finer one like 120.
So you do everything in one grit, and once that is done, you change it to the next one. Changing the used paper in between grit changes.
As you become more experienced with woodworking and DIY projects, you will develop a feel for when to change sandpaper grit in order to achieve the desired outcome. Until then, experiment and have fun!
If you want to learn more about sanding wood and sandpaper grits, then check out the posts below I have written on these topics. If you have any questions about this topic, please leave a comment in the box below.
Wood Sanding Tips for Upcycling and Pallet Projects
A Quick Guide To Sandpaper For Woodworking
How Often And When To Change Sandpaper–A Quick Guide For Beginners

Subscribe To My FREE DIY Newsletter!
Stay in touch and receive things like updates, special offers, new projects, tips, gear reviews, and more. No spam, promise!
By entering your email address, you agree to get an email newsletter from UpcycleThisDIYThat. I’ll respect your privacy, and you can unsubscribe at any time. For more details, review our Privacy Policy.