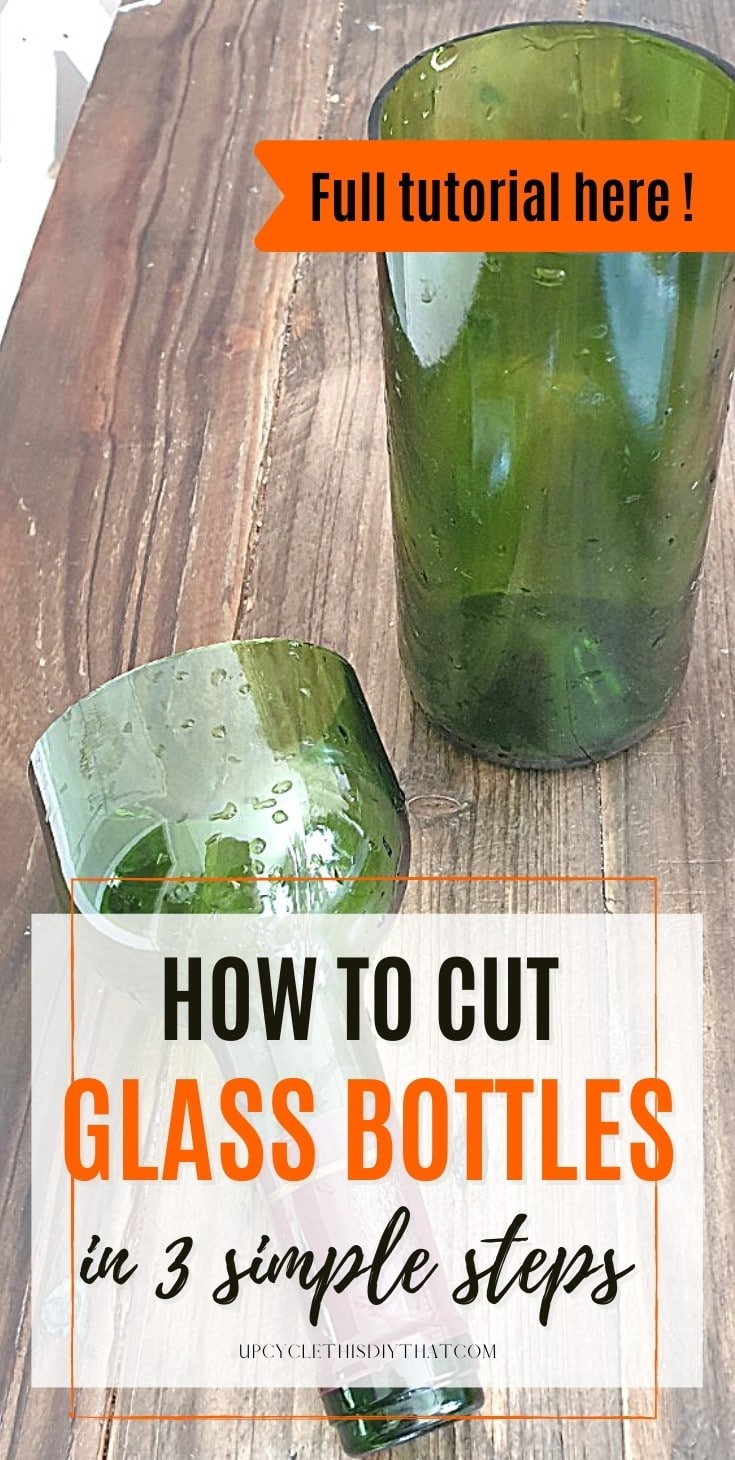
How To Cut Glass Bottles Or Jars in 3 Simple Steps
This post includes affiliate links. If you decide to make a purchase through my link, I might get a small commission for it at no additional cost to you. Thank you for supporting Upcycle This DIY That!
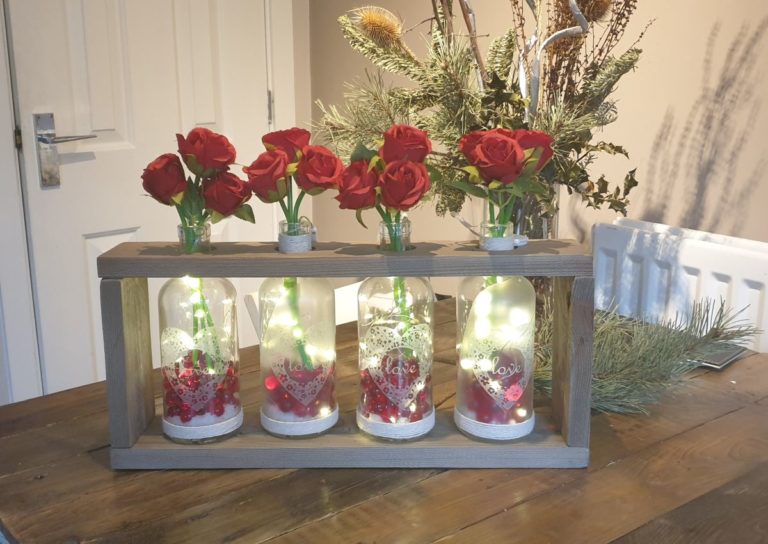
This post about how to cut glass bottles is a great way to learn something new! I have a collection of empty passata jars that are waiting to be upcycled. I was thinking I could turn into pretty glass vases but the jar mouth needed to be cut as it was too narrow.
So I decided to write a short tutorial about cutting glass bottles that is easy and produces great results every time. Once you learn how to do it you can make all sorts of interesting decorations for your home with used bottles or jars—just be careful not to get hurt in the process.
If you want to learn how to cut glass bottles, you’re in luck! It is a fun and creative way to make decorations for your home. The art of cutting glass bottles can be difficult if you don’t know-how. However, with the right tools and techniques, anyone can do it!
How to cut glass bottles or jars
This particular glass-cutting process is a pretty simple one, but it’s important to take precautions. Glass can be temperamental and break at any time – even if you follow the instructions to a letter. Always wear gloves, goggles, and a respirator for protection.
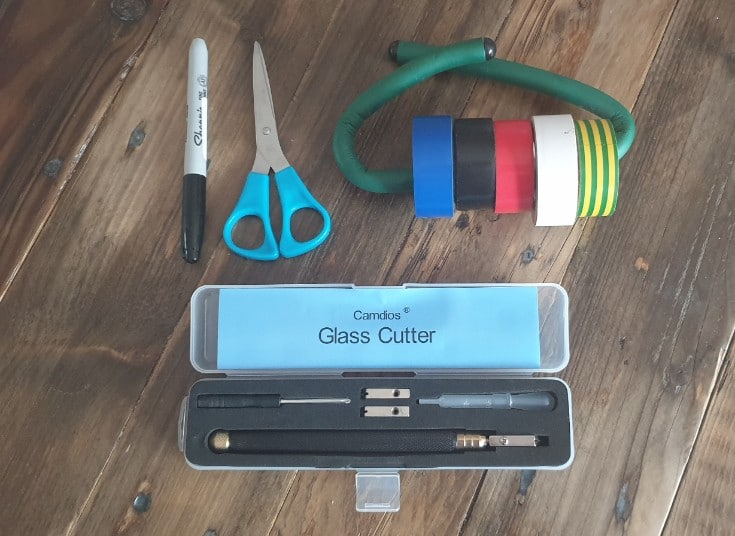
Tools and materials
- Glass bottles/jars
- Glass cutting tool and oil/ bottle cutter
- Wooden block/small vice and worktable
- Goggles
- Gloves
- Boiling hot and cold water
- Scissors
- Sharpie
Prep the bottles
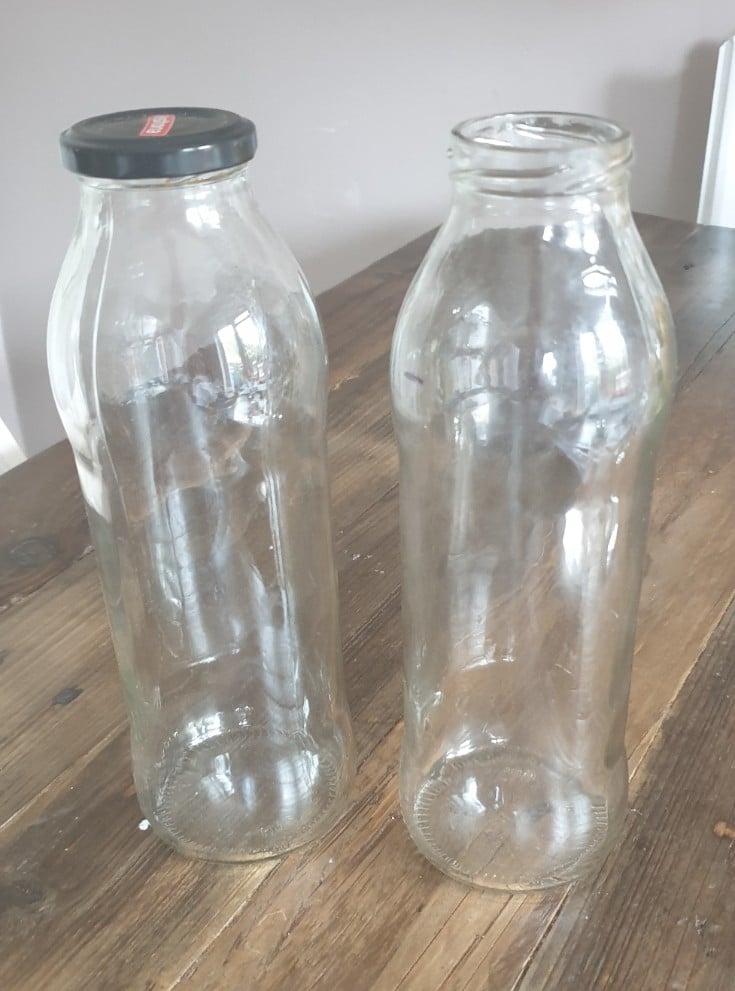
To make sure the bottles are clean and ready to use, wash them thoroughly. It’s also important to remove labels or other stickers from the containers before moving on to the next step.
Make a cutting block
Make a cutting block out of scrap wood. This is to help you make an even cut at the same height. You can check the second video down below for more details. If you haven’t got a wooden block, you can use a glass or a mug. Place it upside down and secure the glass cutting tool with duck tape on the top. Make sure it doesn’t move.
If you going for this method, make sure you have a glass cutter that doesn’t swivel like this one. It will be a lot easier to score the glass evenly.
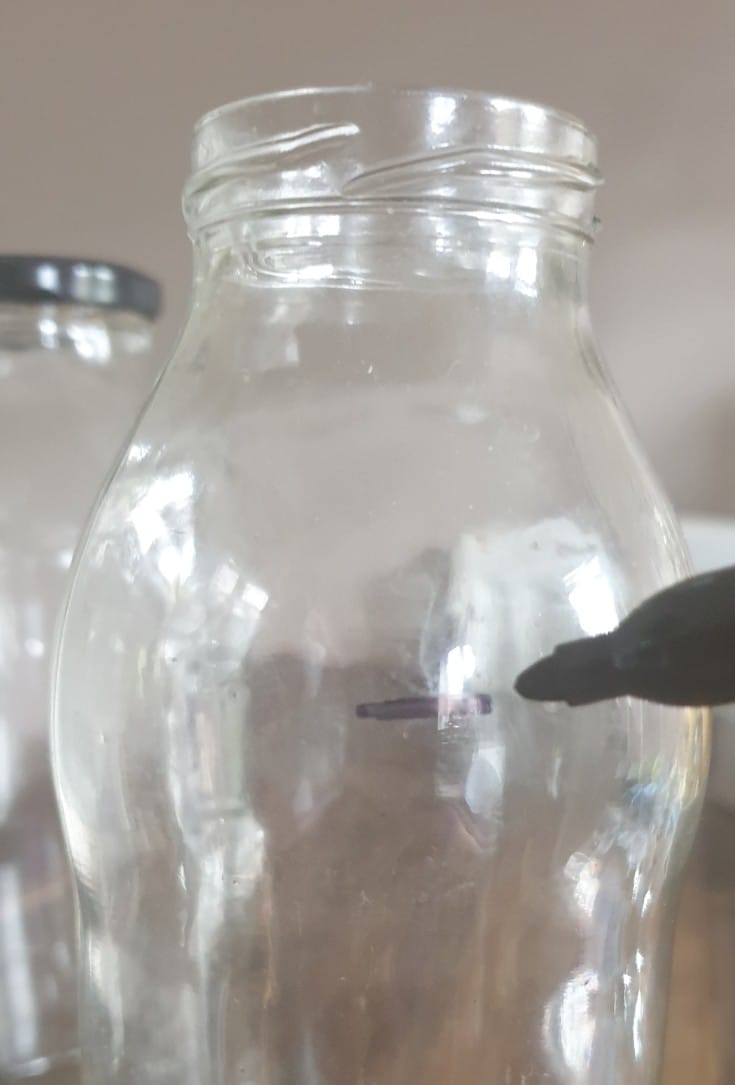
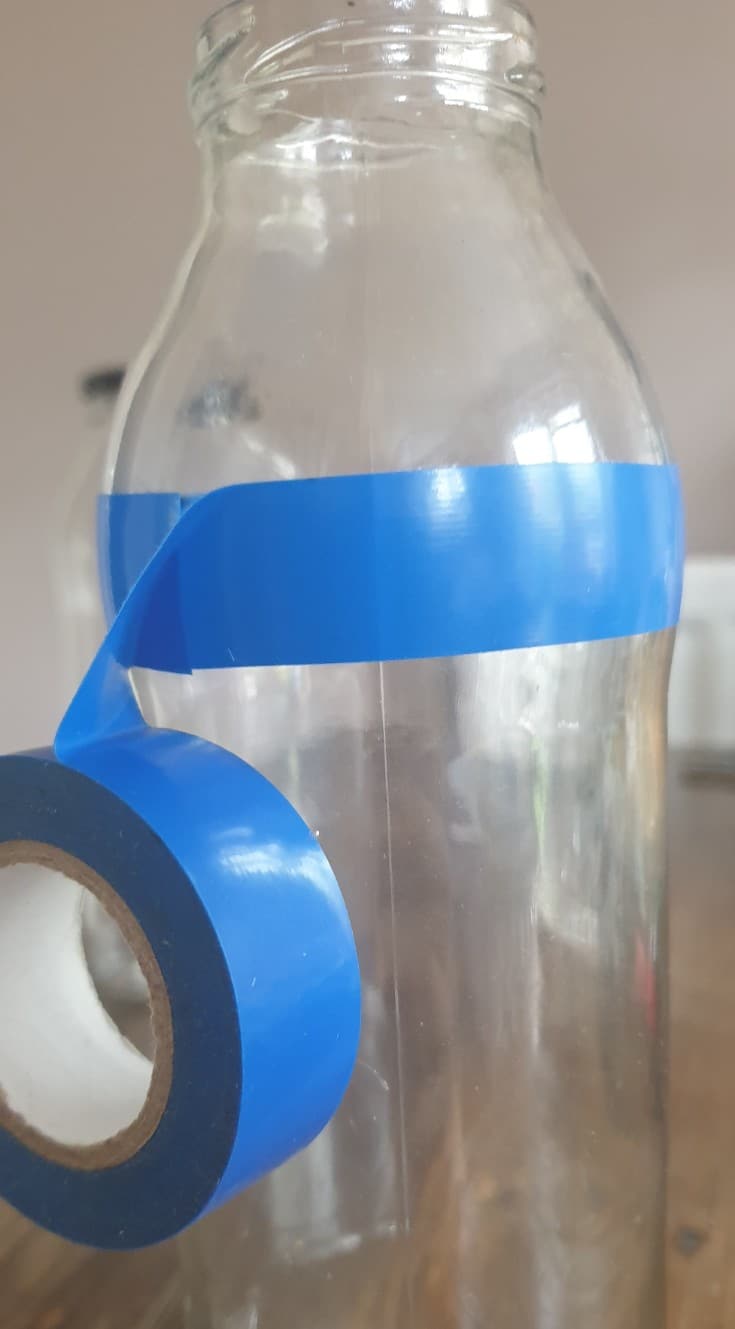
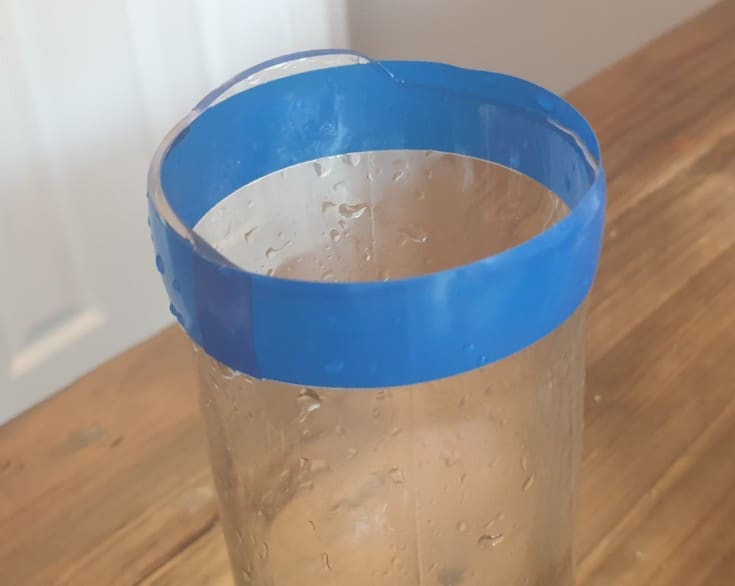
I was in a hurry and decided to go freehand and score the glass without the wooden block. I used electric tape to mark the cut line.
Cutting the bottle/jar
> Score the glass
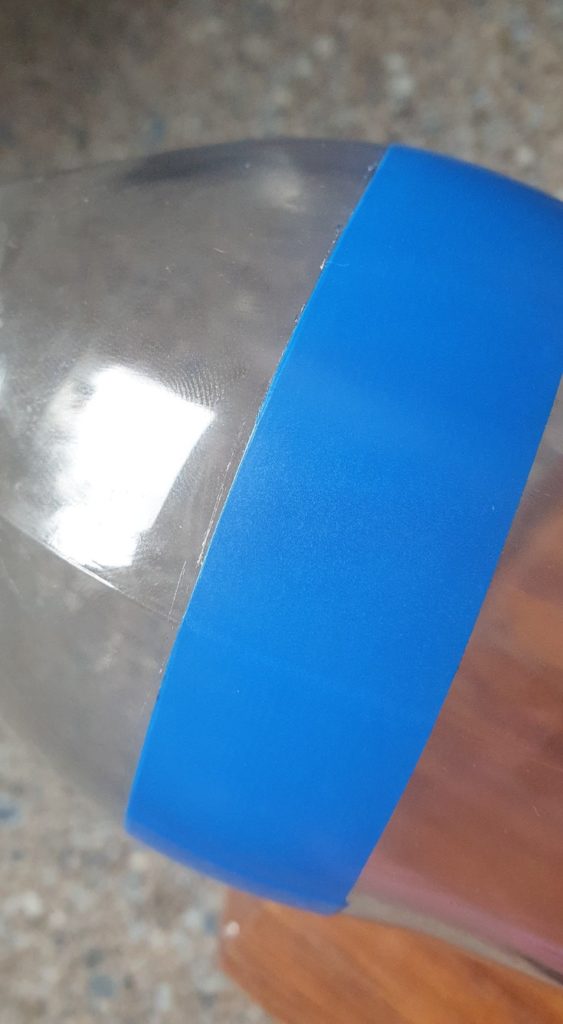
This process is actually rather simple. Score the glass with your blade using light pressure, and try to do it in one go without going over the line again- less really is better! Apply light pressure while scoring. The camera had a problem with the scored line that is somewhat visible above the tape.
> Pour boiling hot water over the score mark
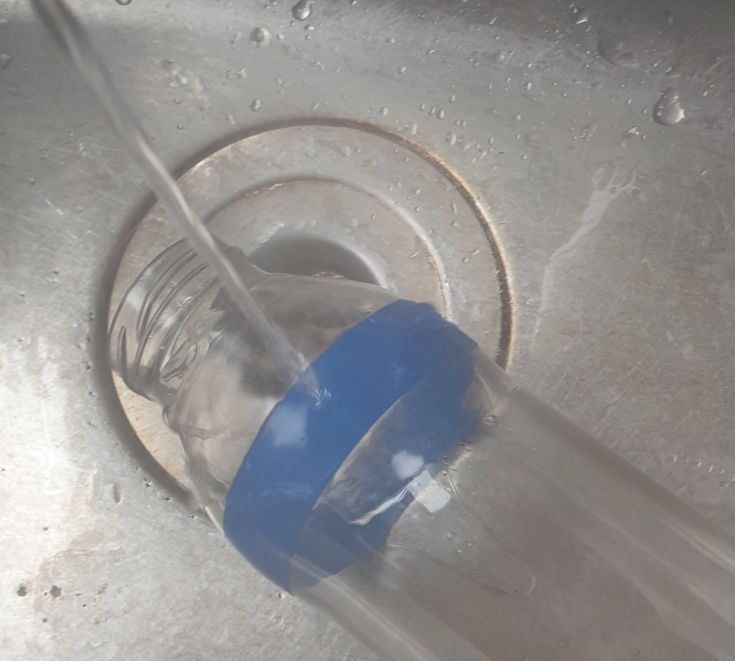
Next, move to the sink and cautiously pour boiling water over the cut line. Do it slowly, turning the bottle at the same time. You don’t want to splash too much hot water over the bottle in one go. Don’t forget to wear eye protection and watch not to burn yourself!
> pour cold water over the score mark
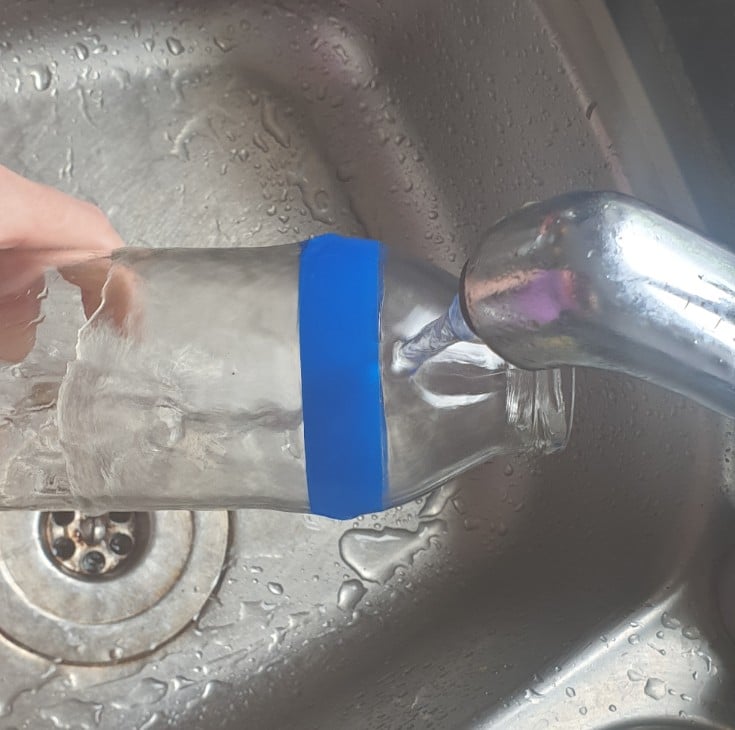
Next, you want to pour cold water on the cut line. Cold tap water is fine.
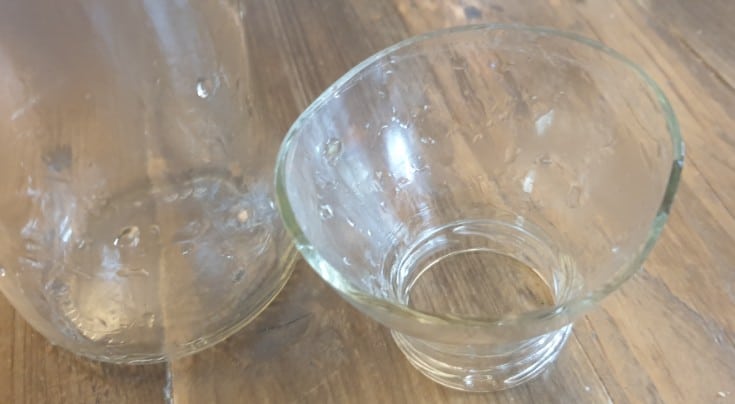
> Repeat until the glass breaks
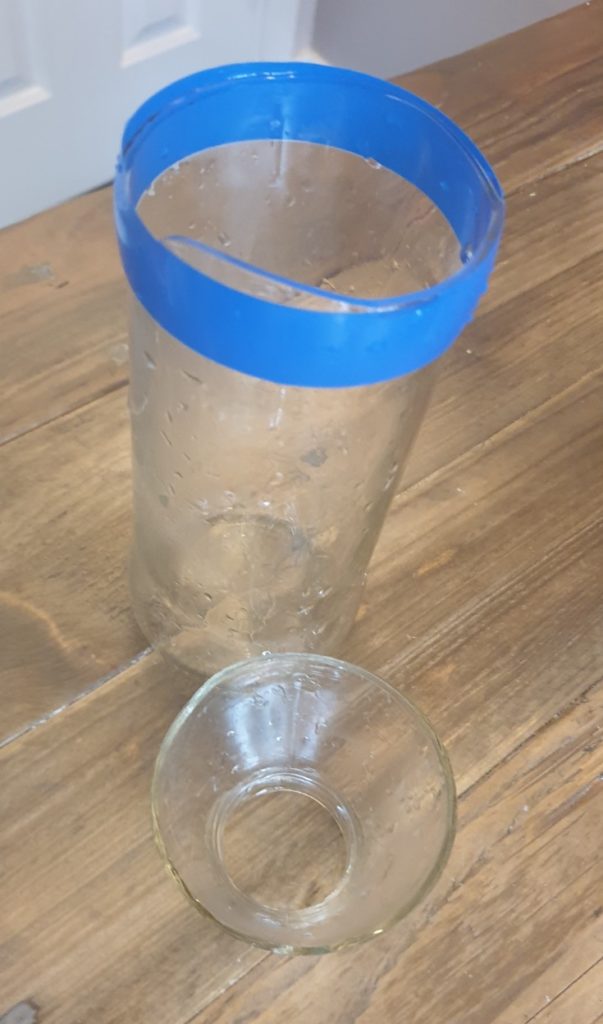
Repeat the process until you see the glass crack. In this case, the edge came out very smooth, but the glass broke above the scored line. It happens sometimes. I must stress here that getting a perfectly scored line in one go is the key to success in getting a clean cut. You could try to sand it down, but I’ll have another go as I have loads of these jars.
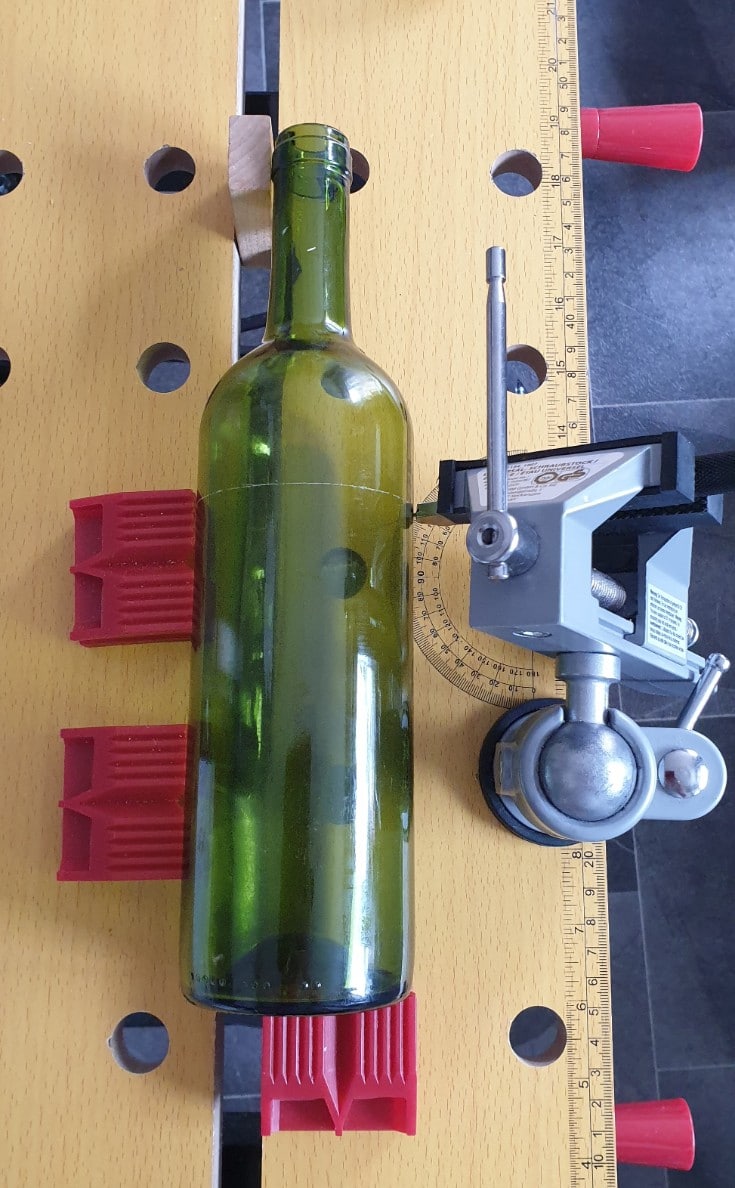
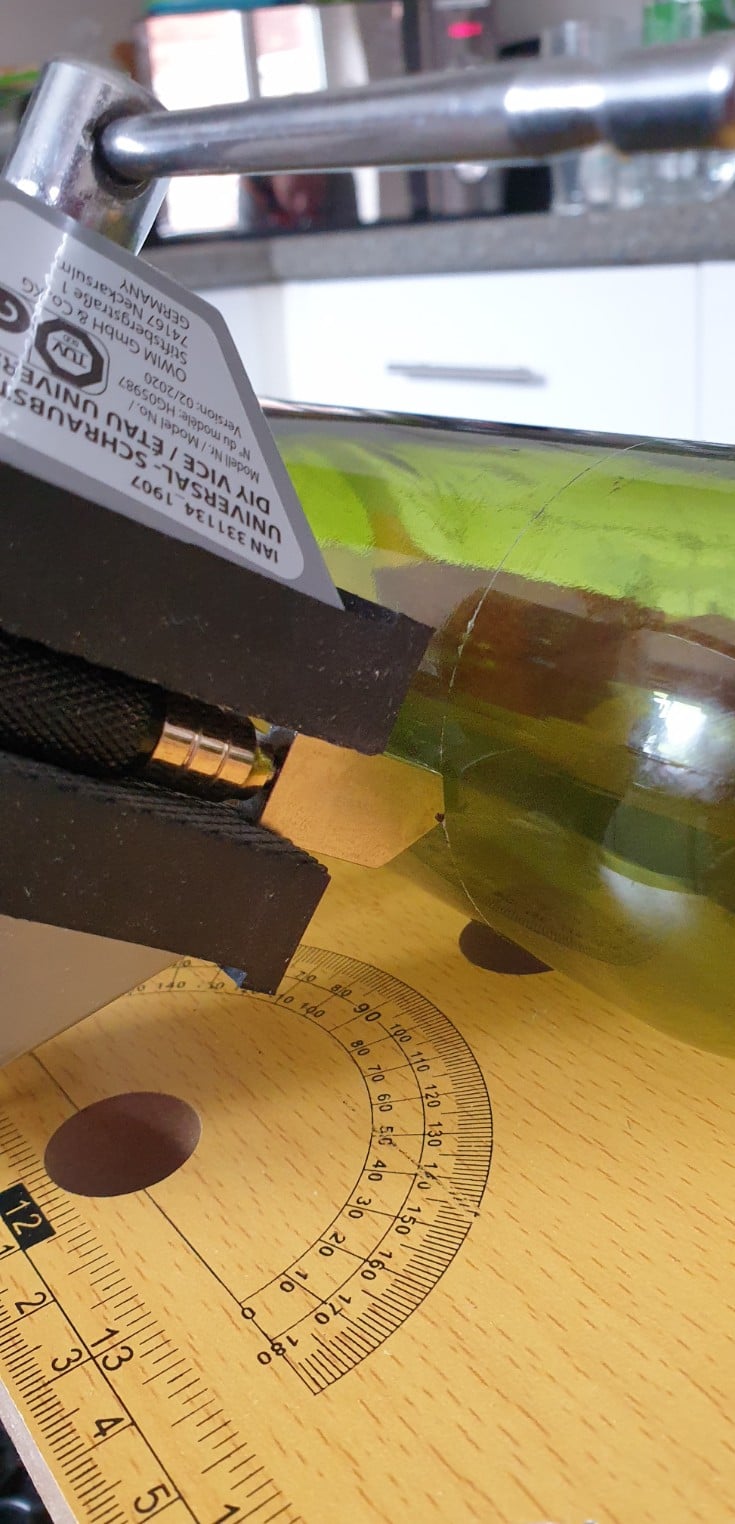
I really wanted to have an even cut, so I came out with a way to have repeatable results. You can find tonnes of youtube tutorials on how to build a glass bottle cutter yourself, or you can buy one like this kit on Amazon. I managed to come up with my own “bottle cutter.”
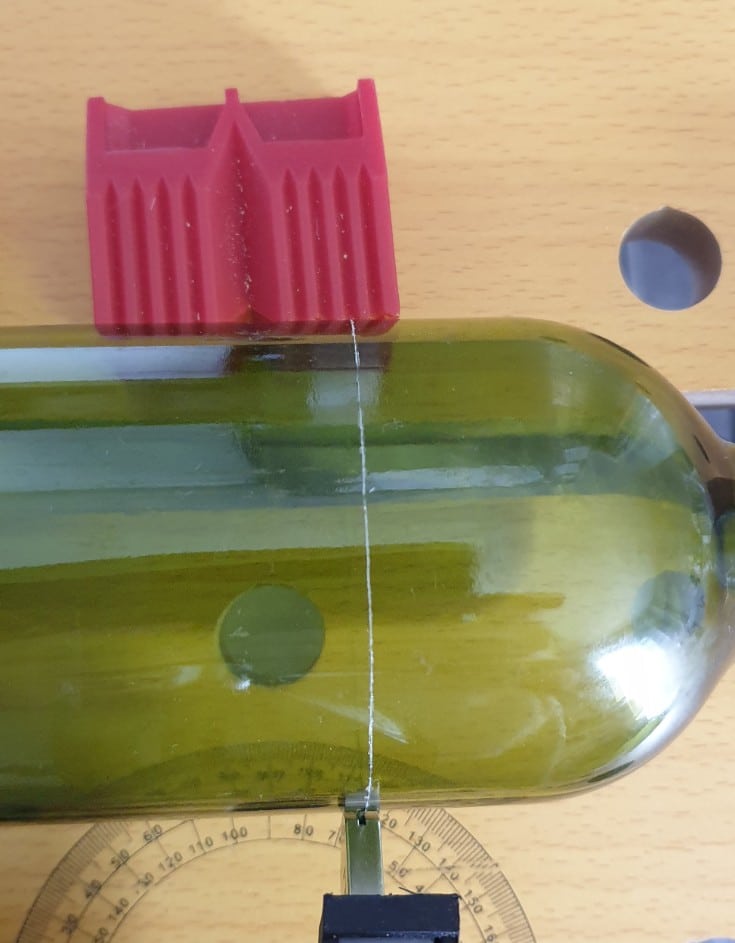
I mounted a small vice to my work table and put the glass cutter in the vice to hold it at an angle. Then I had the red holders in place to hold the bottle so it wouldn’t move too much while turning.
This way, I can cut any size bottle or jar. Just make sure you oil the blade and push hard enough to score the glass evenly. The line has to be unbroken for the glass to break cleanly.
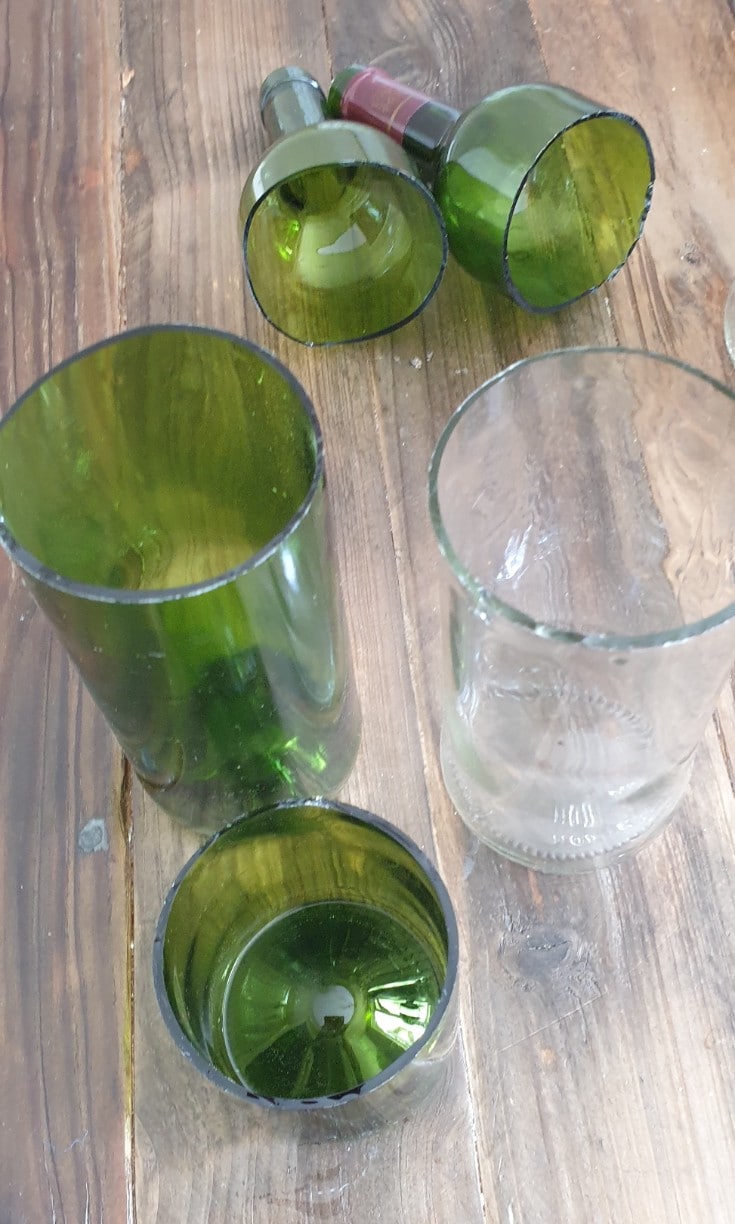
The results were incomparably better. These came out amazingly clean and even. I had some small bits that were left behind and removed them with pliers.
The next step is to wet sand the sharp edges to a smooth finish. For a step by step instructions, check this article on how to polish cut glass edges.
Check the videos below showing how to cut a glass bottle with a cutting tool or by hand using a simple hand glass cutter. If you’re going to use the second method, make sure you hold the cutter securely and apply some steady light pressure to the glass. This will let you make an even scoreline.
a few last words on how to cut glass bottles
The process of cutting glass bottles is not as complicated as you may think. A simple 3-step process that can create beautiful, personalized gifts from recycled or used materials.
With the right tools and proper technique, anyone with steady hands should be able to do it in less than 20 minutes! I hope you liked this quick tutorial and that now you know how to cut glass bottles for your DIY projects.
Subscribe To My FREE DIY Newsletter!
Stay in touch and receive things like updates, special offers, new projects, tips, gear reviews, and more. No spam, promise!
By entering your email address, you agree to get an email newsletter from UpcycleThisDIYThat. I’ll respect your privacy, and you can unsubscribe at any time. For more details, review our Privacy Policy.