
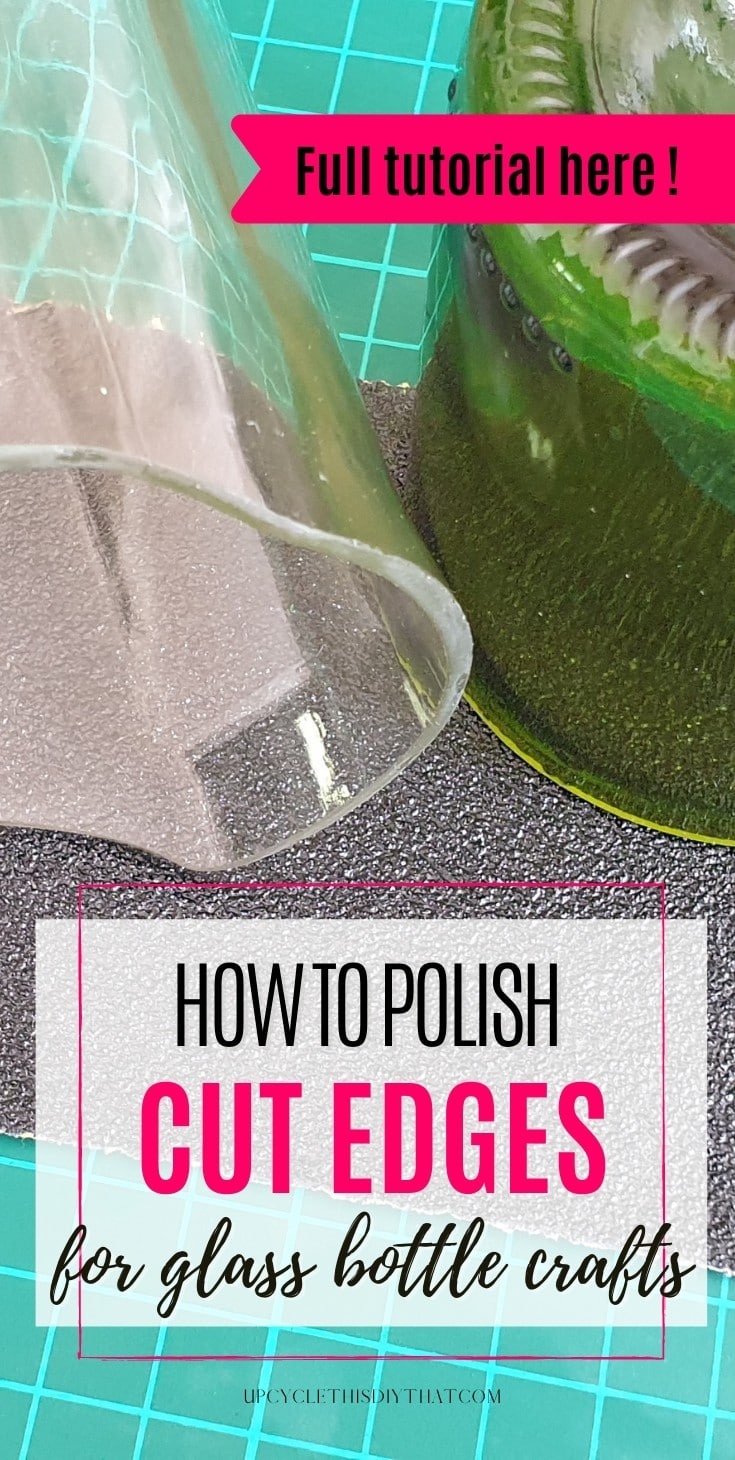
How To Polish Glass Edges- Super Quick Tutorial for Upcycling Glass Bottles
This post includes affiliate links. If you decide to make a purchase through my link, I might get a small commission for it at no additional cost to you. Thank you for supporting Upcycle This DIY That!
Cutting glass bottles is a fun and creative way to make decorations for your home, but it can be difficult if you don’t know how. However, with the right tools and techniques, anyone can do it!
Then there is the process of polishing your project so that it’s safe for use. It involves sanding and smoothing out the sharp edge(s) to make it useable. In this quick tutorial, I’ll show you how to polish the glass edges of cut bottles to achieve a beautiful smooth finish.
The process is super simple and doesn’t require many resources/tools. But keep in mind the safety while sanding glass or any other material.
How to polish glass edges
The simplest method for this is to use wet/dry sandpaper and wet sand the bottle. This way reduces the glass particles in the air during sanding. Make sure you use safety goggles and a respirator to protect your eyes and lungs.
Tools and materials
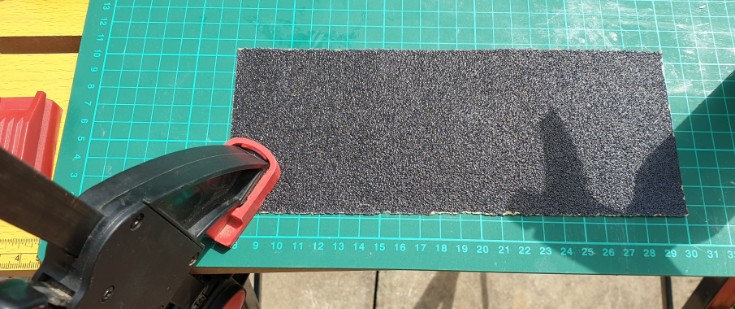
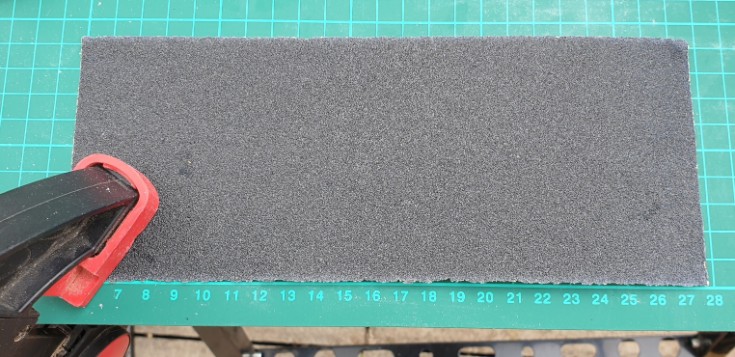
- Wet/dry sandpaper P60-P2000 and/or sanding sponges
- Safety goggles
- Face respirator
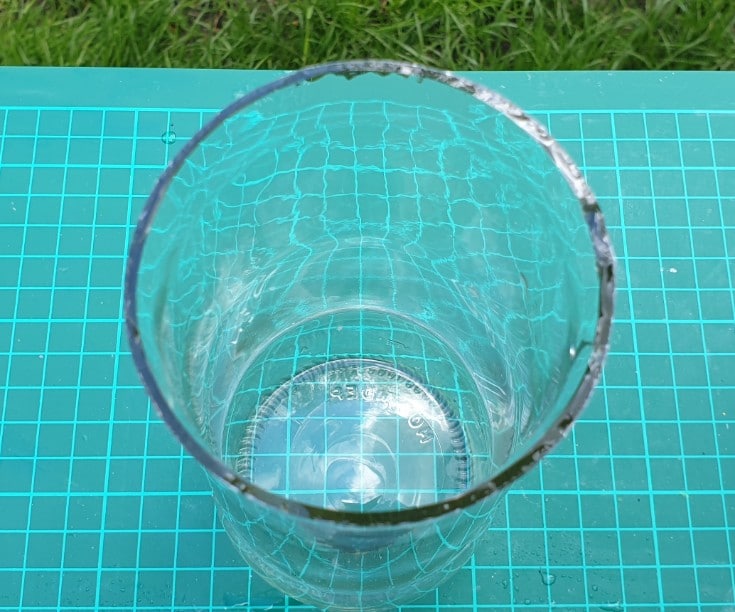
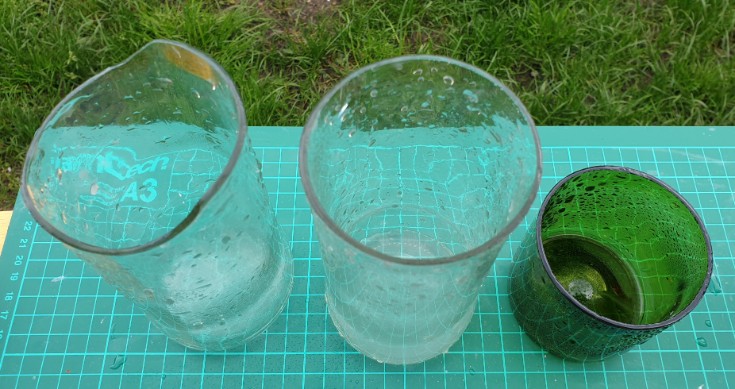
- Cut bottles
- Container with water or spray bottle with water
Polishing the cut glass edges
As mentioned above, sanding glass can be hazardous to your health. In order to avoid these issues, you should do wet sanding so that the particles from the glass are not suspended in the air and contaminate anyone nearby who is breathing them in.
Always wear eye protection AND a face respirator when doing this task!
> Start with coarse-grit sandpaper- P60/80 to smooth the edges
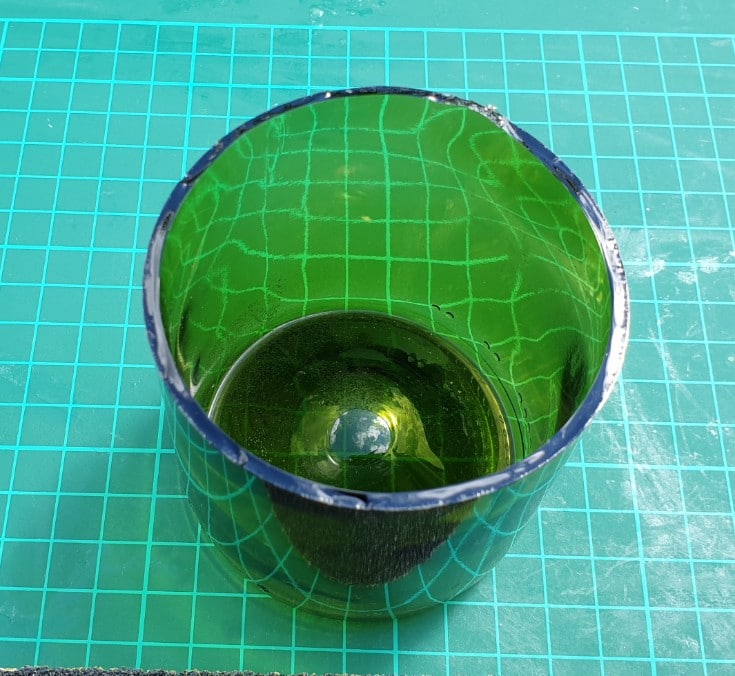
In order to get these cuts looking nice and smooth, you’ll want to start with some coarse-grit sandpaper. First, wet the sandpaper before placing it on a flat surface, and using circular motions, begin sanding the edges.
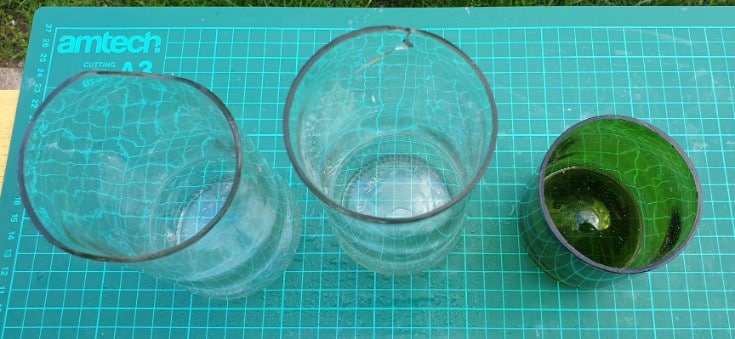
Rotate the polished piece to sand it evenly. Wipe the water off the edge and check if the edge is sanded down/smooth enough.
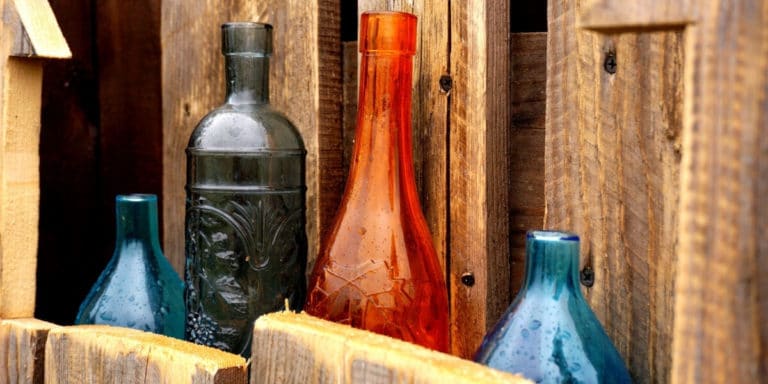
The green bottle had a pretty smooth edge from this method of cutting glass bottles, so it didn’t need much smoothing out.
Then take the wet paper and sand the inner and outer edge. You can use a soft sanding sponge(for wet sanding) for that purpose or material-backed sandpaper for more flexibility, especially for the coarser grits.
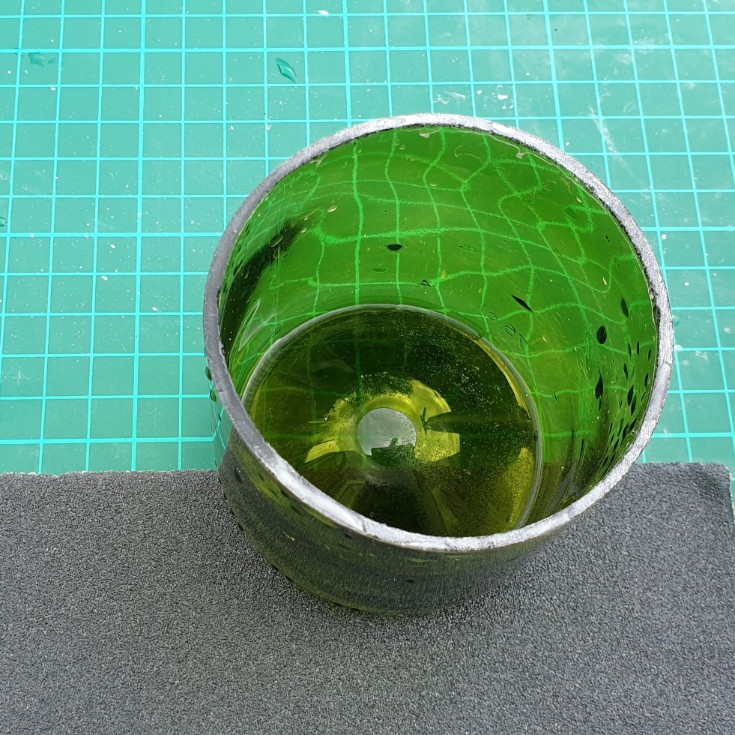
> Next, move up the grits until you are happy with the result and smoothness of the glass.
Next, I used P100 to continue sanding/polishing the glass. Remember to sand the inner and outer edges of the glass.
Then I used P150, P180, P240, P320, P400, P600, P800, and then finally P1200 and P2000 to finish off polishing the glass.
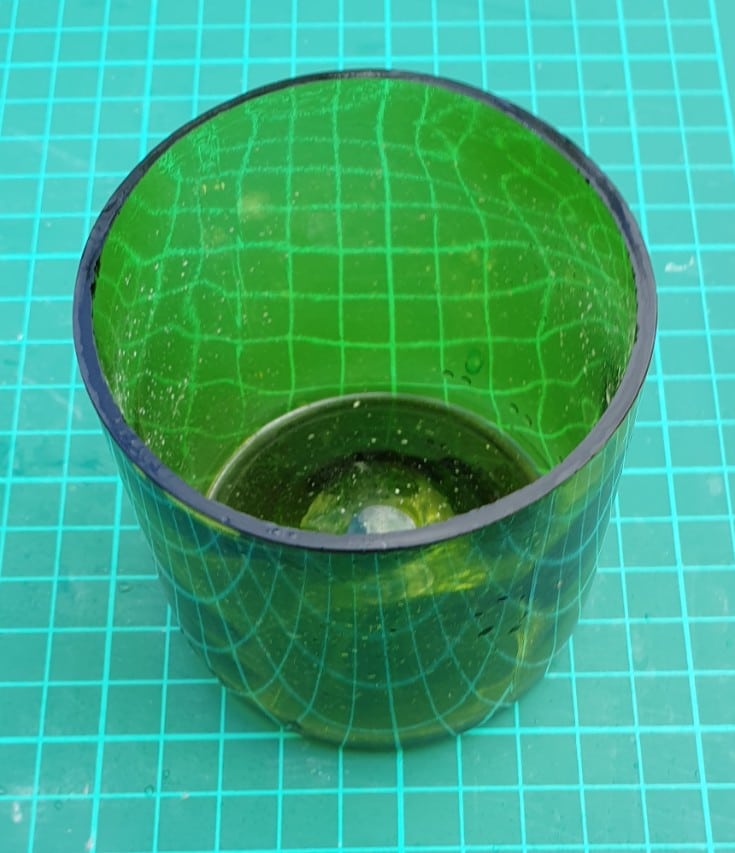
The final result
conclusion
This is one of the best ways to polish cut glass bottles quickly and easily. I hope you found it helpful, and now you know how to polish glass edges, I’m sure you will create some awesome glass bottle projects/decor!
Do you know any other methods? Share your thoughts in the comments below and let me know so that we can all learn together 🙂 And don’t forget to pin it to your DIY tutorials board. Thank you!
Subscribe To My FREE DIY Newsletter!
Stay in touch and receive things like updates, special offers, new projects, tips, gear reviews, and more. No spam, promise!
By entering your email address, you agree to get an email newsletter from UpcycleThisDIYThat. I’ll respect your privacy, and you can unsubscribe at any time. For more details, review our Privacy Policy.


I use the same grits but on my random orbital sander, including wet sanding. Works well and quickly.