How to Age Metal for DIY Projects and Crafts-5 Super Easy Methods
This post includes affiliate links. If you decide to make a purchase through my link, I might get a small commission for it at no additional cost to you. Thank you for supporting Upcycle This DIY That!
Hey crafters and DIY-ers! Are you looking for some new ideas on how to age metal? Are you bored of aging and distressing wood, and perhaps you want to add some character to your metal surface?
Maybe a bit of rust on the hinges of that old door or a vintage patina on your decor bits. No need for paint when there are easy methods like sanding and chemical reactions!
I’ve been doing some research on making metal look old for a DIY project, and I have found out that there are many different ways of achieving this. Some methods are easier than others, but what matters is the end result!
The goal is to produce an aged metal piece that looks authentic and has character.
I will explore the different methods in this post, so you can choose what is best for your needs. Let’s get started!
How to Age Metal using table salt, vinegar, and peroxide
Table salt, vinegar, and hydrogen peroxide is a pretty straightforward method of aging metal. It’s also one of the cheapest methods out there!
- Place your metal bits in a plastic container and pour distilled vinegar covering the pieces. Then add a small amount of salt to its top and let it sit for a few hours!
- Then take out the metal bits and, in a different container, sprinkle them with salt, add peroxide and watch them turn a brownish hue!
- After the solution stops bubbling(around 30 min), take the bits out using tongs and place them on a paper towel to dry. Usually, when using vinegar or salt, rusting takes days, but with oxygen in contact, metal bits react very quickly.
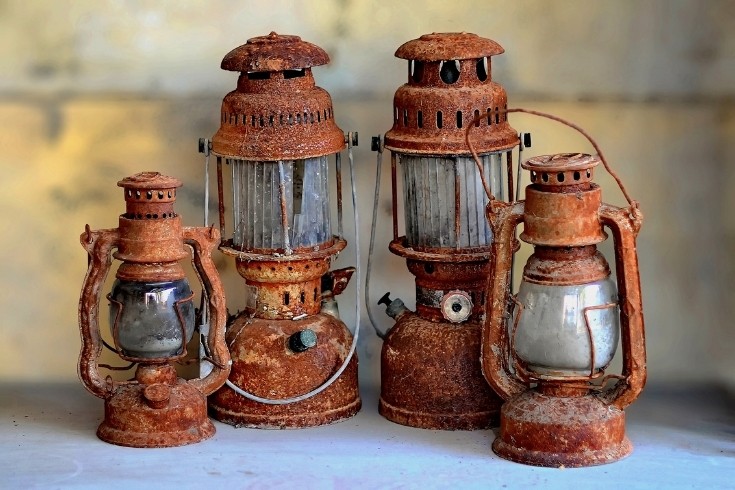
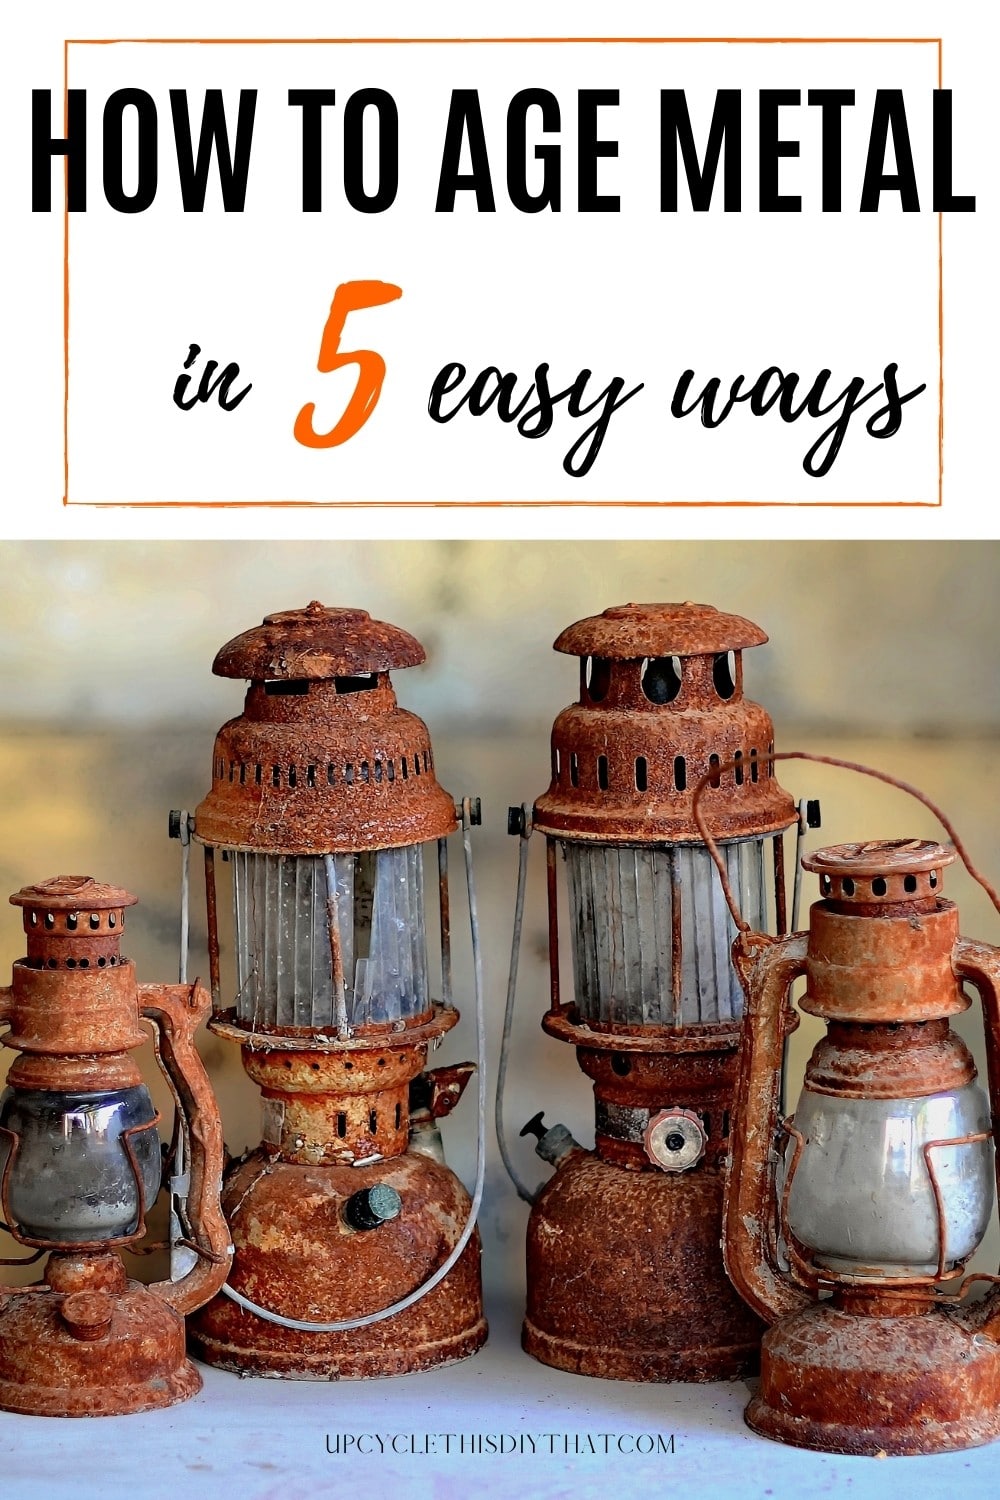
How To Age Metal using burning off the finish/paint and bath of bleach, vinegar, or salty water
This method creates beautiful rust on any metal. Burning off paint or finish from metal creates a perfect environment for an aged patina to appear. This process is super simple as well!
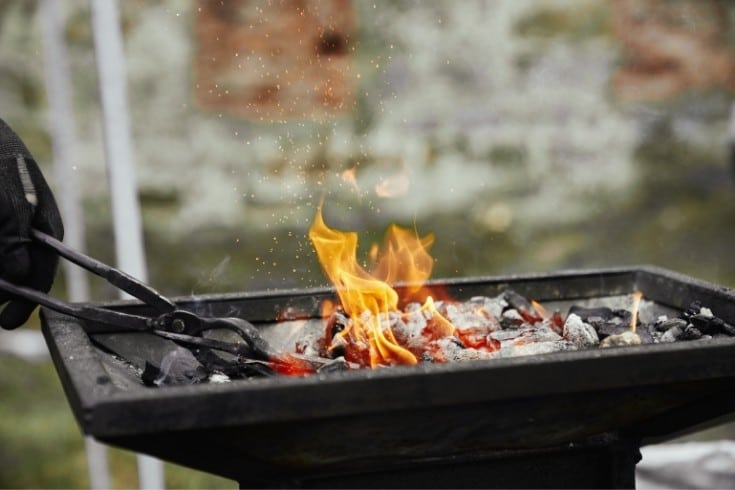
But firstly, make sure you’re doing this in a properly prepared outdoor area like a firepit. Prepare the firepit with safety in mind and then you just throw the metal bits into the fire and wait for it to burn.
Don’t let them get too hot, though, because they may warp.
This process can take several hours, depending on how big the elements are or how many you have got to burn. After all the paint/finish burns off, take the pieces out(using some sort of tongs) and leave them to cool.
Now, if you have a lot of time, leave them out in the rain to rust. Or, if you are in a hurry, you can spray/dip them in bleach or a mix of vinegar and salt.
How To Age Metal using steel wool and toilet cleaner with bleach
This method is excellent for galvanized metal. You’ll need some steel wool and either toilet cleaner that contains bleach or just straight-up bleach itself.
- The first thing you want to do is to scrub the surface with steel wool and then squirt some of the toilet cleaners all over the surface. Using the same steel wool, rub the chemical onto the metal(don’t forget the gloves!).
- After you finished rubbing the cleaner all over, you’ll want to let it sit for about 24h. Putting it out in sunny weather will speed the process up.
- You can leave pieces of wet steel wool on the surface as well. It will create dark age spots and add to the rustic aged look. If you’re happy with the result, wipe the bleach off with a wet rag, but do so while wearing gloves.
You should have a beautifully aged piece of metal, and you, too can now DIY as much as your heart desires. If the result is not aged enough, try to repeat the whole process.
How To Age Metal with Vinegar and muriatic acid
If none of these methods work, you can try the last one using distilled vinegar and the MURIATIC ACID. Keep in mind that the fumes are pretty toxic and that the acid can burn your skin.
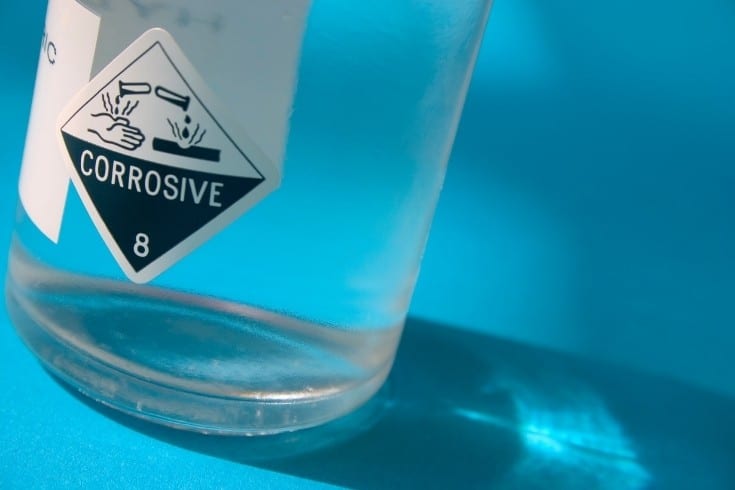
The most important thing is to wear a mask, gloves, and safety goggles while using these products! After all, it’s not worth endangering your health for DIY projects!
- If the metal piece you want to age is very shiny, you can first soak it in vinegar to dull its appearance.
- Then for an even more aged look, use muriatic acid. Use a glass container to soak the metal, thick rubber gloves, and metal tongs to remove it from the solution. Pour the acid into the glass container making sure the metal is covered.
- Keep checking the progress and the look of the metal.
- Have another glass container with water nearby to place the bits in after the acid bath. Wash them thoroughly with the gloves on.
How To Age Metal with Salt and photographic processing solution
For aging copper, you can use salt and vinegar solution for an amazing greenish patina or water and rapid fixer—a fluid used for photographic processing. This will give the copper a dark patina with just one rinse.
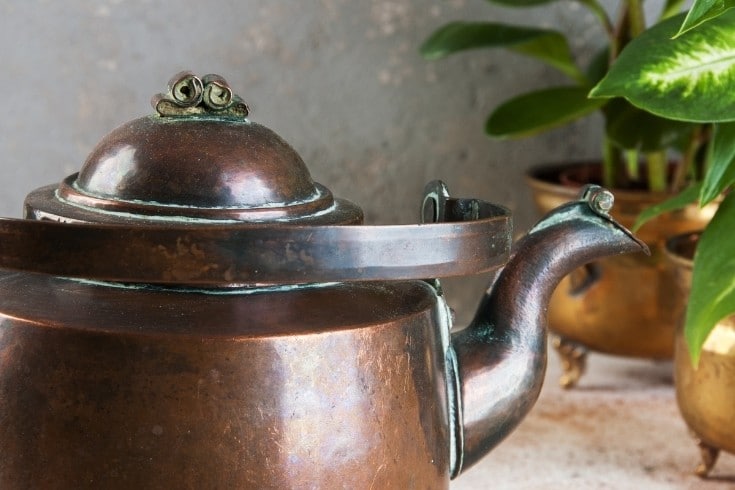
- Clean the copper item to get rid of any oily residue.
- Then, use a steel wool pad on metal to create tiny scratches, which are enough for rust to form and make the surface rough.
- Depending on your color preference, soak it in water and rapid fixer for darkened effect. For the blue-green patina effect, use a salt and vinegar solution. After 10 min or so, take it out and air dry it.
- You can then seal the surface with a copper sealant to enjoy the aged look.
There are many ways of aging metal, but these four methods should get you started. Maybe this will inspire you to make some unique art or decor out of metal using one of these simple methods.
You’ll probably have fun exploring the techniques mentioned above.
I hope you’ve had fun learning about how easy it is to get an antique finish on any type of metal surface. Now you’re ready to start aging your own metal pieces and show off those beautiful DIY projects!
Thank you so much for reading 🙂 Don’t forget to pin this article to your DIY tips board. Thank you and have a great day!
Subscribe To My FREE DIY Newsletter!
Stay in touch and receive things like updates, special offers, new projects, tips, gear reviews, and more. No spam, promise!
By entering your email address, you agree to get an email newsletter from UpcycleThisDIYThat. I’ll respect your privacy, and you can unsubscribe at any time. For more details, review our Privacy Policy.