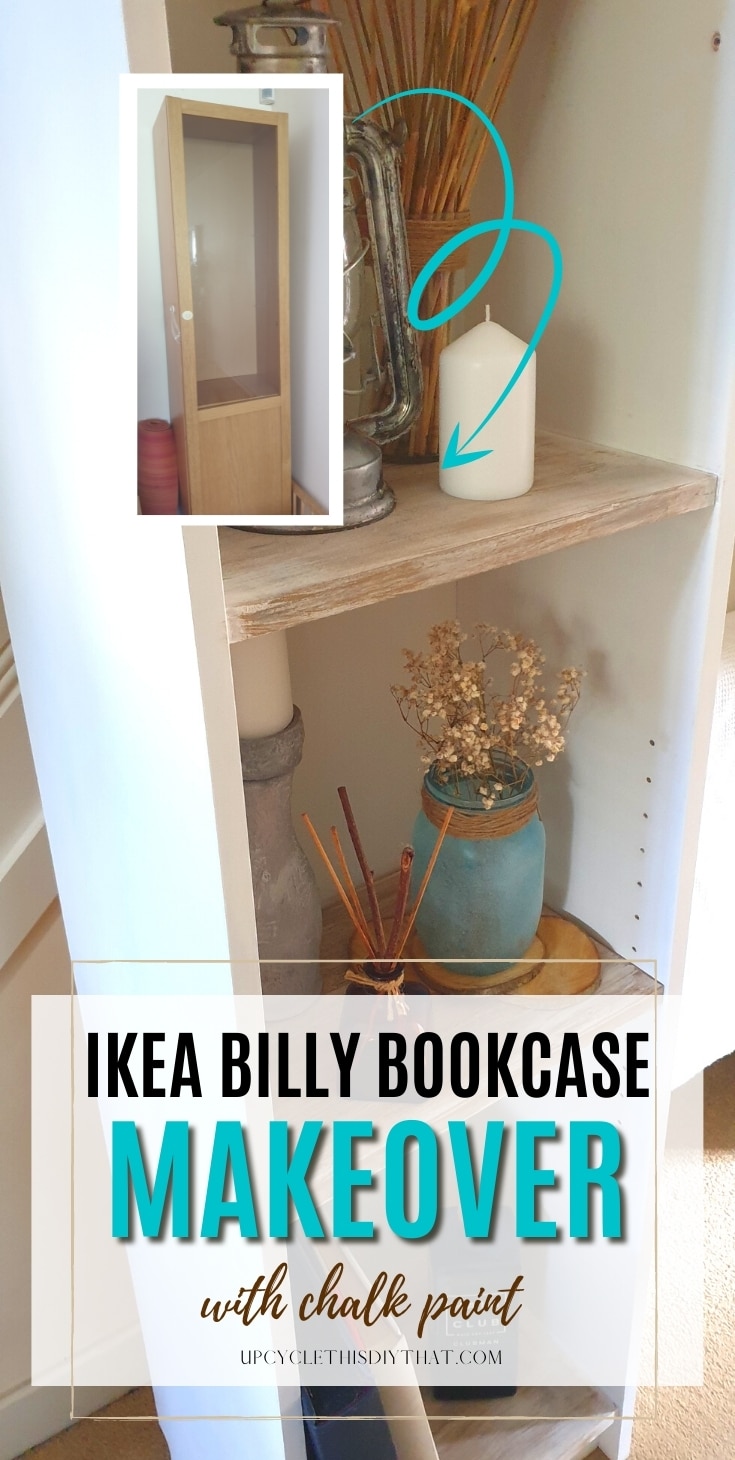
Painting Laminate Furniture Part 2-Ikea Billy Bookcase Makeover
This post includes affiliate links. If you decide to make a purchase through my link, I might get a small commission for it at no additional cost to you. Thank you for supporting Upcycle This DIY That!
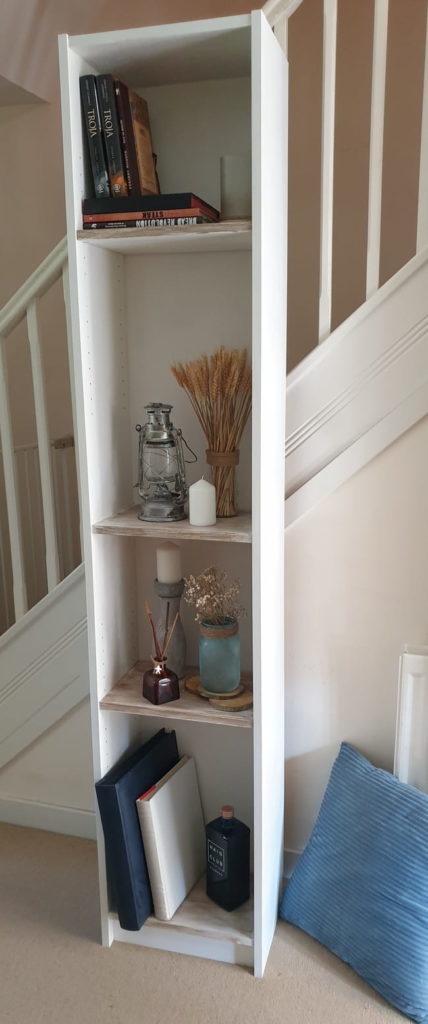
Ikea’s Billy bookcase is a great piece to have in your home, but the laminate surface can make it look less than desirable. I was so tired of looking at that ugly yellow laminate and wanted to do something about it!
So I thought that painting laminate with chalk paint was an easy way to update this old piece.
This is another project of IKEA makeovers. I did a Malm nightstand that you can check out.
My living area is quite dark, so I decided to change the color to white with some faux driftwood accents. Here are some tips on how to paint your own laminate furniture pieces using this technique.
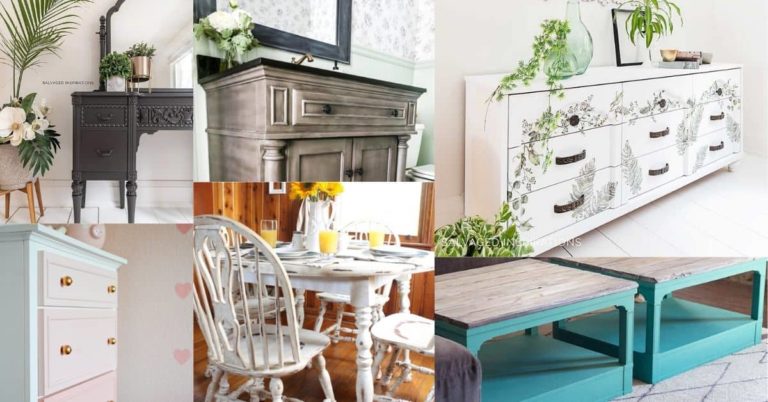
I’m so excited to share with you how easy it is to upcycle furniture and makeover IKEA products by using chalk paint. This post has step-by-step instructions for easy furniture upcycling project, as well as before and after photos of my billy bookcase that I painted using DIY chalk paint!
So give this technique a try – your pieces will be one of a kind!
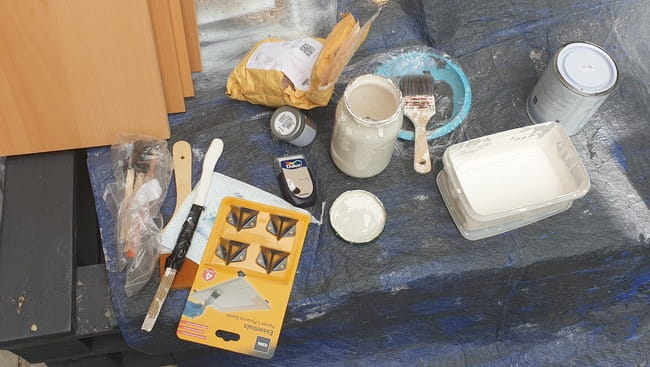
Tools and materials
- Chalk Paint – Any kind including DIY(I used Aldi charcoal and a chalk paint powder plus latex paint in white,
- Primer for any surface
- Paintbrushes including cut-ining and chip paintbushes
- Paper towels
- Drop cloth
- Sanding block/sponge fine grit
- Painter’s tape
- High density foam roller and tray plus some tin foil for lining
- Plastic wrap/bags
- Clen rag/cloth
- Wax (I used Aldi brand) and soft cloth/wax paintbrush
Painting Laminate Furniture- Ikea Billy Bookcase Makeover step by step

Prep
Using chalk paint doesn’t require much prep, and you can start painting straight away following a thorough cleaning. However, I think in the case of laminate furniture, some gentle sanding is necessary for best results.
Cleaning and dismantling
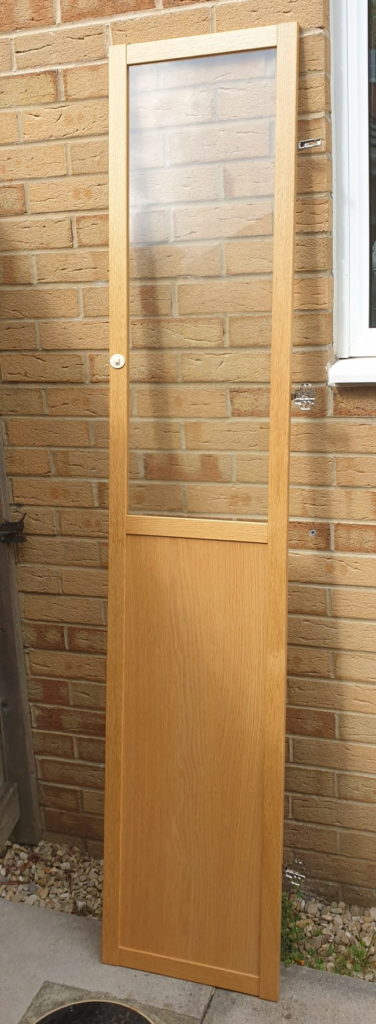
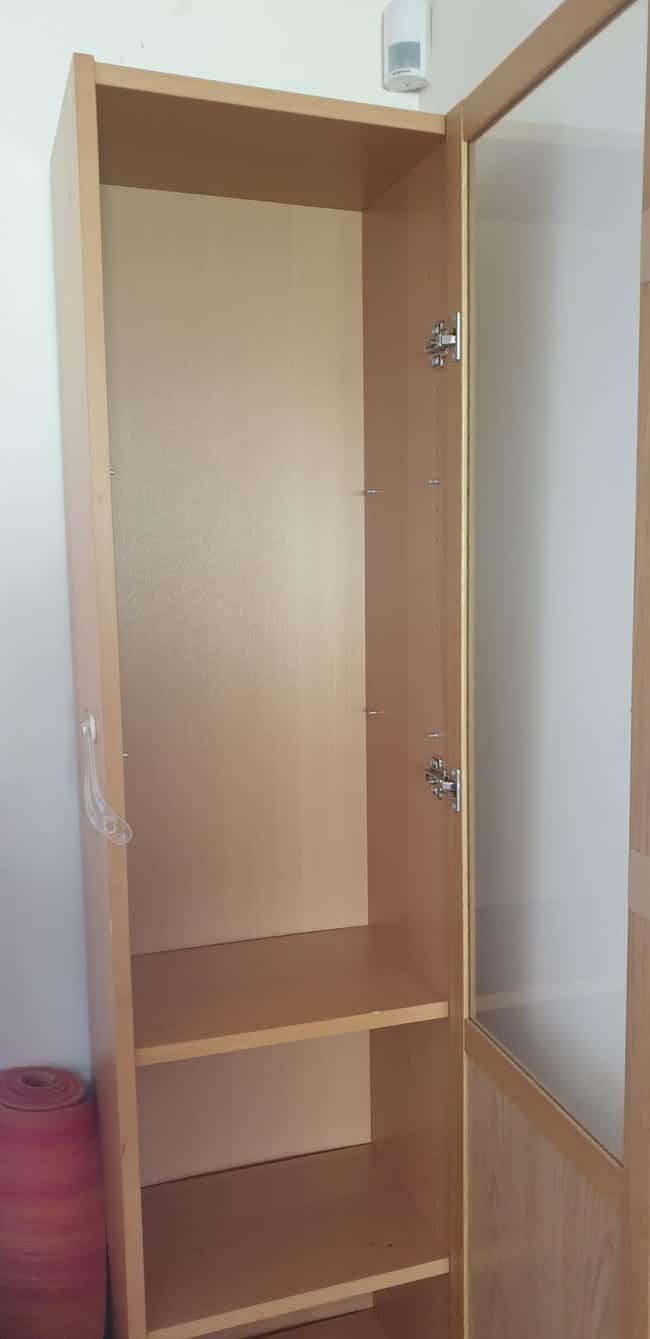
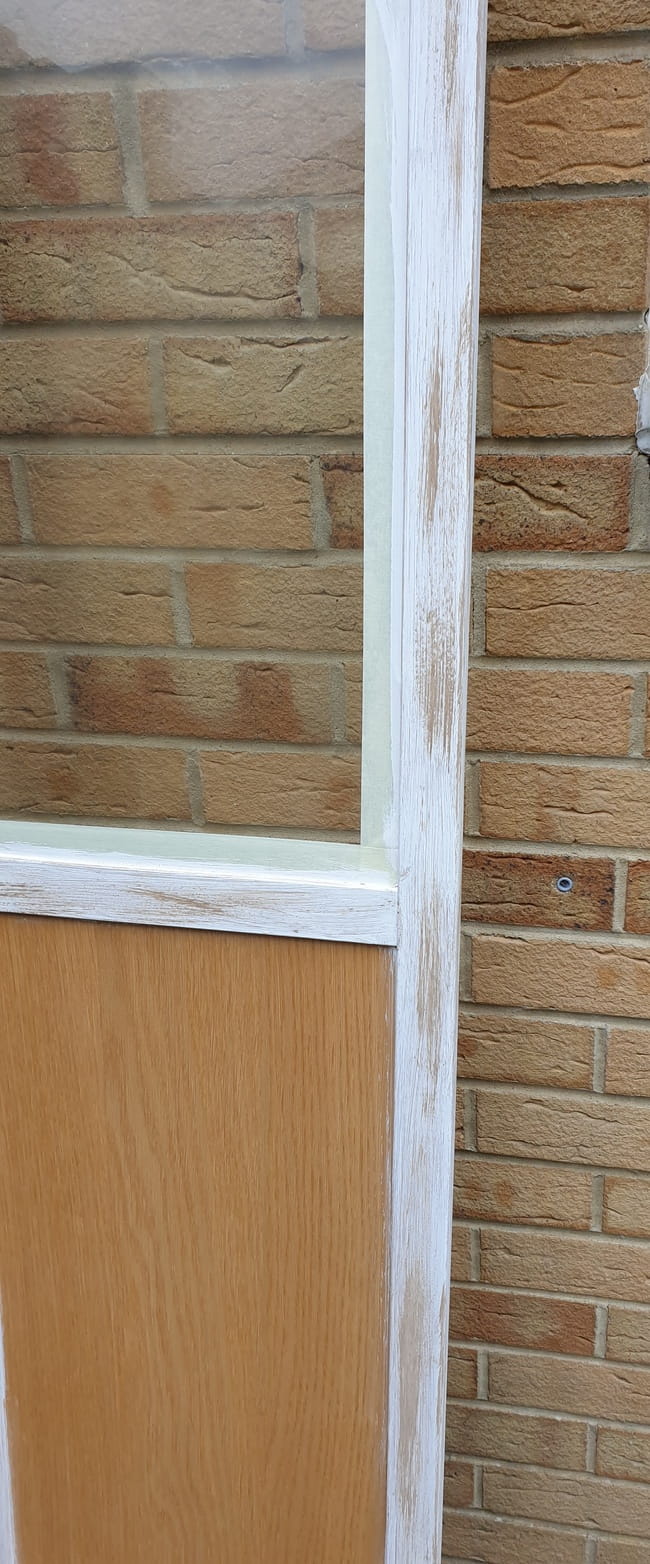
The first step was to take the door off by unscrewing the hinges and cleaning all the surfaces to remove dirt and any stains. I also removed the baby latch that I glued on when my daughter was little, and I never got to remove it later.
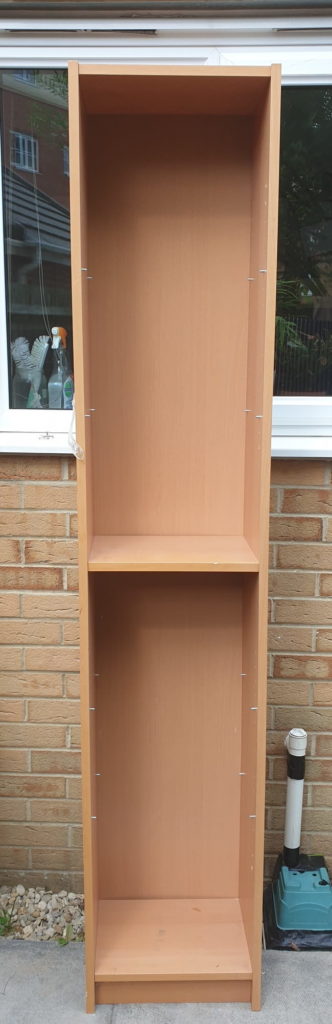
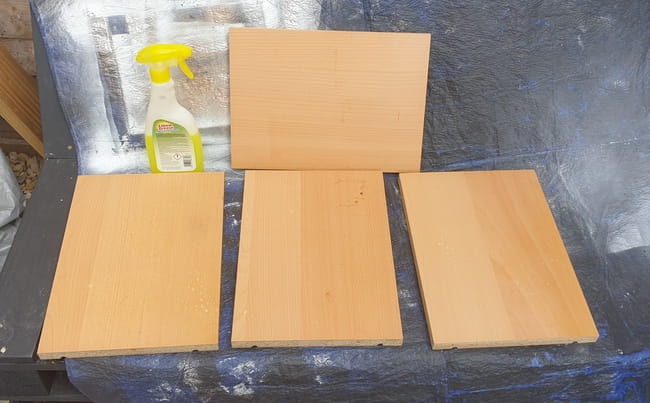
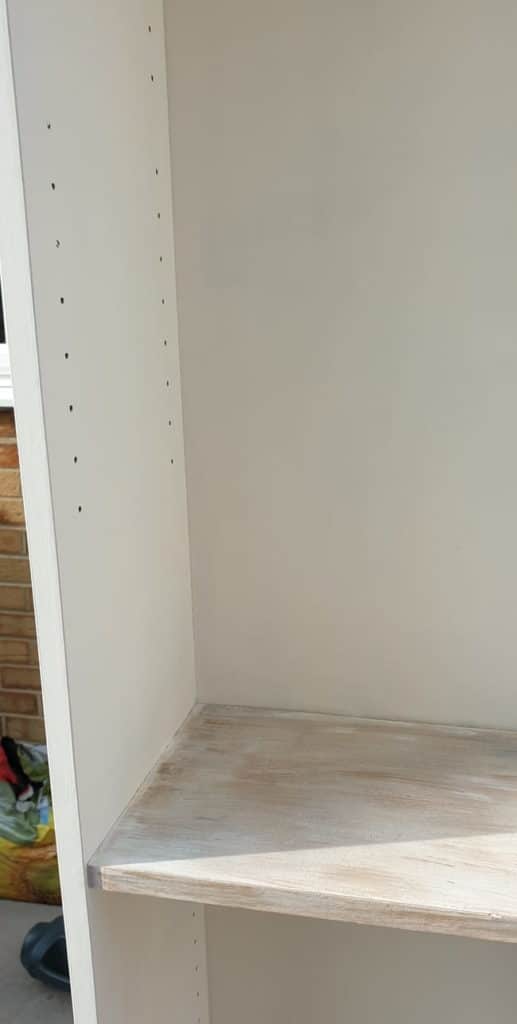
Then I removed the shelves to be cleaned and painted and the bolts for the shelves.
Next, I used an Elbow Grease degreaser to clean the furniture.
Sanding
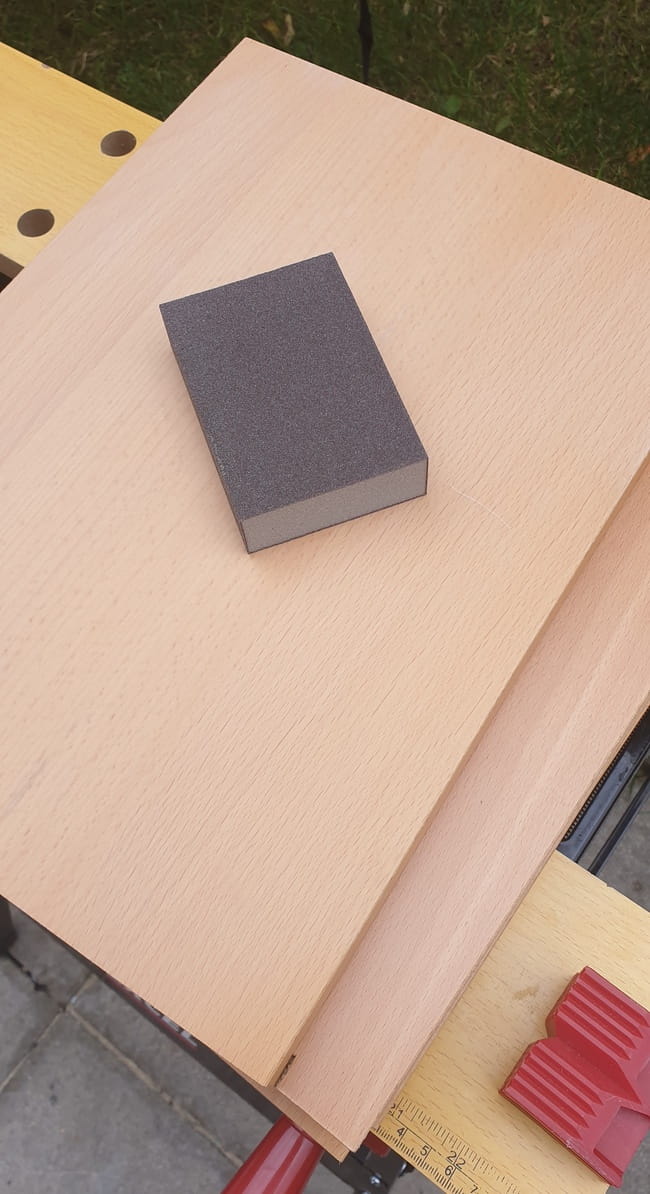
Then I used a fine grit ending block/sponge to scoff the surfaces gently. Finally, I wiped the dust off with a clean damp cloth.
Taping
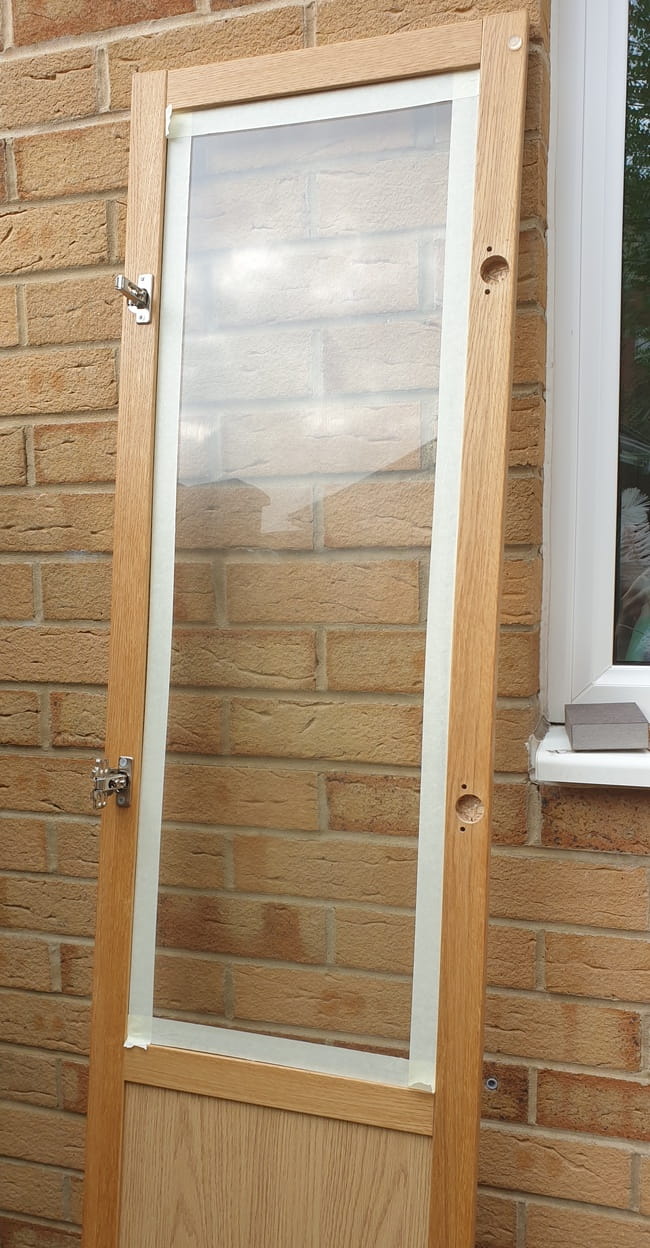
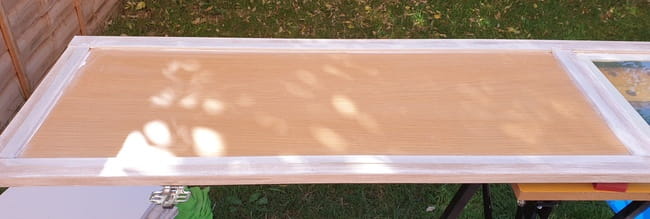
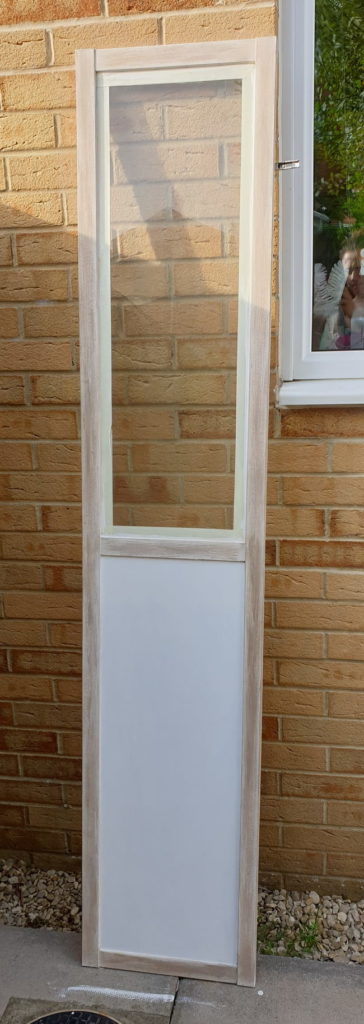
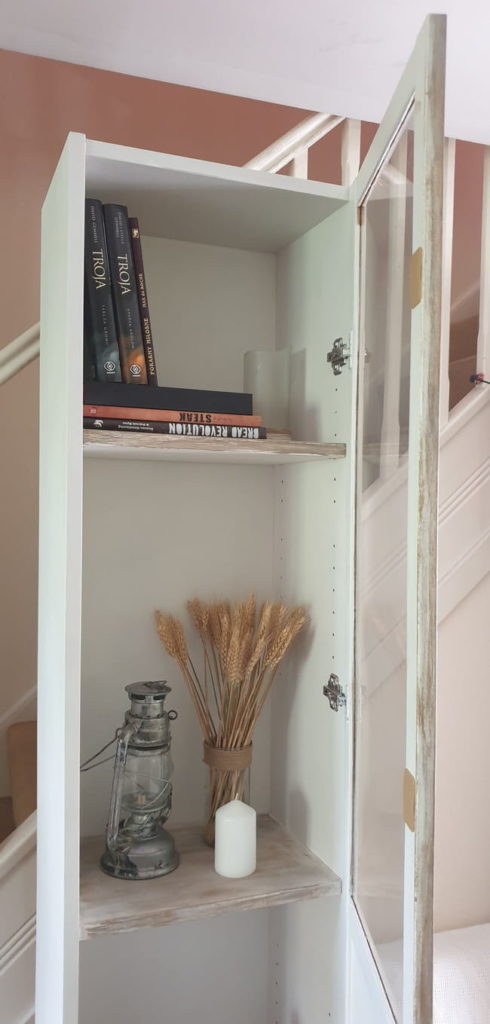
The next step was to tape off the glass and the middle panel in the door. I used painter’s tape and taped it on both sides of the door.
I wanted to paint the door’s frame with a faux driftwood color (on the front only), and the middle panel was going to be white.
Priming
Door
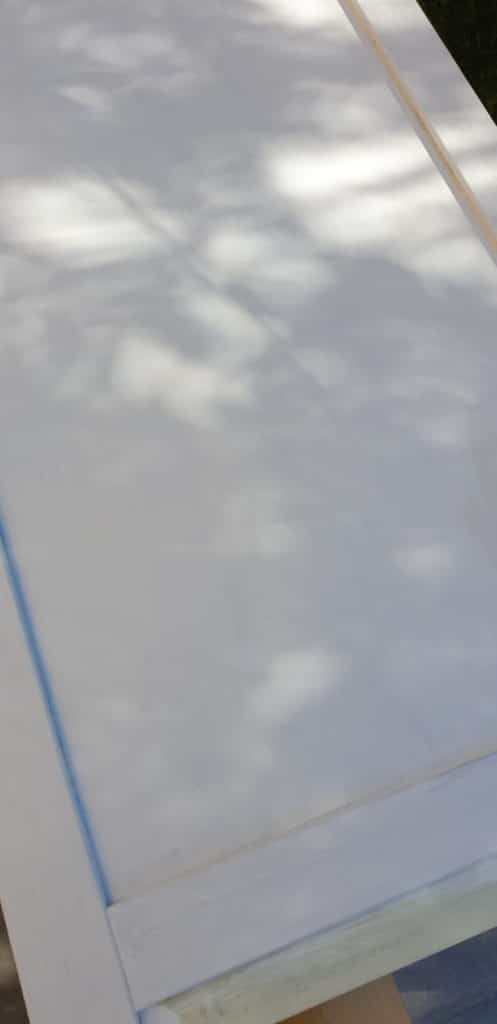
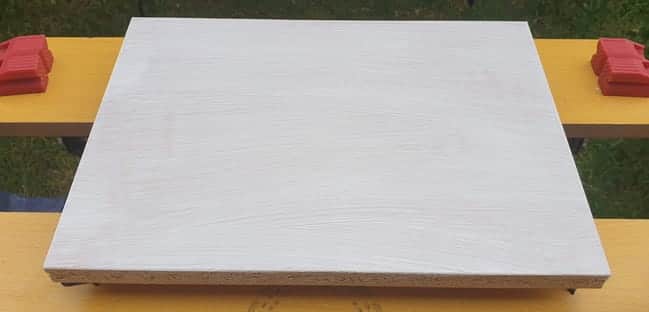
Although chalk paint usually doesn’t require priming, I decided to prime the surfaces mostly because white paint requires more coats than any other color. This way, I saved myself some chalk paint.
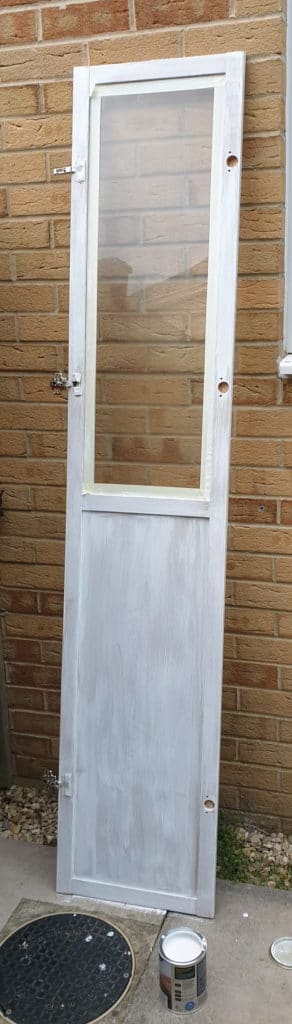
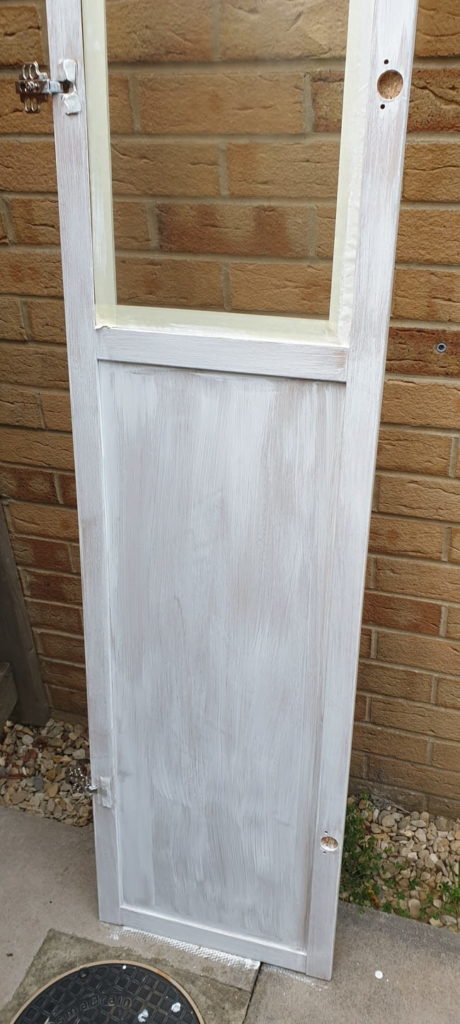
I used a white water-based primer and painted the whole back of the door. Unfortunately, the primer was pretty thin.
And after painting the first coat with a paintbrush, I decided that a high-density foam roller should better achieve a streak-free coat. And it did. It dried super quickly too.
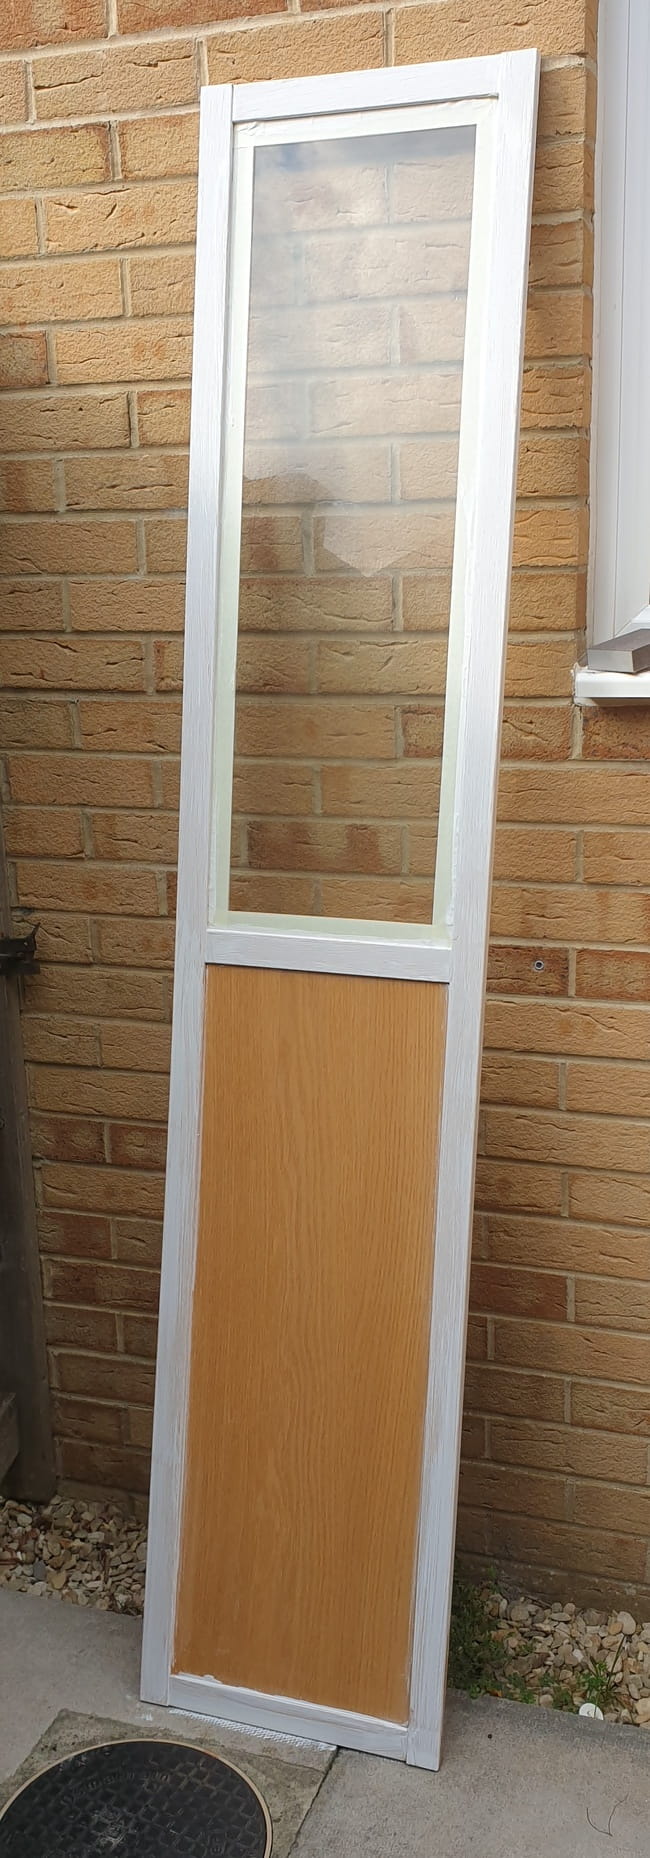
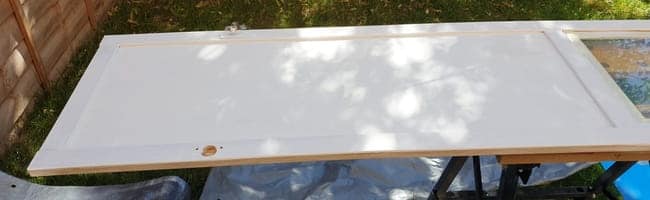
Only the middle panel was primed on the front of the door, and I did that after I painted the frame. The frame had a wooden texture, so I decided to paint it with white chalk paint first and then layer the colors for the faux driftwood effect.
Bookcase

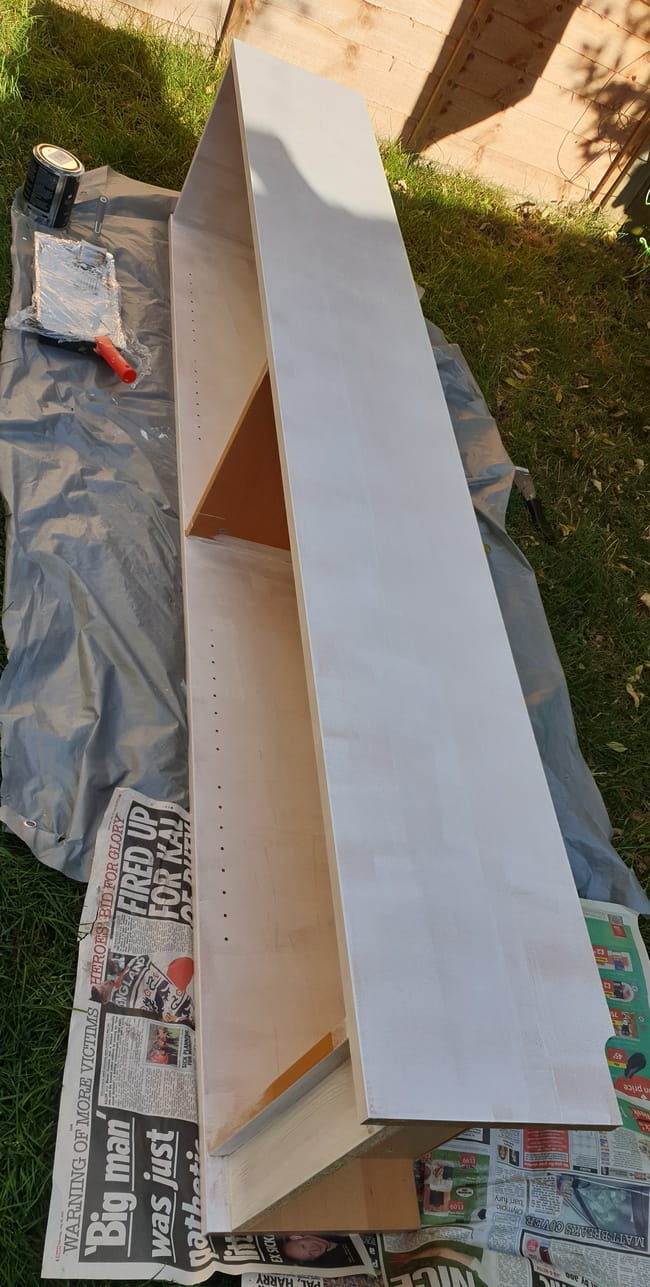
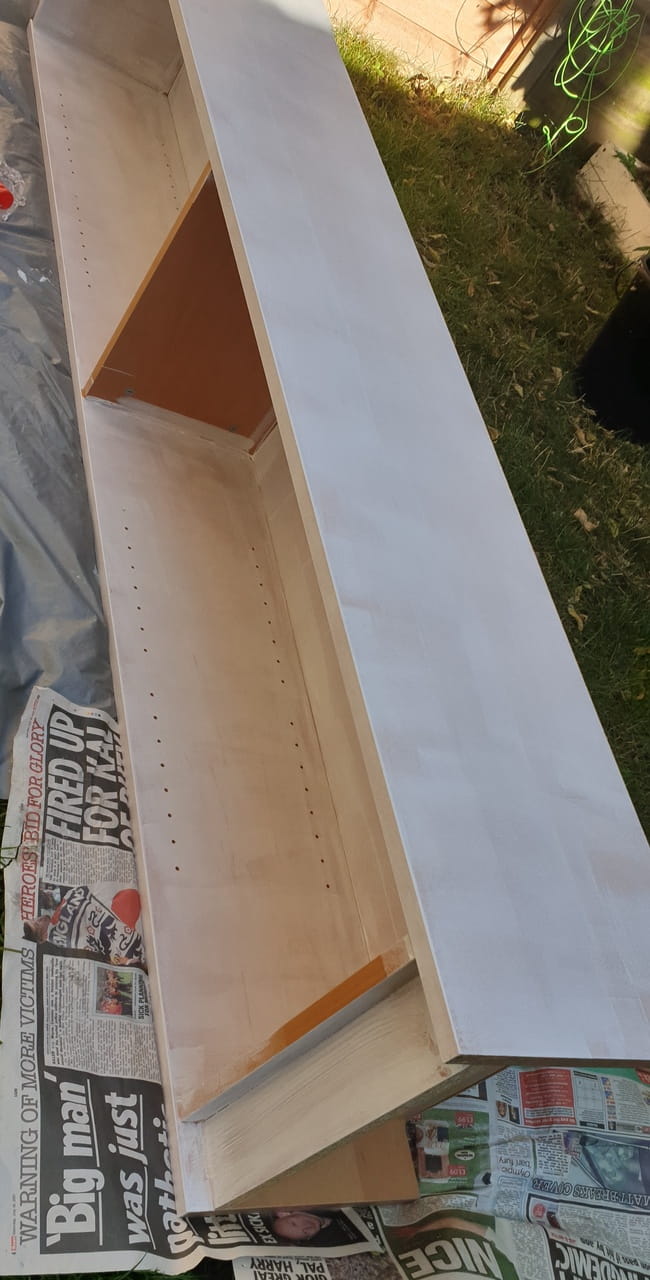
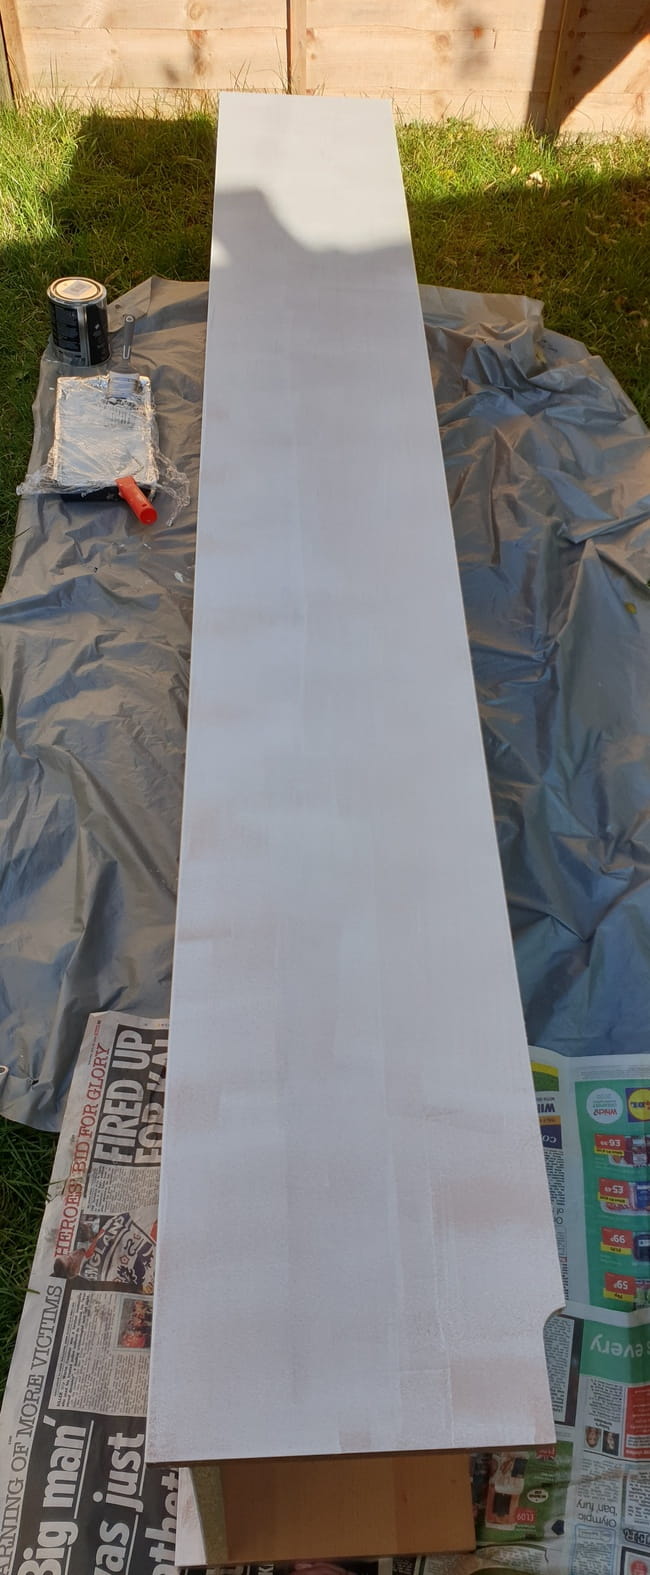
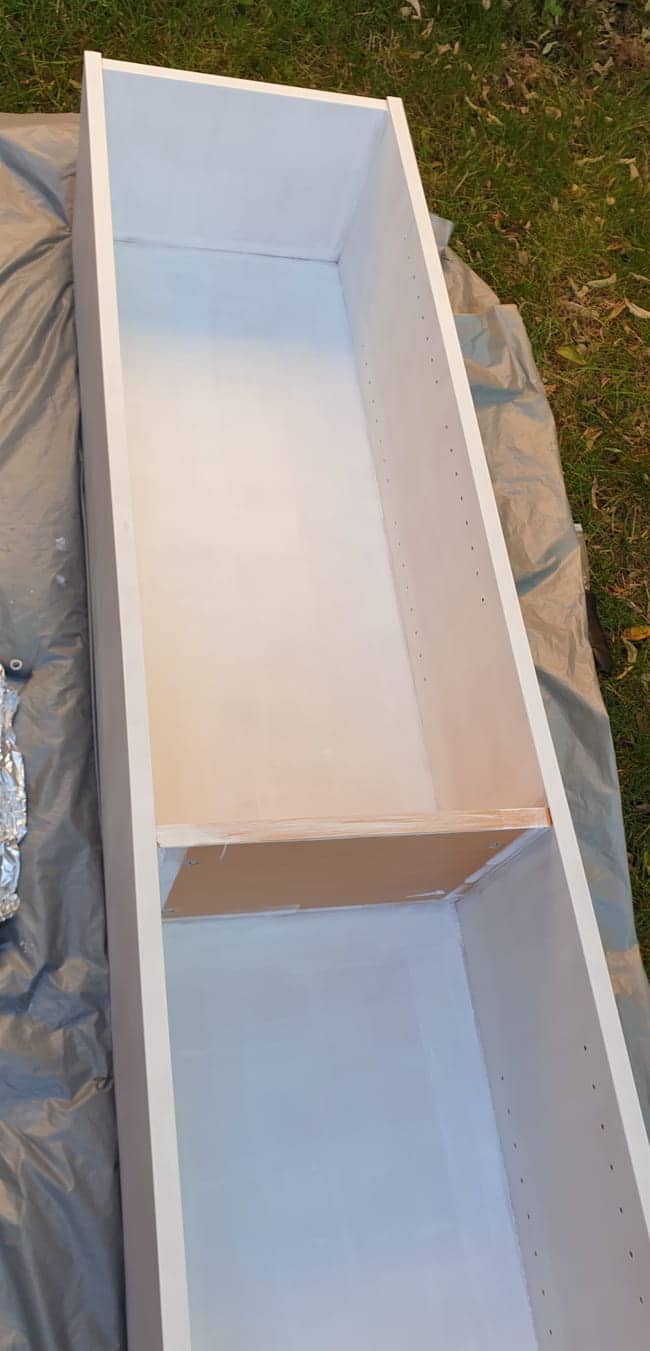
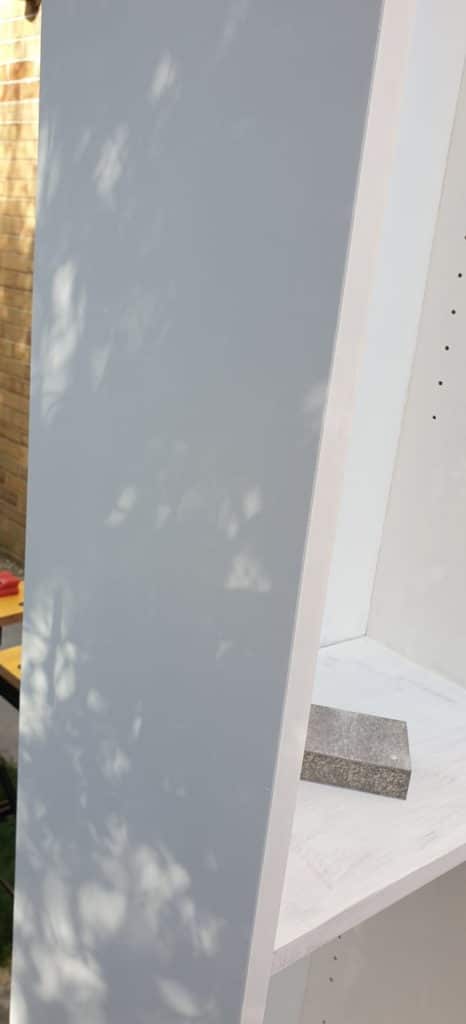
The main body of the bookcase was primed with two coats of primer. Apart from the middle and bottom shelf that i was going to paint with the driftwood effect technique using chalk paint. I did the cut-ins with a paintbrush, and I painted the rest using the roller.
Painting
Door- Front And Back
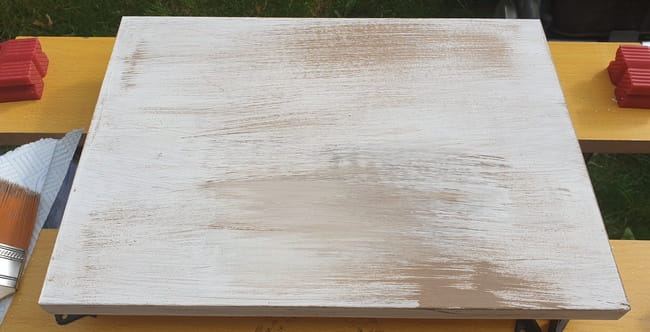
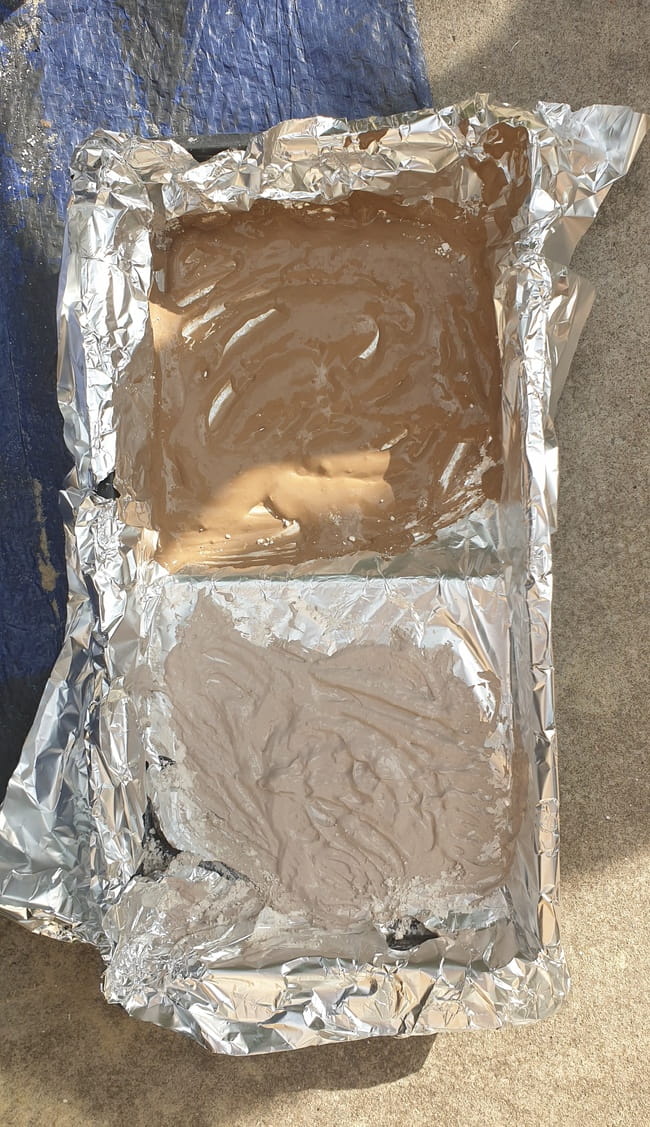
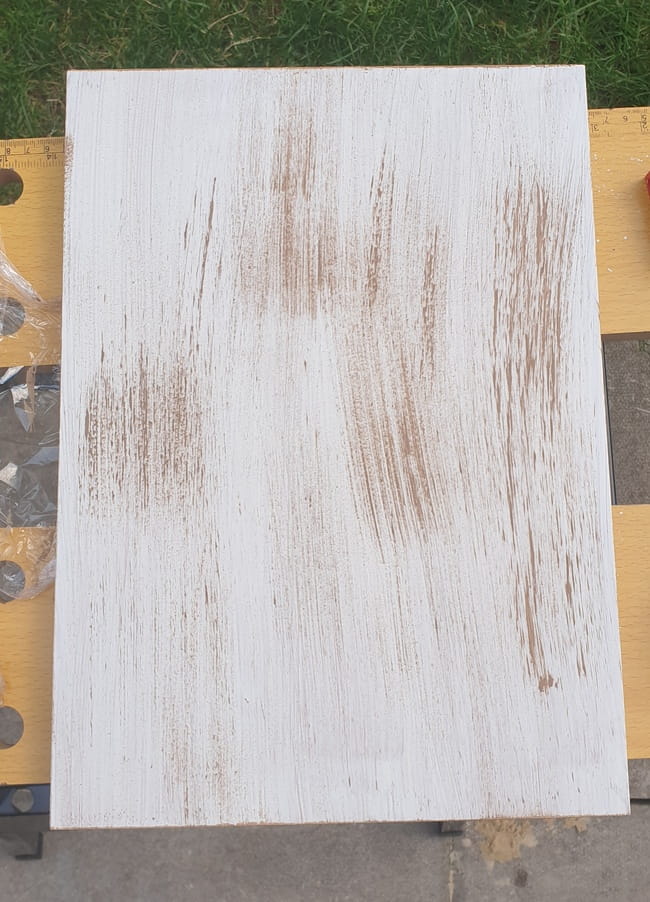
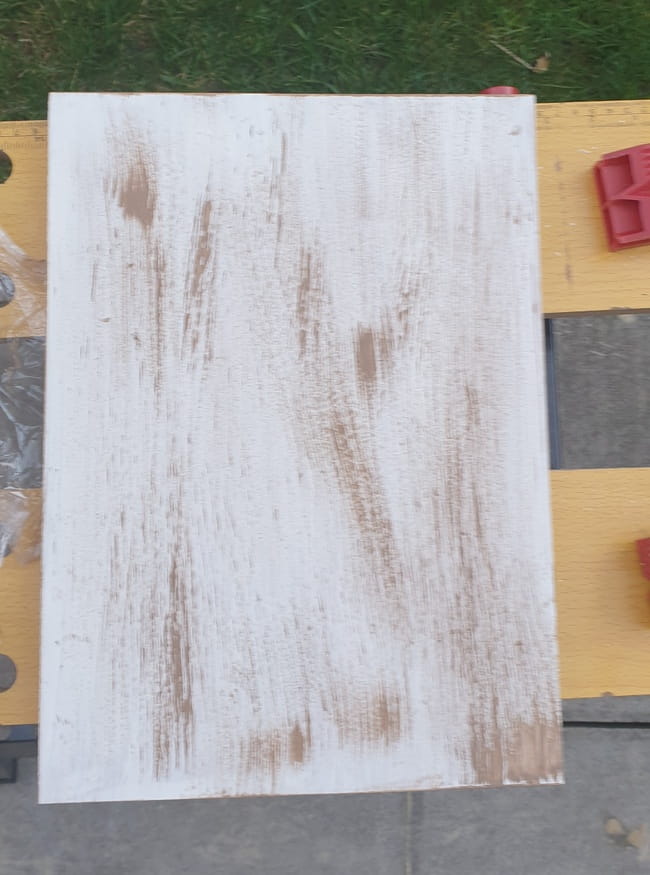
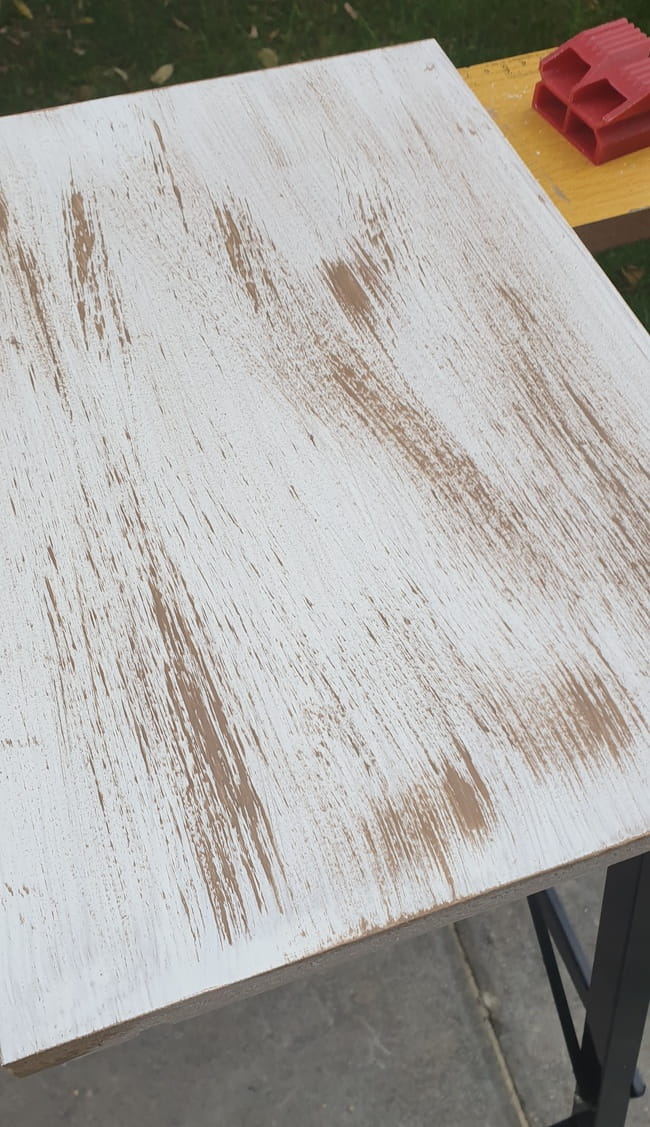
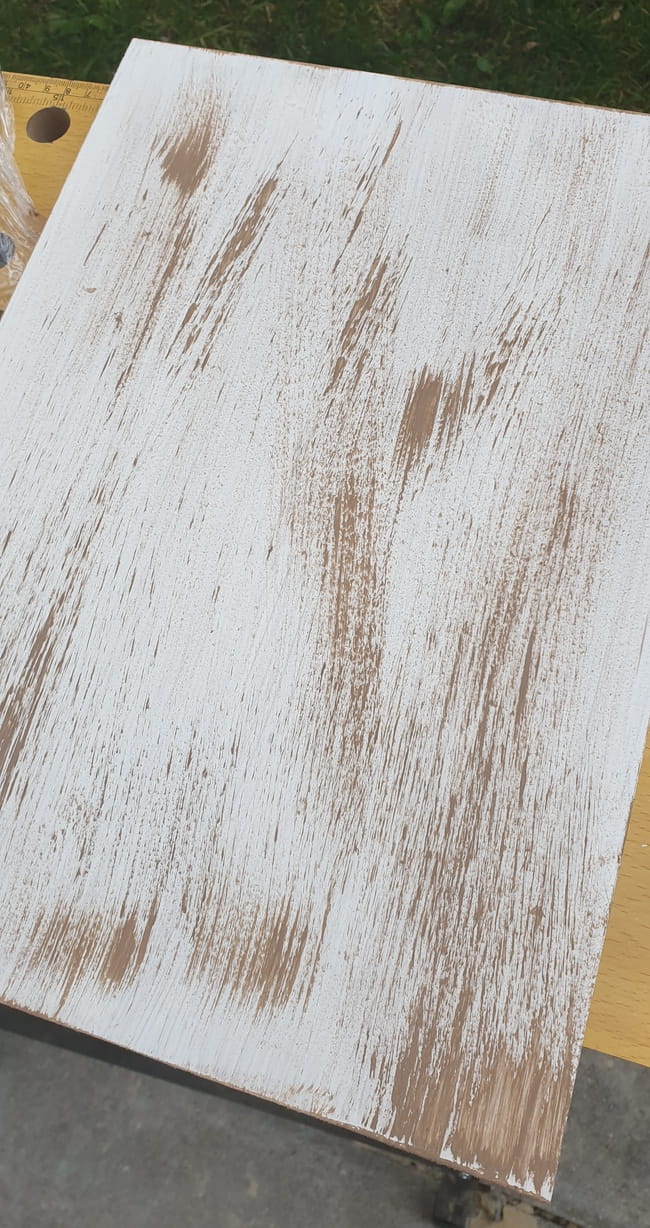
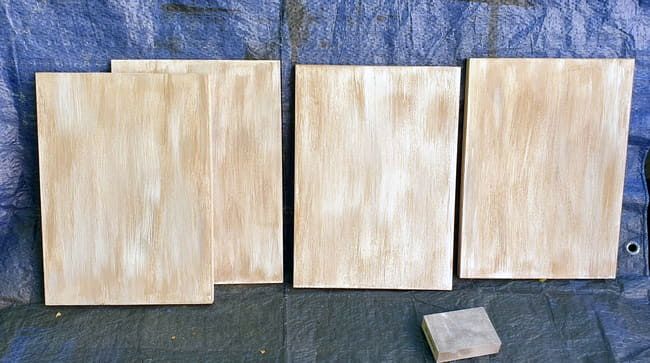
I painted the back of the door with two coats of chalk paint the same as the middle panel on the front. Then i used latex paint sample pots and chalk paint powder to make chalk paint for the faux driftwood effect.
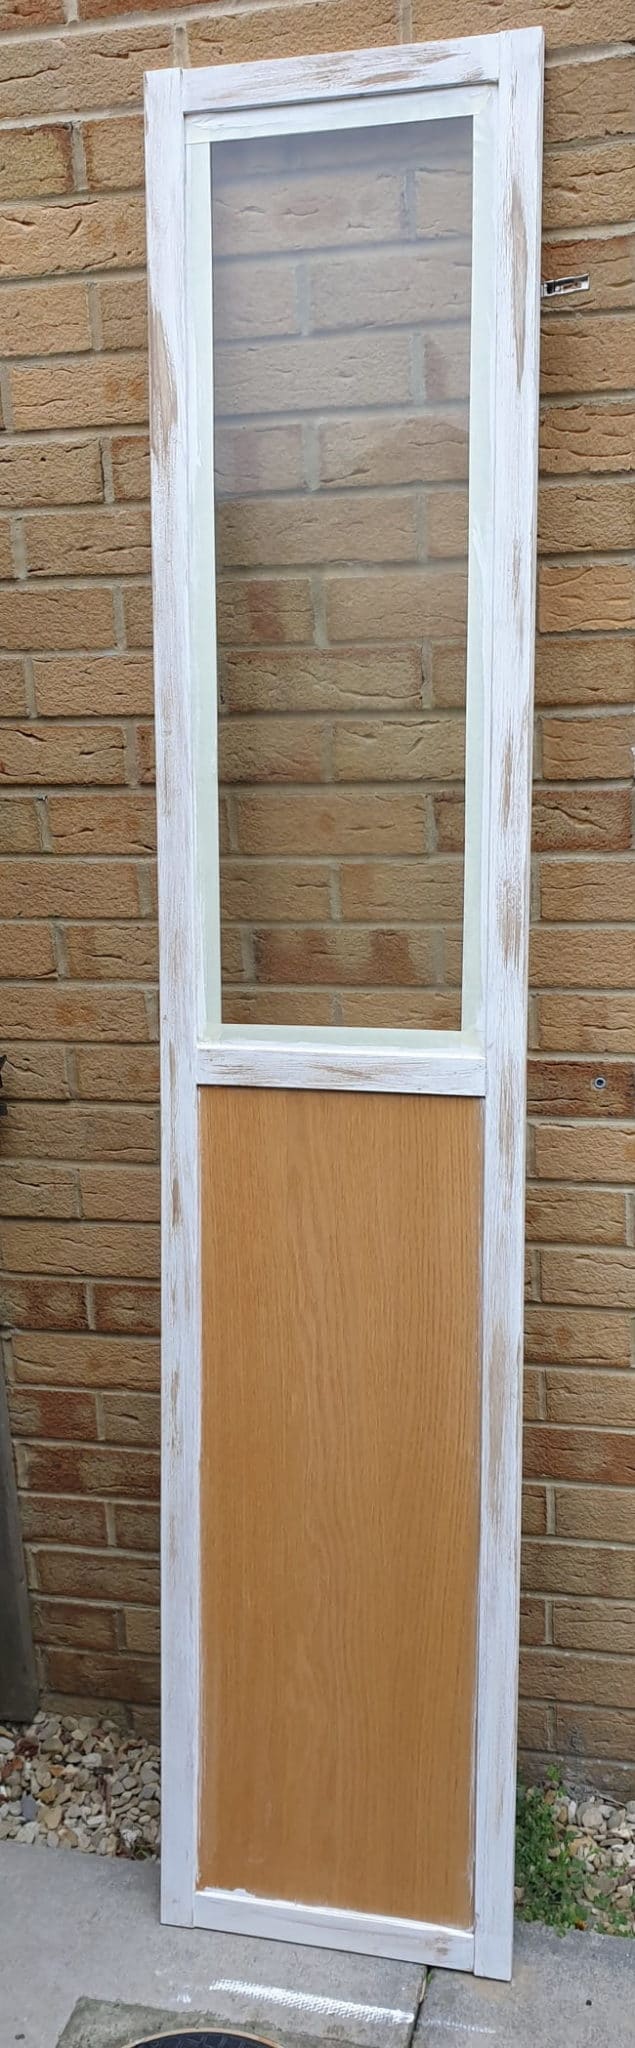
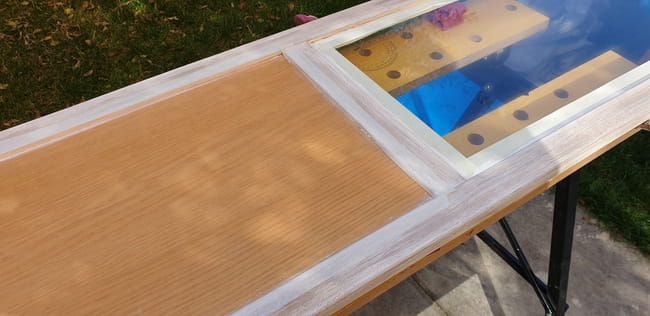
Chip brushes or old paint brushes are best for this dry brushing technique. I used 4 different colors- white, white mixed with charcoal for various shades of gray, and 2 lots of brown shades. I used a separate paintbrush for each color.
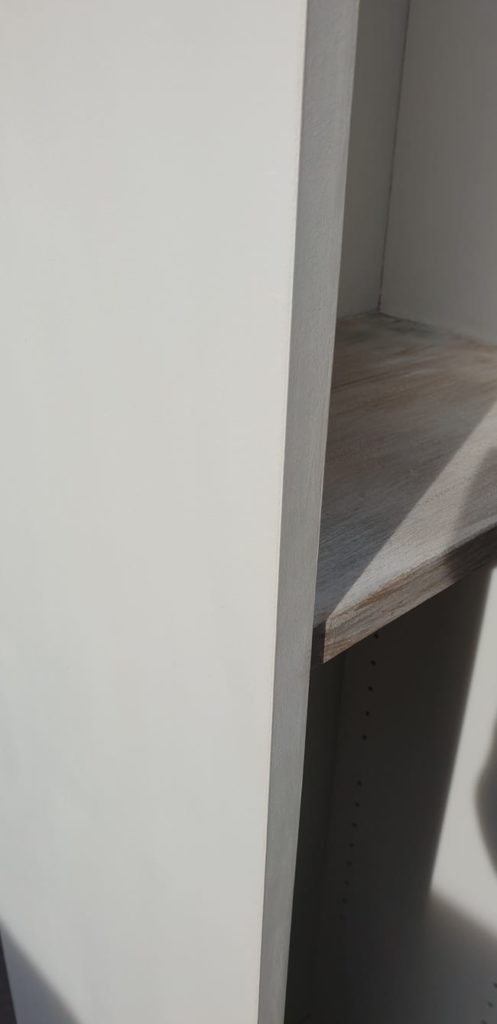
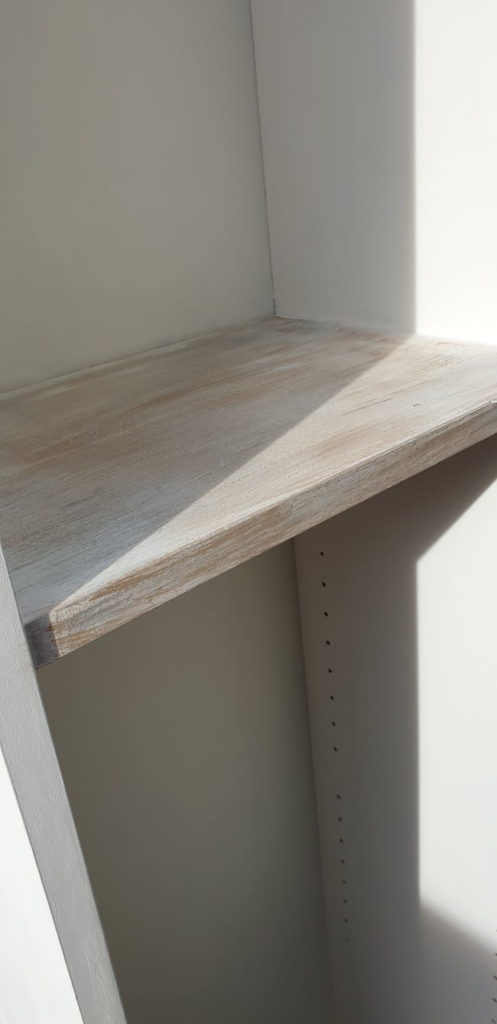
Shelves
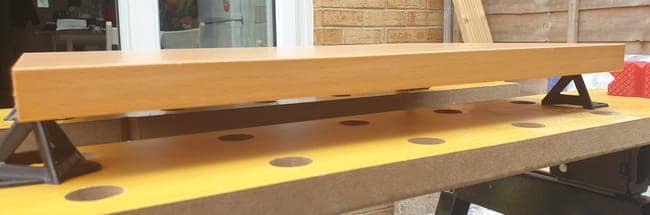
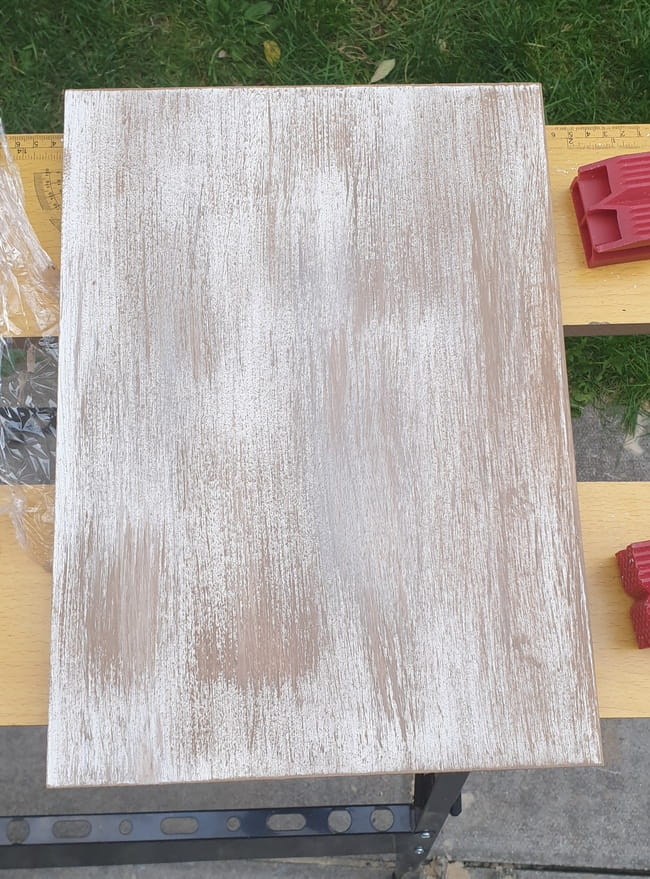
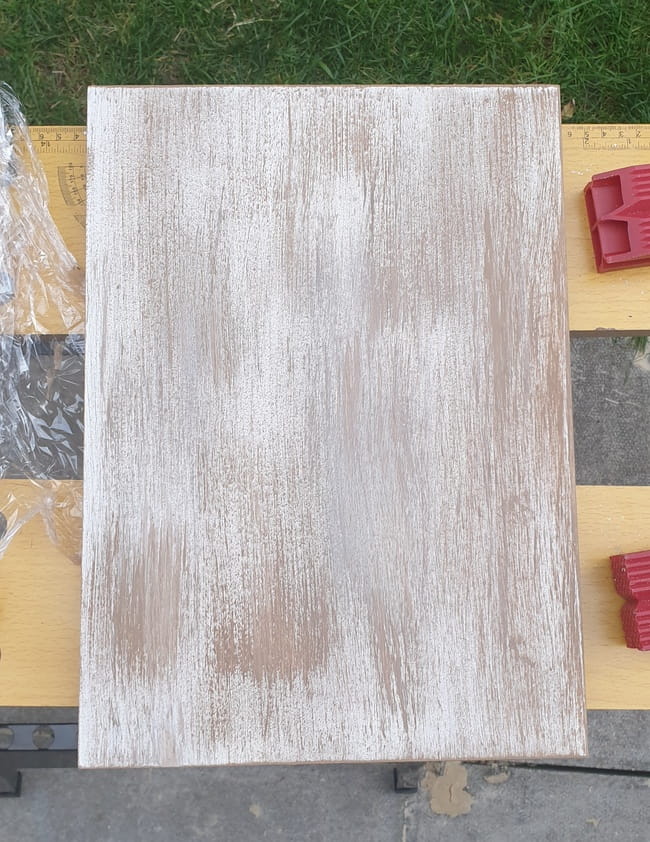
I painted the shelves using the same dry brushing technique. First, I painted a layer of white chalk paint and then alternated the colors until I was happy with the result.
So how do you do it?
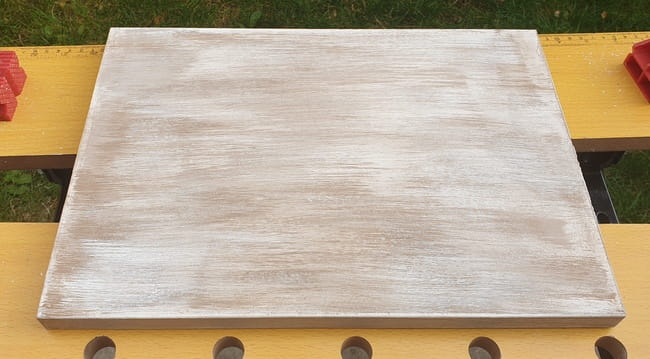

You can use a dry paintbrush or damp it very lightly. Then dip the tip in the paint but use very little paint. Next, use a paper towel and wipe the excess off of the paintbrush.
Then using strokes along with the grain, paint the color in various palaces. Changing the side of the paintbrush for different widths of the stroke.
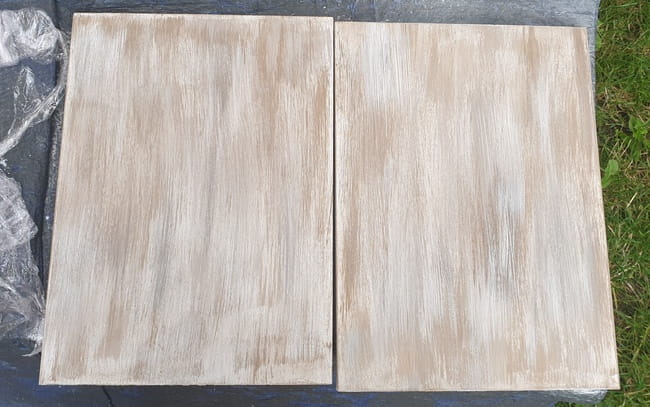
The beauty of this technique is that if you make a mistake, you can easily fix it by adding more layers. For example, I used this method for painting a mirror frame but used a slightly different paint colors combination.
Nevertheless, the results were quite consistent, and they came out looking quite alike.

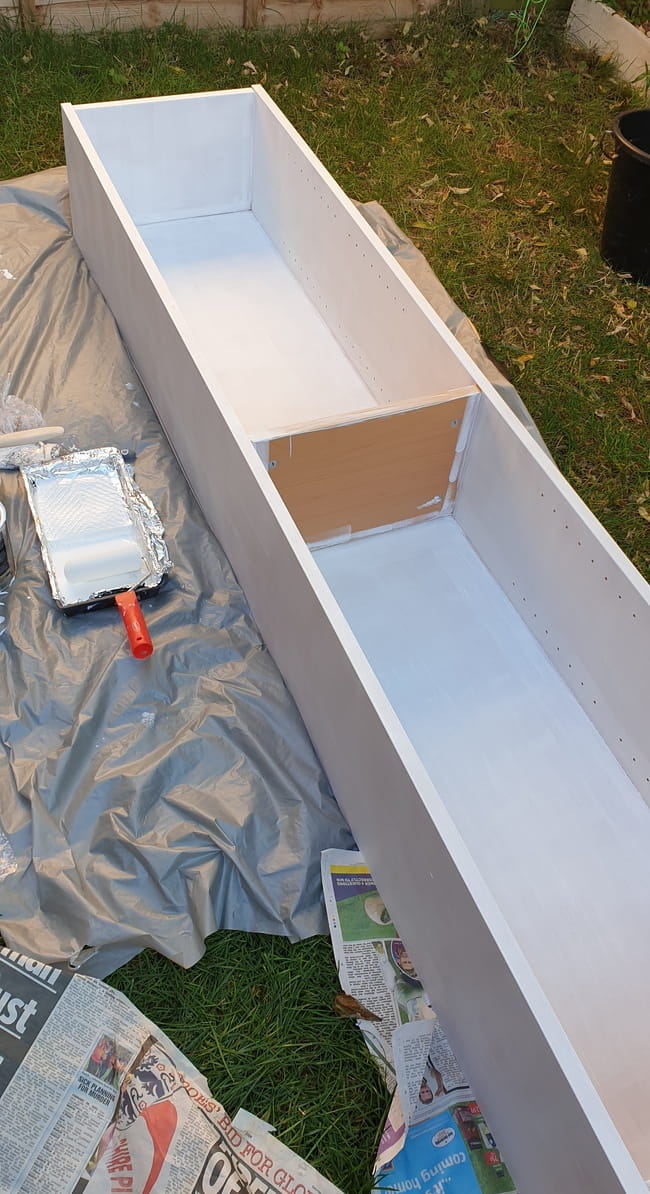
The Main Body Of The Bookcase
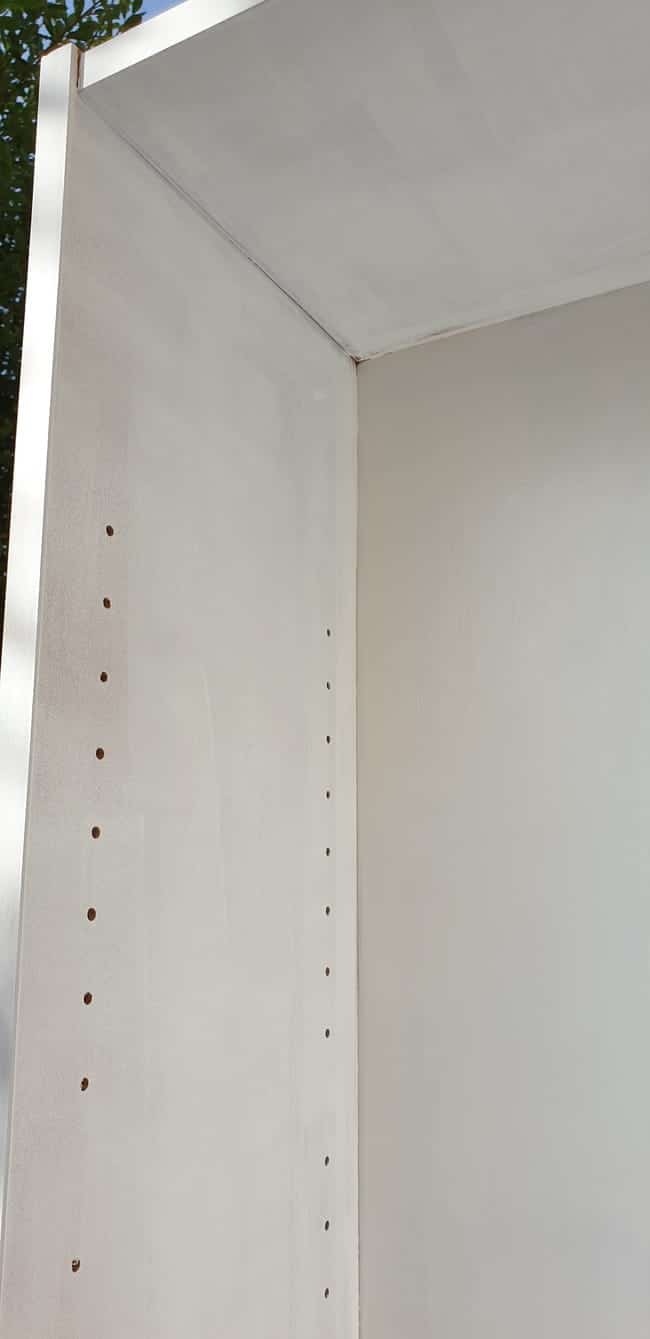
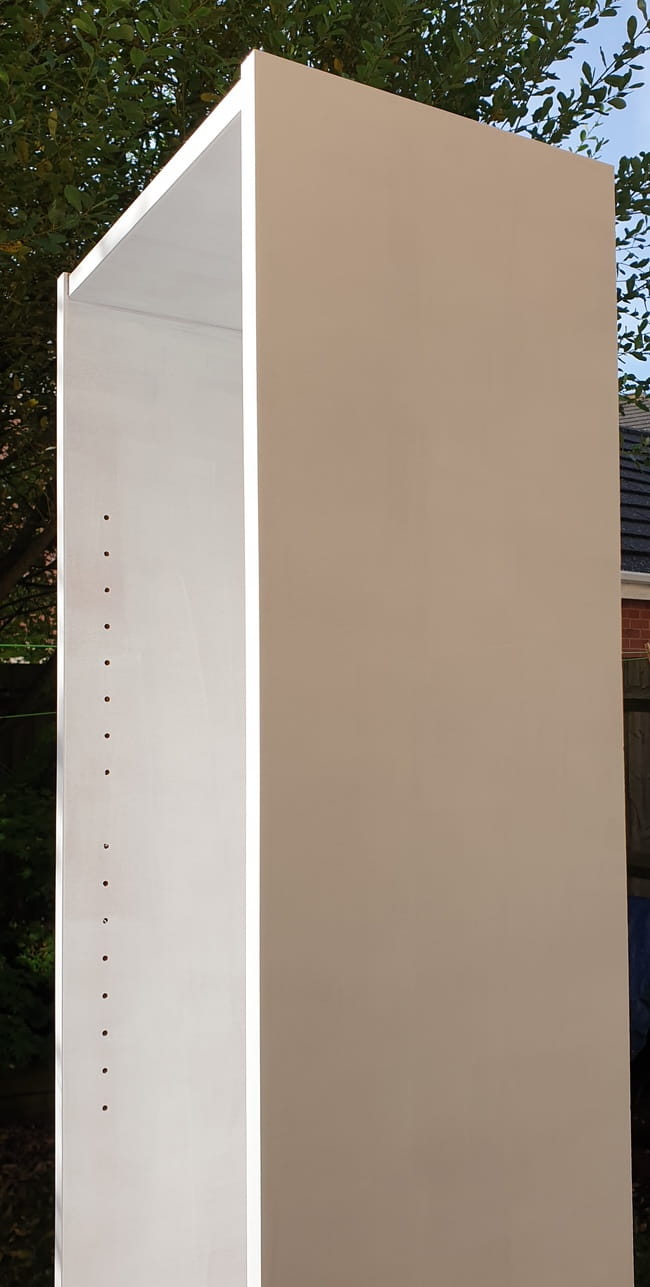

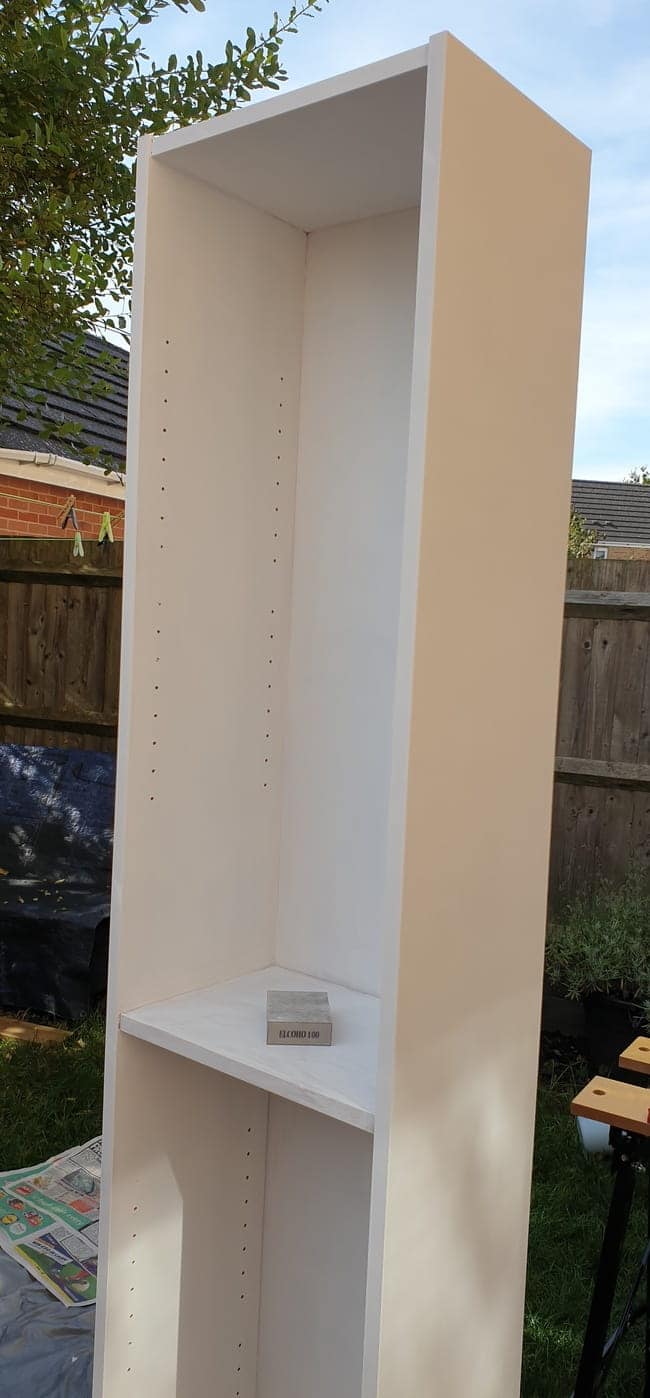
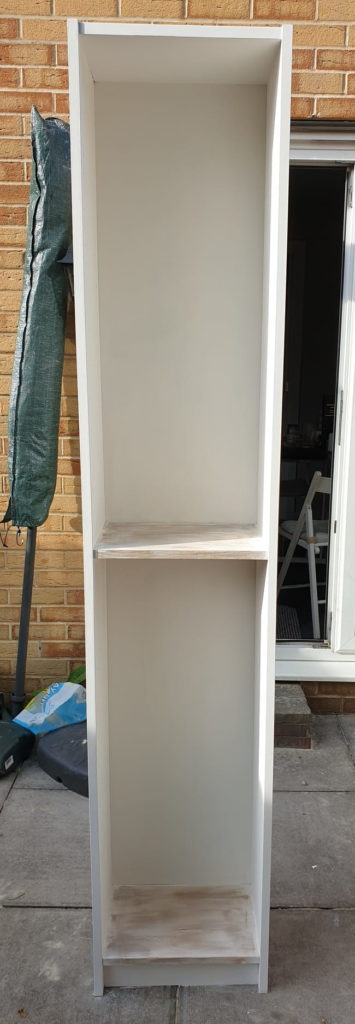
I painted the inside of the bookcase using paintbrushes for the cut-ins/corners and then a foam roller for the rest. The result came out super even and smooth. For the outside, I used the foam roller, and painting two coats was a breeze.
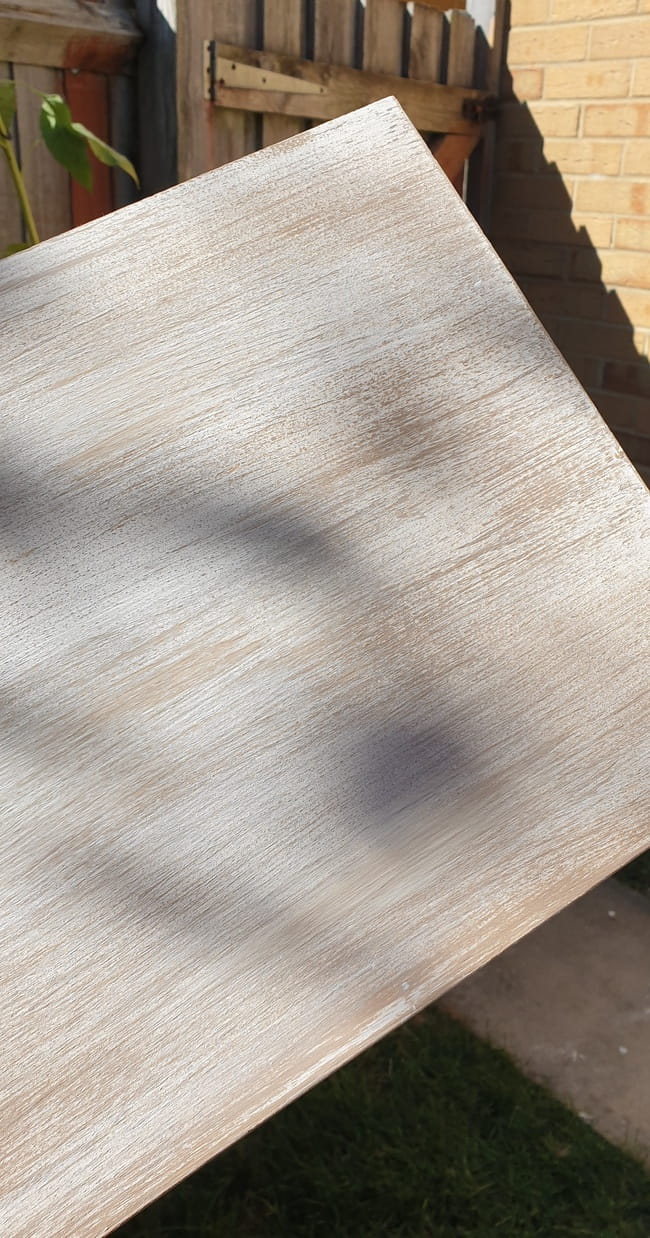
Sanding/Wiping
Once the paint was dry, I sanded everything gently with a fine-grit sanding sponge. Then I wiped it all with a damp cloth and let it dry.
Sealing With Wax
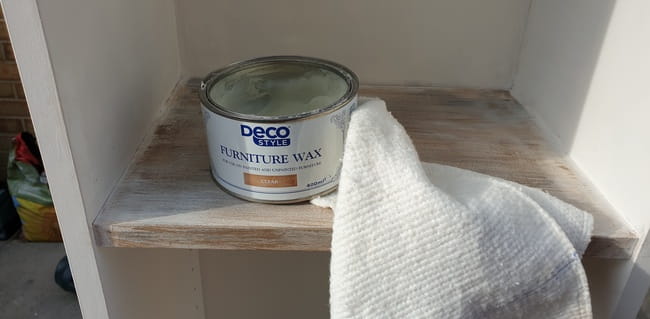
Once it was dry, I used a coat of wax to seal the surface. Next, I applied a layer with a soft cloth and then buffed it after 5-10 min. The last step was to remove the tape. Finally, scrape any paint from the glass and install the door and shelves.


Now that you’re armed with the step-by-step instructions for painting laminate from this post, it’s time to let your creativity run wild.
Whether you want a new look for an old piece of furniture or are looking for ideas on how to take advantage of what Ikea has to offer, I hope this hack/idea will inspire you!
This project is perfect if you are on a tight budget or don’t want to invest in new furniture – it’s easy enough, and anyone can do it! Again, I hope that we’ve inspired your creativity with this post, so go ahead and get started today!
Subscribe To My FREE DIY Newsletter!
Stay in touch and receive things like updates, special offers, new projects, tips, gear reviews, and more. No spam, promise!
By entering your email address, you agree to get an email newsletter from UpcycleThisDIYThat. I’ll respect your privacy, and you can unsubscribe at any time. For more details, review our Privacy Policy.