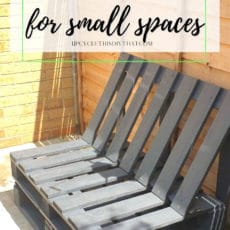
How to Make a DIY Pallet Sofa for Small Garden
This post includes affiliate links. If you decide to make a purchase through my link, I might get a small commission for it at no additional cost to you. Thank you for supporting Upcycle This DIY That!
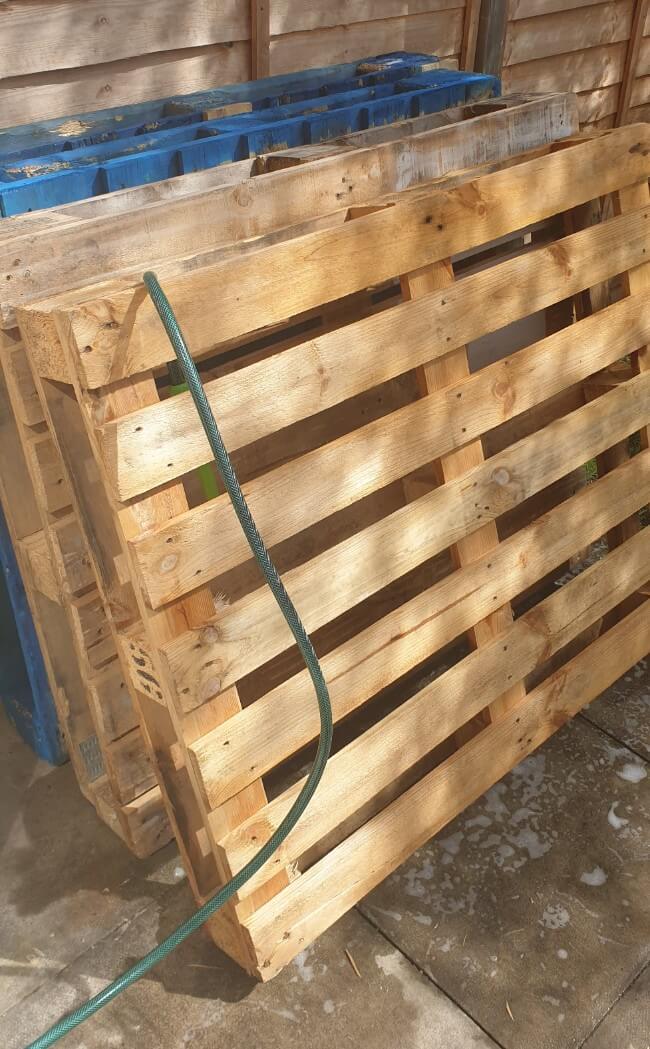
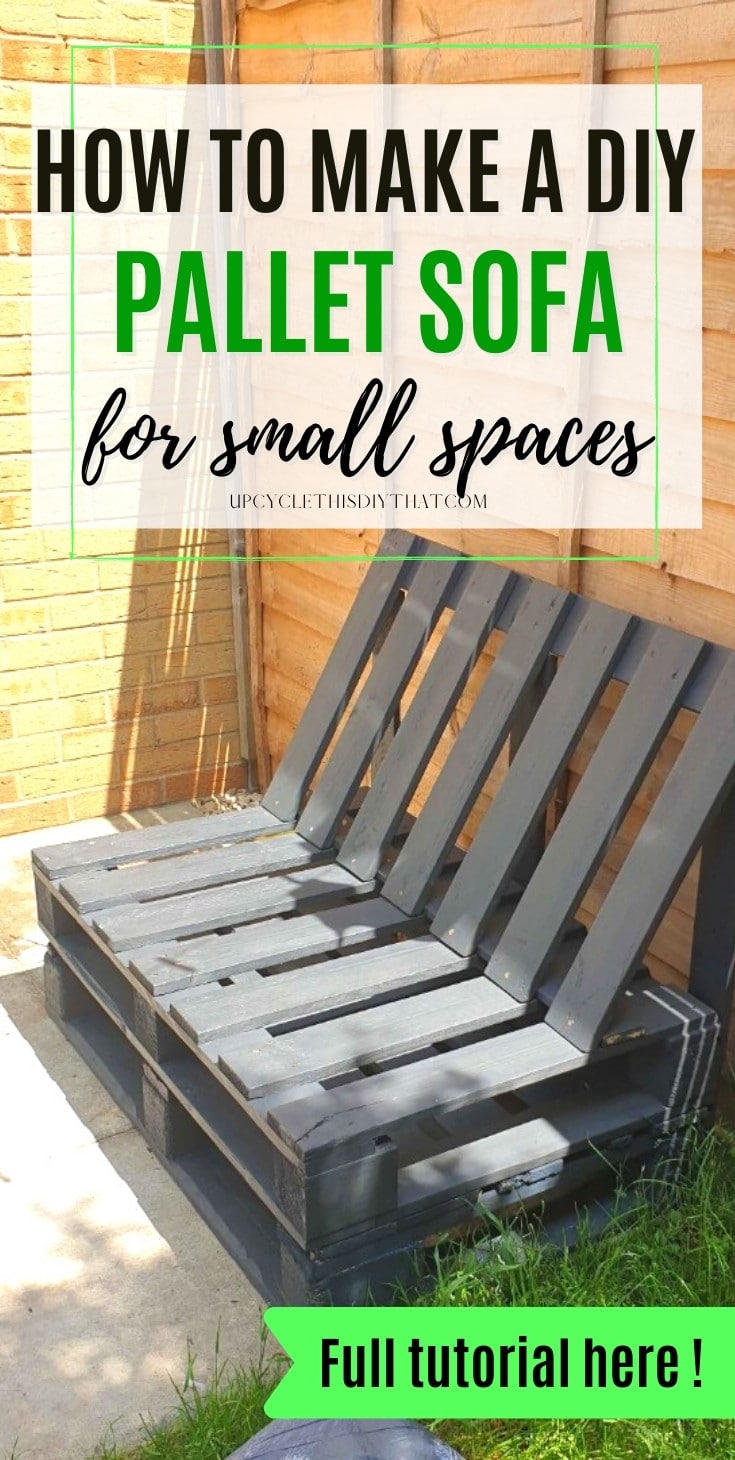
We have finally managed to secure some free pallets, and we’ve had a lot of good weather lately so my husband decided that it would be perfect for him to make two small pallet sofas out of them.
He looked up different DIY pallet sofa designs on the internet, but he couldn’t find anything that would fit in our space.
There is a lot of different pallet sofa designs out there, but they all seemed too big for our tiny garden though! My husband came up with his own design, which would fit perfectly in this little space we have.
YOU MAY ALSO BE INTERESTED IN:
Easy DIY Garden Pallet Coffee Table
How To Build A Pallet Coffee Table Step By Step
How To Make A Pallet Herb Garden
How To Make A Vertical Pallet Planter/Garden
We had four euro pallets that were the same size: 100x120cm(40”x48”). You could probably use the same design using two or three pallets and some castor wheels to add height. We decided to have the sofas two pallets tall plus a 4 inches foam mattress on top.
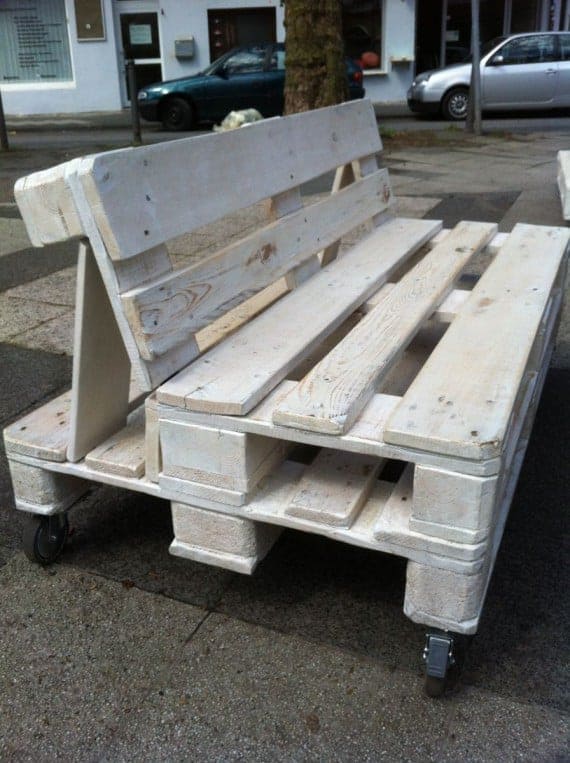
The design was to have a backrest at an angle, and it was based on the project below. But we decided to get rid of the wooden blocks and extra boards and make the backrest more skinny. This way, we saved on space needed, and the couches fit perfectly.
Tools and materials
- 3-4 euro pallets
- Plastic brush
- Dish soap/bleach
- Old rags
- Random orbital sander plus sanding disks P-60/P-80, P100/P120, P-150/P180
- Sanding sheets/sanding sponges P-60, P-80/100, P-150
- Paint- outdoors wood paint that provides a waterproof finish and UV protection- I used Aldi DecoStyle Garden Accents in Urban Slate color.
- Paint sprayer/paintbrushes
- Dropcloths/tarpaulin
- Paint stirrers
- Safety goggles
- Face respirator
- Gloves
- Drill plus drill/screw bits
- Screws:
– 5x100mm (10×4)Zinc Yellow Passivated Pozi wood screws(back support boards 4 per board)
– 3.5x30mm(6 x 1-1/4) Zinc Yellow Passivated Pozi wood screws
– 3.5x35mm(6x 1-1/2) Zinc Yellow Passivated Pozi wood screws(for securing the backrest at the front and back)
How to make a DIY pallet sofa/garden sofa
Prep the pallets
The pallets should always be prepped before use. This includes cleaning and sanding. Check my post on how to prepare pallets for upcycling for more info.
Cleaning the pallets
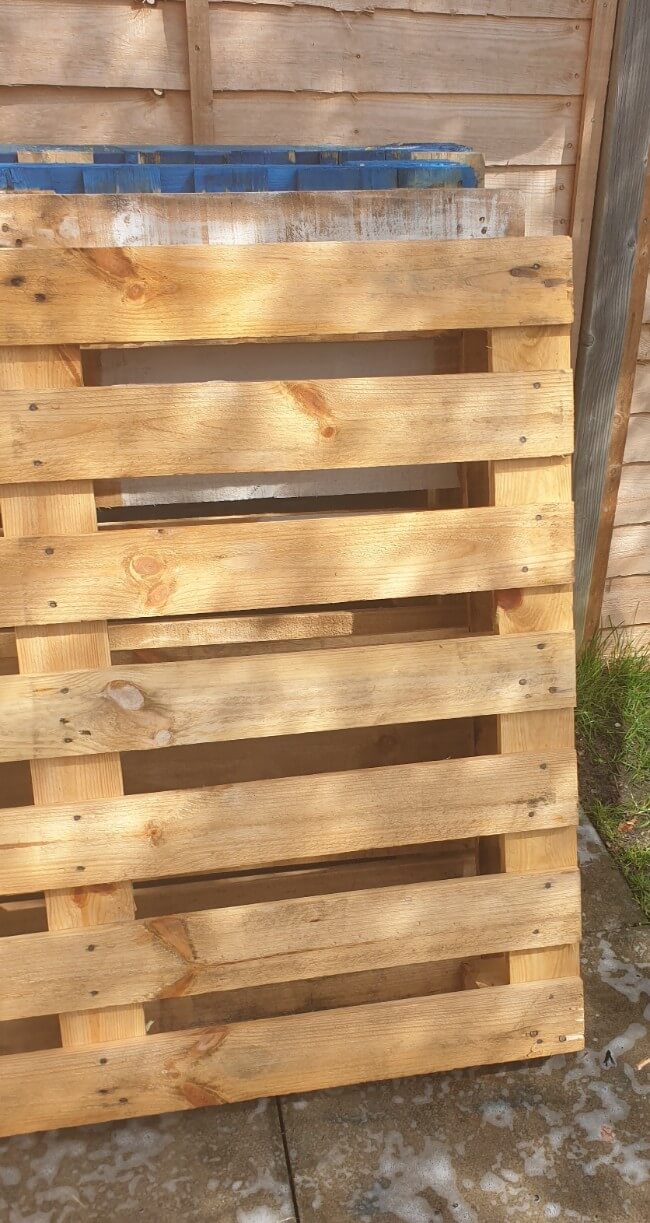
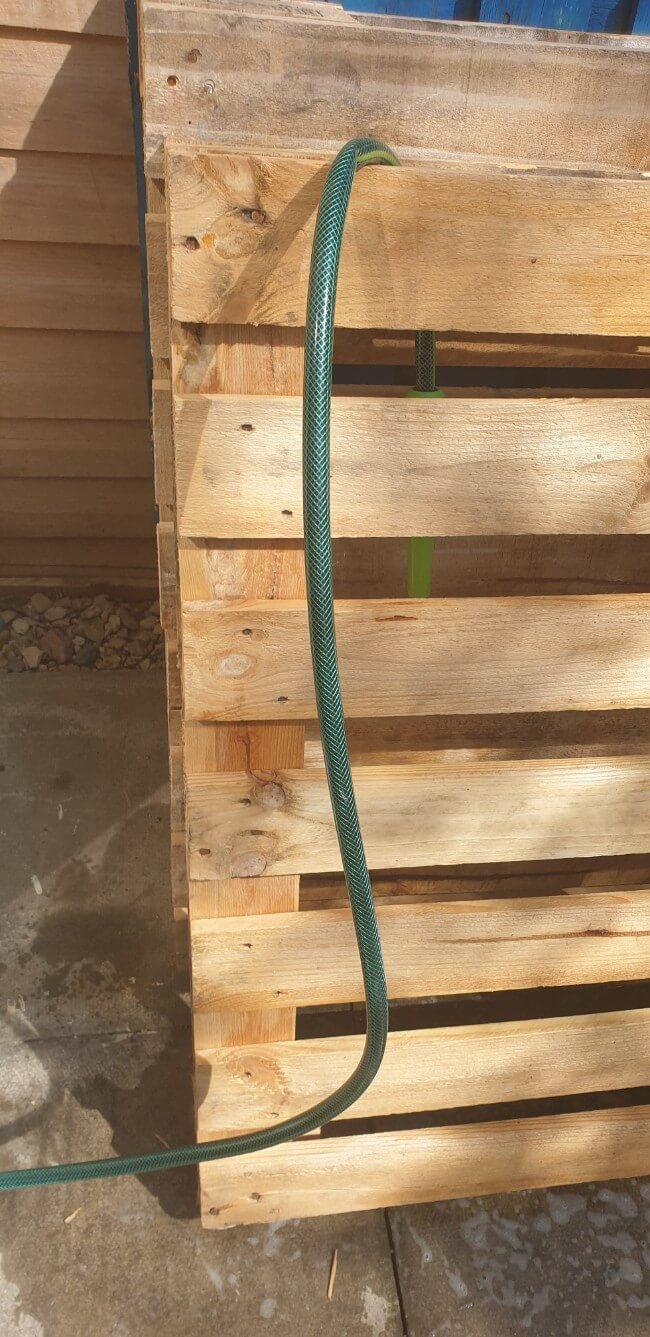
We cleaned the pallets with warm water and some dish soap. You can use any other cleaning detergent, and you can also use some diluted bleach solution for this purpose.
Using a plastic brush, my hubby scrubbed all of the surfaces. Then we let them dry in the sun.
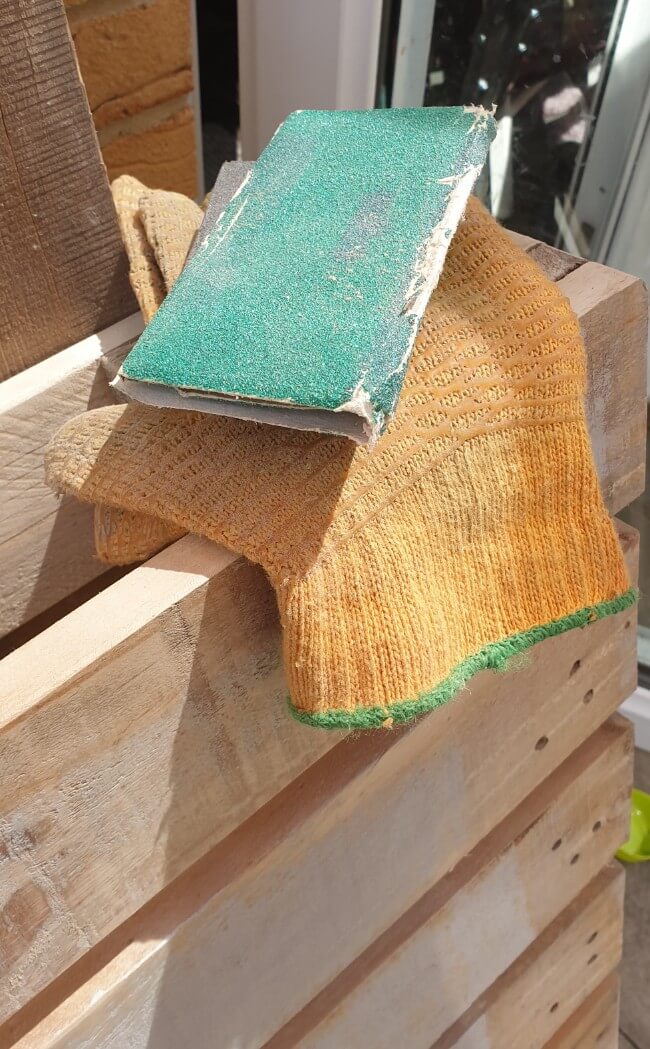
Sanding the pallets
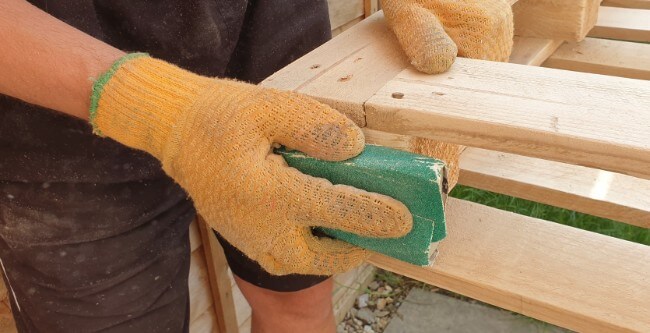
The next step was to remove any unwanted screws and nails that were sticking out and sand the pallets. We decided not to stress about the smoothness of the wood due to it being painted anyway.
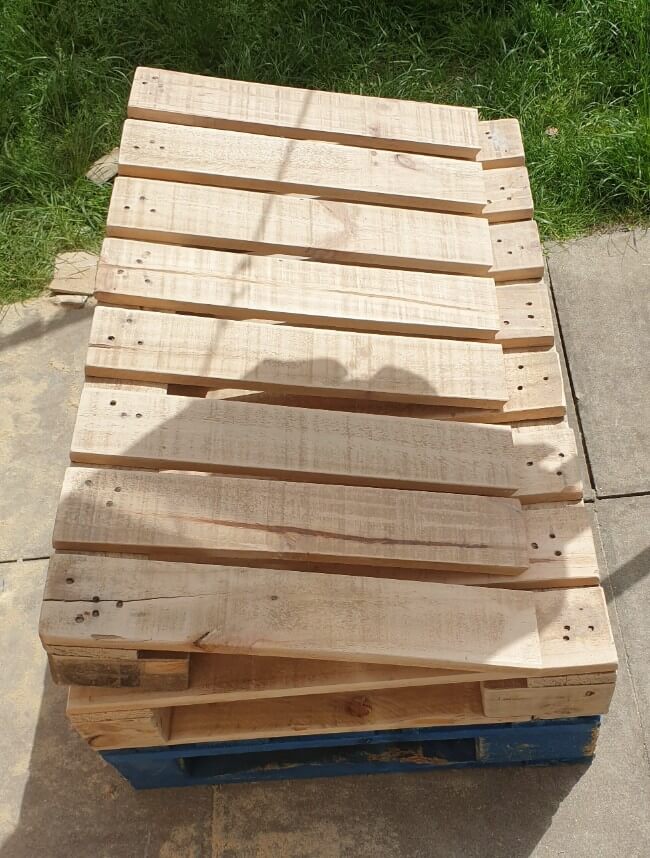
Two of the pallets that were going to be at the bottom he only sanded with P-60/P-80.
He sanded the top ones with P-60/80, P-100, and P-150 using an orbital sander wherever possible and then a sanding sponge for the hard-to-reach places. He made sure all the edges were rounded and smooth.
Cutting the pallets and other needed pieces
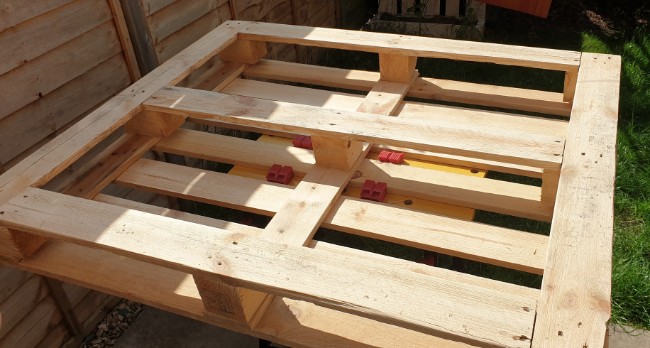
The next step was to cut the pallets the way we wanted to make the seats. We have a very small garden and not much space for huge furniture, so we decided to build the sofas as compact as possible. Hence the backrest doesn’t have any wooden blocks and excess wood bits.
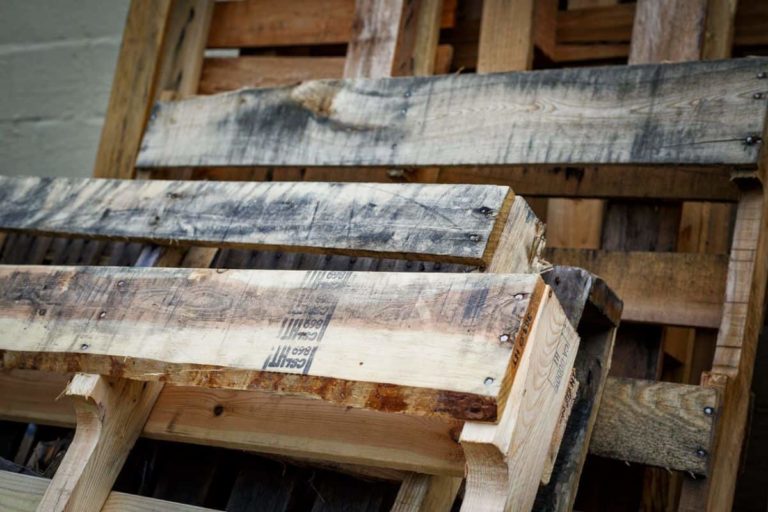
We had 4 euro pallets ready to make 2 smallish sofas. Two were going to be the bottom parts, and two were going to be the top parts(seats) plus the backrests.
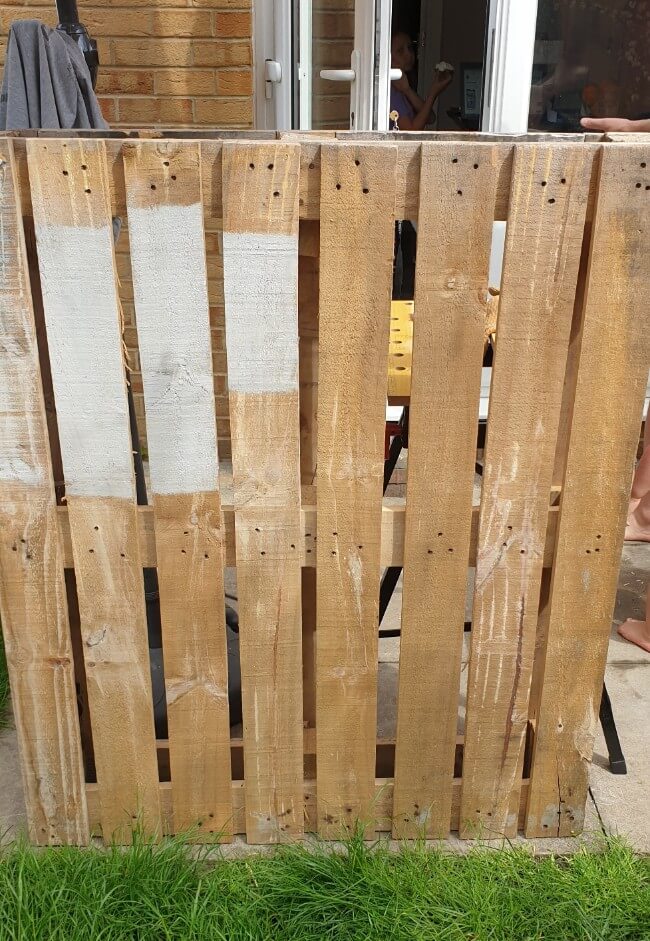
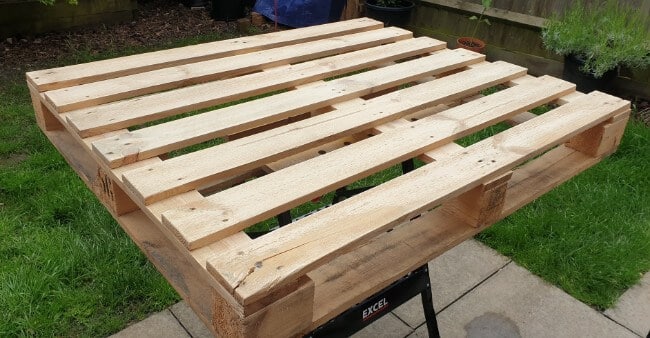
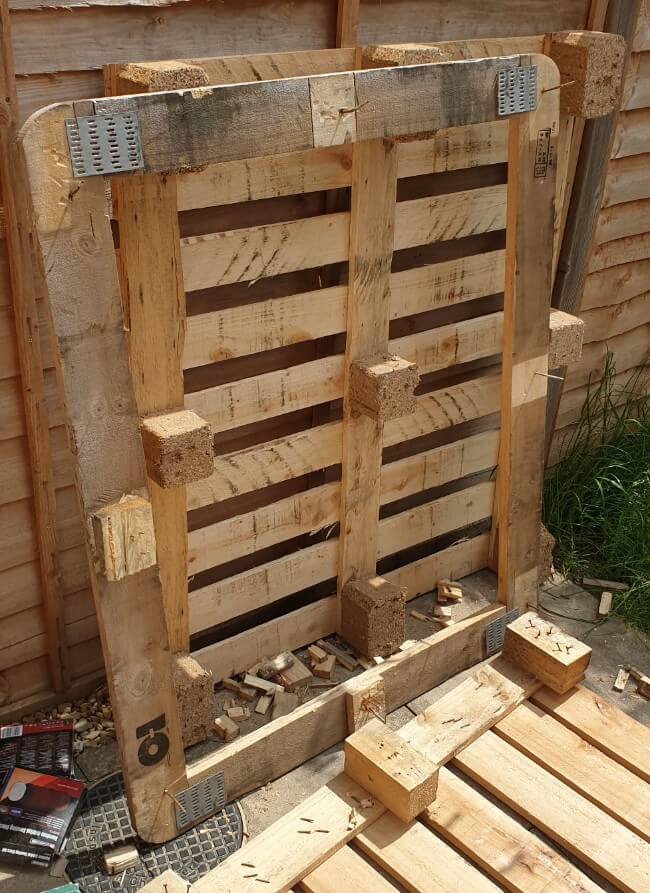
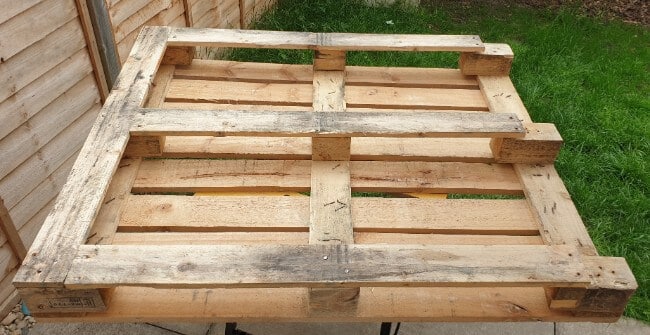
The pallets that were going on the bottom were cut in “half,” and the part that was going to be used had 4 woodblocks left in place. The pallets in the photos above are the ones making the top seat and backrest.
YOU MAY ALSO BE INTERESTED IN:
Wood Sanding Tips for Upcycling and Pallet Projects
Best Sander for Pallets
Preparing Pallets For Upcycling – All You Need To Know Guide
Getting Started – Working With Pallets
You could use the leftover planks for the rest of the project. The design my hubby came up with had a longer backrest, and the supporting boards had to be longer than what was left from these “bottom” pallets.
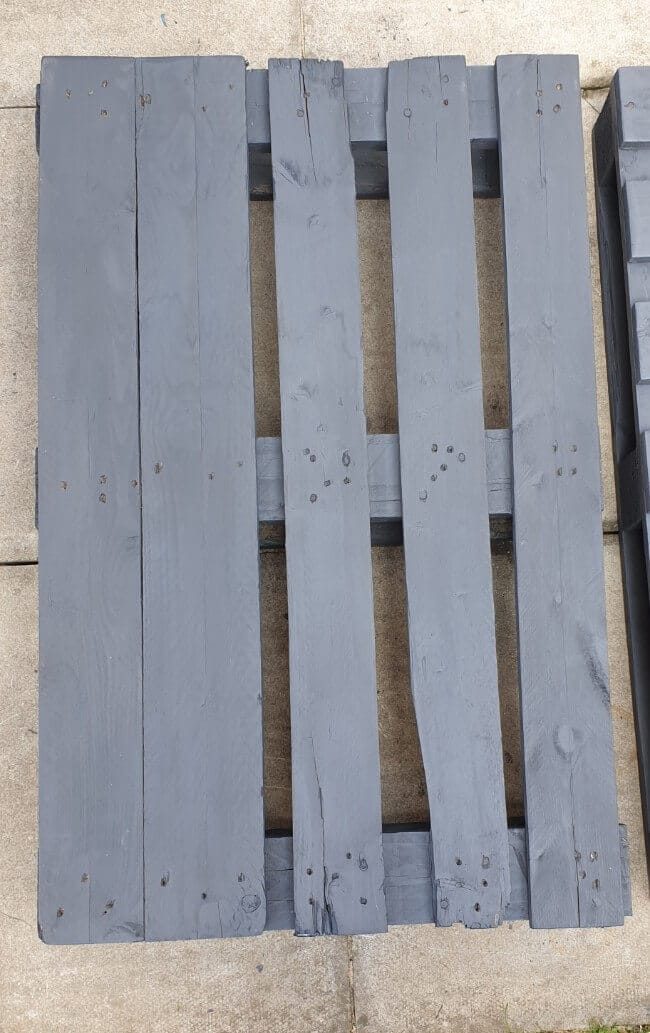
Unfortunately, I lost the photos for the “bottom” parts. But you can check the way we cut the top parts in the photos below. Basically, it was all the same.
The only difference was that the planks were in going in the opposite direction, so only the supporting boards connecting the wooden blocks needed to be cut. I hope you understand what I’m talking about, lol.
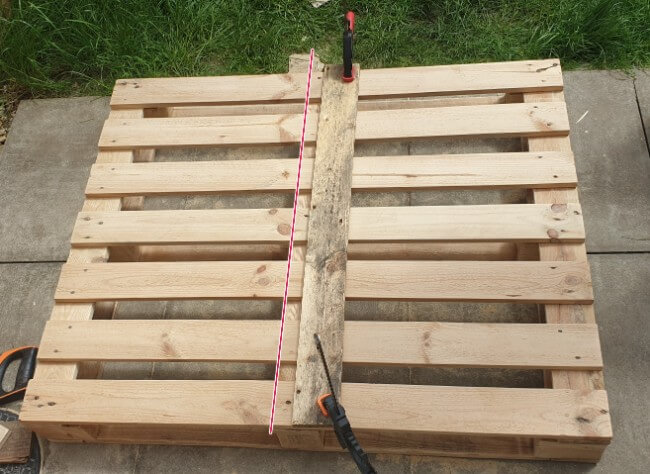
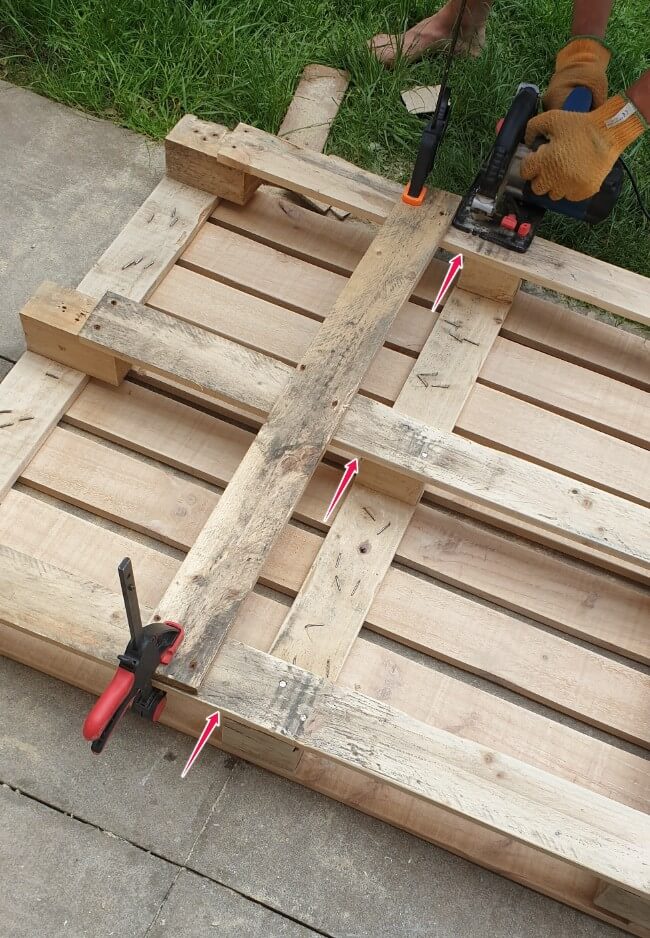
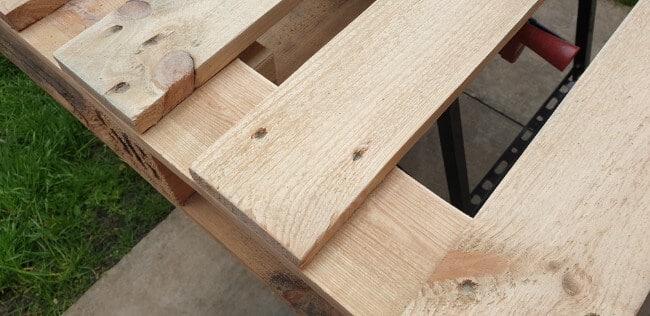
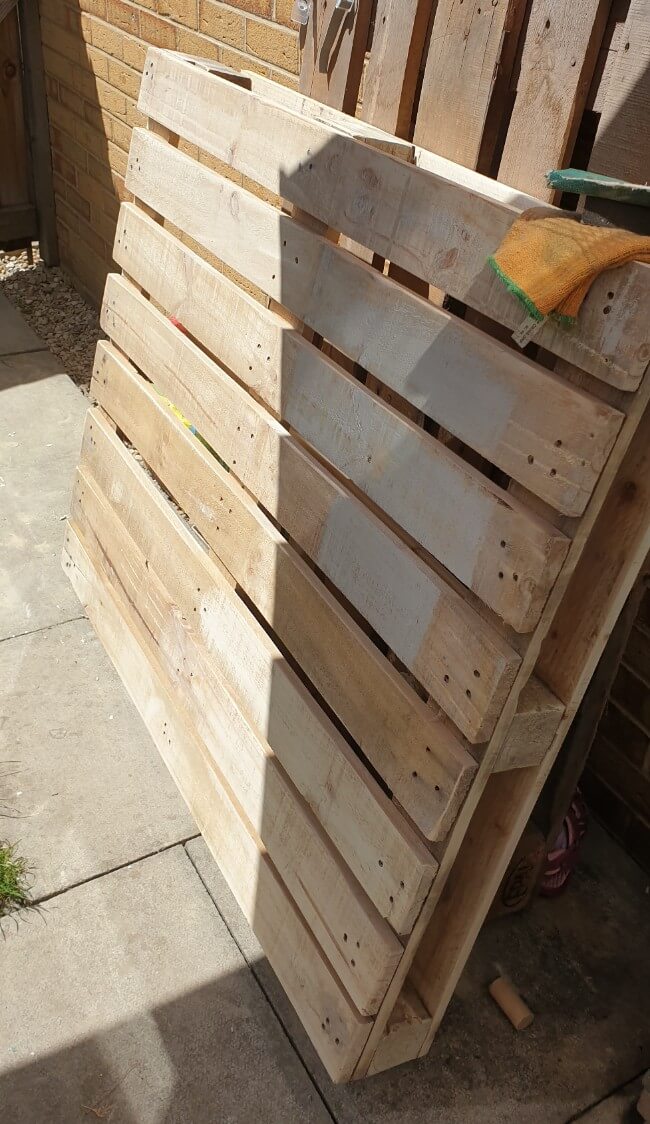
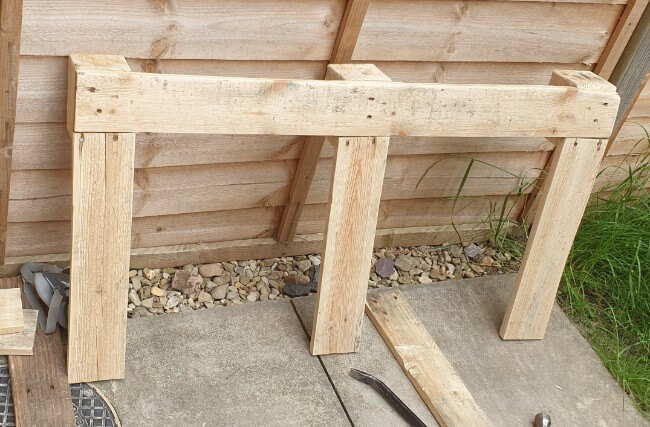
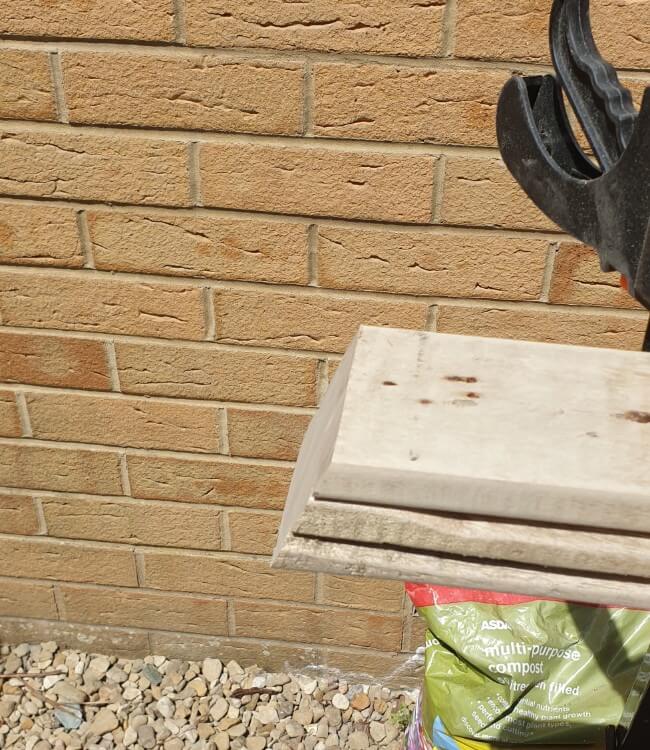
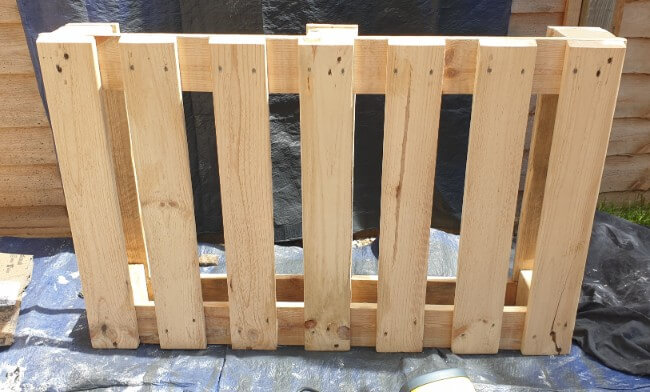
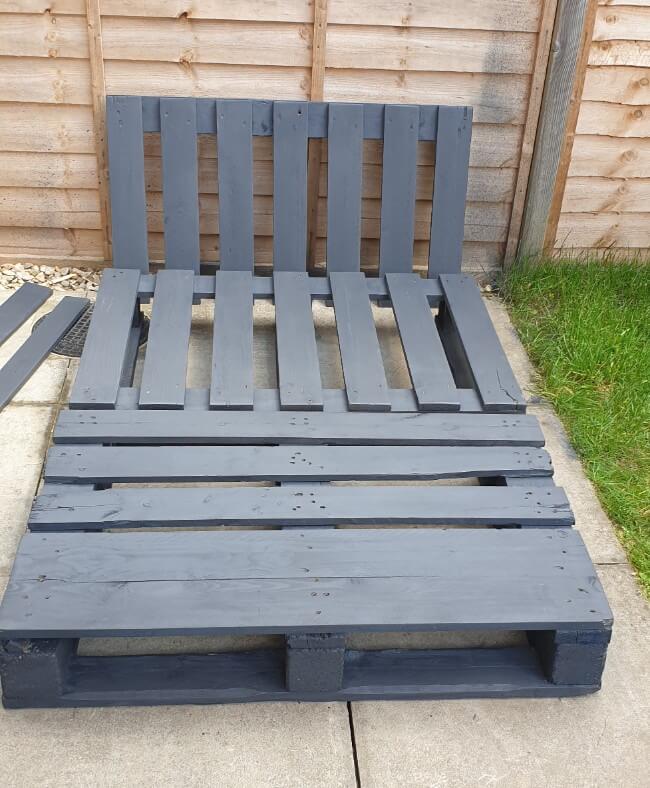
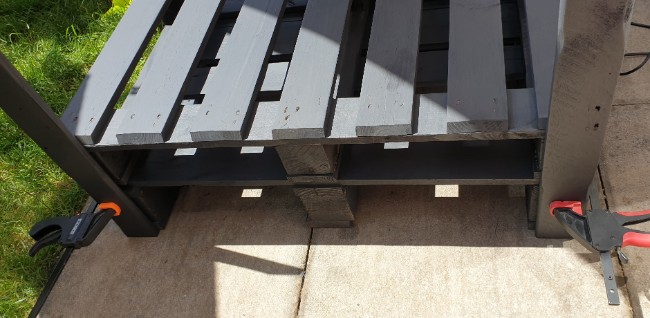
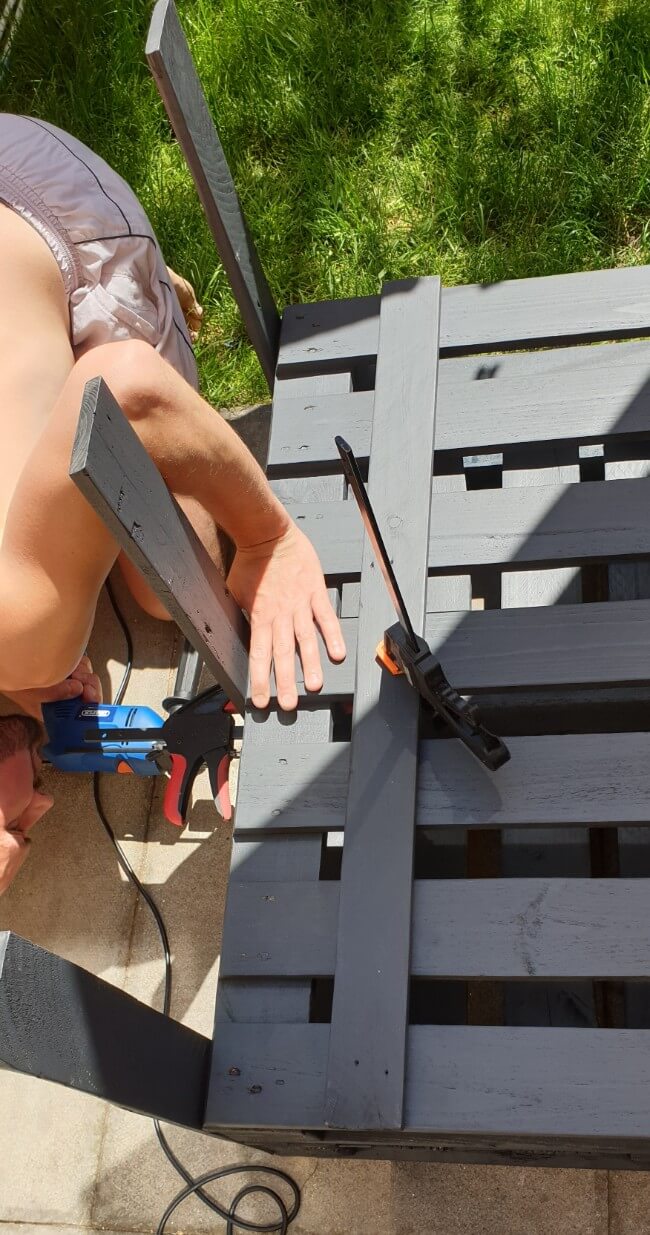
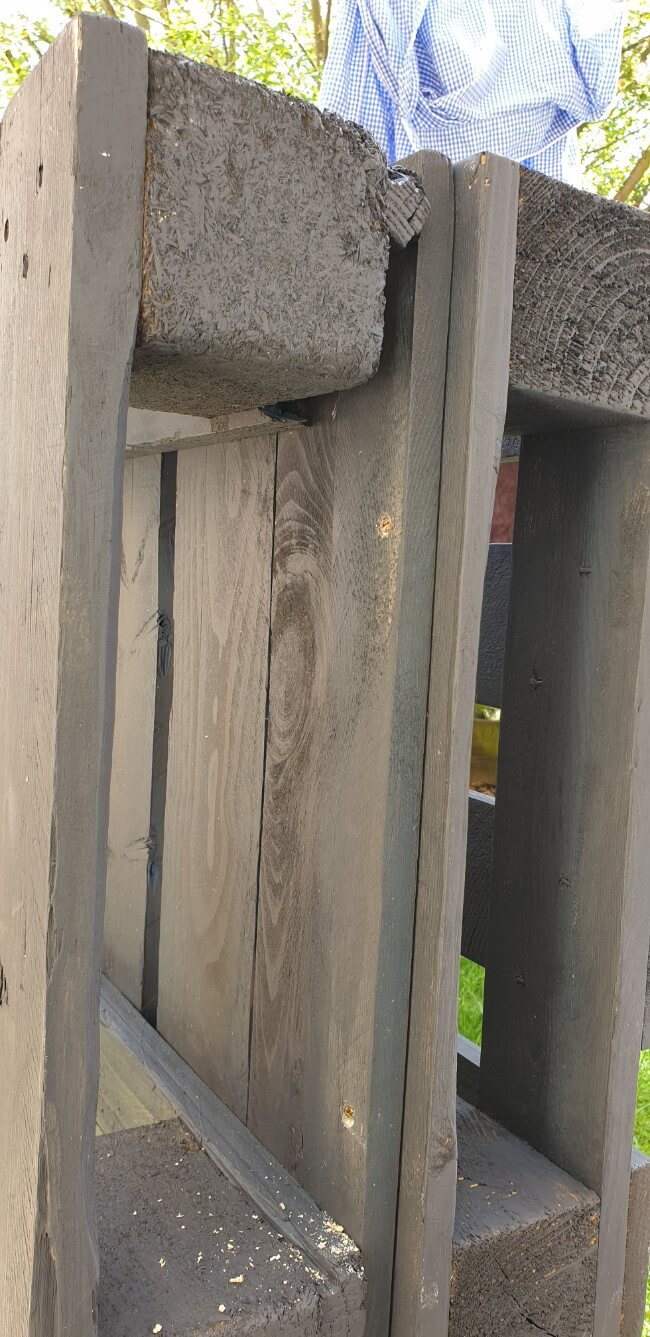
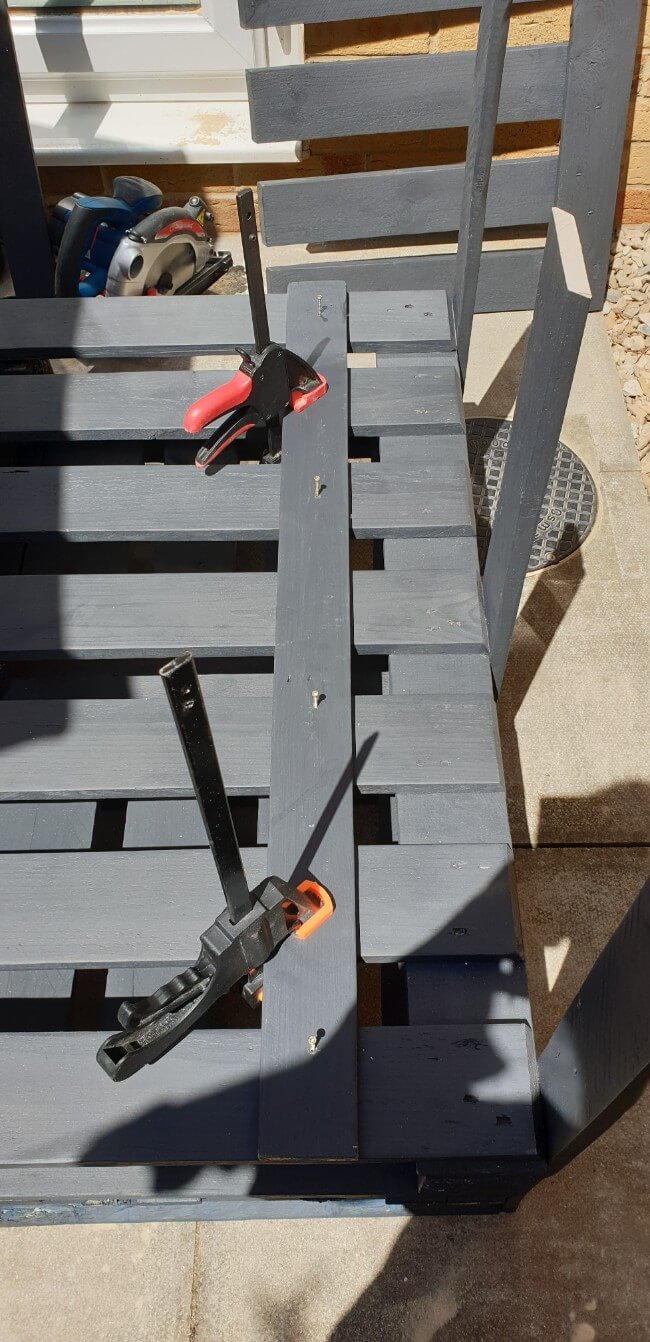
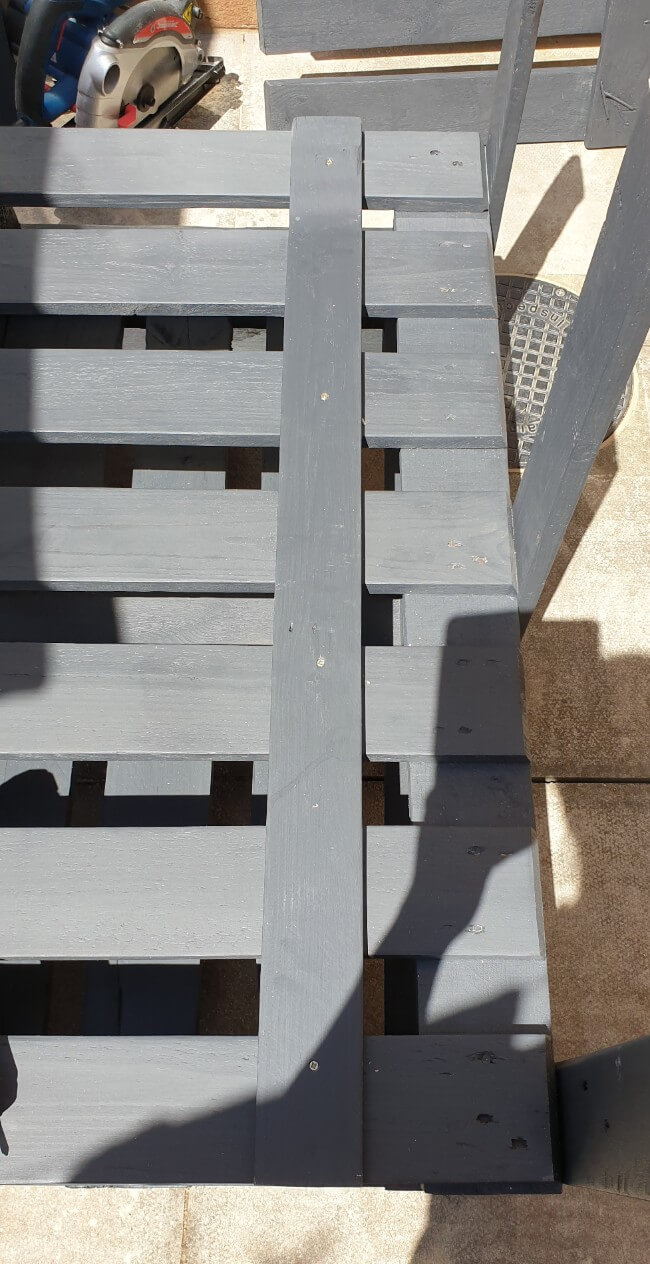
The way we cut the “top” pallets was pretty much the same, but the planks were going in the opposite direction. We cut the pallet, as you can see in the photo.
The cut was made at an angle we chose the backrest to be(I believe it was 110 deg). This way, we had the seat part and the backrest part, which would be screwed at an angle.
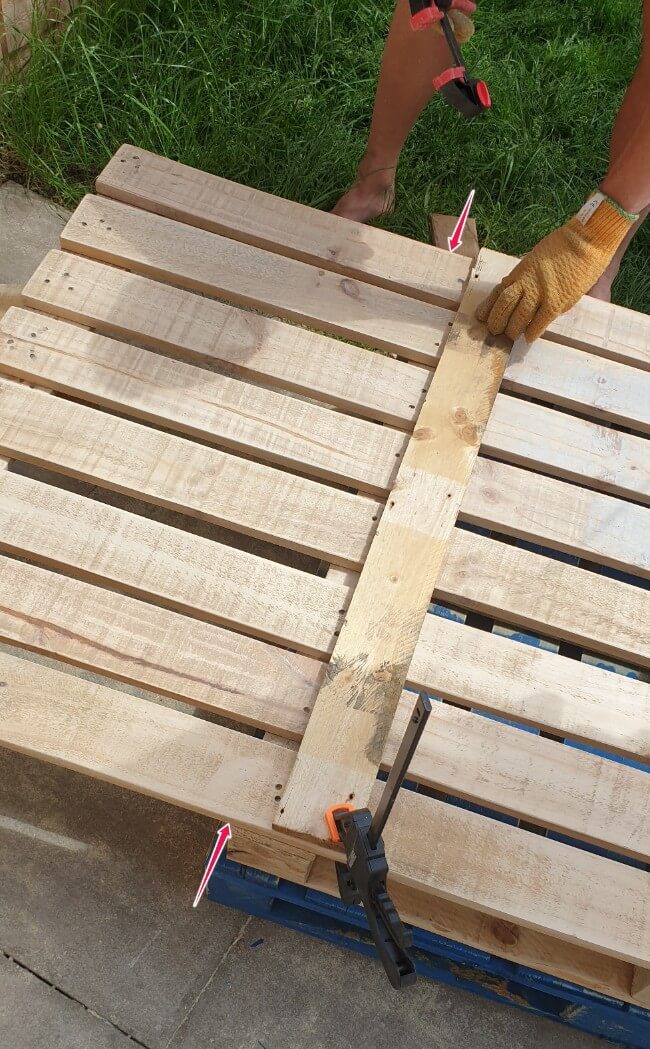
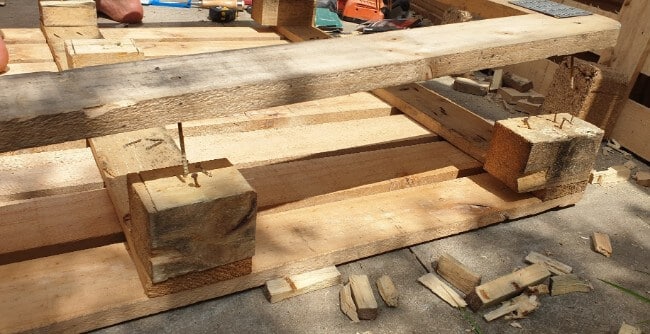
Since the bottom of this pallet was made in a weird frame, we had to remove it and use spare planks in its place. This way, the height of this pallet was the same as the other one, and the sofa seat would be the same height as well.
Deciding on the backrest angle
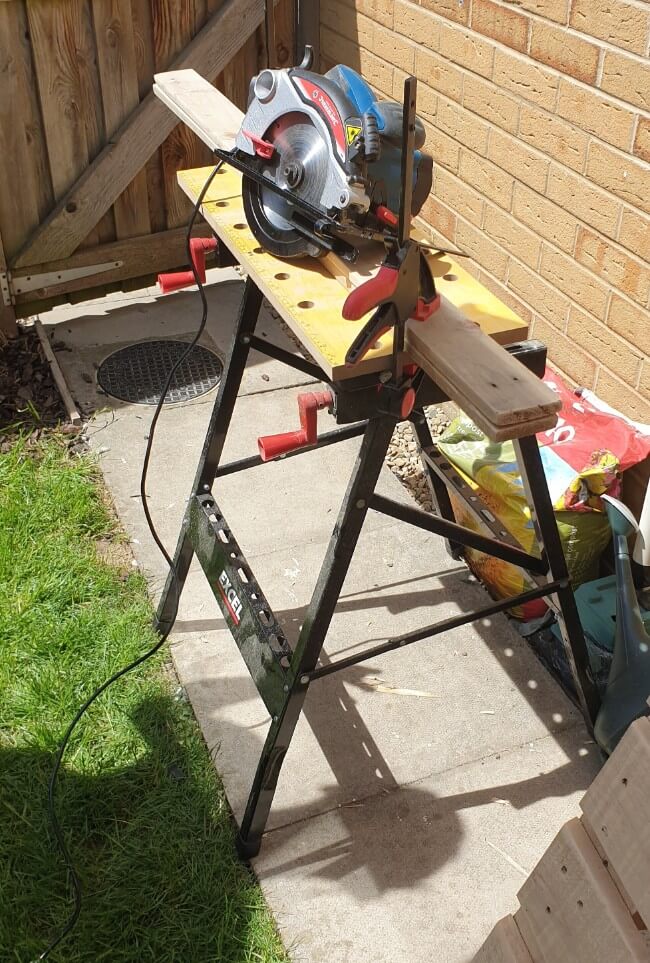
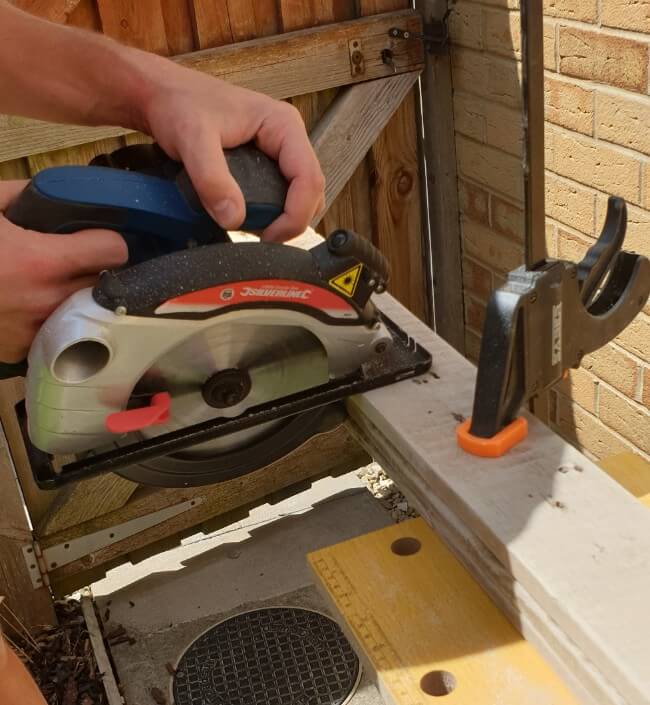
This step was conducted before the cut in the top pallet was made. I simply sat on the pallet. We measured roughly what angle of the backrest was comfortable for me while sitting.
The angle we came up with was around 110 deg. The circular saw was set to this angle, and my hubby cut the pallet. The same process went into deciding the depth of the seat. We didn’t want the seat to be too deep.
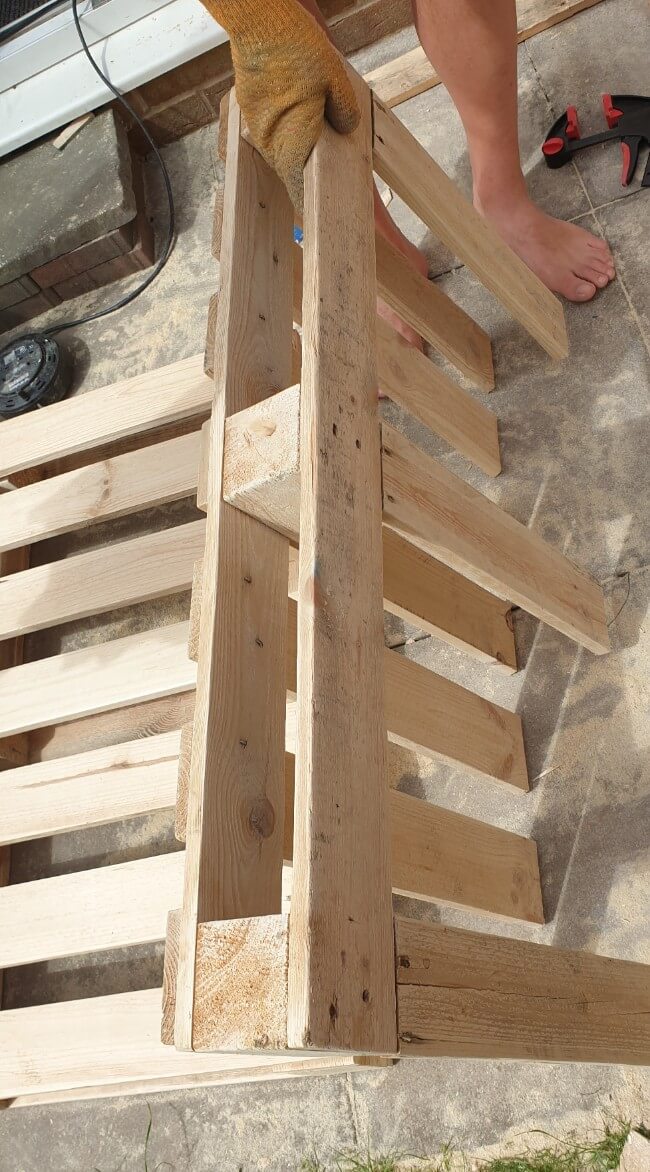
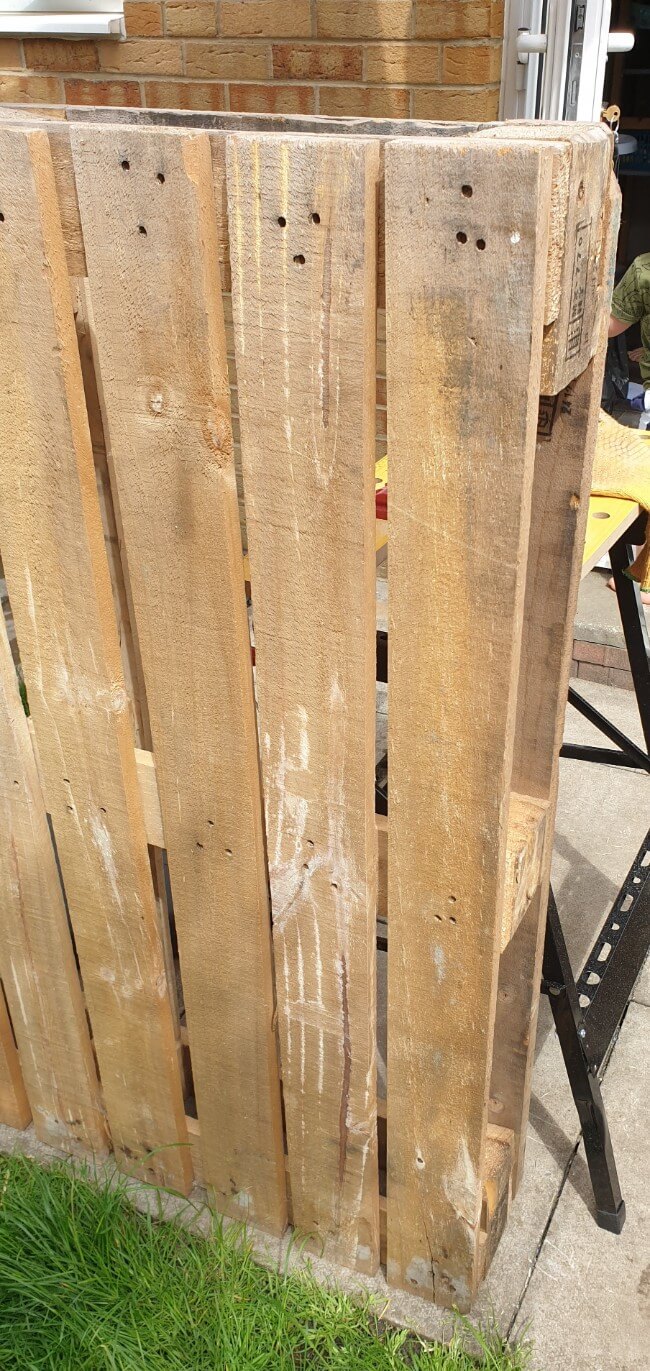
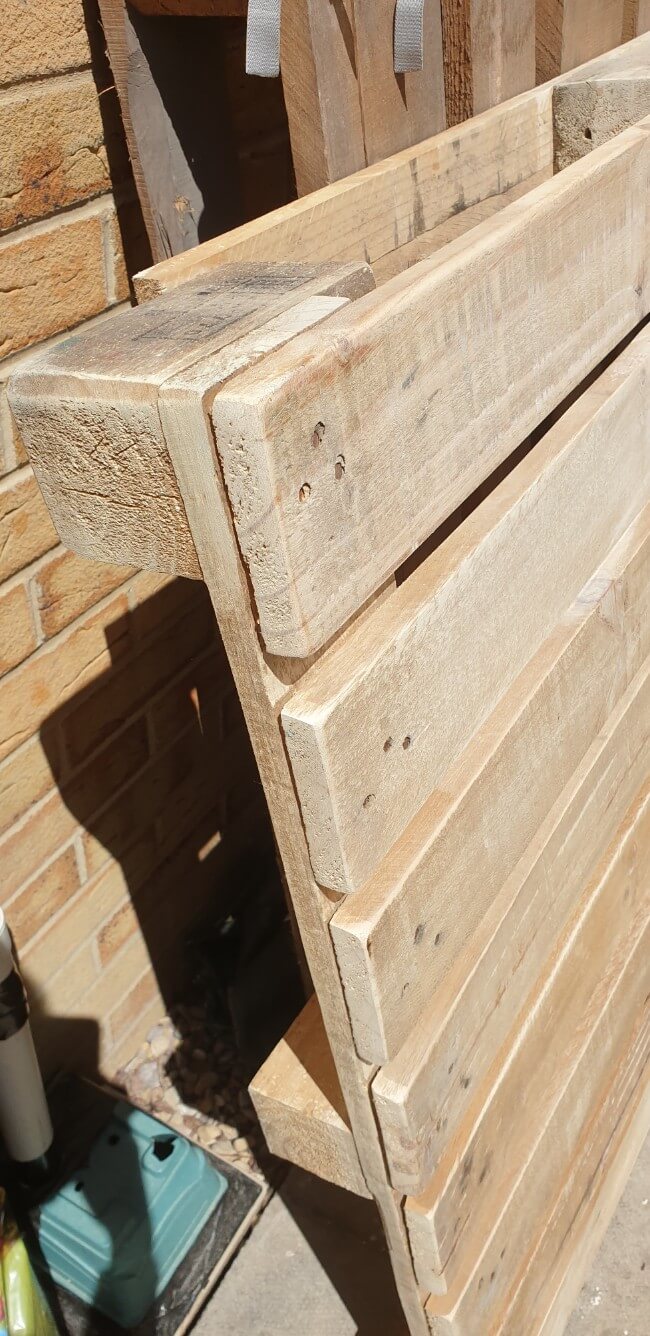
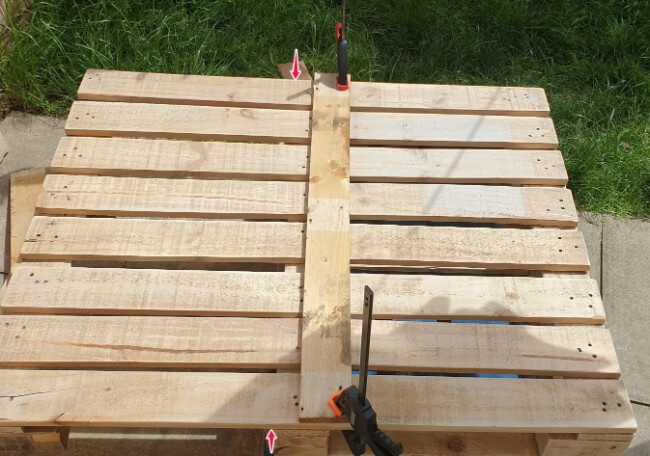
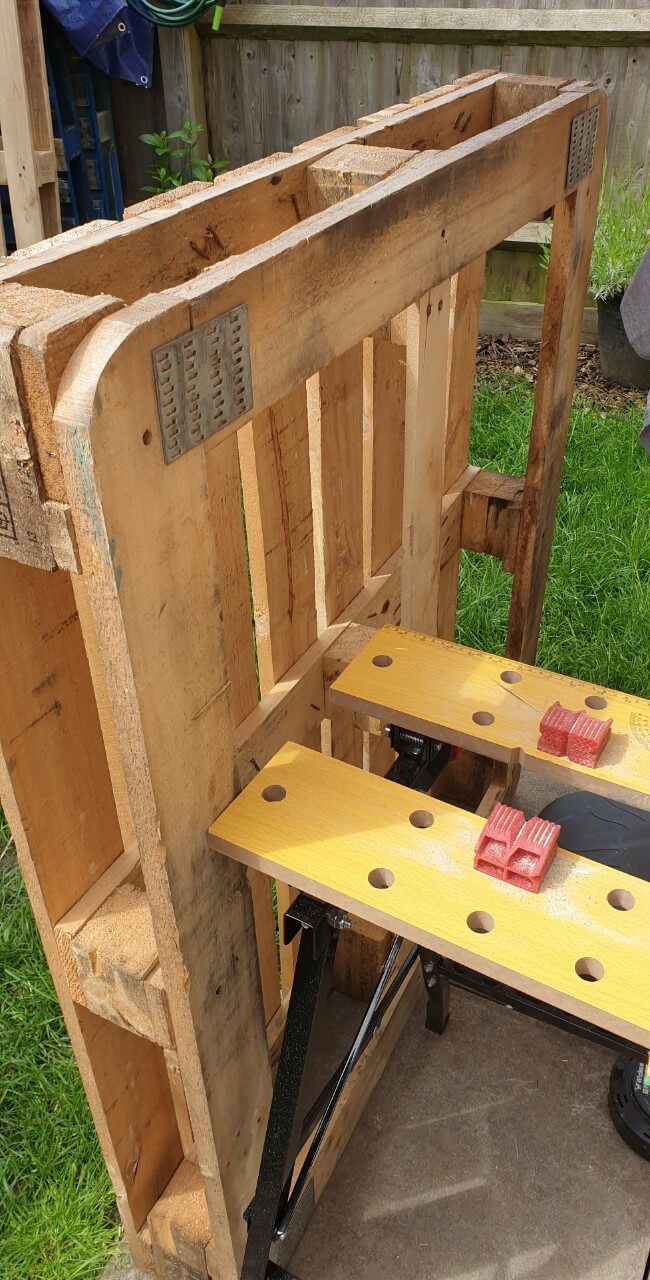
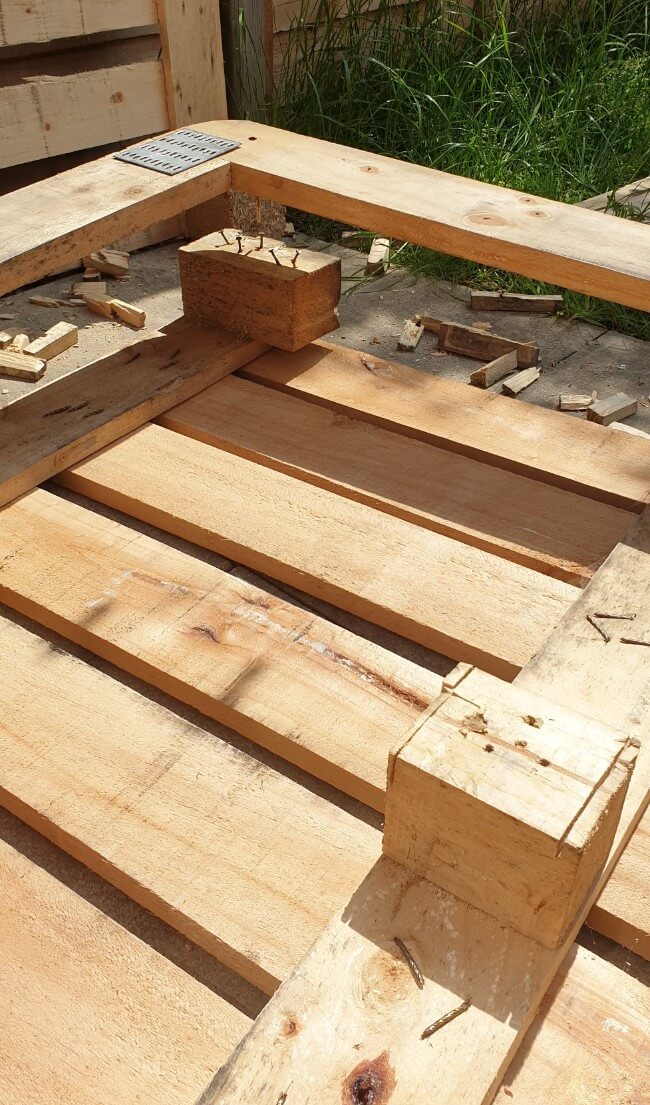
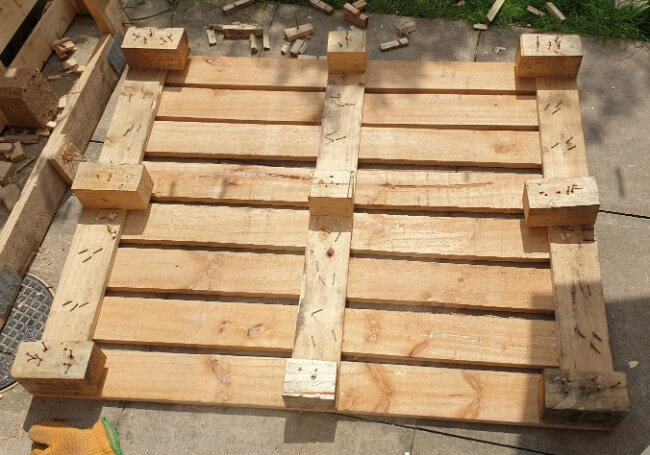
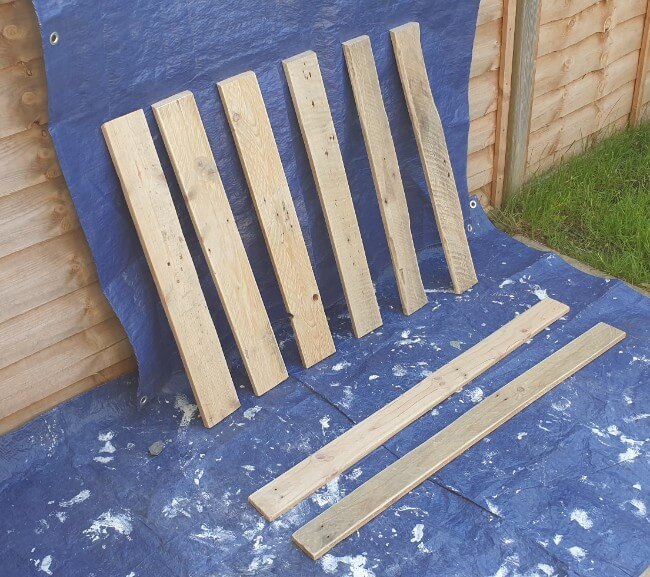
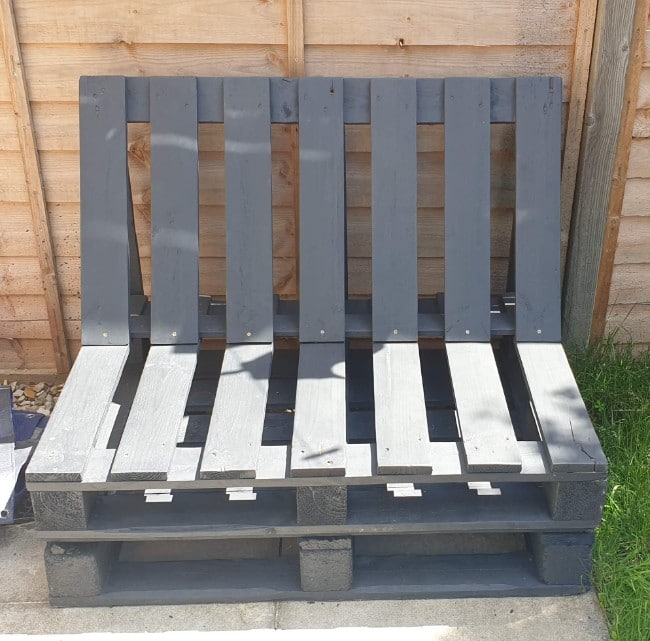
The wooden blocks and unnecessary planks were removed from the backrest part. All that was left was 7(8) vertical planks connected with a horizontal one, as you can see in the photo.
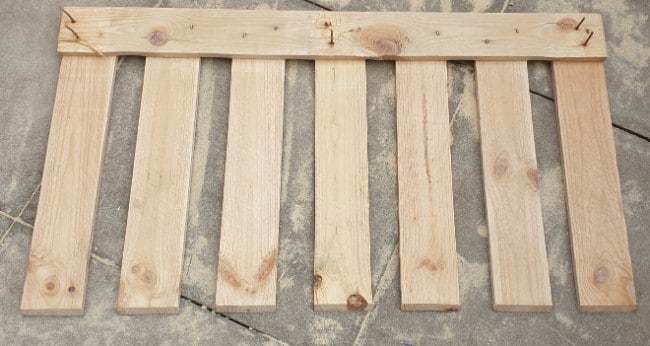
From the left photo 1 – the backrest, photo 2 – what was left/removed.
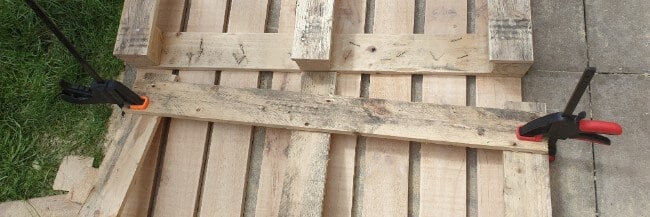
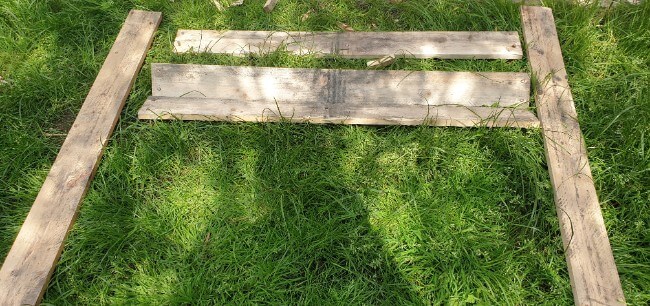
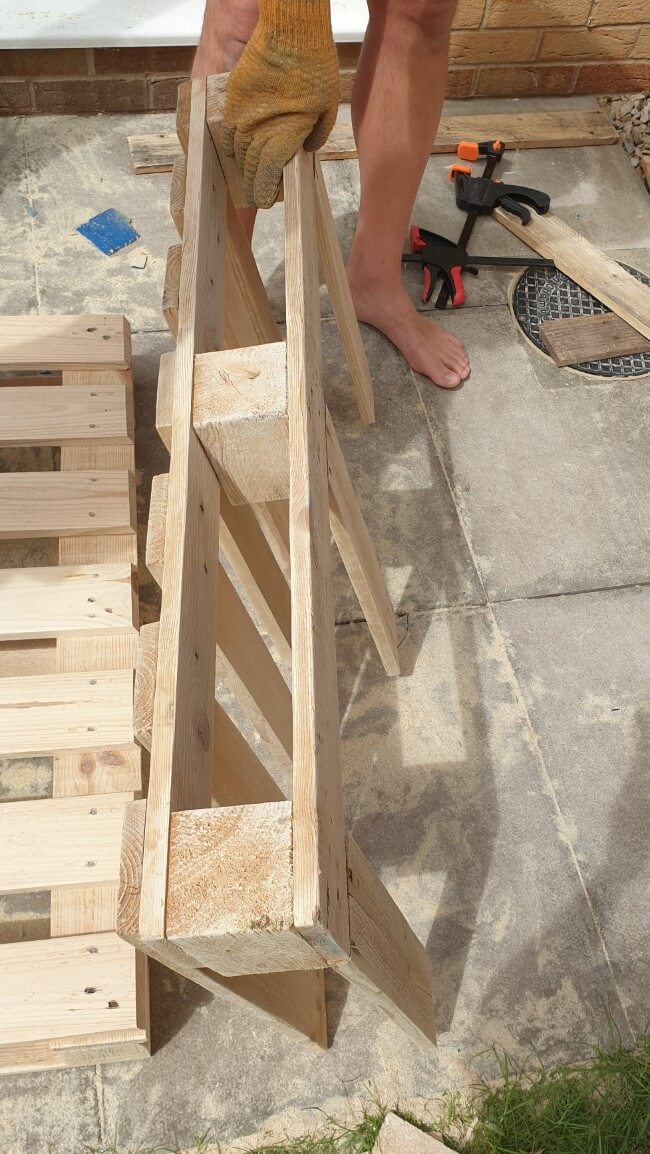
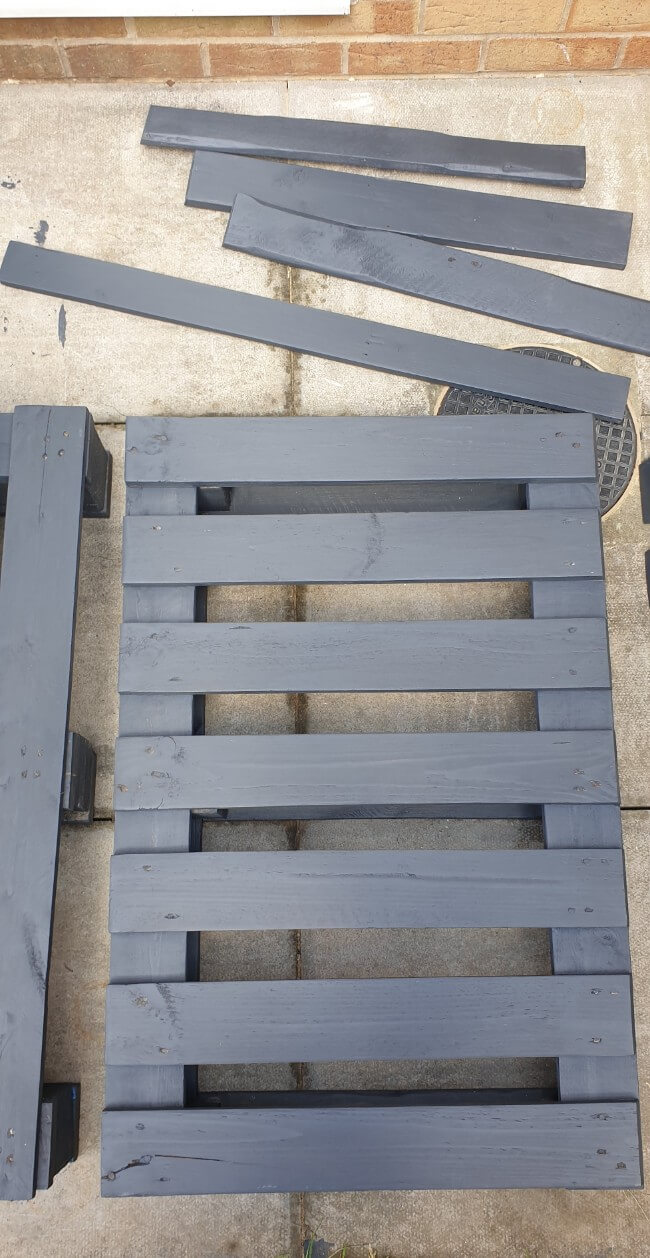
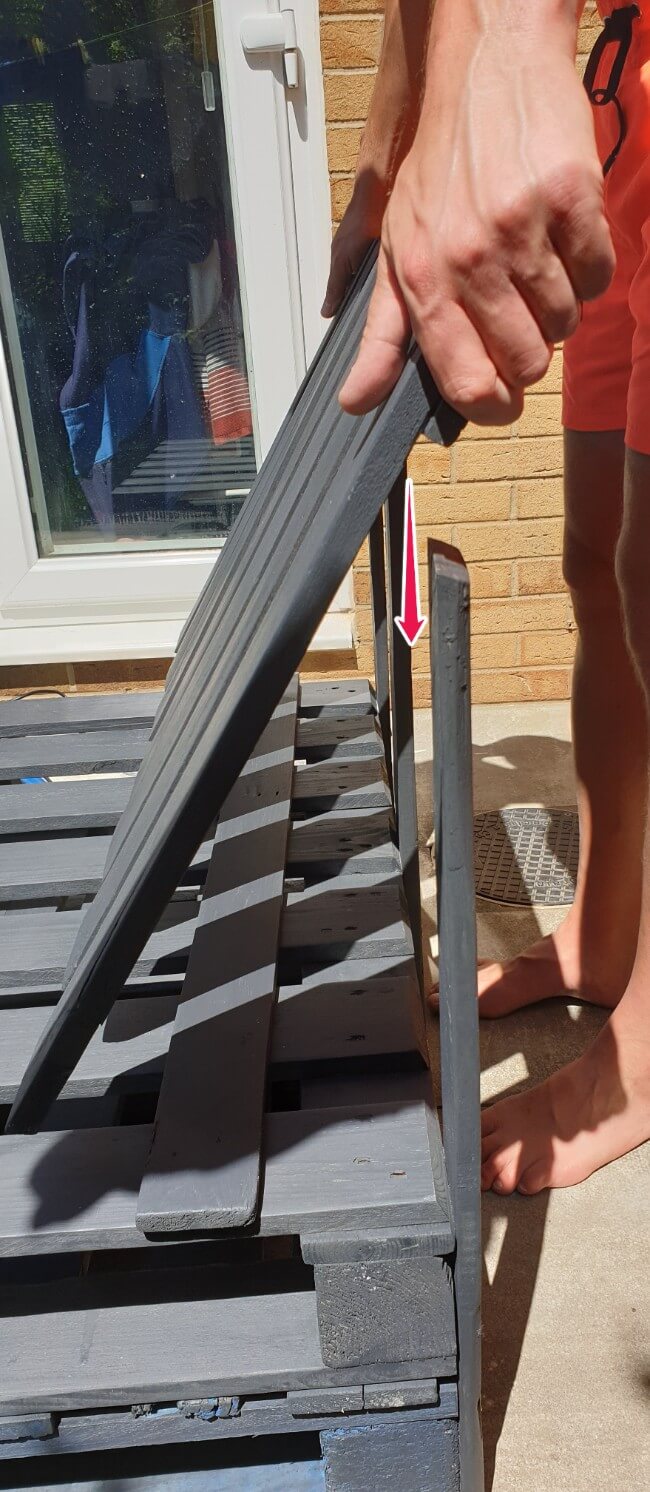
Backrest support boards were cut at an angle, and then the opposite ends were cut to the length needed.
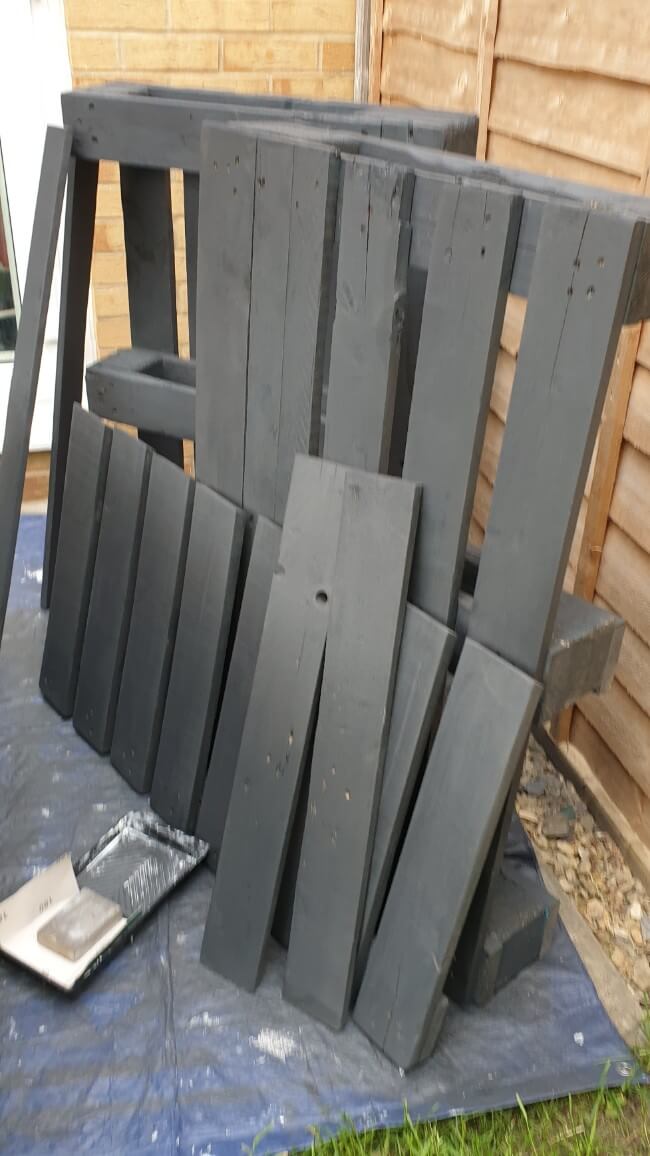
We ended up with six single planks for the backrest support that were cut at an angle to fit the backrest, two backrest sets, two single planks that were going to be used to secure the backrest to the top of the seat, and four halves that were going to be the seat part- the top and the bottom(check the photos below after painting).
You could easily use one pallet per sofa and then add big caster wheels to make it higher. Perhaps with the addition of some metal brackets/mending plates at the back to make the construction stronger.
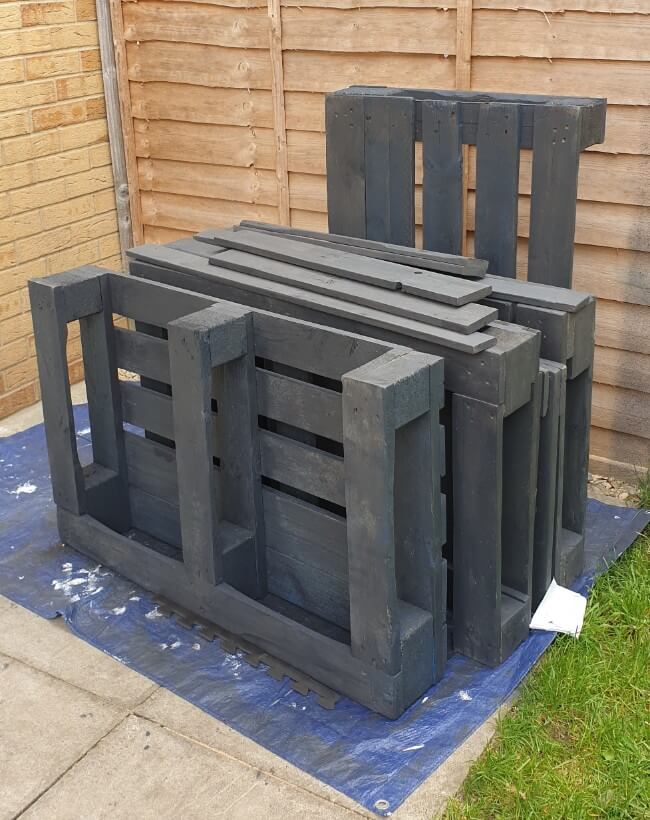
Painting the pallets
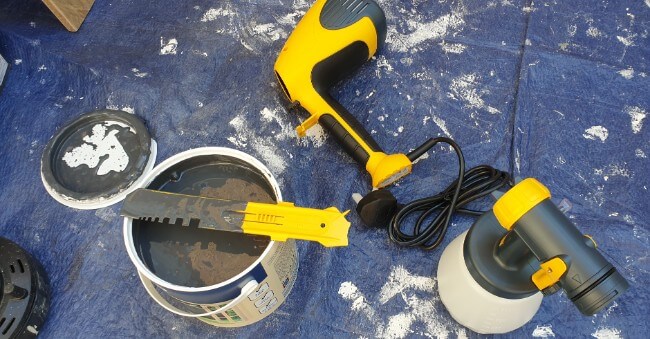
Since we already sanded the pallets, the next step was painting. That was my job, and I didn’t want to do it with a paintbrush, so I decided to use an electric paint sprayer.
I used indoor/outdoor paint from Aldi. It was matt, slightly transparent, and waterproof, as well as UV resistant.
Great color- and an even better price. It was cheeeeap, lol, and I wasn’t expecting much, but hey, it didn’t disappoint. I had to dilute it a bit(10%), and since it was my first time using this sprayer, I didn’t know what to expect.
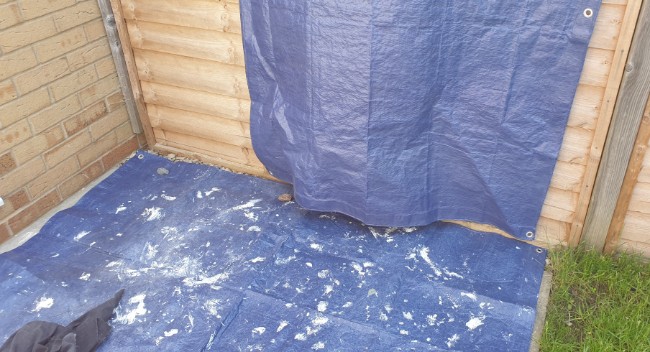
I prepped the space and covered it with tarpaulin, but you can use an old spreadsheet or drop cloth for this purpose as well. I wiped all of the parts with a damp rag to remove sanding dust and let them dry.
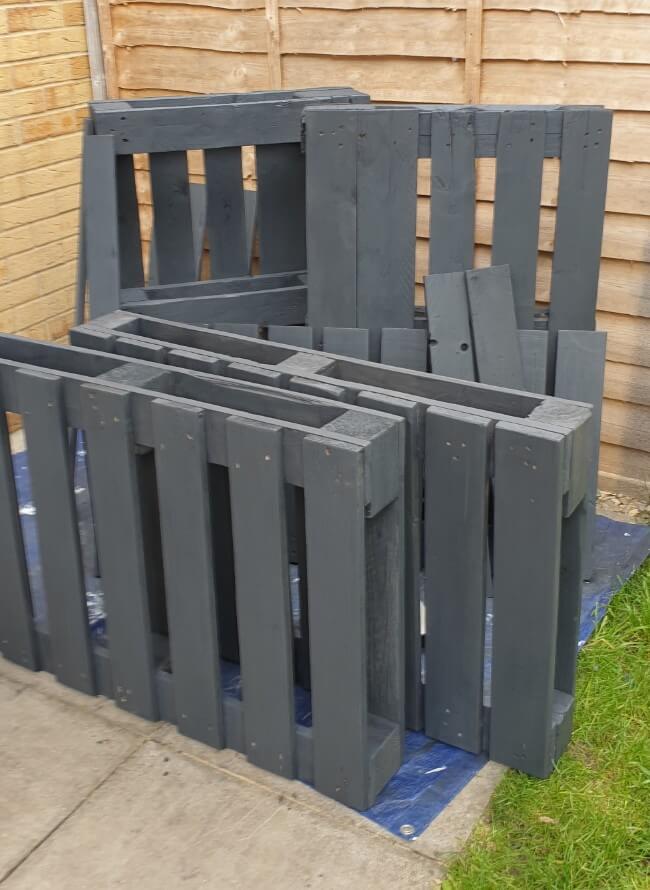
The paint coverage was great, but I couldn’t get the sprayer settings quite right. But I wanted to take advantage of the sunny weather, so I went ahead and used a paintbrush whenever the paint was coming out too thick or in awkward places.
I was pretty impressed with a single layer, and I only went with another coat in several places with a paintbrush.
Assembling the sofas
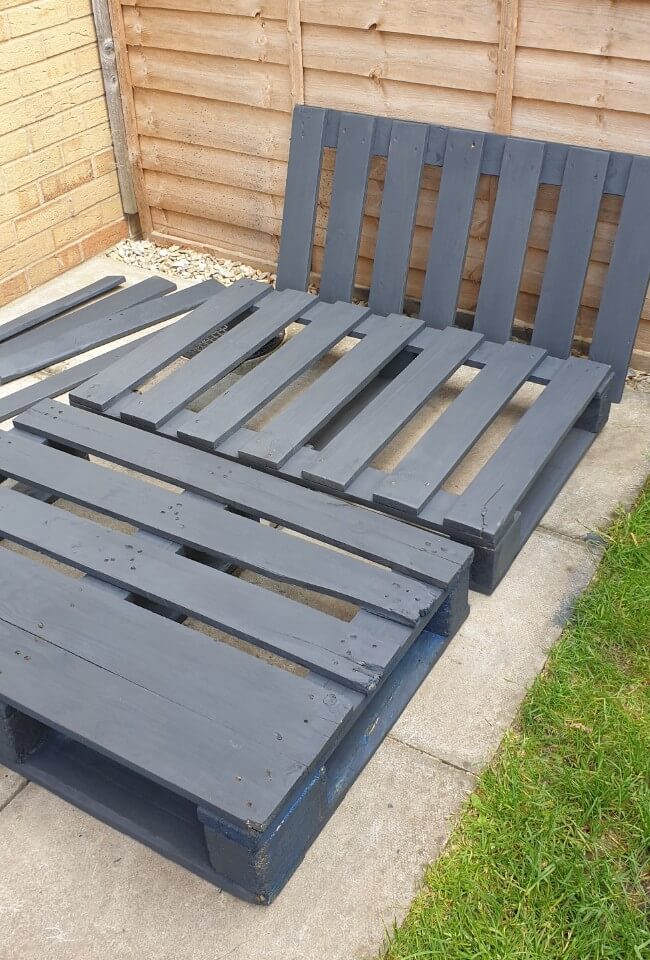
All the elements for one sofa- starting at the bottom: bottom part, then the top seat, backrest, and the support planks.

All the elements for one sofa- starting from the left: bottom part, then the top seat and the support planks, and backrest.
We ended up with 4 pieces that were going to be the seats(2 for the base(bottom) and 2 for the top) and 6 boards for the back support. 2 backrests and 2 boards for securing the backrest to the top seat. The photo above shows all the elements for one sofa.
Attaching the back support
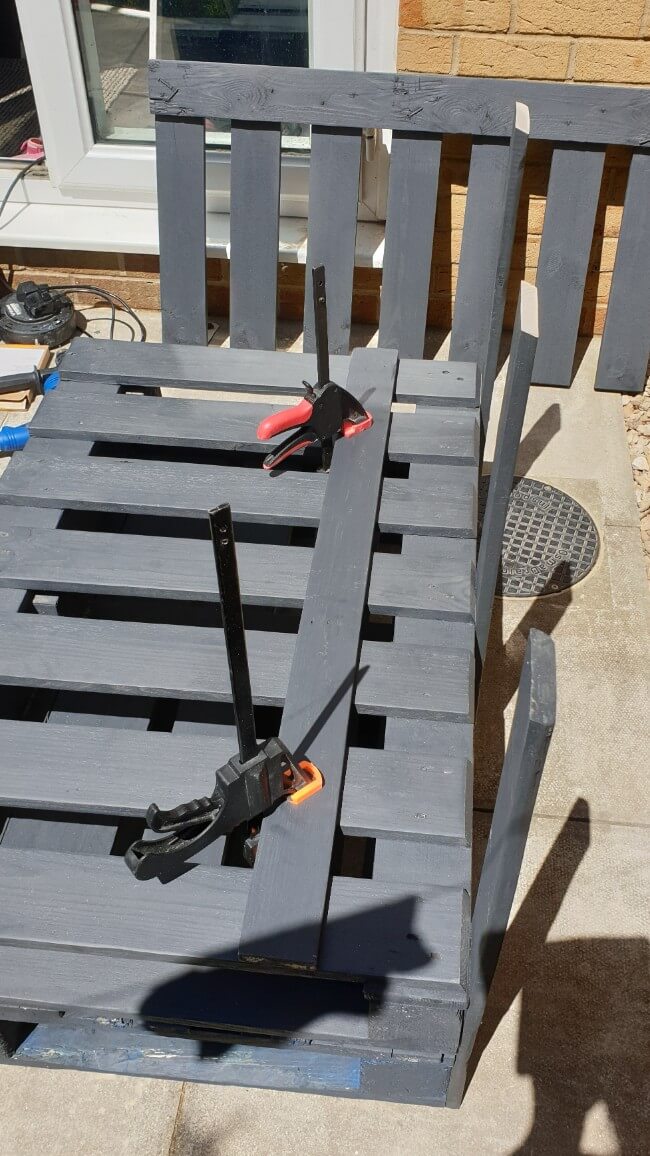
Now the time has come to assemble the pieces together. First, we started with the back support. Mostly because this would piece together the top seat with the bottom part.
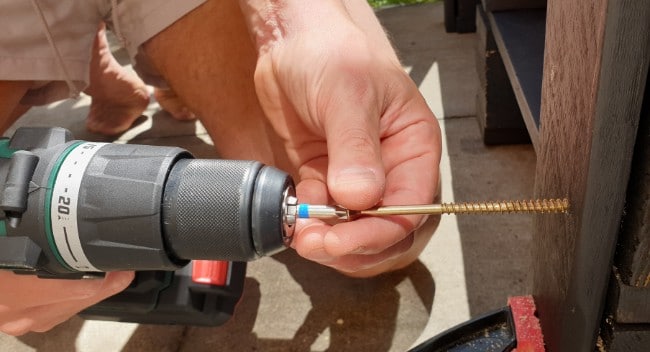
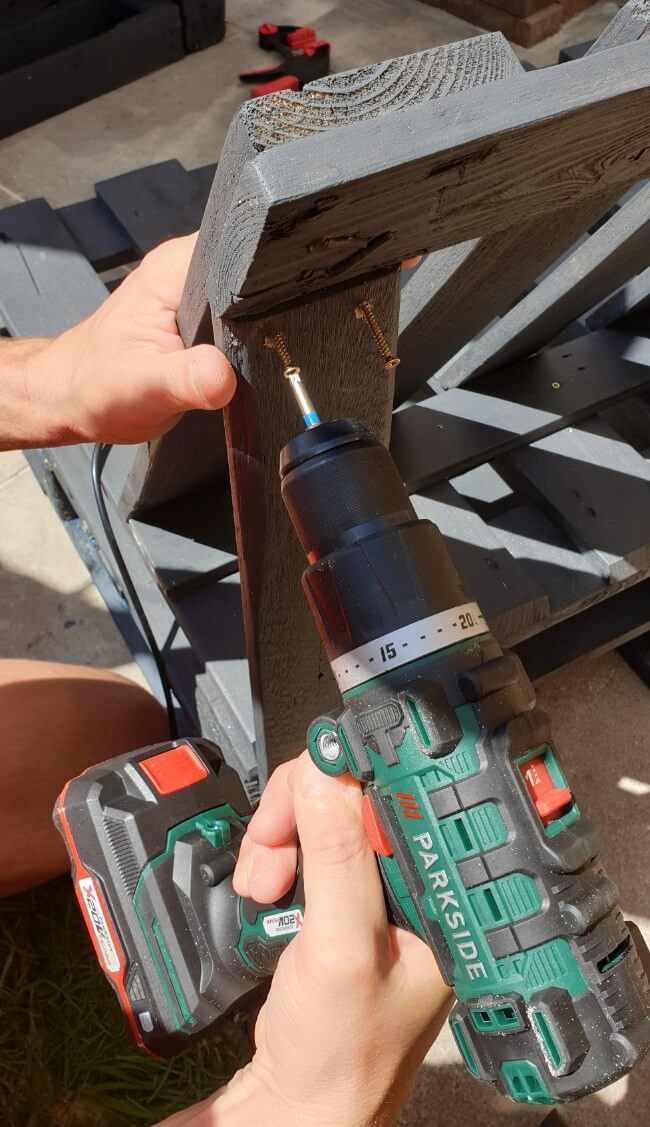
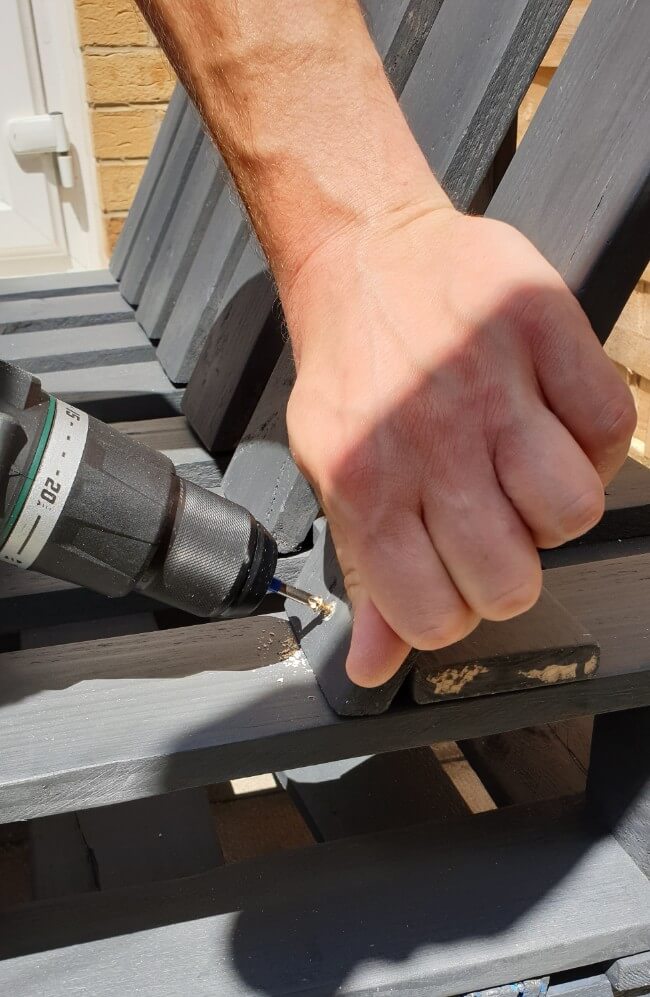
So the 3 planks were screwed to the wooden blocks in the top and the bottom part with 5x100mm (10×4) screws.
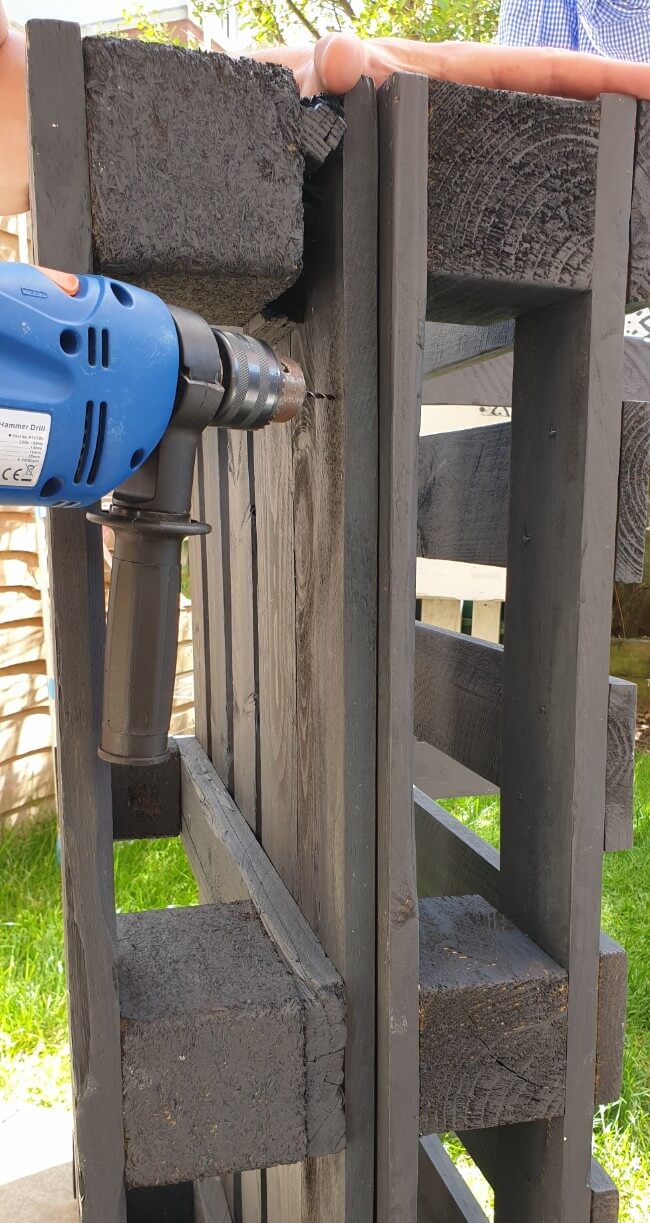
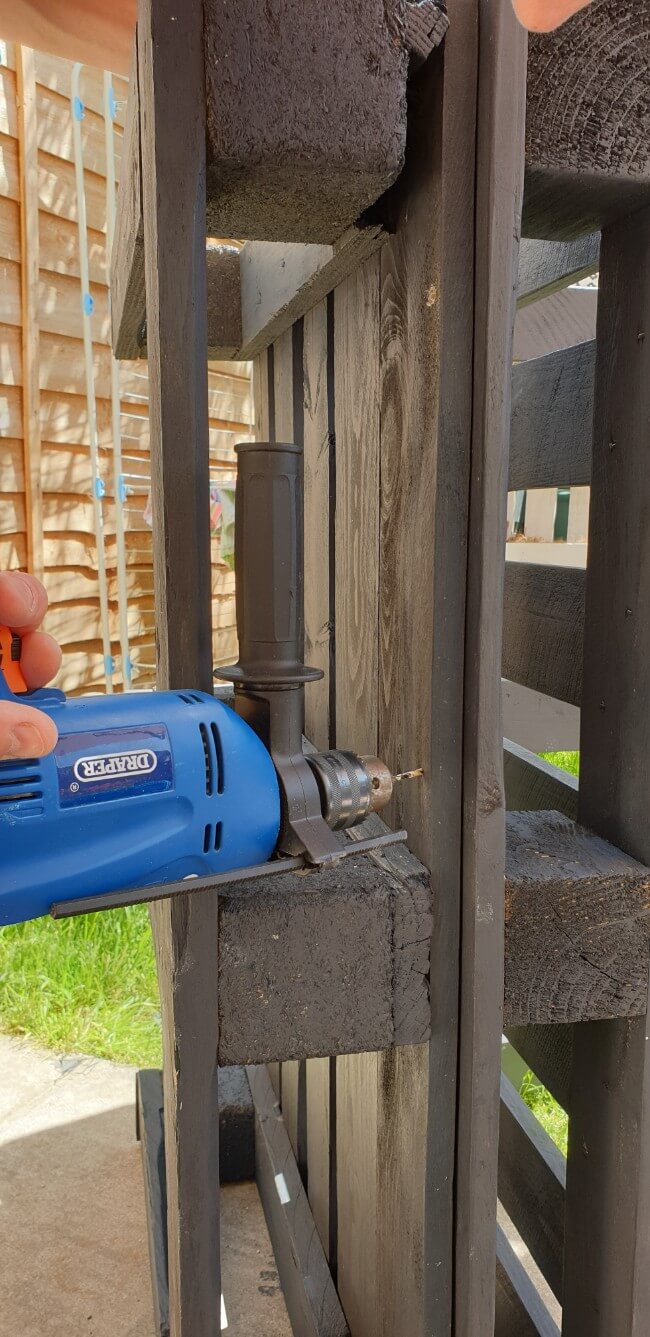
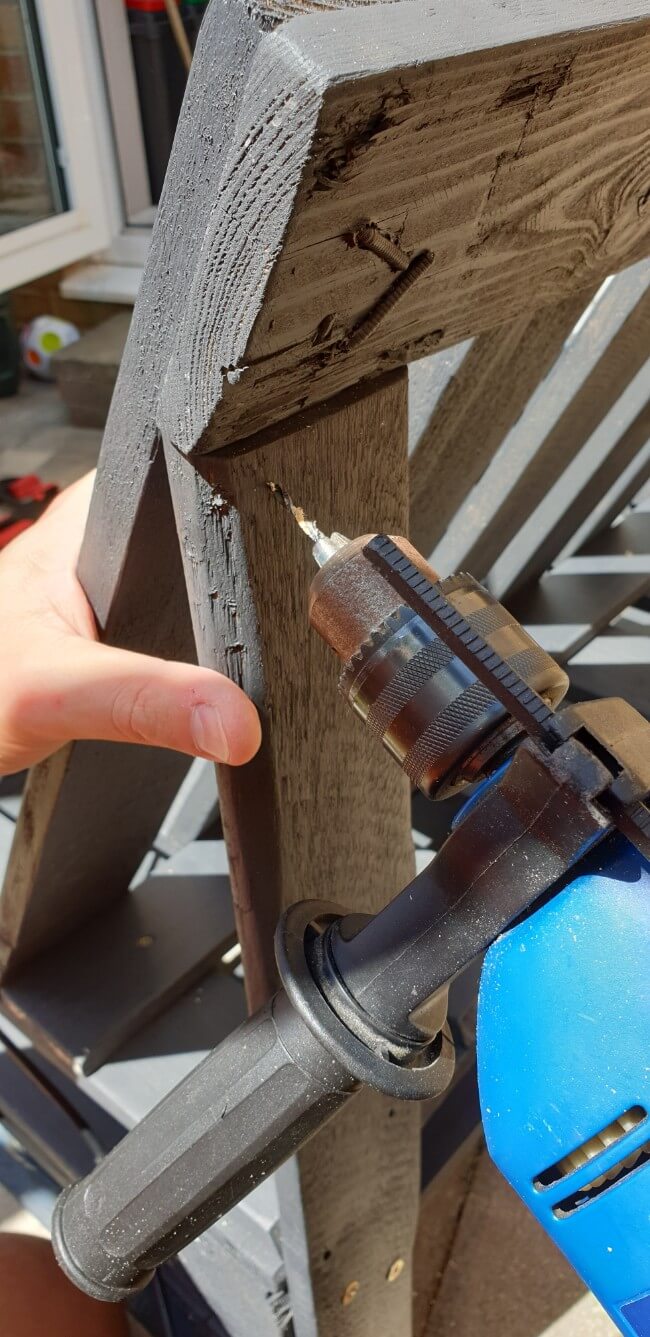
Next, we screwed the top and bottom parts on the sides using 4 screws on each side at an angle. You can make pocket holes using a Kreg jig. We drilled the holes at an angle and then screwed the parts together.
Adjusting the back support planks and Attaching the angle support

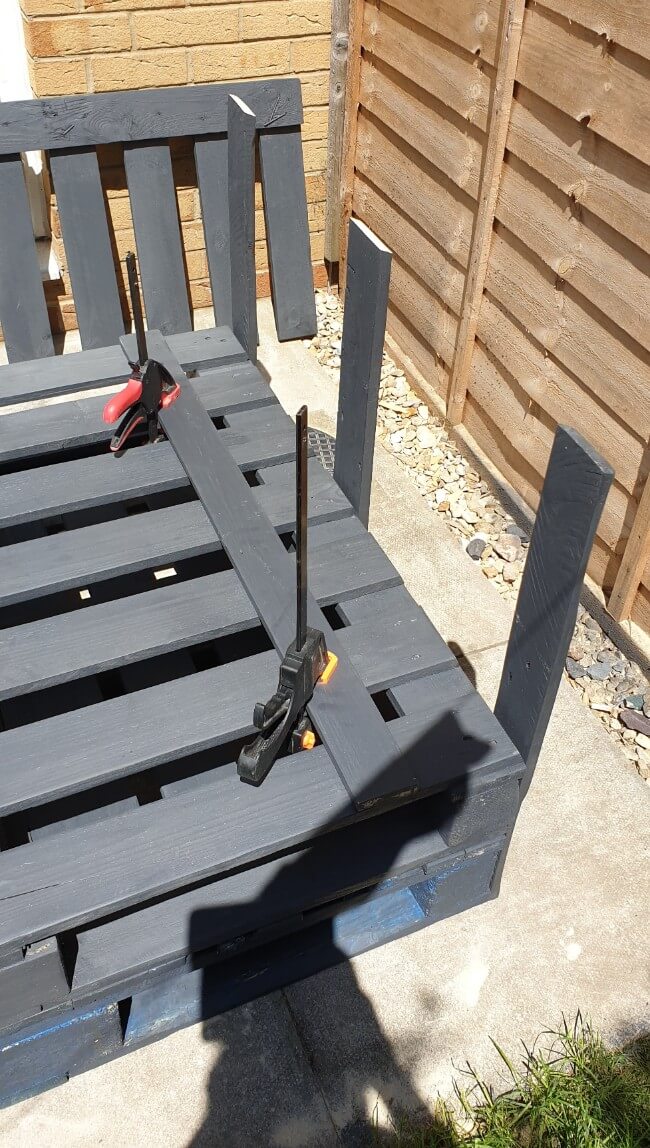
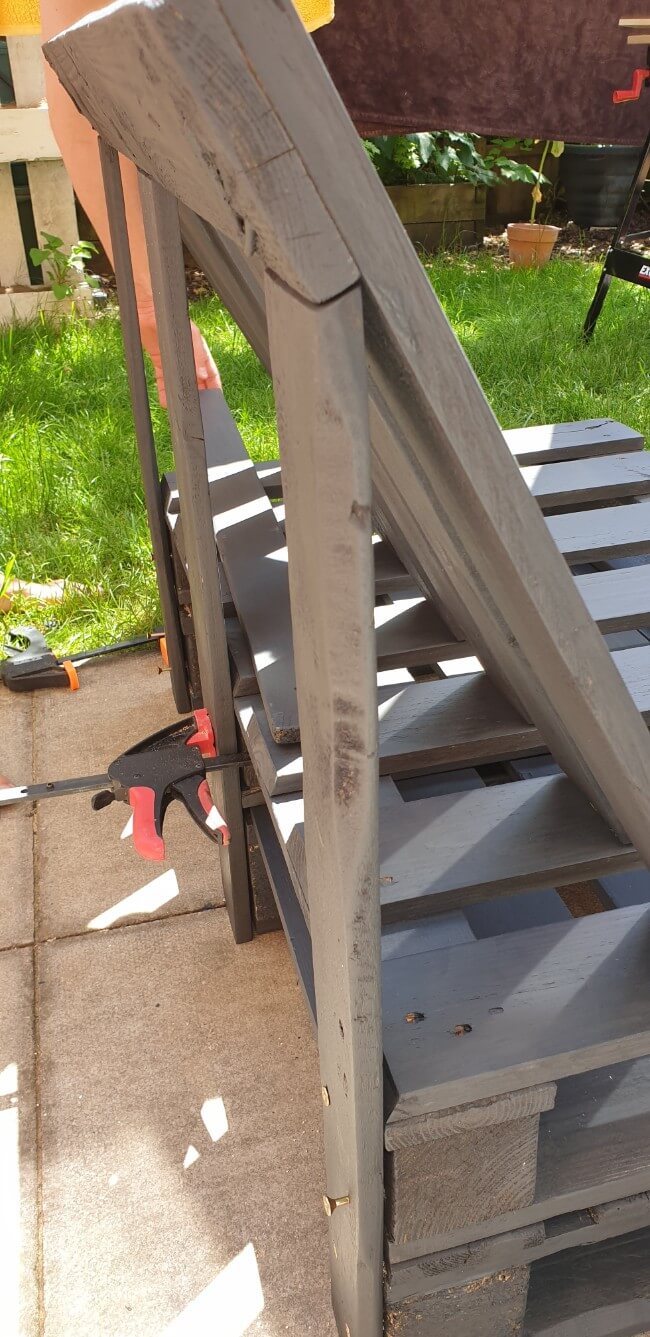
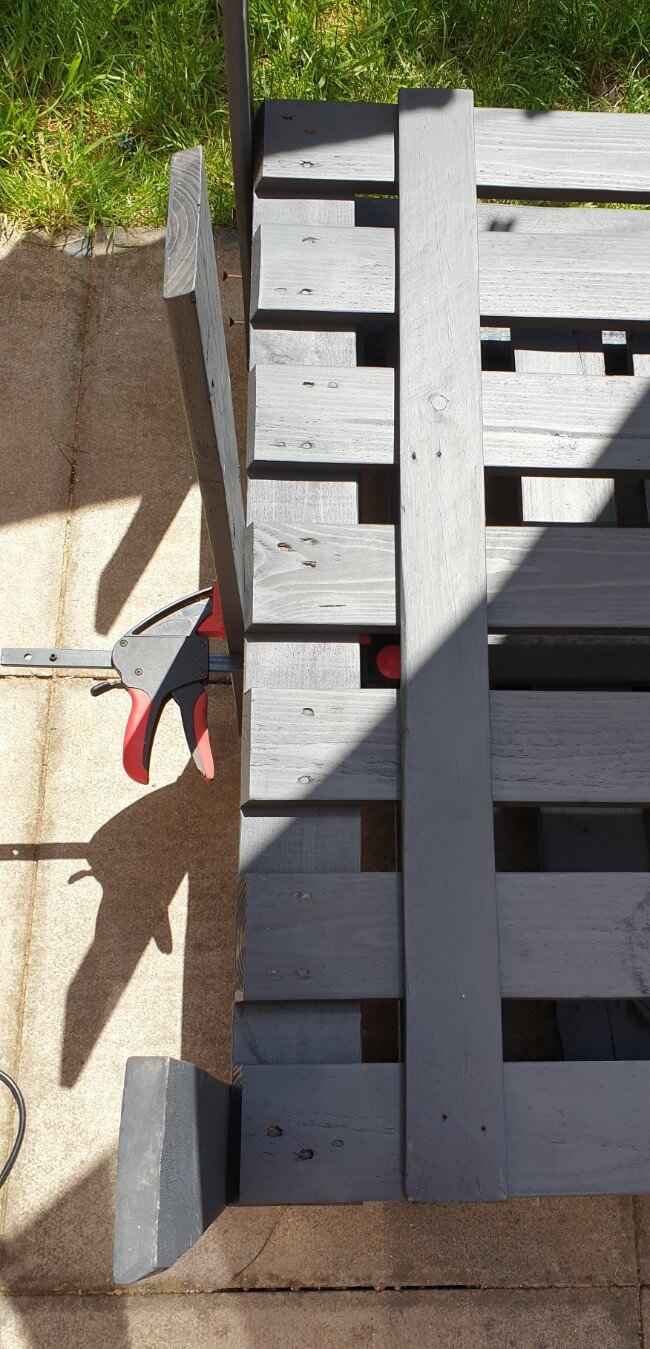
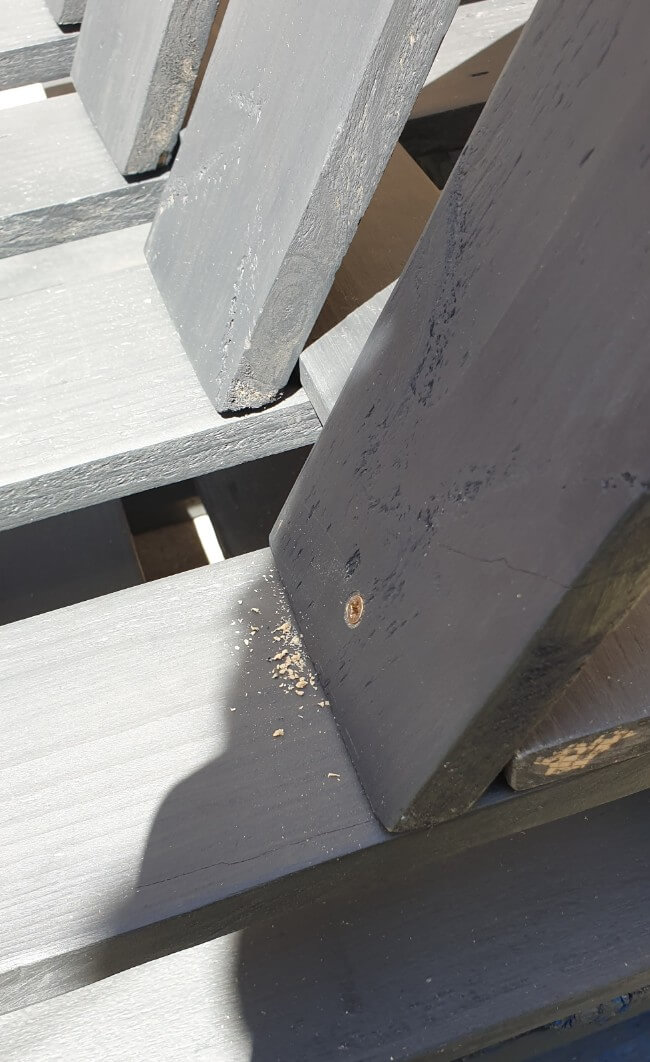
Next, we slid the backrest on these planks and check where we wanted the front/angle support plank to be. We rechecked the angle and seat depth. The front support board was then screwed with 3.5x30mm(6×1 1/4) screws.
Mounting the backrest


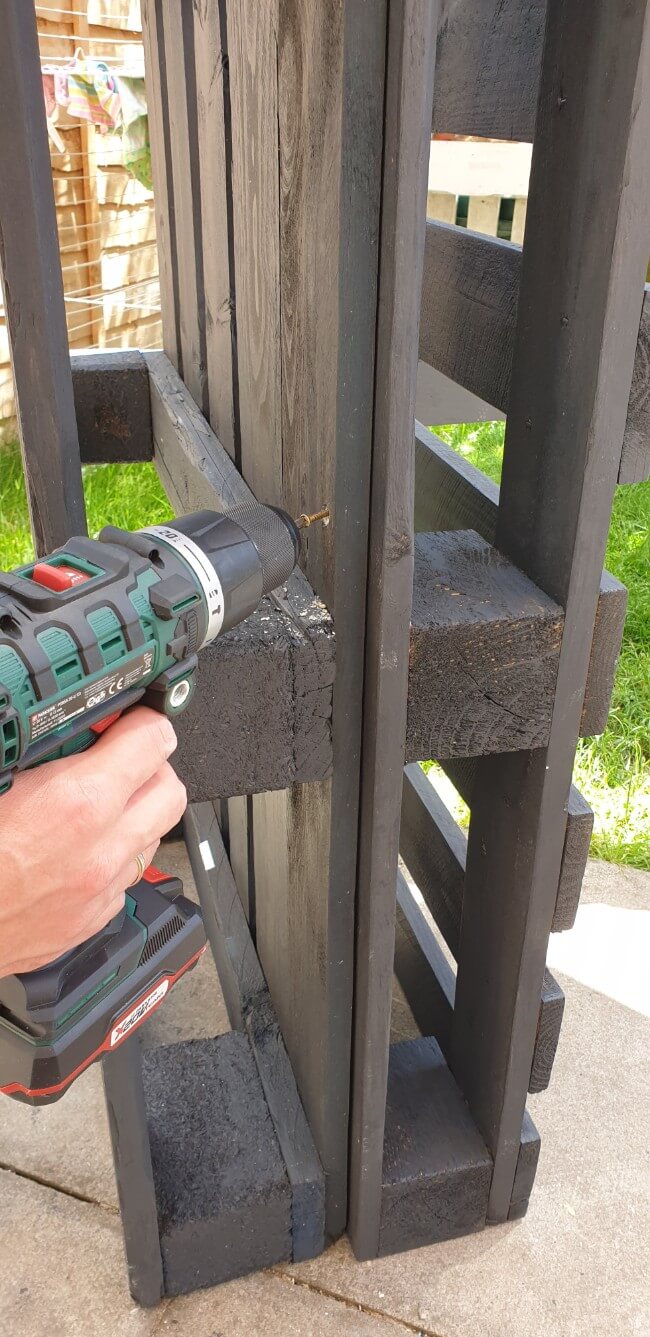
Once all of this was in place, the backrest was slid on the back support planks, and 2 screws(3.5x35mm/6×1 1/2) per board were used to secure it.
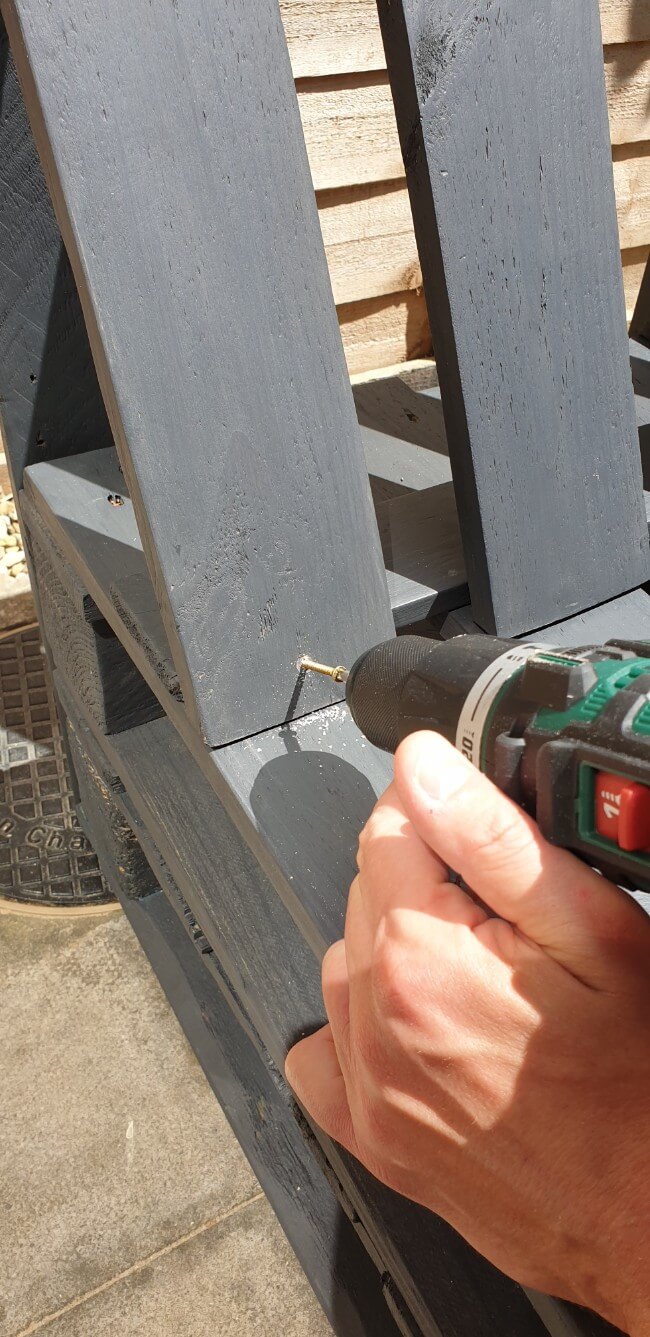
Then the front of the backrest was screwed to the angle support plank using 3.5x35mm/6×1 1/2 screws. One per board.
Seats/Cushions for pallet sofas
I’m planning on using an old cot mattress and a duvet cover set to make the seats for this DIY pallet sofa. Once I make them, I’ll make an update.
You can use all sorts of things – a foam cut to size and make the covers. Or simple bench or chair cushions. There are many options out there to make these sofas more comfortable to sit on.
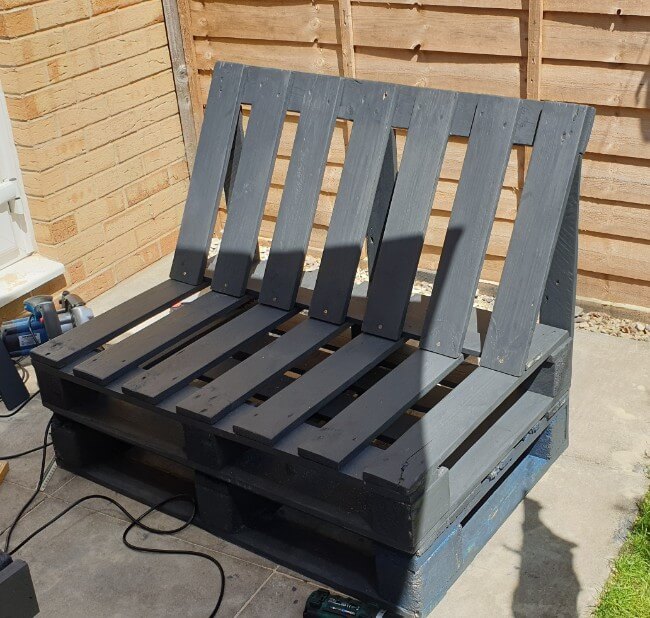
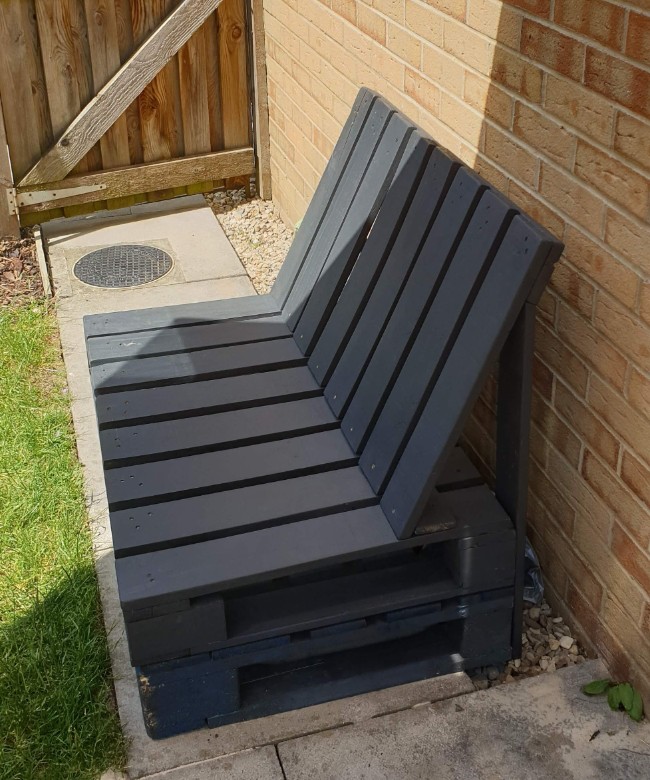
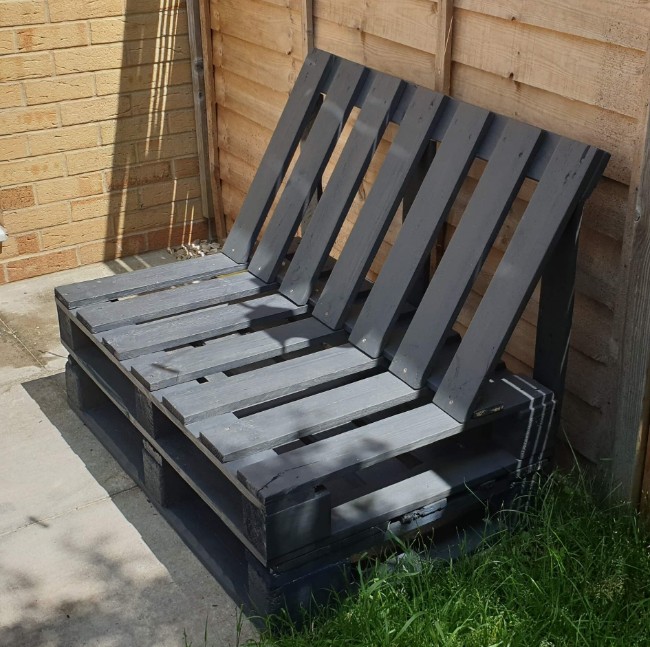
Pleased with our new garden sofas, the two of us have been spending most afternoons together in a state of bliss. It turns out that my husband knew exactly what he was doing when it came to designing them.
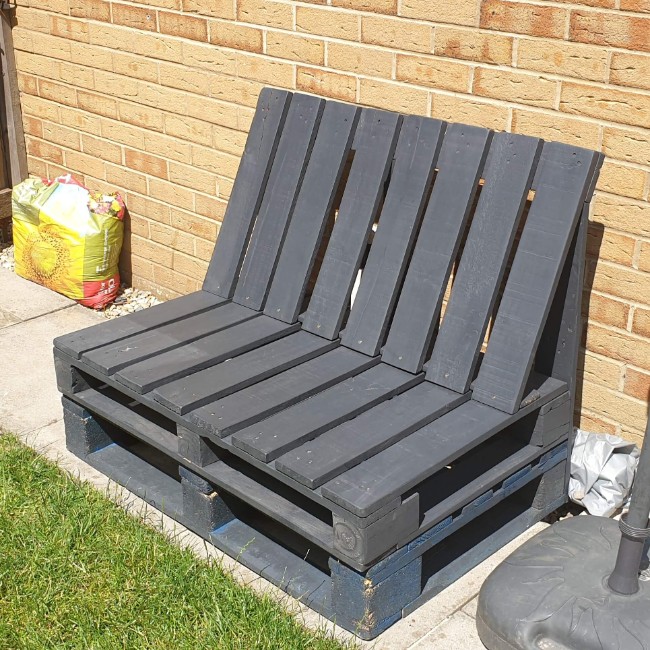
They fit perfectly into this tiny space we’ve created for ourselves outside.
Pallet sofas are a great way to upcycle some of your old pallets. They’re easy to make, durable, and look awesome in the garden or on the patio!
We hope this post was helpful for anyone looking to give their outdoor space a cozy upgrade with this DIY pallet sofa upcycling project.
If you have any questions about it, leave a comment in the box below. And don’t forget to pin it to your pallet projects board. Thank you!
Subscribe To My FREE DIY Newsletter!
Stay in touch and receive things like updates, special offers, new projects, tips, gear reviews, and more. No spam, promise!
By entering your email address, you agree to get an email newsletter from UpcycleThisDIYThat. I’ll respect your privacy, and you can unsubscribe at any time. For more details, review our Privacy Policy.