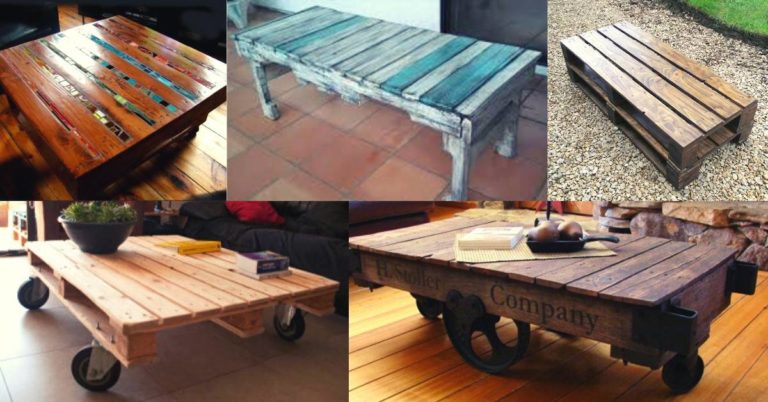
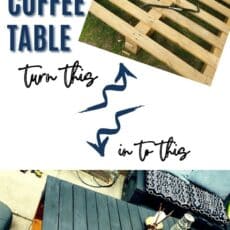
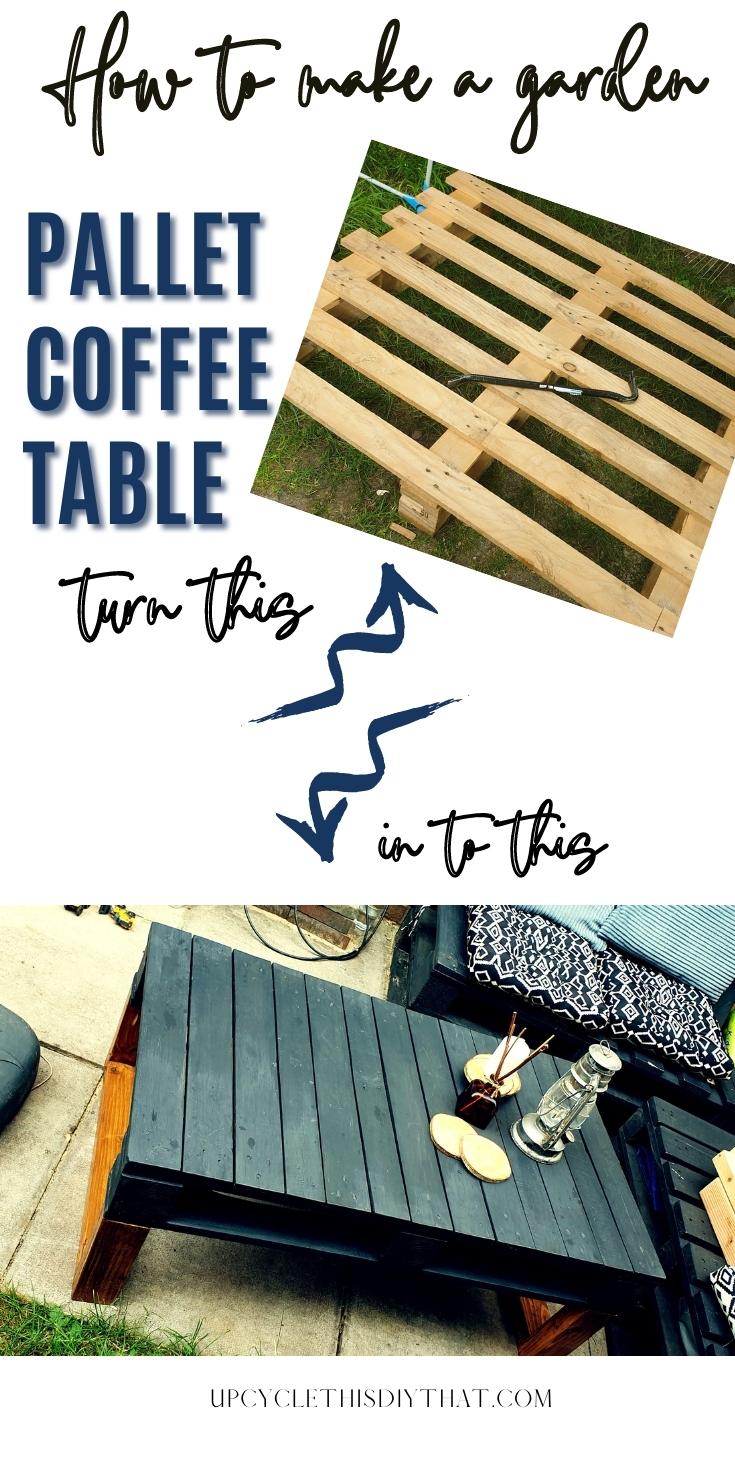
Easy DIY Garden Pallet Coffee Table
This post includes affiliate links. If you decide to make a purchase through my link, I might get a small commission for it at no additional cost to you. Thank you for supporting Upcycle This DIY That!
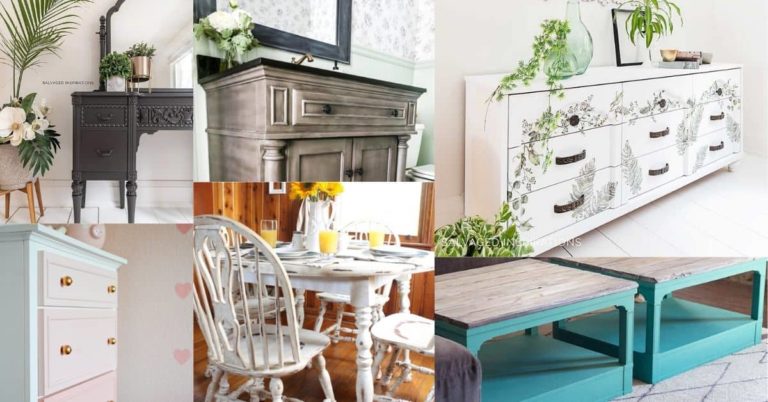
Hey there DIY-ers and crafters! Today we’re going to be learning how to make a DIY garden pallet coffee table. I made one for my living space some time ago, and this time we needed something for the garden.
Last year we built two pallet sofas for the garden, and a table was needed, but we didn’t get to it before winter. This is a really quick and easy project that anyone can do, so let’s get started!
Tools and materials
- Wooden pallet and spare planks(optional)
- 2x3s
- 2 in 1 poly wood stain and weather-resistant paint
- paintbrush, foam roller
- pocket hole jig and screws
- drill
- clamps
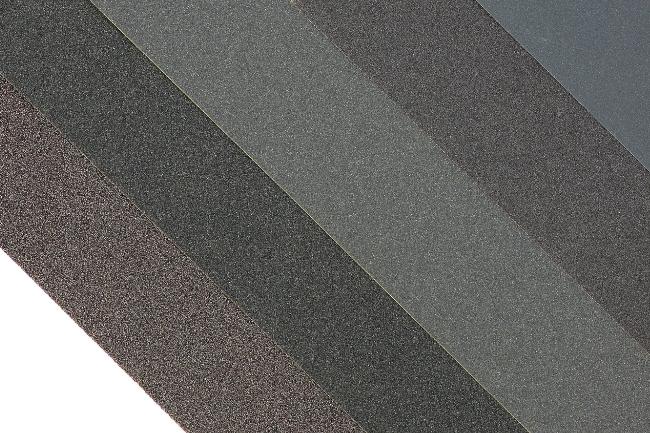
- sander plus sandpaper
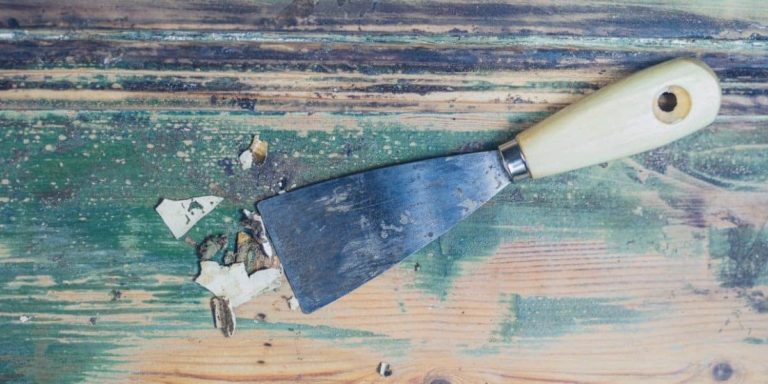
- old rags
How To Make A Small DIY Garden Pallet Coffee Table
Making your own coffee table is a great way to add a personal touch to your outdoor space, and it’s also a perfect project for beginners. While you can find many different plans for coffee tables online, one of the simplest ways to get started is to repurpose an old pallet.
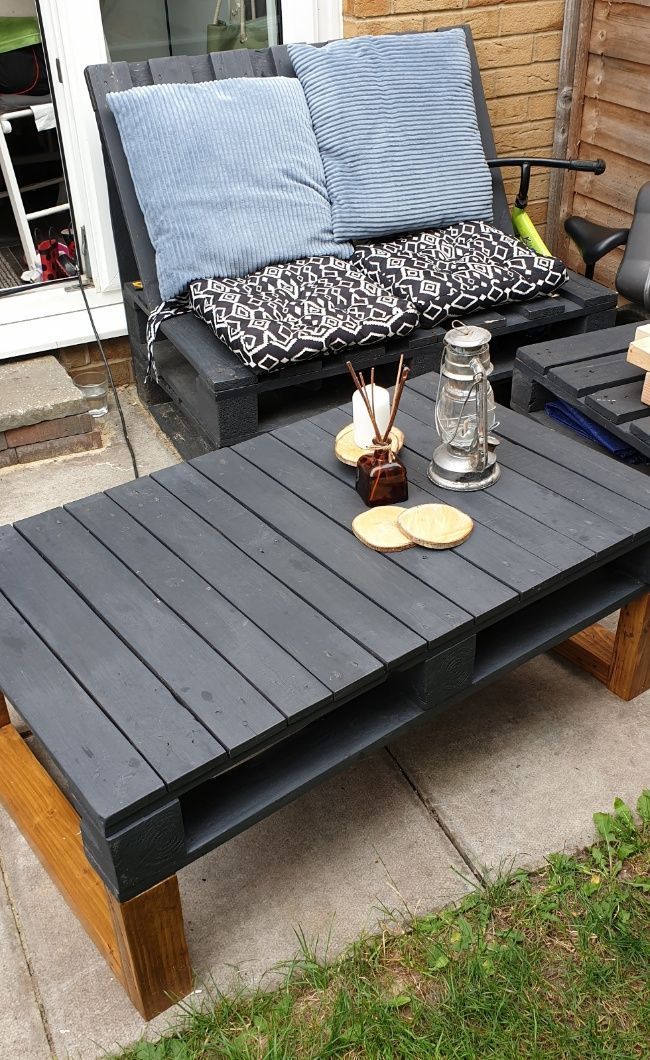
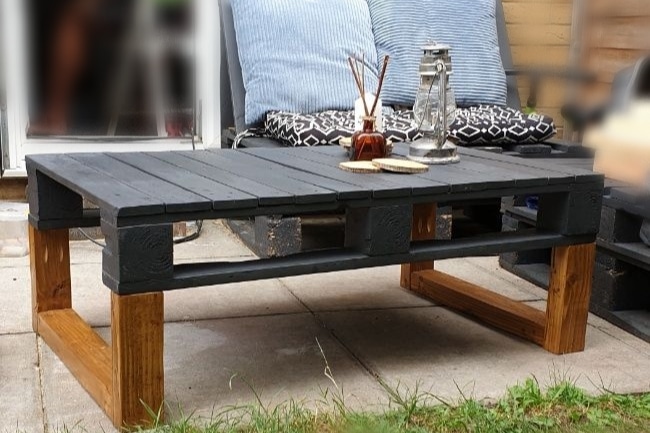
In this case, to make a small coffee table that is half pallet in size, you will need to use some 2x3s for the legs. I painted the tabletop with graphite garden paint and stained the legs with natural oak stain.
Once you have sanded and stained the wood, you can assemble the table by screwing the legs into the pallet. If you’re feeling adventurous, you can even add some caster wheels to the bottom of the legs so that your new pallet coffee table can be easily moved around.
Cleaning
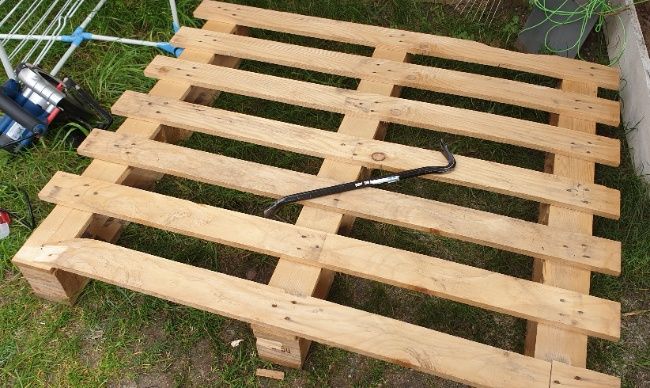
The first step in creating your own pallet project? Cleaning! You can use water with a little bit of dish soap and bleach (optional) or just an ordinary household cleaner. If you have any nails that are sticking out, remove them or nail them into the wood before starting to clean the wood, so they don’t get caught on something while working, which could cause some pretty serious injuries.
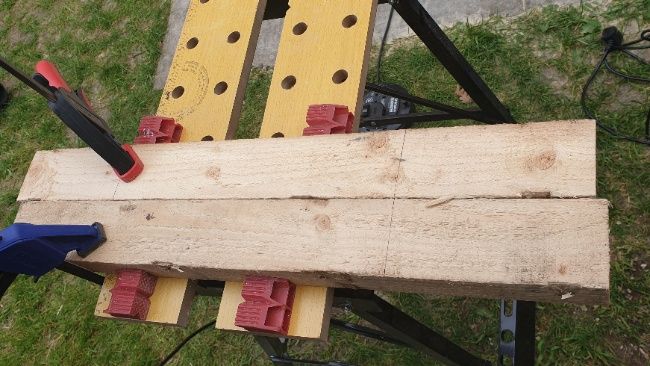
Filling the gaps
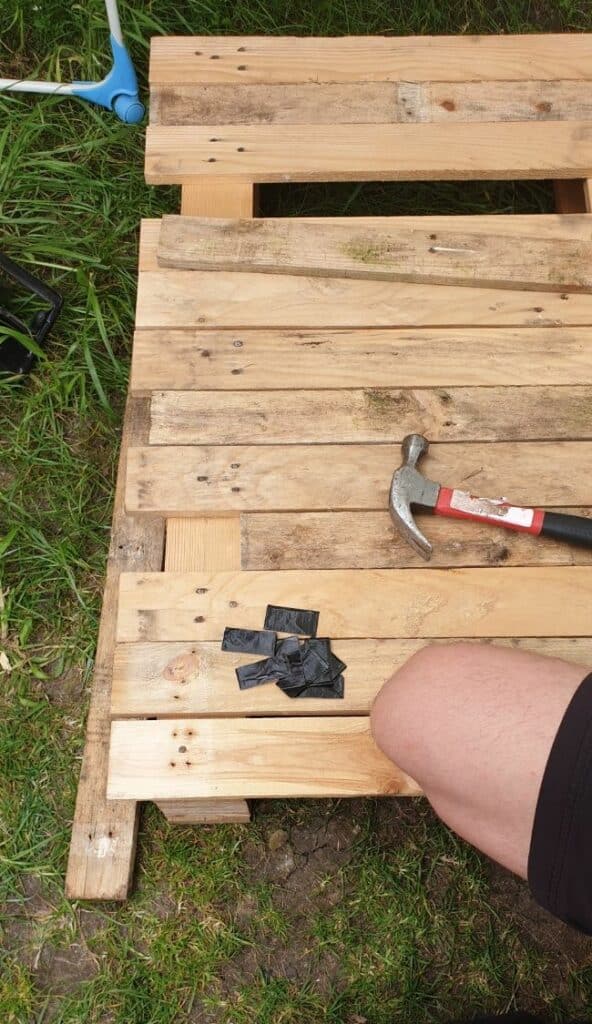
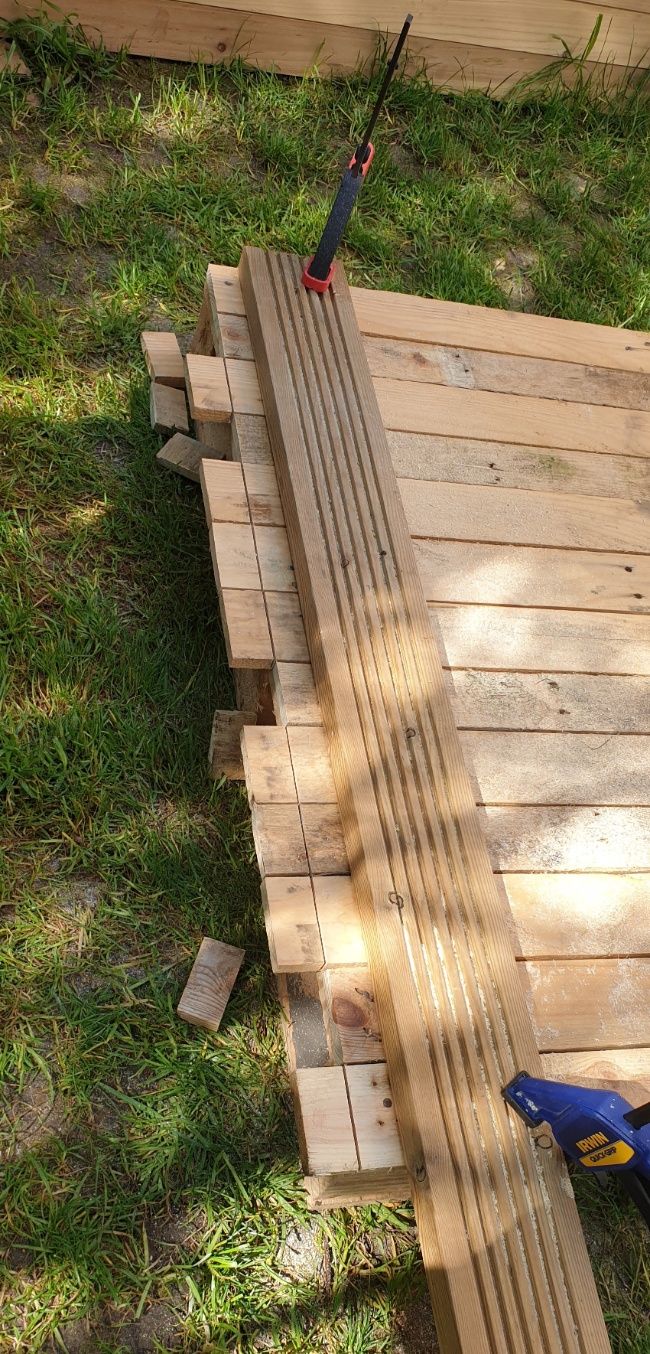
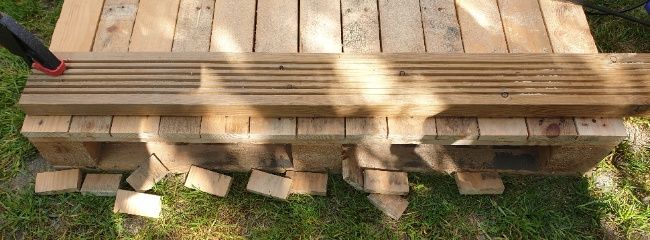
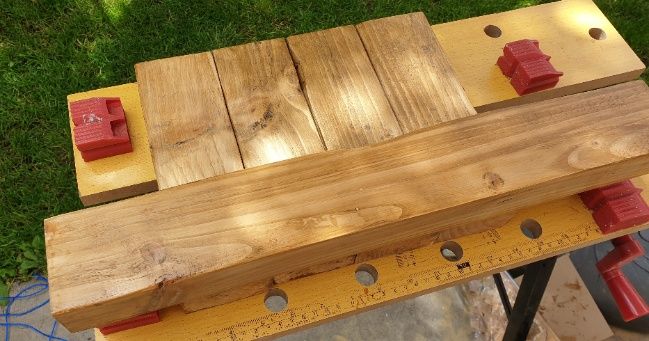
This step depends on the pallet you’re using. We had one with quite big gaps between the planks, so my OH decided to fill them out using spare planks we had that were narrow enough to fit in. If your pallet has wider planks with small gaps, you can skip this step.
On top of filling the gaps, we had to add some cushioning underneath, as the planks we had were slightly thinner than the ones in the pallet. My OH wanted a flat surface and used folded duct tape pieces for this purpose.
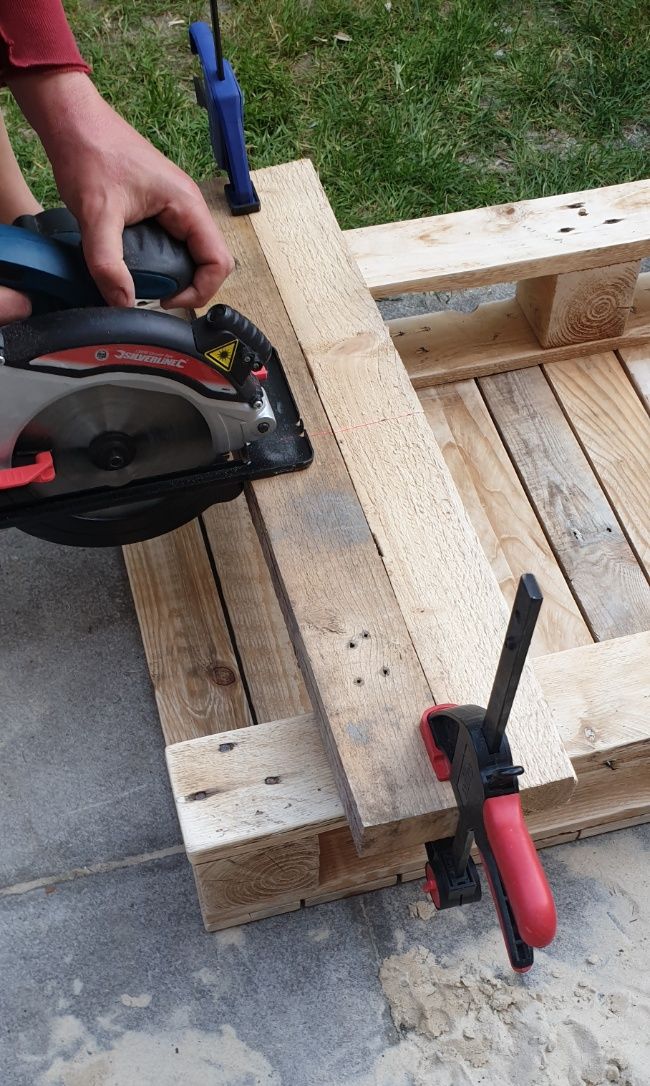
Cutting to size
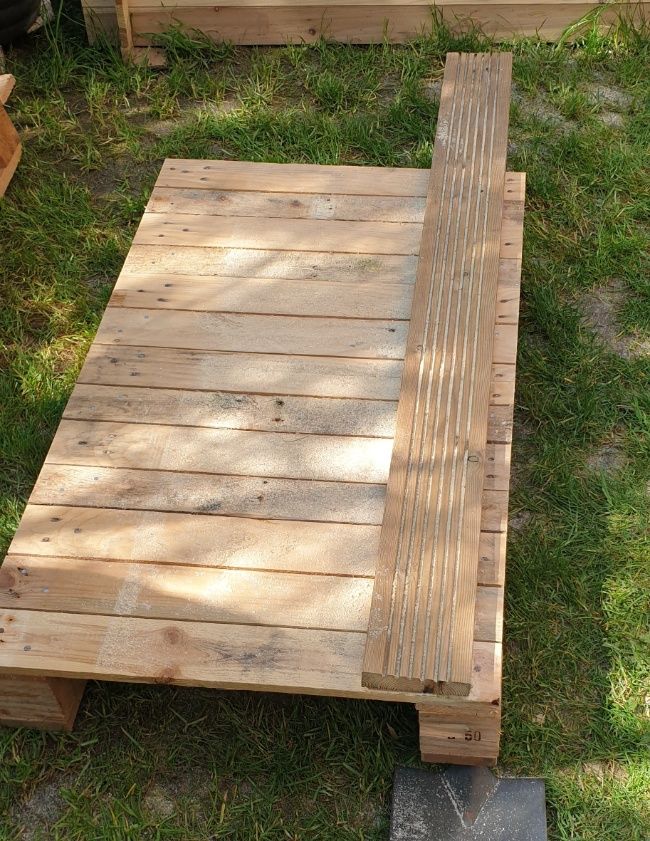
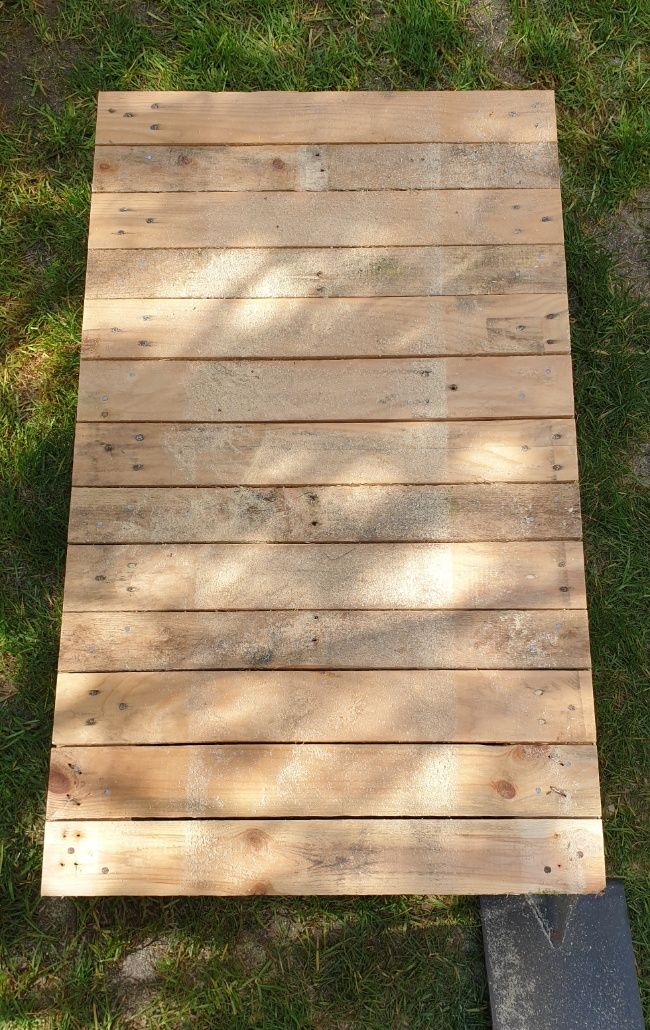
The next step was to cut the pallet to size as we wanted something smaller than a full pallet coffee table.
Tabletop
The way my hubby made this table top was to first fill the gaps with spare planks and then cut off whatever was sticking out. Then he cut the pallet to the size we wanted.
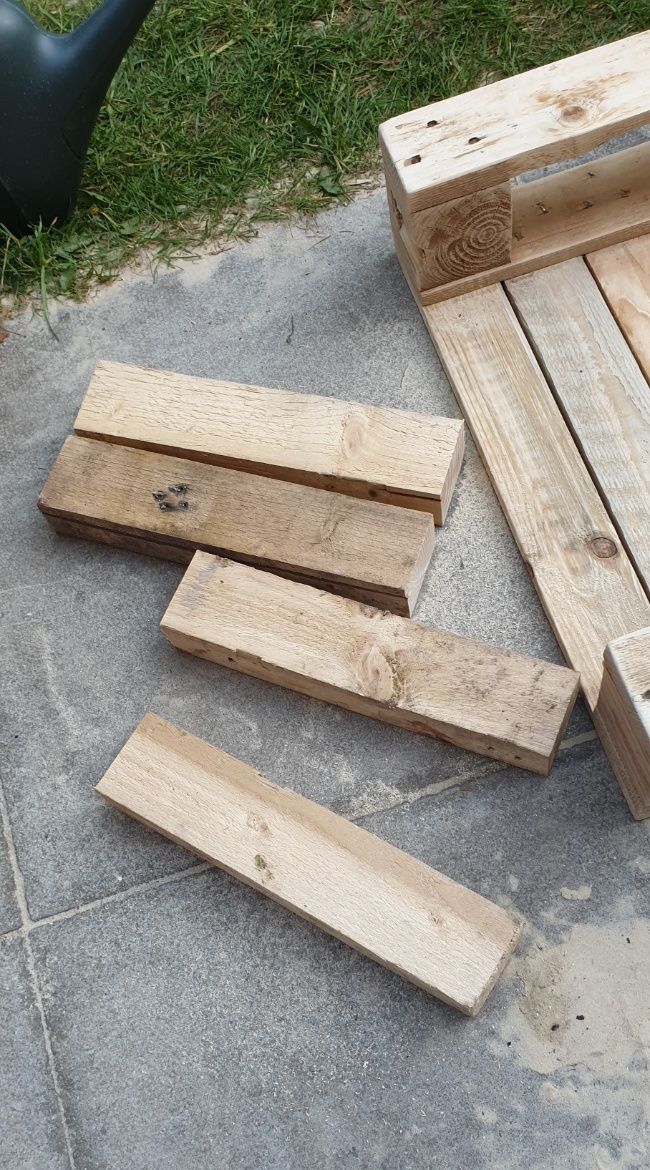
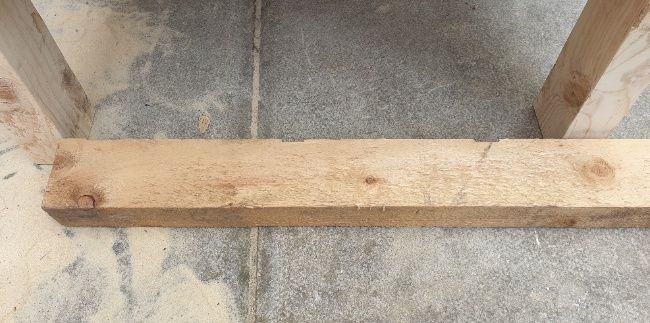
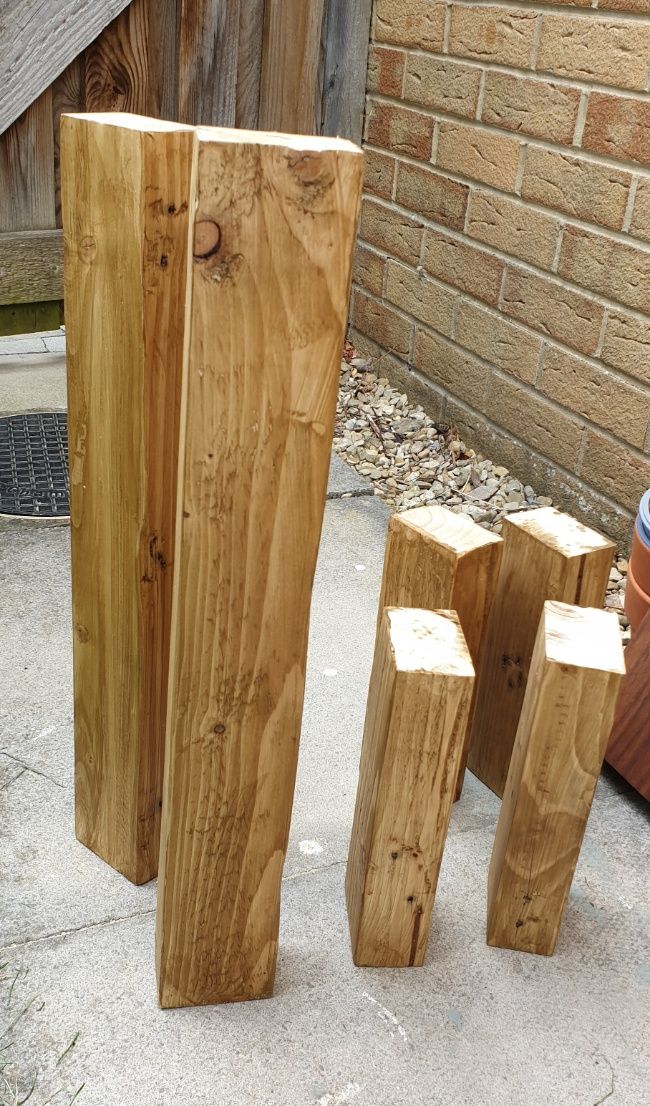
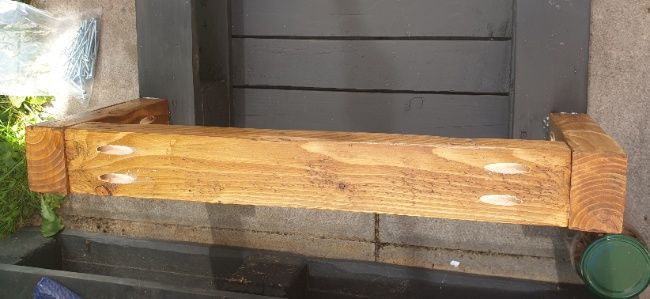
Legs
For the legs, we used 2×3. lengths/cuts:…….
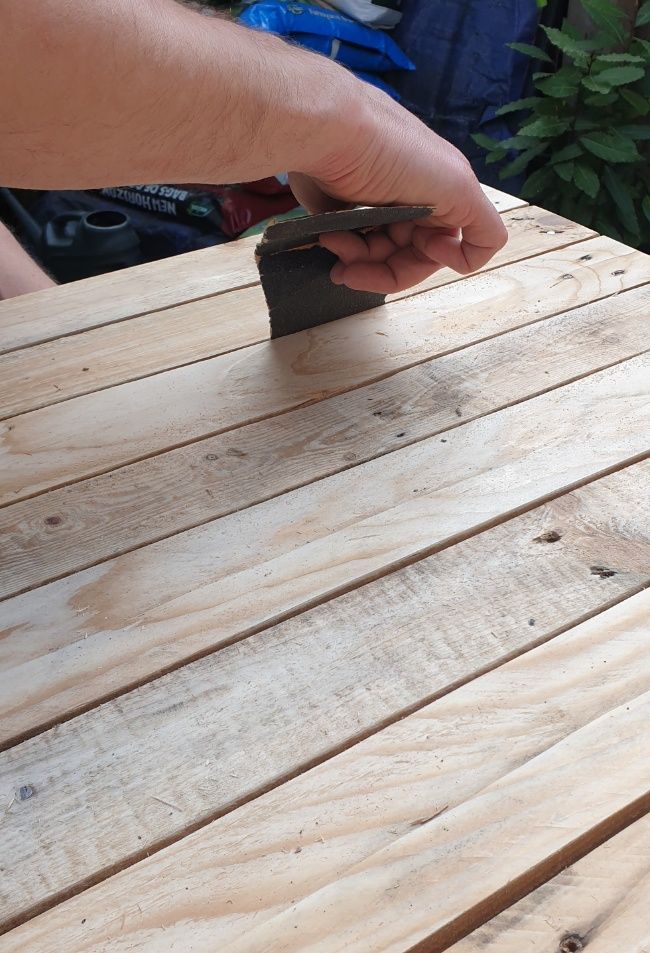
Sanding
Next, he sanded the tabletop and the legs using an RO sander, starting with P-60 and then P-100 and finishing with P-180. The surface didn’t need to be super smooth, as I was going to paint it anyway.
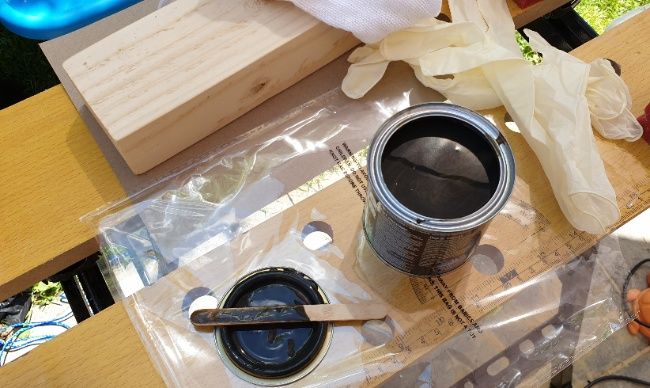
Painting And Staining
To achieve a nice contrasting look, I planned to paint the tabletop and stain the legs. I’m glad I took the time to do this because it really makes the piece pop!
Top
For the top, I used the same outdoor paint i used for the garden sofas. Two coats were enough for nice coverage. The only pain was painting in between the boards. I used a small paintbrush for this purpose.

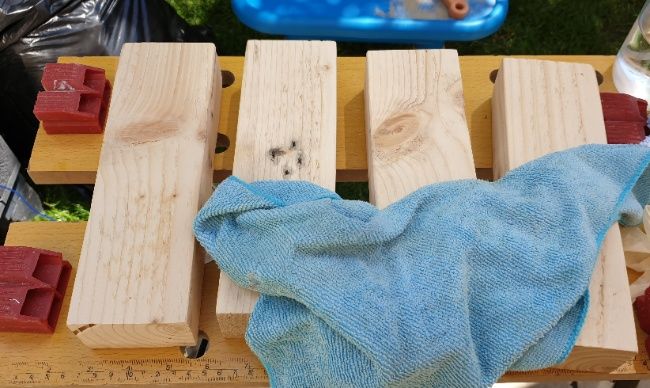
Legs
The legs were stained with 2-in1 poly and stain in natural oak, with three coats to give it that perfect color and water resistance. I lightly sanded between each coat for a smooth finish!
Assembling
Once the legs and tabletop were ready, it was time for the assembly. I was going to use pocket holes for this purpose. I used a basic pocket hole jig, so nothing fancy or complicated.
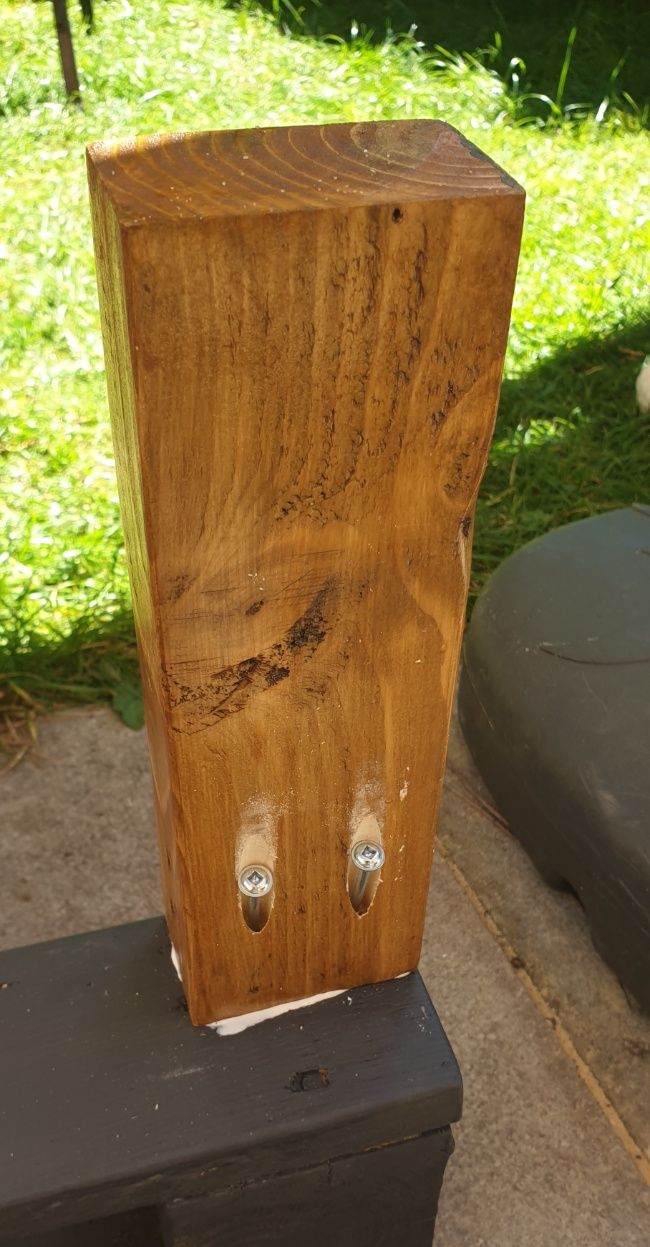
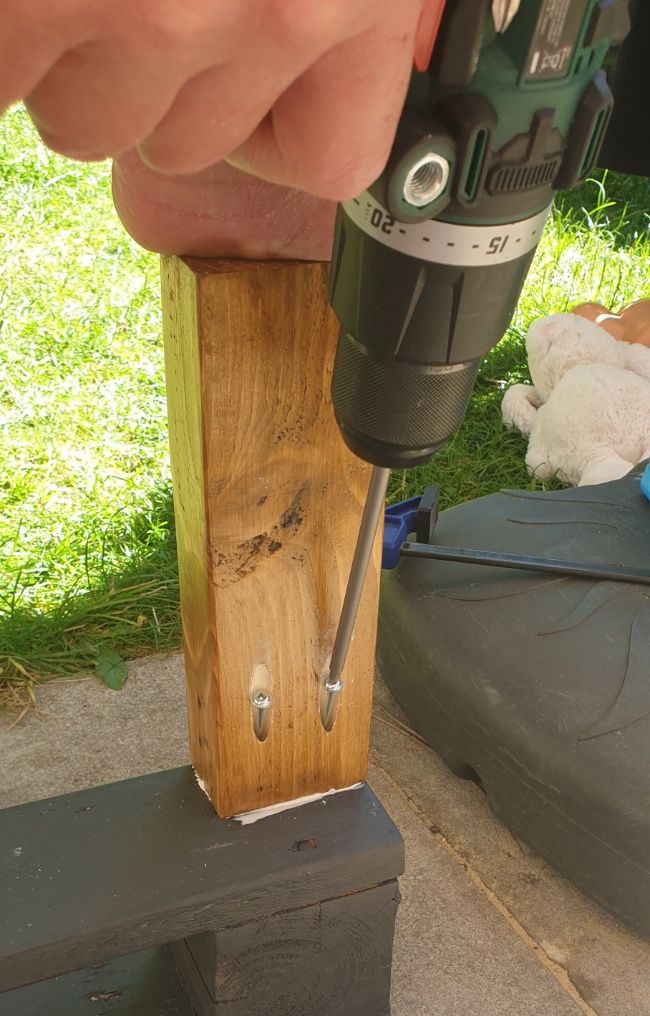
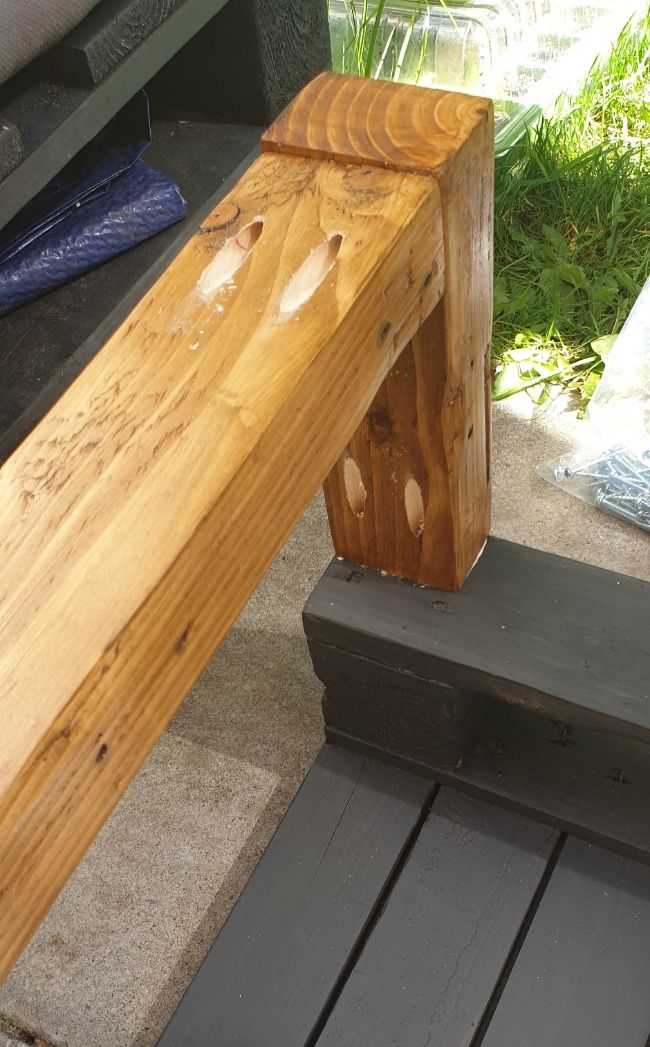
Drilling pocket holes
The first step was to drill the holes, and since we were using the small jig, we had to determine the depth of the drill needed for the 2x3s and the correct distance from the edge.
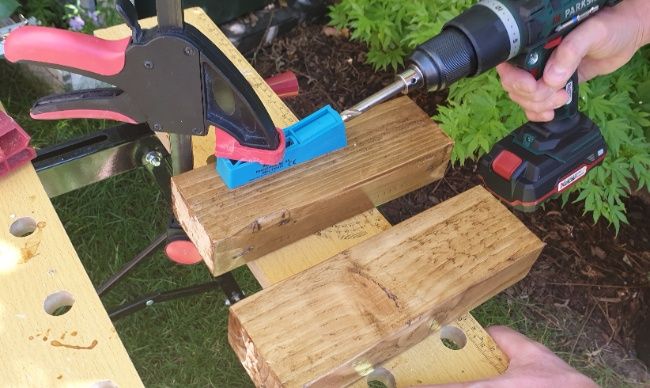
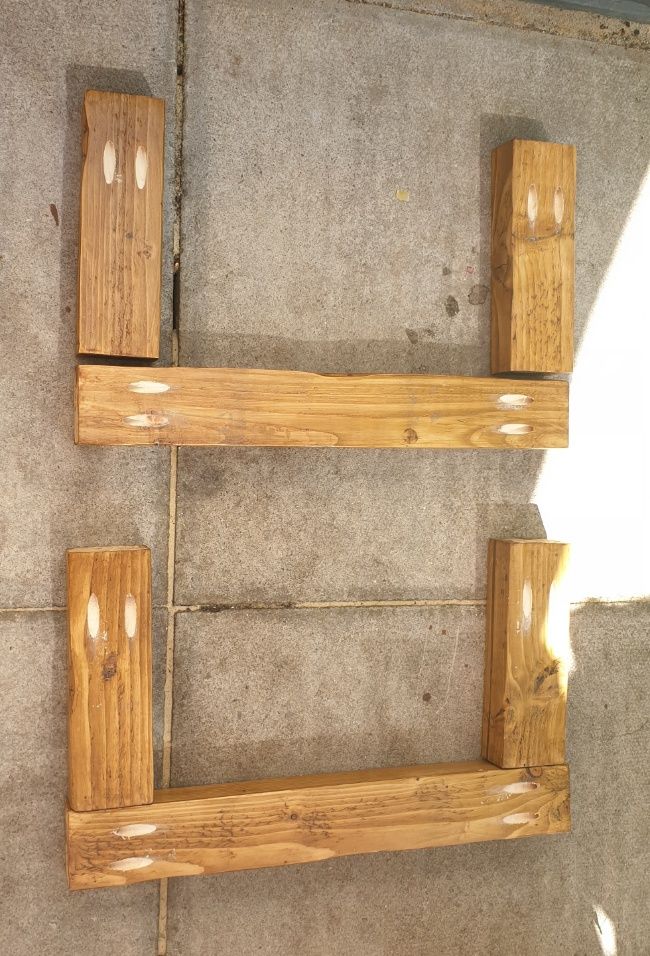
The vertical ones had 2 pocket holes for screws going into the tabletop.
For the horizontal 2x3s, we had to drill 2 holes on each side. They were roughly an inch apart. The depth collar was set to 4-1/4″, and the position of the jig was 1-1/4″ back from the edge The table below shows how to determine that. We used 2-1/2″ pocket hole screws.
| Board Thickness | Collar Depth | Jig Distance From the Edge | Screw Lenght |
|---|---|---|---|
| 1/2″ | 3-5/16″ | 1/4″ Over | 1″ |
| 3/4″ | 3-1/2″ | 0″(flush with edge) | 1-1/4″ |
| 1-1/2″ | 4-1/4″ | 1-1/4″ Back | 2-1/2″ |
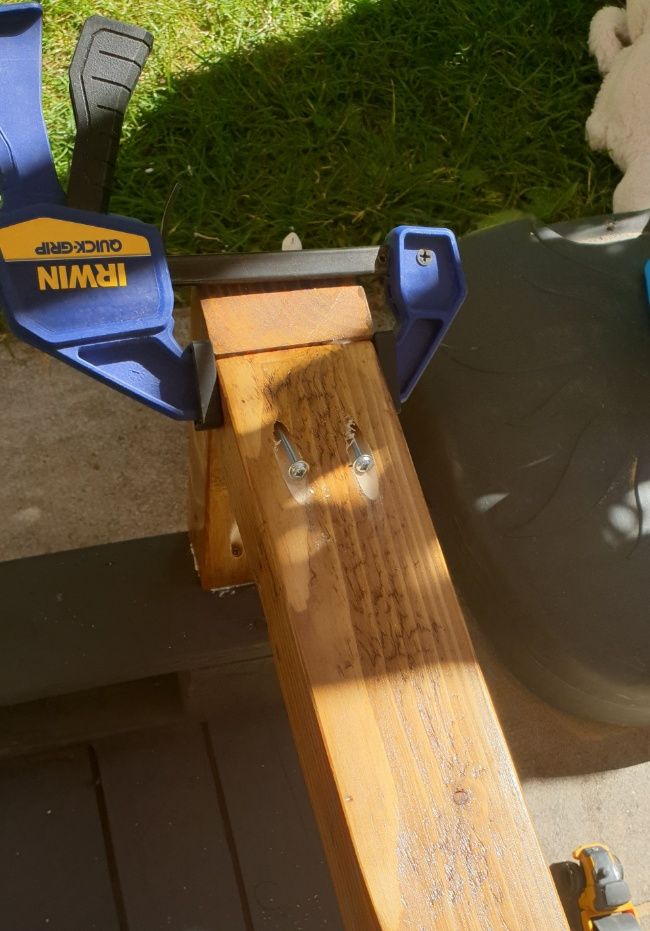
Screwing the legs
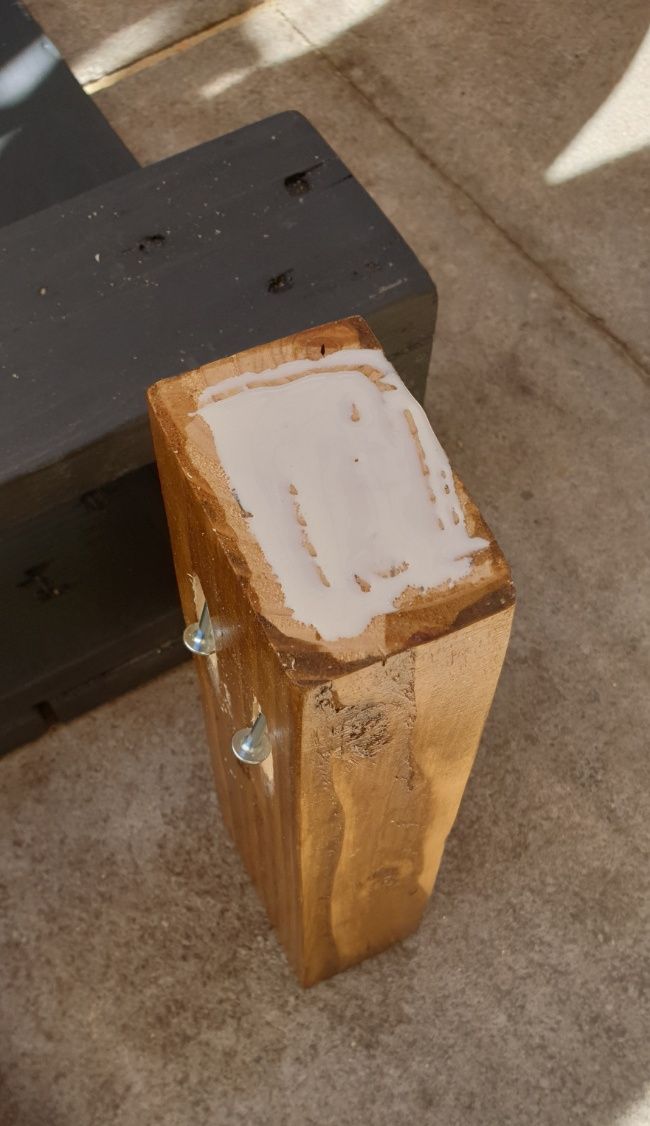
The next step was to attach the legs using pocket hole screws and wood glue. To properly do that, you need clamps to hold the wood in place while driving the screws into the holes. Otherwise, the wood will rotate, and the joint won’t be straight/flush. The best clamps for this are ……, and they will save you a lot of headaches.
We didn’t have these at that time, so we had to improvise and use a couple of regular easy-grip clamps. The final result wasn’t too bad.
But if you’re going to use pocket holes often, the clamps are a must and will save you a lot of time and effort.
So first, we did the vertical ones to have enough room for the drill. And then the horizontal supports at the bottom.
The final step was to fill the holes with pocket hole caps. I used plastic ones in black for contrast since I had already stained the wood, and there was no point in using raw wood ones.

So there you have it! Your very own DIY garden pallet coffee table. I hope you’ve enjoyed this tutorial and are inspired to create your own unique furniture pieces from reclaimed wood pallets. Be sure to share your thoughts or questions in the comments below. Thanks for reading, and happy building!
Subscribe To My FREE DIY Newsletter!
Stay in touch and receive things like updates, special offers, new projects, tips, gear reviews, and more. No spam, promise!
By entering your email address, you agree to get an email newsletter from UpcycleThisDIYThat. I’ll respect your privacy, and you can unsubscribe at any time. For more details, review our Privacy Policy.