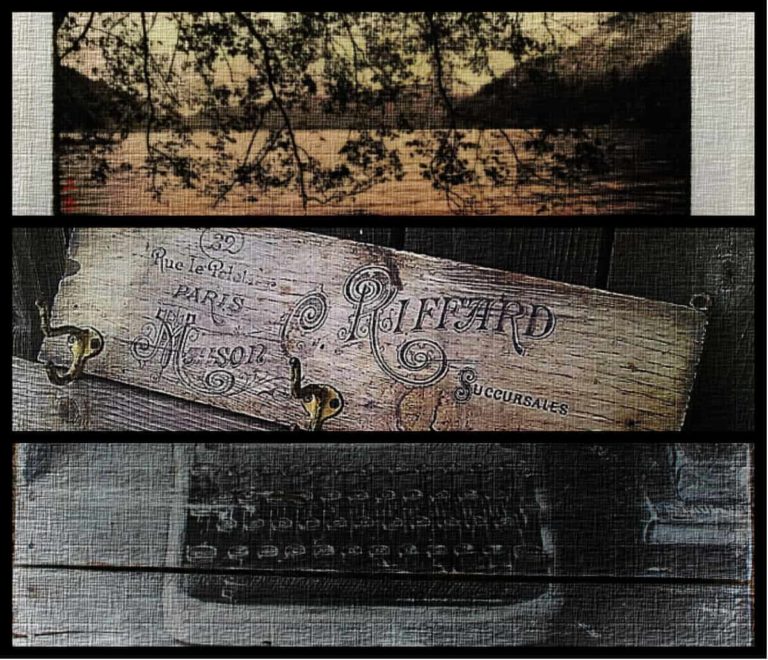
Super Easy Rustic DIY Spring Decor – Wooden Vase Holder
This post includes affiliate links. If you decide to make a purchase through my link, I might get a small commission for it at no additional cost to you. Thank you for supporting Upcycle This DIY That!
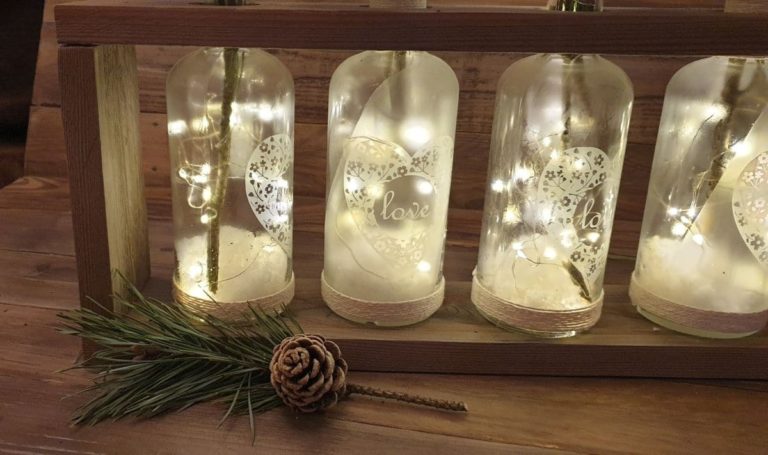
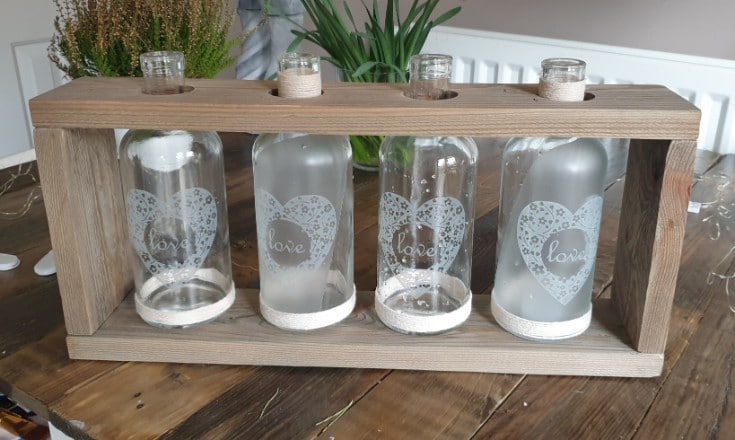
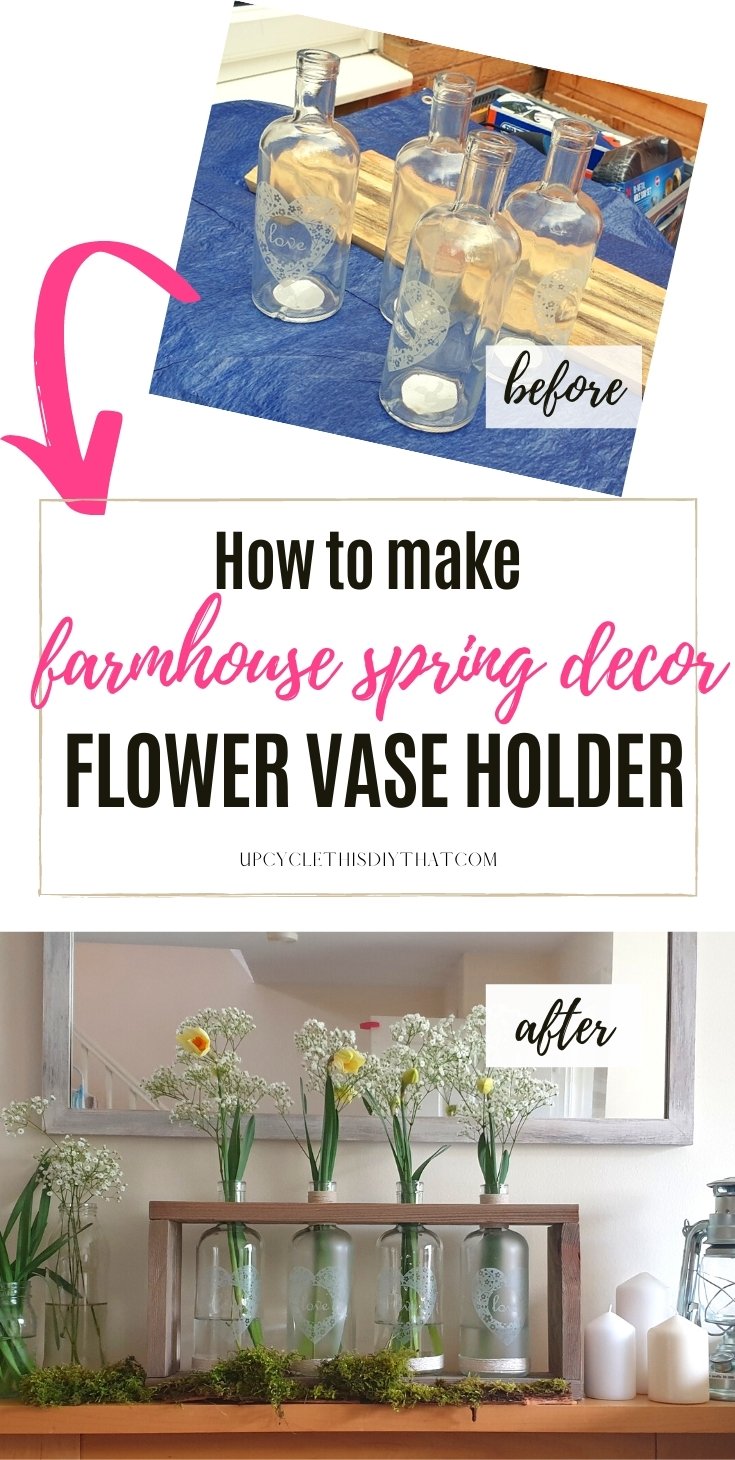
Spring is nearly here, and with Valentine’s long gone, it’s time to update my DIY spring decor- a wooden vase holder. This quick decor project is made with only a couple of pallet boards, some glass bottles/vases and can be done in one afternoon.
It’s amazingly versatile, and I’ve used it for Fall, Christmas, and Valentine’s decor. This Spring version is even easier. All I needed was some fresh flowers and led fairy lights (that are totally optional btw).
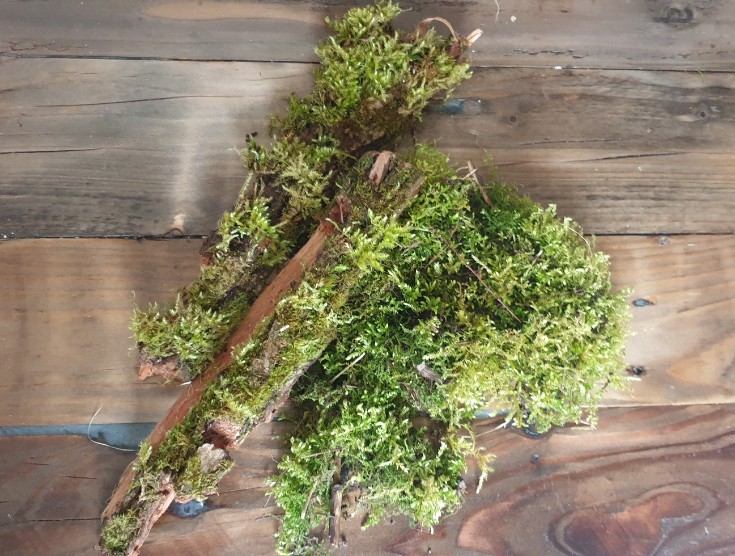
You can use faux flowers as well as fresh ones and anything you want inside the bottles- like LED string lights, glass marbles, etc. Or you can leave them empty. If you’re using jars, you can put some moss inside of them, for example.
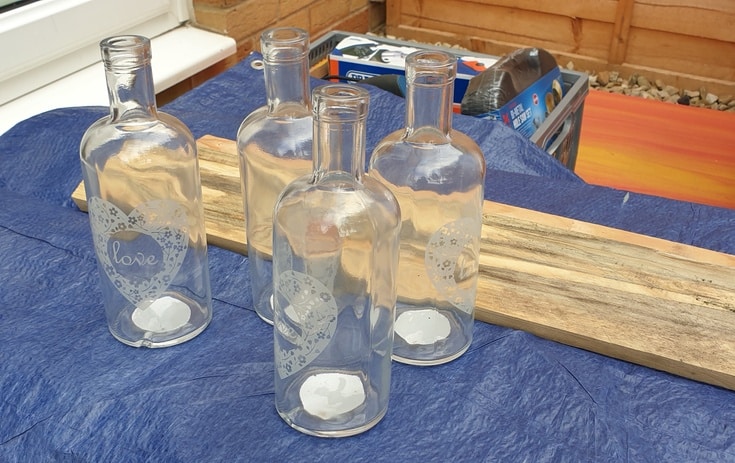
You can use any small vases, wine bottles, or mason jars for this project as well.
How To Make DIY Spring Decor- Wooden Vase Holder
I do have a full post on making this vase holder that you can check out here. Today’s post will briefly describe how you can make it and what tools and materials you need for the amazing spring version.
Tools and materials
- Wooden vase holder made from reclaimed wood/pallet wood- check the instructions here
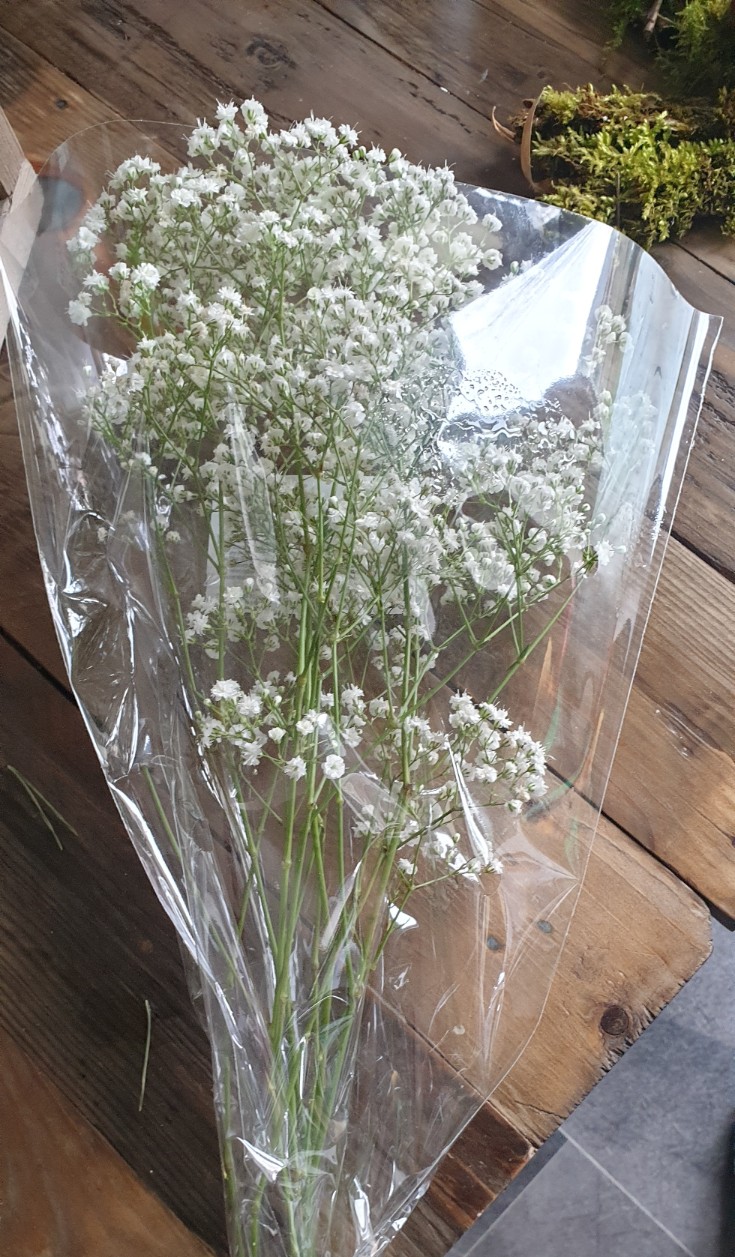
- Fresh or faux spring flowers- I used fresh daffodils and gypsophila -check out these pretty faux tulips, faux dancing lady orchids stems, or faux lotus flowers
- Led string lights battery operated(optional)
- Pruning shears
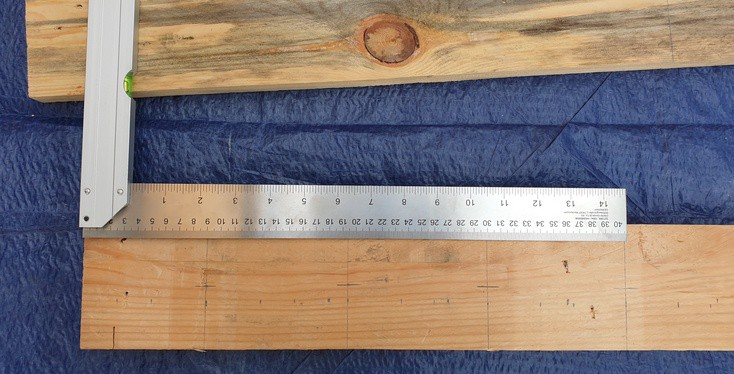
You need two wooden boards/pallet planks (or one longer one). To make your life easier, sand them first before cutting them. Then you cut each one into two parts- a longer one for either bottom or the top and one short for the sides.
Their length mostly depends on the size(width and height) and the number of bottles you’re going to use.
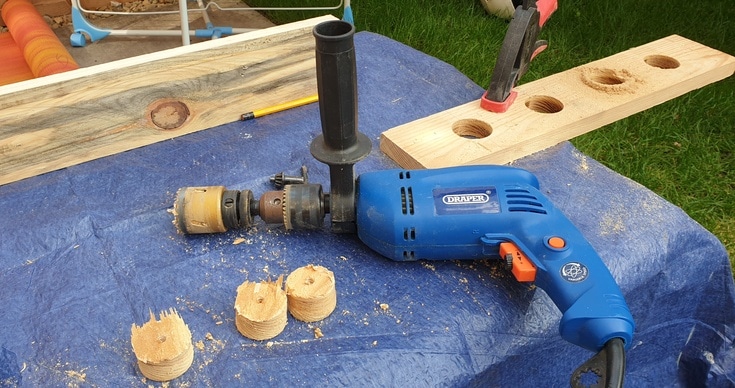
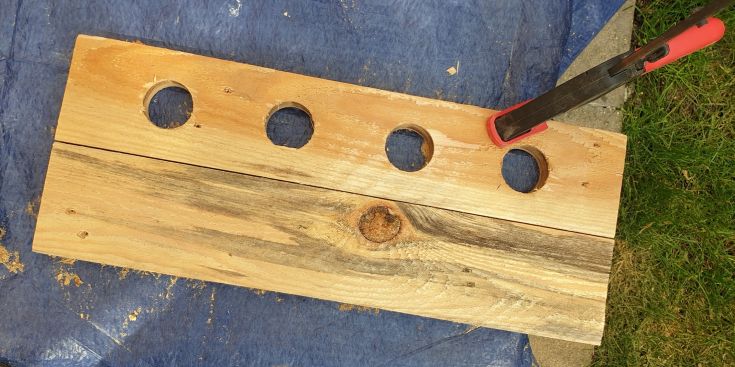
Once you have the cuts done, you need to make the holes with a hole saw drill bit in one of the longer boards.
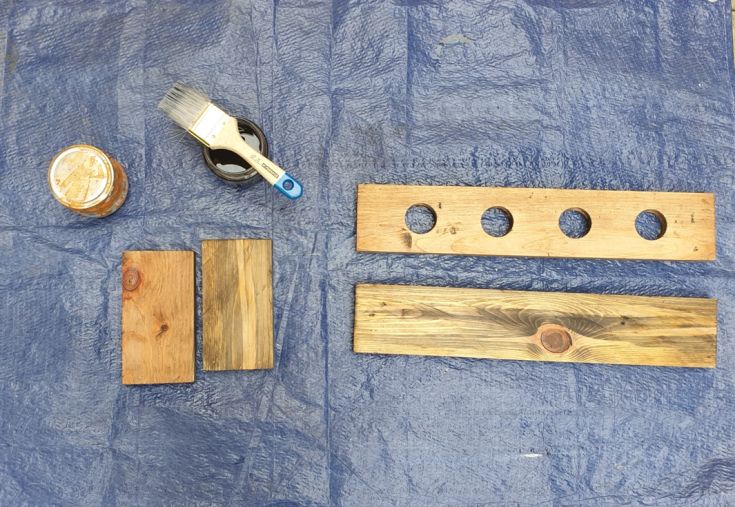

The next step is staining the wood. You can use stain or paint if you want to. I used a natural wood aging stain made with steel wool and vinegar. Check this article for the recipe.
Once you are finished with staining, you need to sand the wood again. If you’re using the mix I’ve mentioned above, this step(sanding) will enhance the stained wood’s beautiful gray color.
You should sand the wood after staining anyway with any stain. I used a fine-grit sanding sponge for this.
To finish up, you need a top coat of your choice. To preserve the natural look, I used a water-based poly spray in a matte finish.
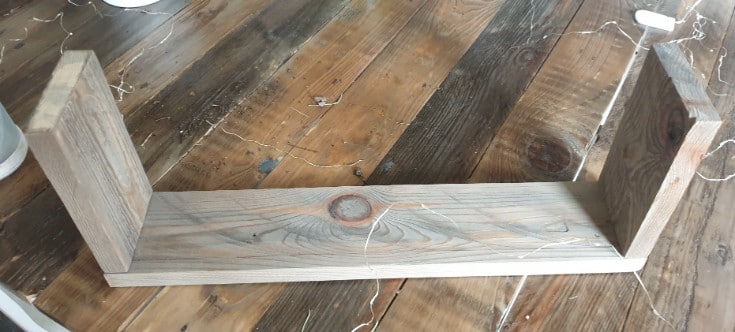
The next step is to put the holder together using wood screws. I used 3 screws on each side at the bottom, and I used magnets for the top(one on each side).
This way, I have access to the bottles, and it’s much easier to take them out and change decor/clean them.
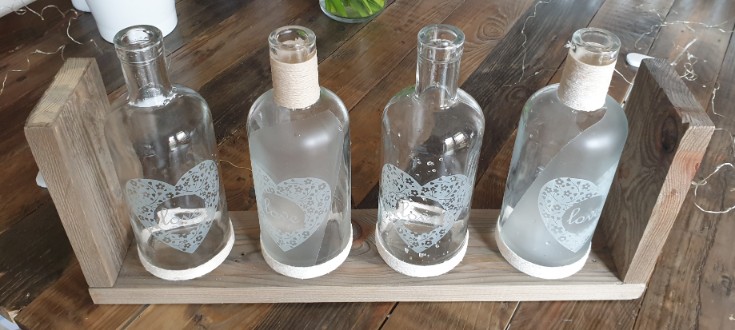
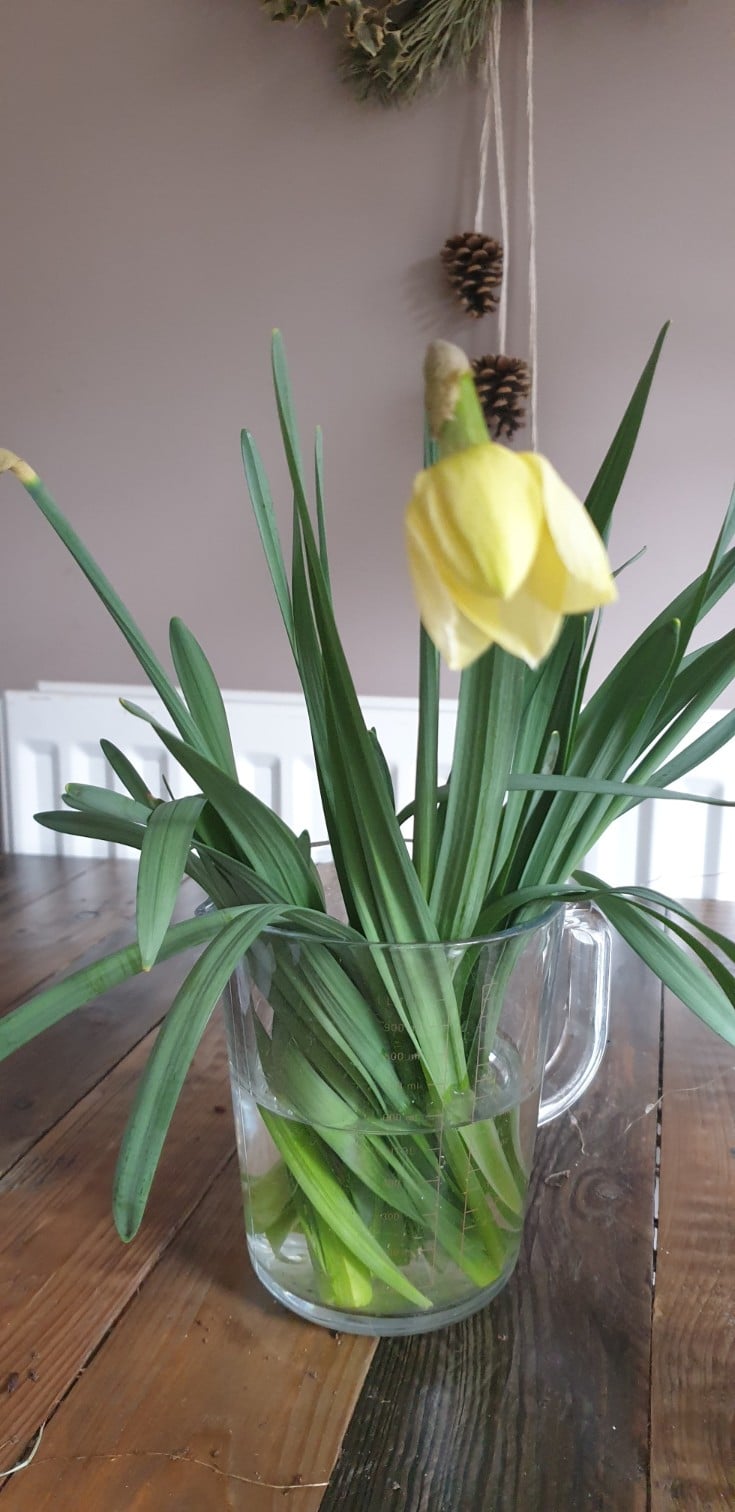
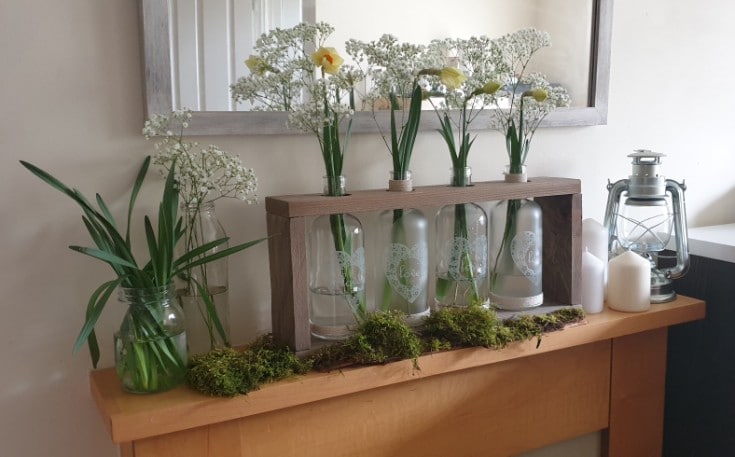
Once the box is ready, it’s decor time! Yay! Use your imagination here. Any spring flowers will be great – white tulips, daffodils, or even flowering branches.
I used daffodils, and some gypsophila flowers, also called baby’s breath. It’s a cute name I had no idea about.
I also put the led string light in the bottles, but that’s completely optional. I decided I won’t use the lights this time but if you do just make sure they’re waterproof if using water and fresh flowers.
Unfortunately, one of the bottles cracked while I was removing the glass marbles 🙁 It’s still whole, but I wasn’t sure if it leaks, so this one hasn’t got any water in it.
I get a feeling I’ll be changing the bottles if using the holder for fresh flowers. I hope I can find some nice vases that will fit it.
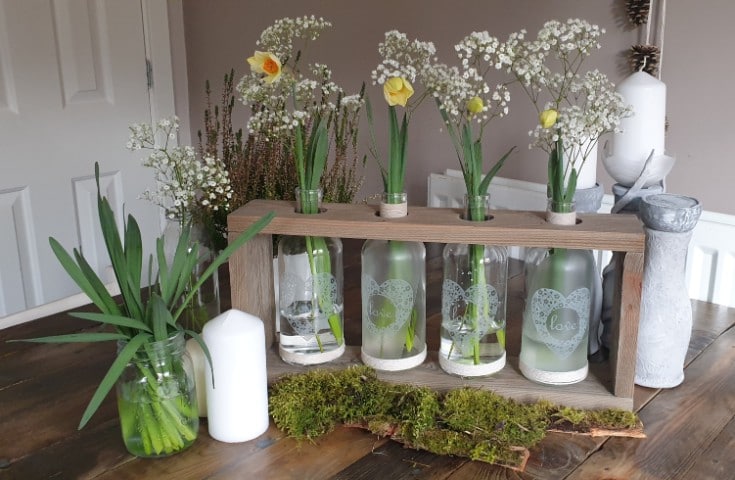
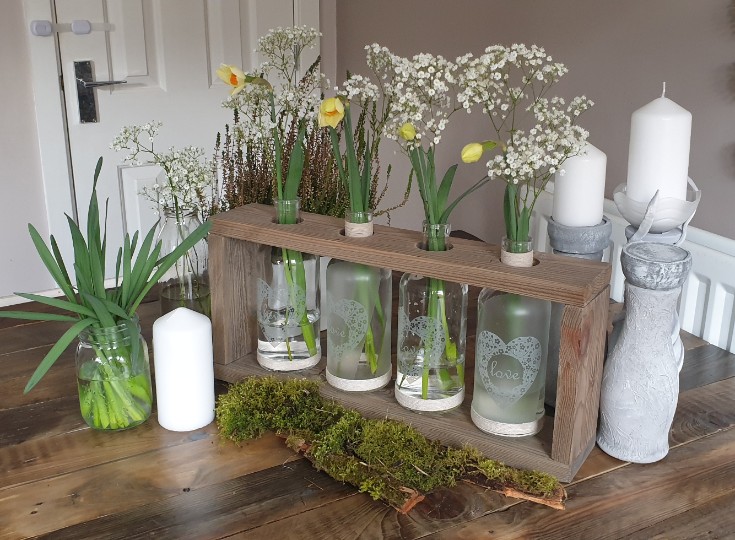
And that’s it! Super simple once you build the wooden vase holder. Use it for a table centerpiece or mantel decoration.
I hope you liked this idea for this DIY spring decor wooden vase holder. (Btw these candle holders are made with upcycled plastic bottles, and you can check the tutorial here.)
If you have any questions, leave a comment in the box below. And don’t forget to pin it for later to DIY home decor board. Thanks!


Subscribe To My FREE DIY Newsletter!
Stay in touch and receive things like updates, special offers, new projects, tips, gear reviews, and more. No spam, promise!
By entering your email address, you agree to get an email newsletter from UpcycleThisDIYThat. I’ll respect your privacy, and you can unsubscribe at any time. For more details, review our Privacy Policy.