How to Make Straight Cuts with a Band Saw: Quick Tutorial for Beginner Woodworkers and Crafters
This post includes affiliate links. If you decide to make a purchase through my link, I might get a small commission for it at no additional cost to you. Thank you for supporting Upcycle This DIY That!

Band saws are a great addition to any woodworker’s tool kit. They allow straight cuts with ease and can produce some really cool shapes, too. However, it is not always easy for beginners to know how to use them correctly straight away.
This quick tutorial will show you how to make straight cuts with a band saw and help you avoid common mistakes to get straight cuts on your first try!
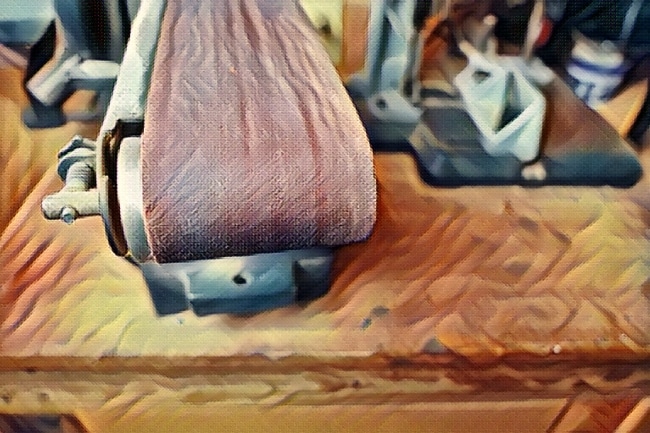
A fence (a “wall” against which the slab being cut rests against as it is pushed through the blade) that is as high as the slab being sliced is required for resawing woods with your bandsaw.
It will give stability and straightness for an accurate cut positioned parallel to the blade.
YOU MAY ALSO BE INTERESTED IN:
How To Use A Bandsaw -A Beginner’s Guide
What Is A Bandsaw Used For?
Best Benchtop BandSaw Reviews
How To Make Straight Cuts With A Band Saw: Quick Tutorial For Beginner Woodworkers And Crafters
How To Use A Bandsaw Safely: A Quick Tutorial
How To Make Straight Cuts With A Band Saw Step by step
First, make sure that the piece of wood you need to cut straight fits easily into the cutting space of your bandsaw with some spare inches above. This will ensure that it doesn’t get pinched by the frame and cause kickbacks. You can also use this opportunity to size up how big or thick a board you are working on for future reference!
Second, align the edge of your lumber against the fence so there is no play between them. If they are not perfectly set together, then adjust. Once adjusted, try making some test passes through different board parts until all pieces come out straight without any issues.
Third, once everything looks good, start cutting into it slowly and gradually increasing the speed. You want to make sure the wood doesn’t stutter or jam as you’re running it through.
Fifth, if any pieces come out crooked or not straight enough, then go back over them again slowly, making more fine-tune adjustments where needed! You can also check the troubleshooting tips below.
Finally, keep practicing until you get perfect results every time.
Last but not least (and most importantly), keep both hands away from the blade at all times, and watch out for your fingers!
Make sure to wear safety equipment like goggles, too, if you don’t want wood chips in your eyes or face. You can never be too careful with saw blades around – it only takes a second of distraction to cause an accident, so make sure you are always sharp, focused, and present while operating power tools! 🙂
When your bandsaw cuts aren’t straight, there are several possible causes. Have a look below and find which one applies to you:
- A dull blade. A clean and straight cut requires a sharp, high-quality blade, just like with any saw, power, or hand. If this is the case, you can see how it’s simple to diagnose the problem.
- Insufficient blade tension. If yours is less than 1000 PSI, the blade struggles to cut straight and true.
- Not feeding the wood properly. If you apply too much force to the board against the blade before it can cut properly, the blade might twist. This results in a crooked cut.
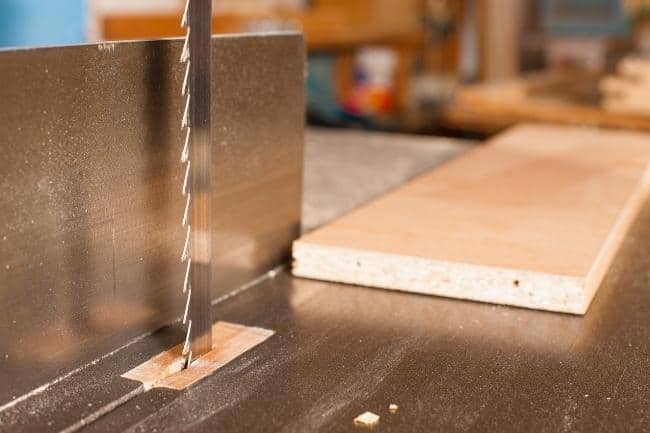
- Not using a guide. All straight cuts, for obvious reasons, should be accompanied by a guide or fence; it keeps the wood in position and maintains the same width all along the cut.
A bandsaw is an invaluable tool for getting straight cuts and clean lines. However, it’s important that you know how to use it safely, as well as what problems might arise when using one.
Now you know how to make straight cuts with a band saw, I hope this post has made things easier for you and will help you get better results in your woodworking projects. If there’s anything I didn’t cover or if any of these instructions seem unclear, don’t hesitate to leave a comment below!
Subscribe To My FREE DIY Newsletter!
Stay in touch and receive things like updates, special offers, new projects, tips, gear reviews, and more. No spam, promise!
By entering your email address, you agree to get an email newsletter from UpcycleThisDIYThat. I’ll respect your privacy, and you can unsubscribe at any time. For more details, review our Privacy Policy.