
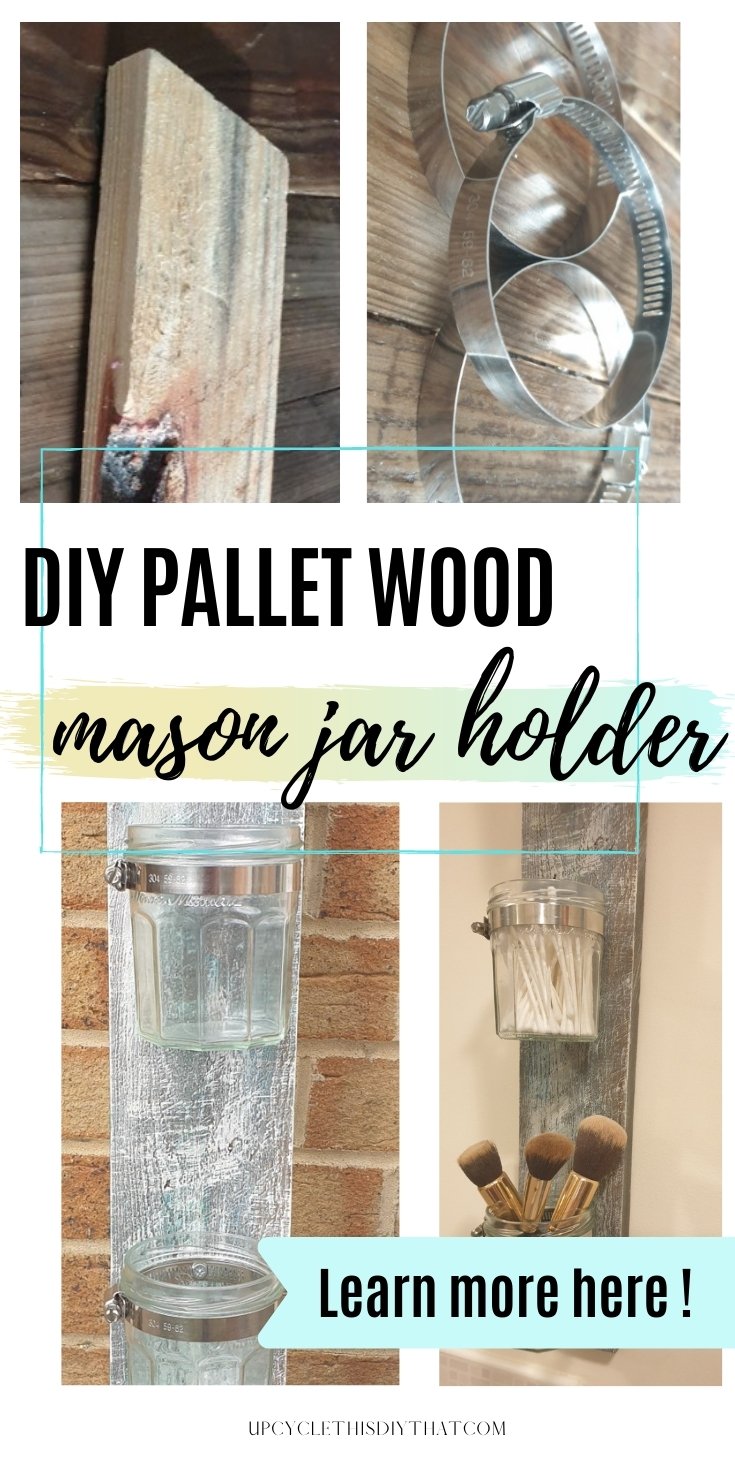
Quick One Board Pallet Wood DIY Bathroom Storage
This post includes affiliate links. If you decide to make a purchase through my link, I might get a small commission for it at no additional cost to you. Thank you for supporting Upcycle This DIY That!
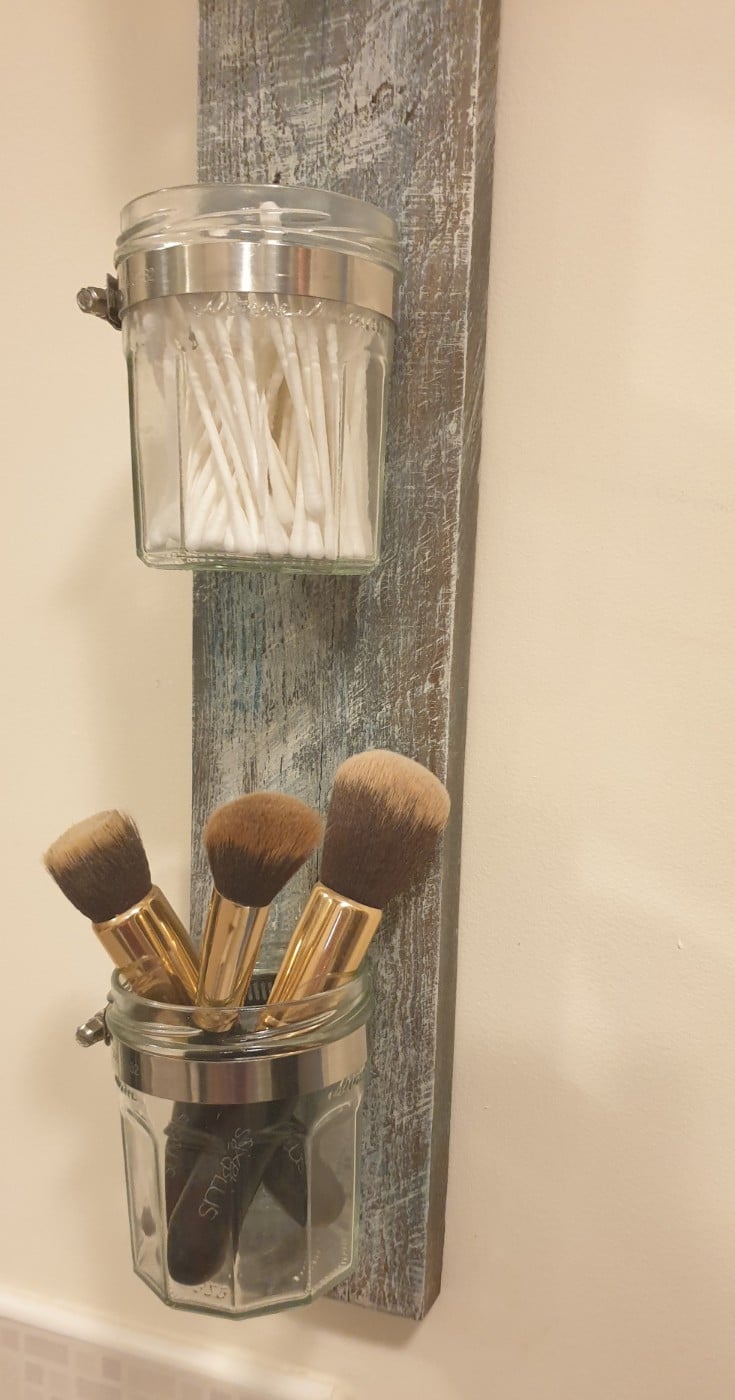
If you have a small bathroom without a lot of surfaces for all of the bits and bobs, then this project would be perfect for you.
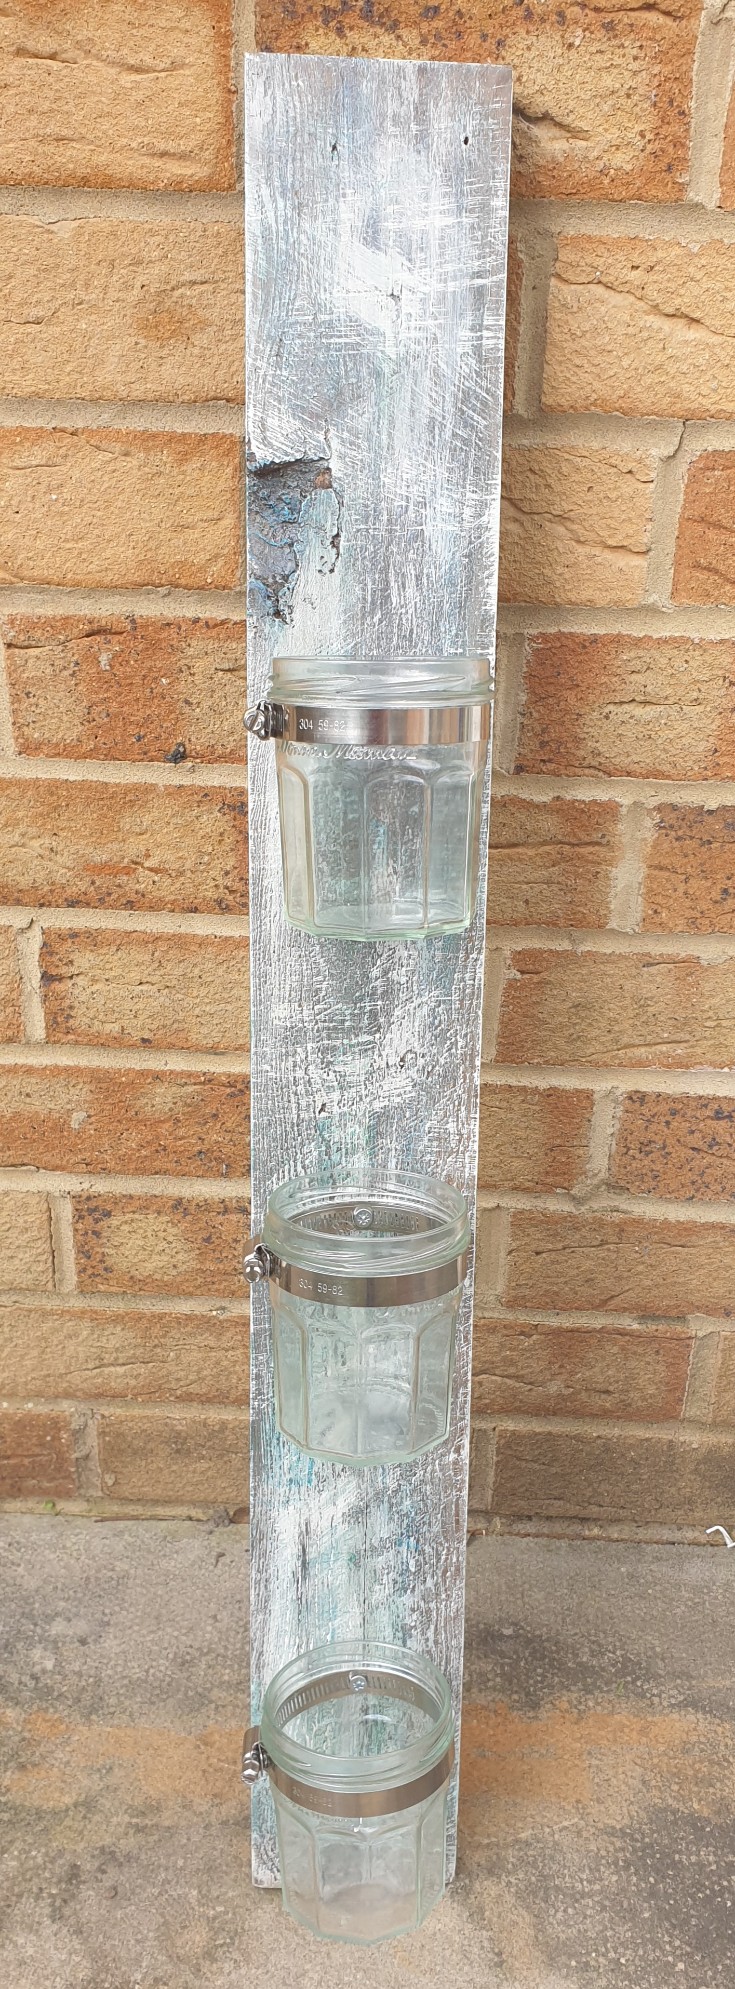
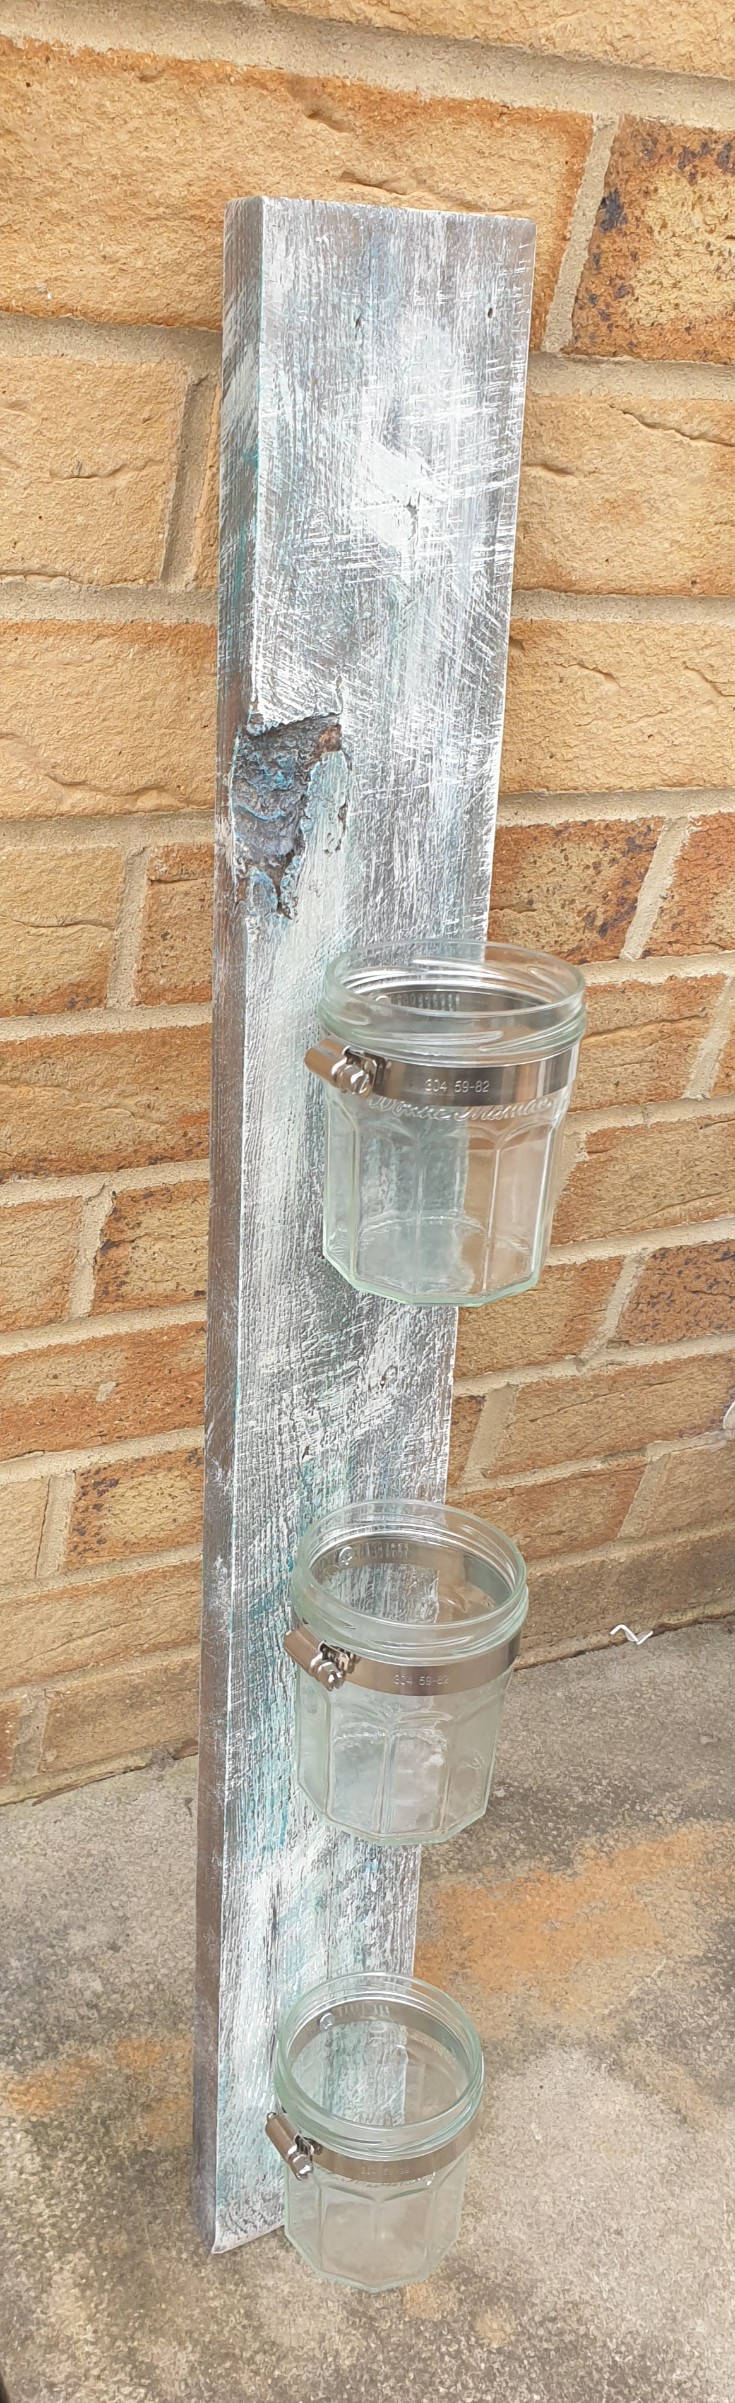
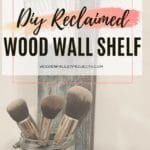
It’s simple one-board DIY bathroom storage made with an old pallet plank and some jam jars. You can easily make it in 30 min, including sanding and painting.
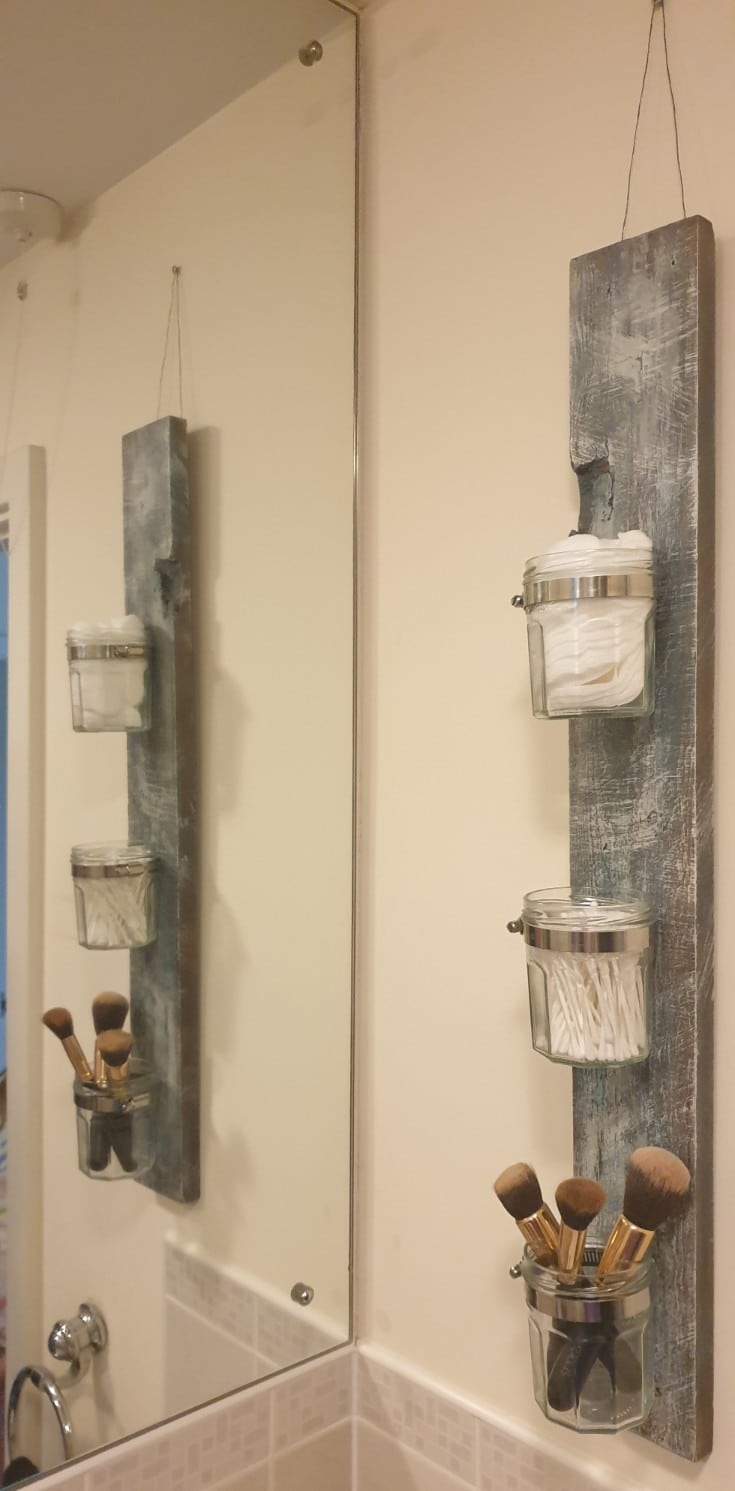
I wanted something to hang on the wall in our bathroom for cotton wool pads, earbuds, or other small bits to keep them out of the way.
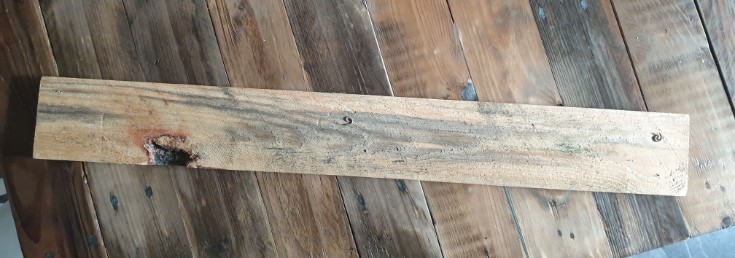
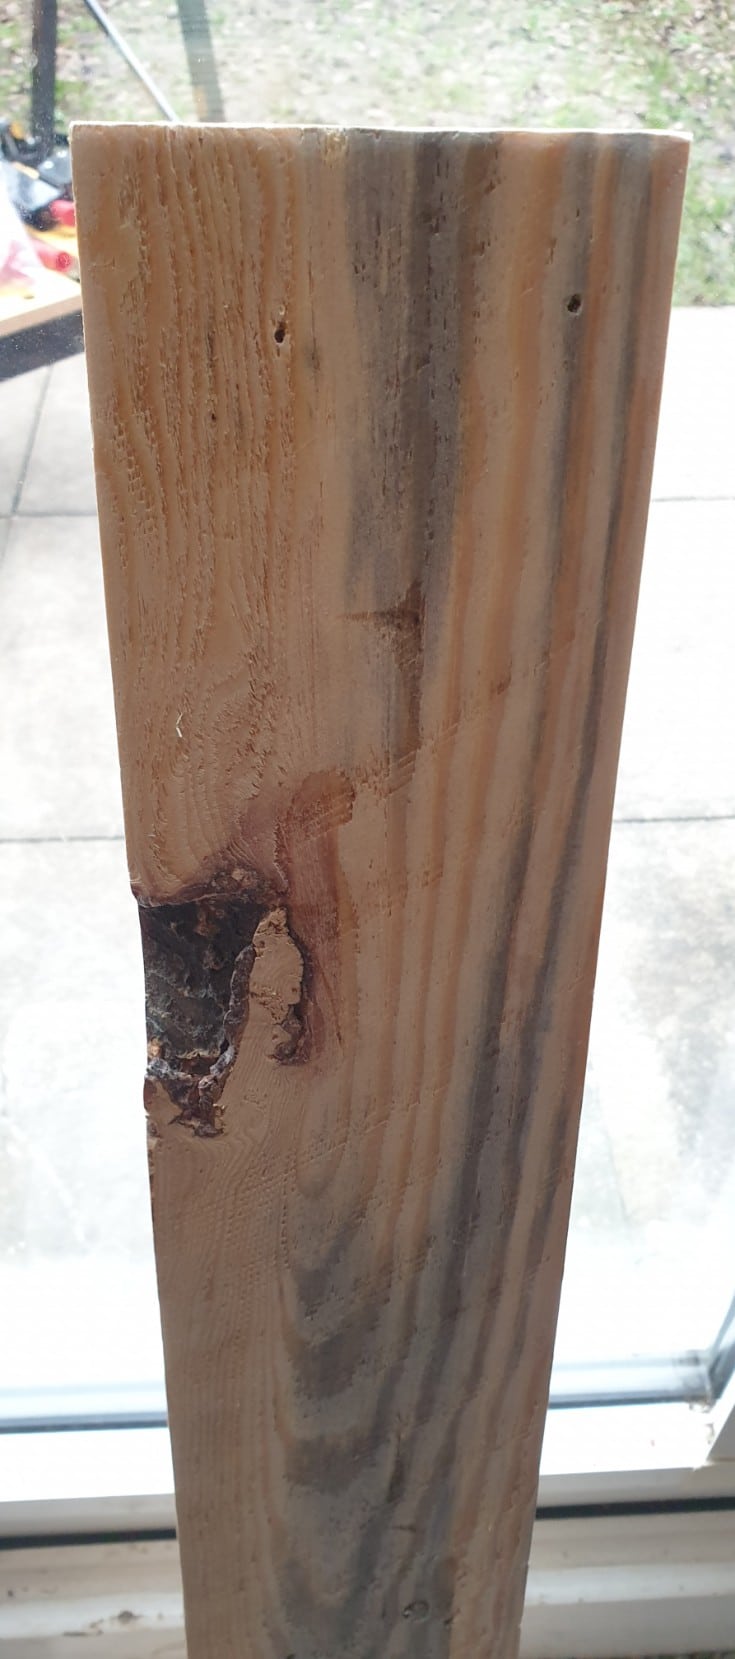
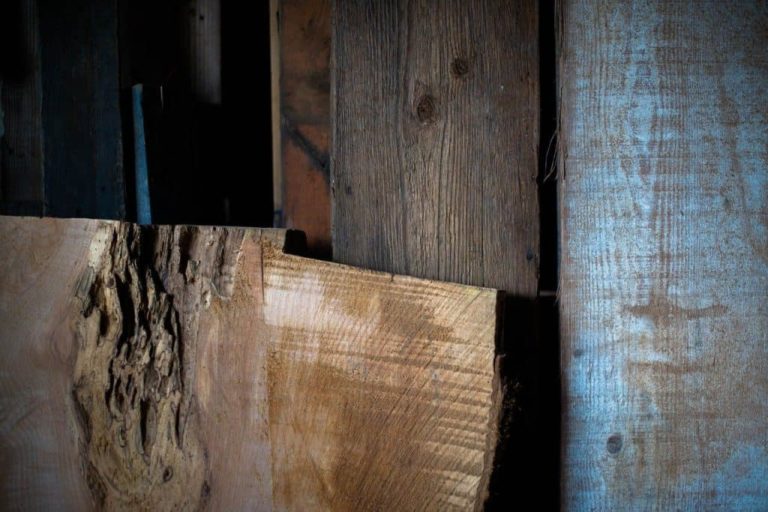
This board was leftover from my DIY tabletop project and was perfect for this quick project.
YOU MAY ALSO BE INTERESTED IN:
How To Make A Pallet Herb Garden
Pallet Sandbox -Simple Upcycling Project
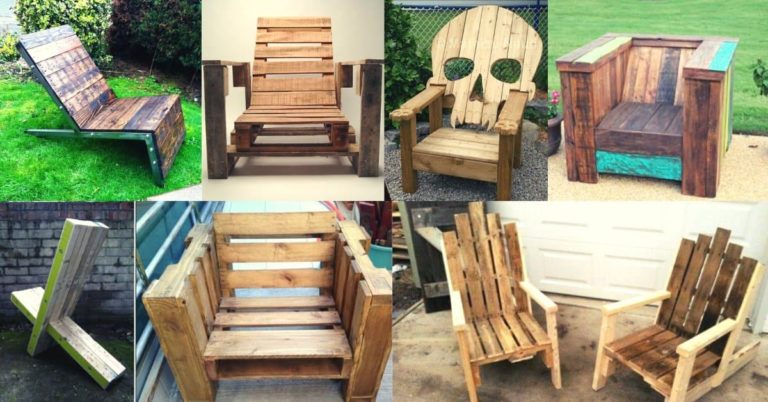
How To Make A DIY Pallet Sofa For The Garden
How To Build A Pallet Coffee Table Step By Step
If you have more wall space, you can make this storage horizontally and have more jars attached to the board. Or have one above the other(horizontally) or a couple of boards next to each other(vertically).
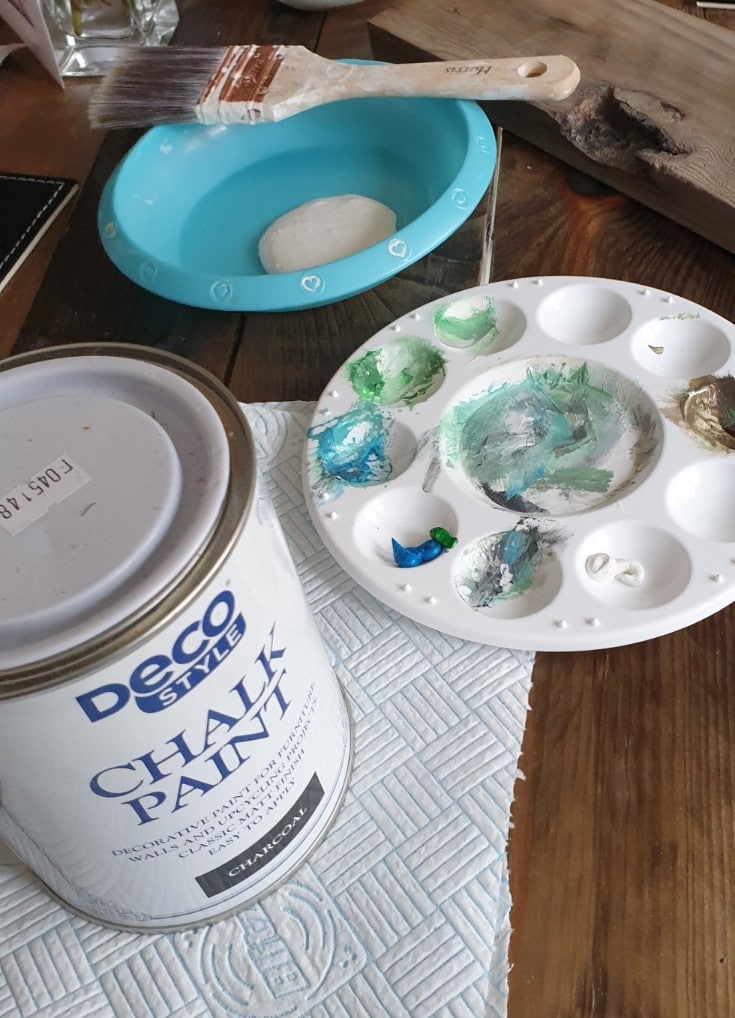
All you need is a drill, some glass jars like mason jars, steel pipe clamps, and screws. For painting, I used chalk paint in charcoal and white as well as blue and green acrylics.
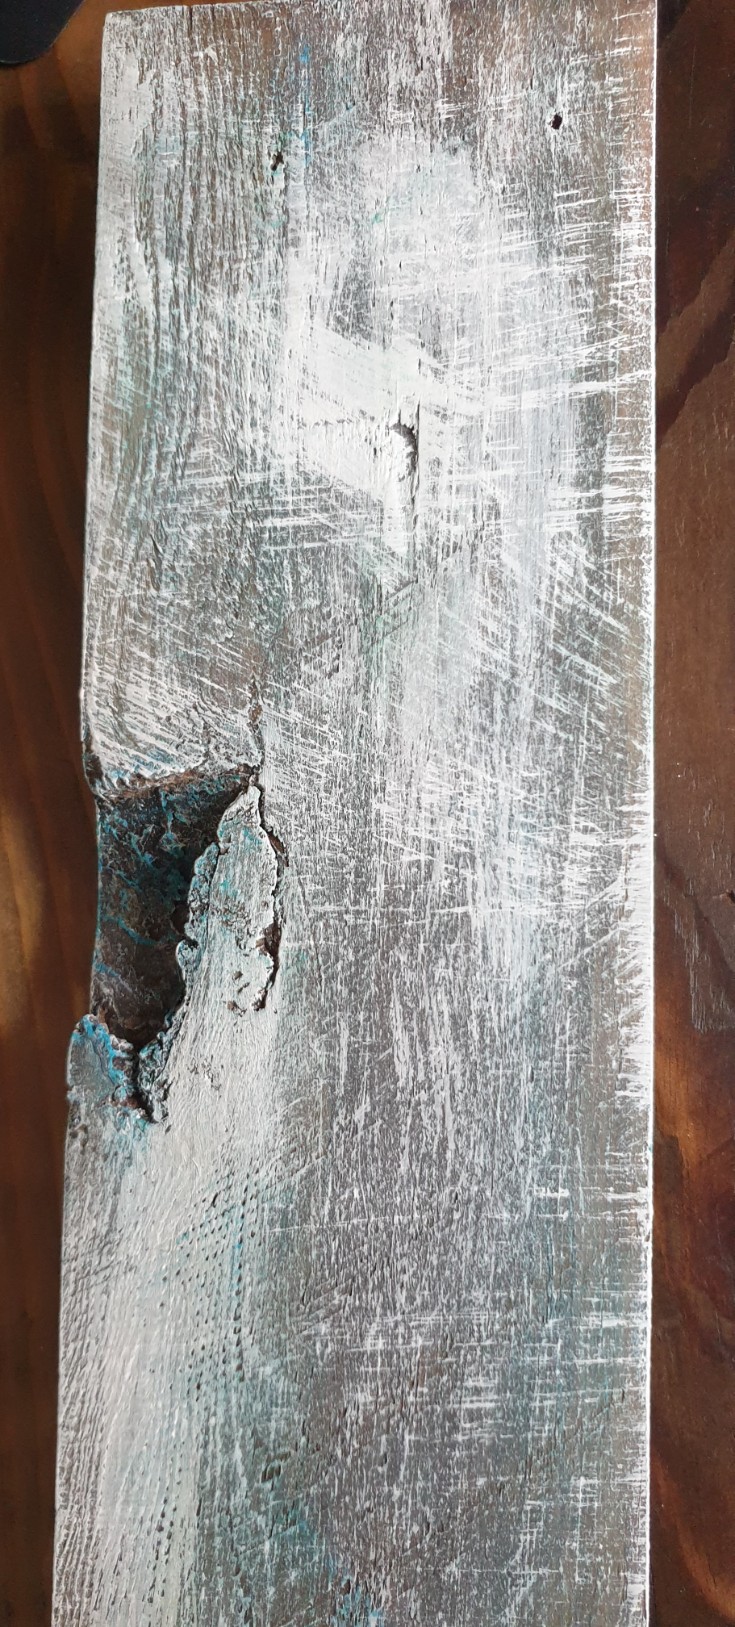
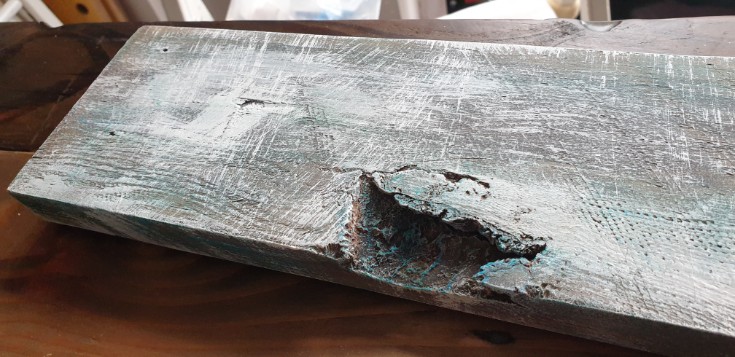
I wanted a beachy color accent hence the silver-gray and turquoise(blue plus green).
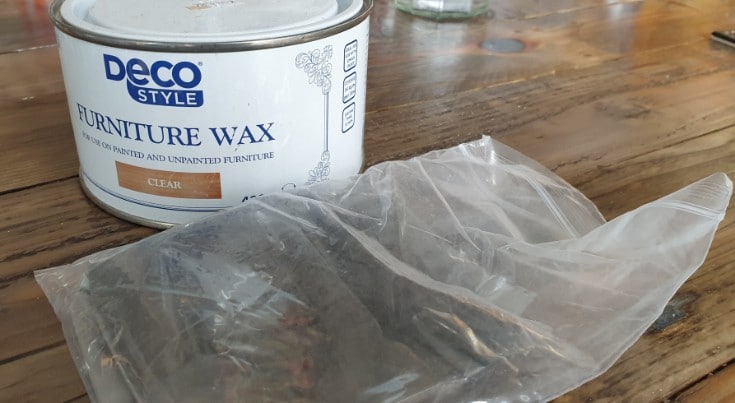
I stained the board first with the homemade aging stain(steel wool and vinegar). Then, to seal it, I used furniture wax with metallic silver-gray mica powder to add some shimmer.
The mica powder is excellent for adding to epoxy resin or topcoat finish, or even paint. In addition, it’s super cheap, especially if bought in multicolor bags.
Tools and materials
- Pallet/reclaimed wood board
- Glass jars like mason jars or jam jars – I got three
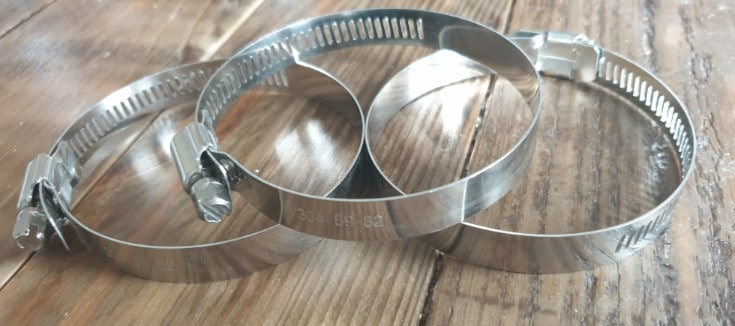
- Steel pipe clamps to secure the jars
- Screws and a drill plus drill bits
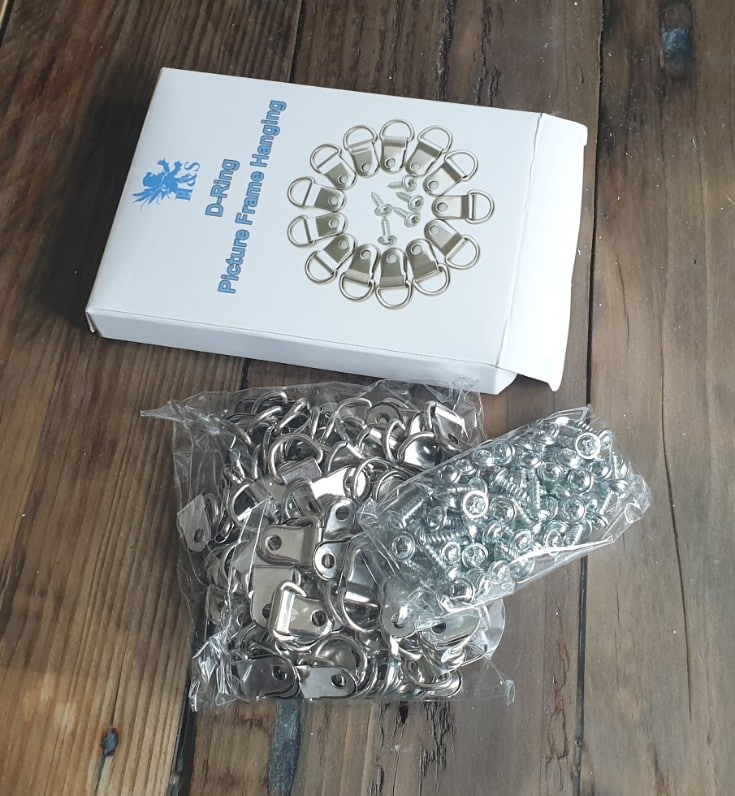
- D-ring hooks and metal wire/string for hanging
- Random orbital or finishing sander plus sandpaper P-60, P-120, P-180
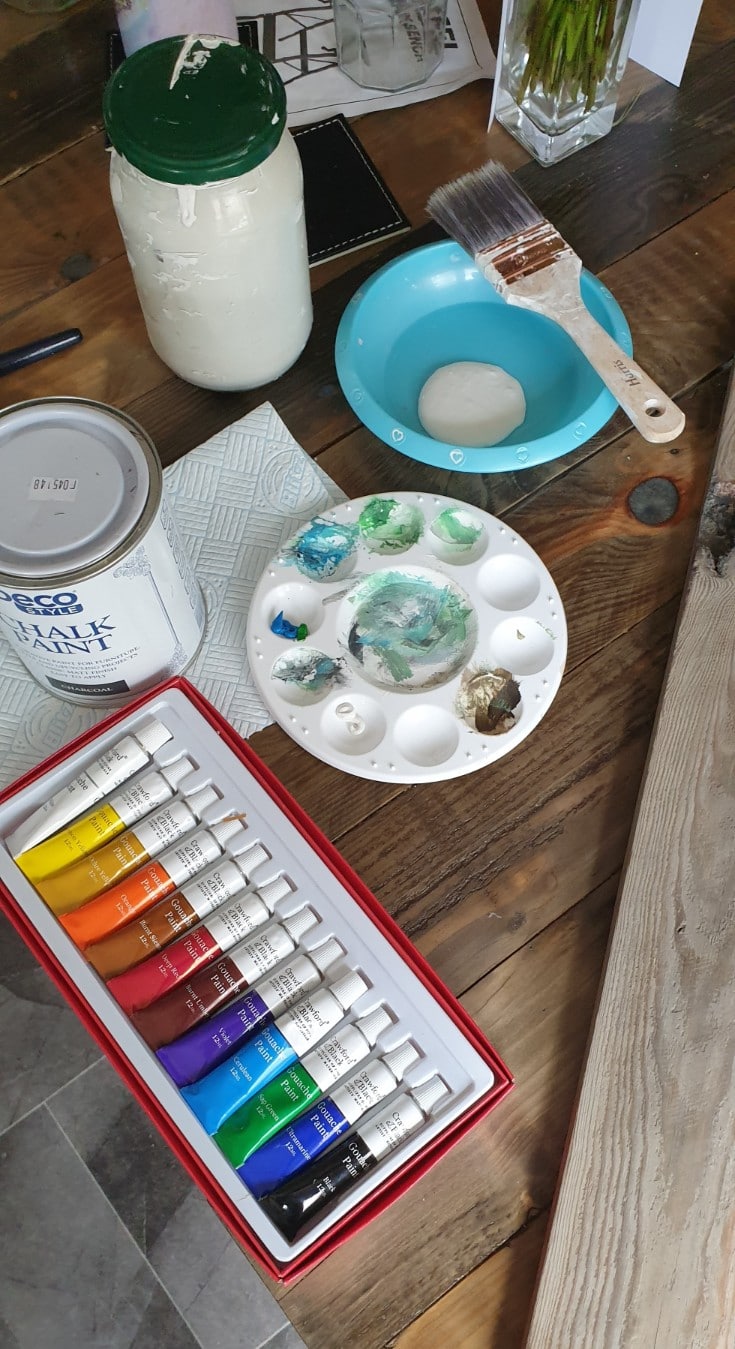
- Chalk paint- white and charcoal, but you can use any color you want- you can also use chalk paint powder and mix it with latex paint for DIY chalk paint
- Acrylic paints in green and blue to mix or turquoise
- A couple of paintbrushes
- Furniture wax and two rags(for wax and for removing sanding dust)
- Mica powder in silver-gray metallic


How to make simple DIY bathroom storage using a single wood board
This project is super simple. Literally, four main steps are required (sand, stain, paint, and mount) and only a couple of tools.
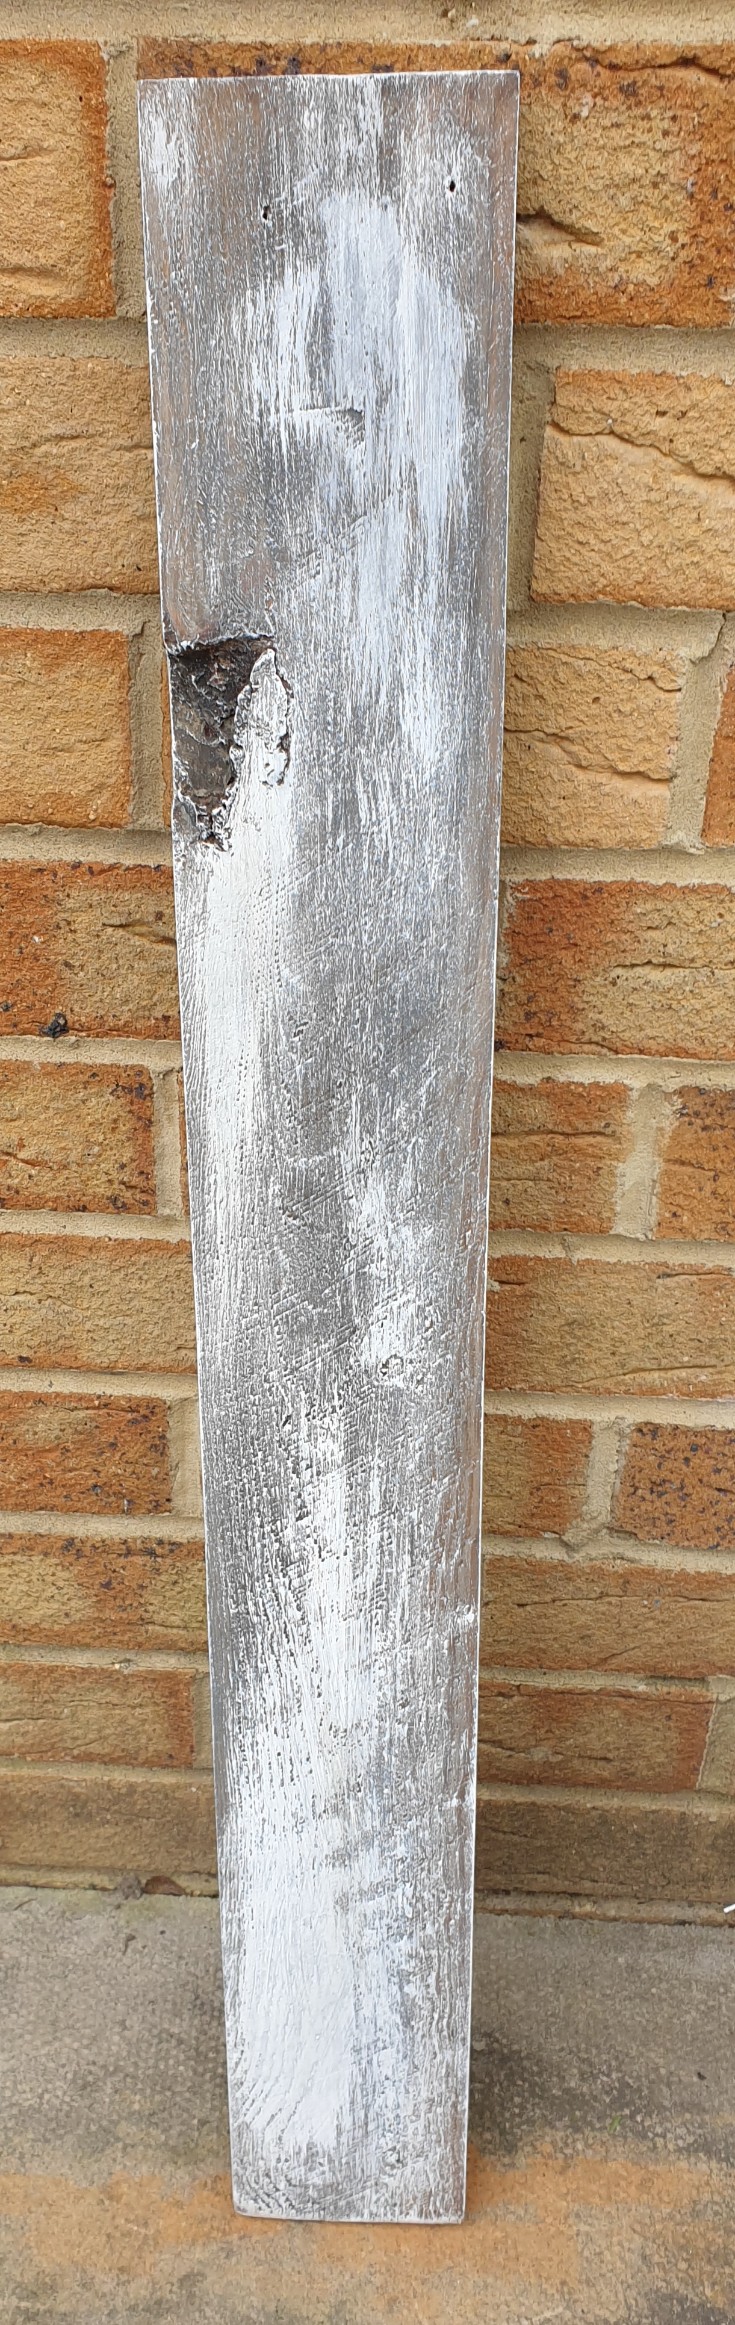
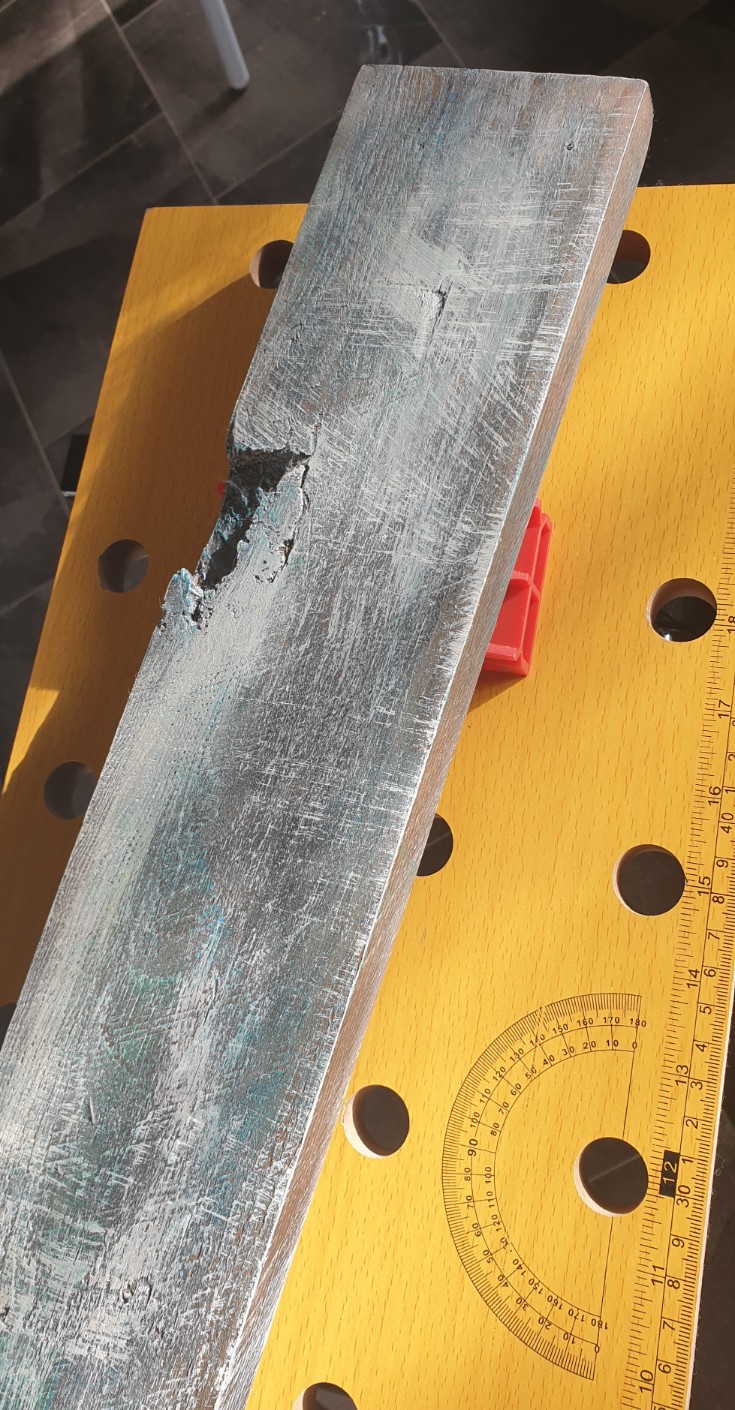
Sand the board

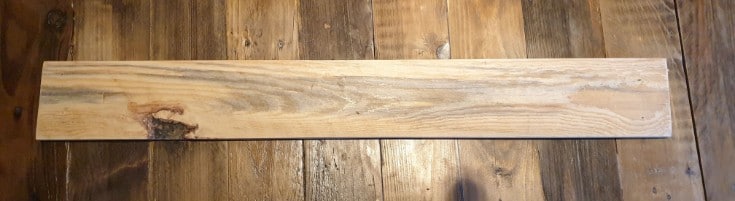
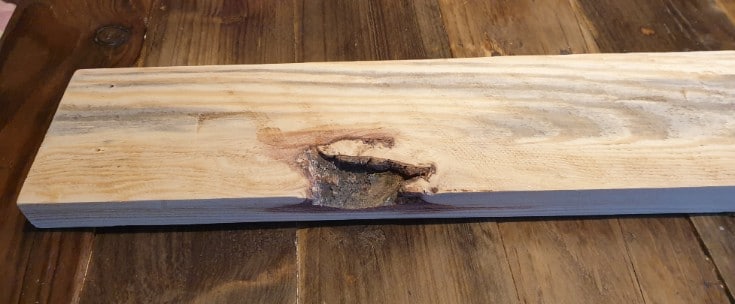
Since I use pallet boards, the wood has a very rough surface. So I made sure there weren’t any nails left in the wood and sanded the surfaces starting with P-60, then P-120, and finally P-180. I wasn’t bothered if it wasn’t perfect. It was going to be stained and painted later anyway.
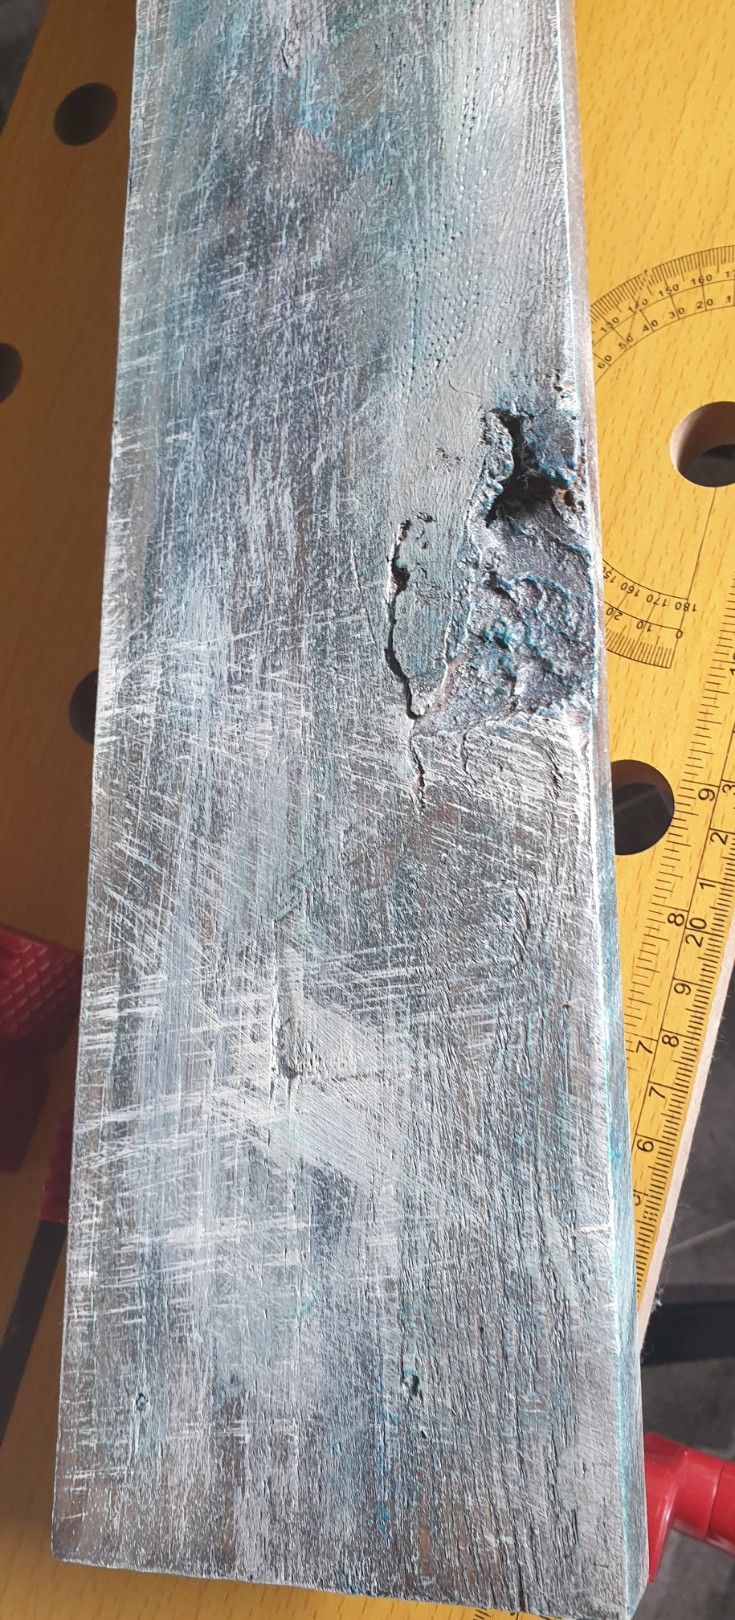
Stain the board
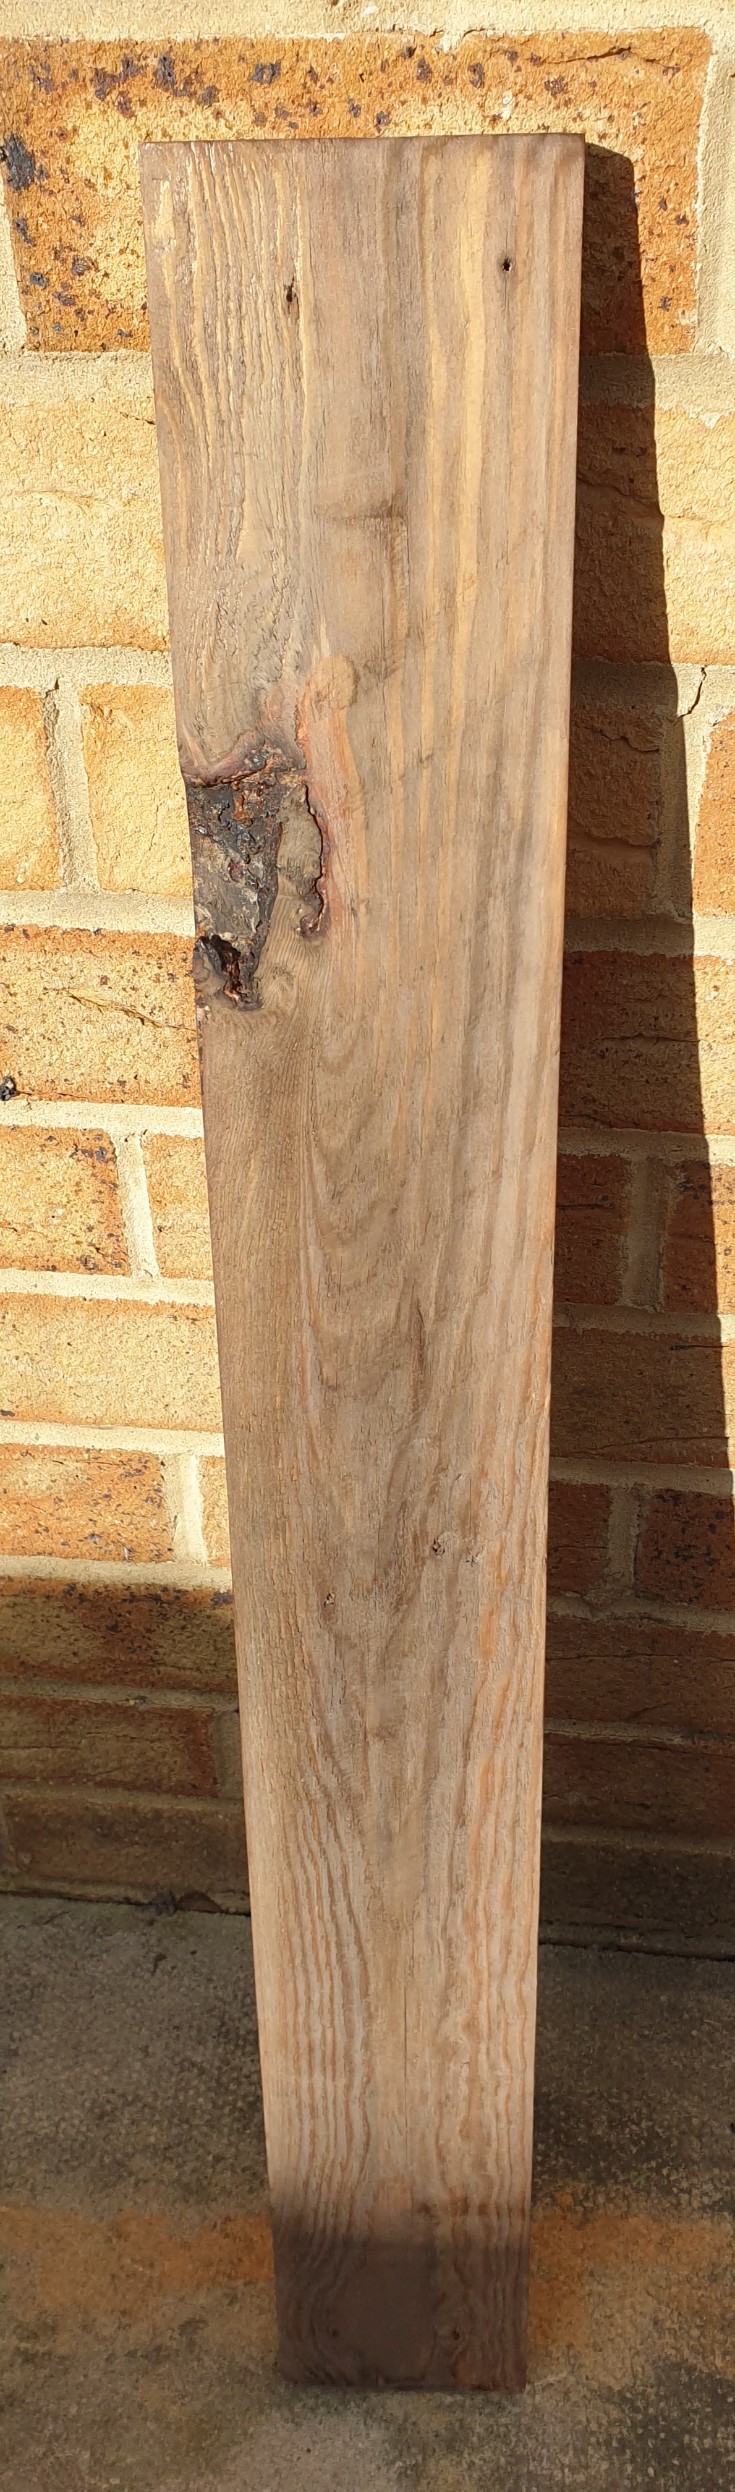
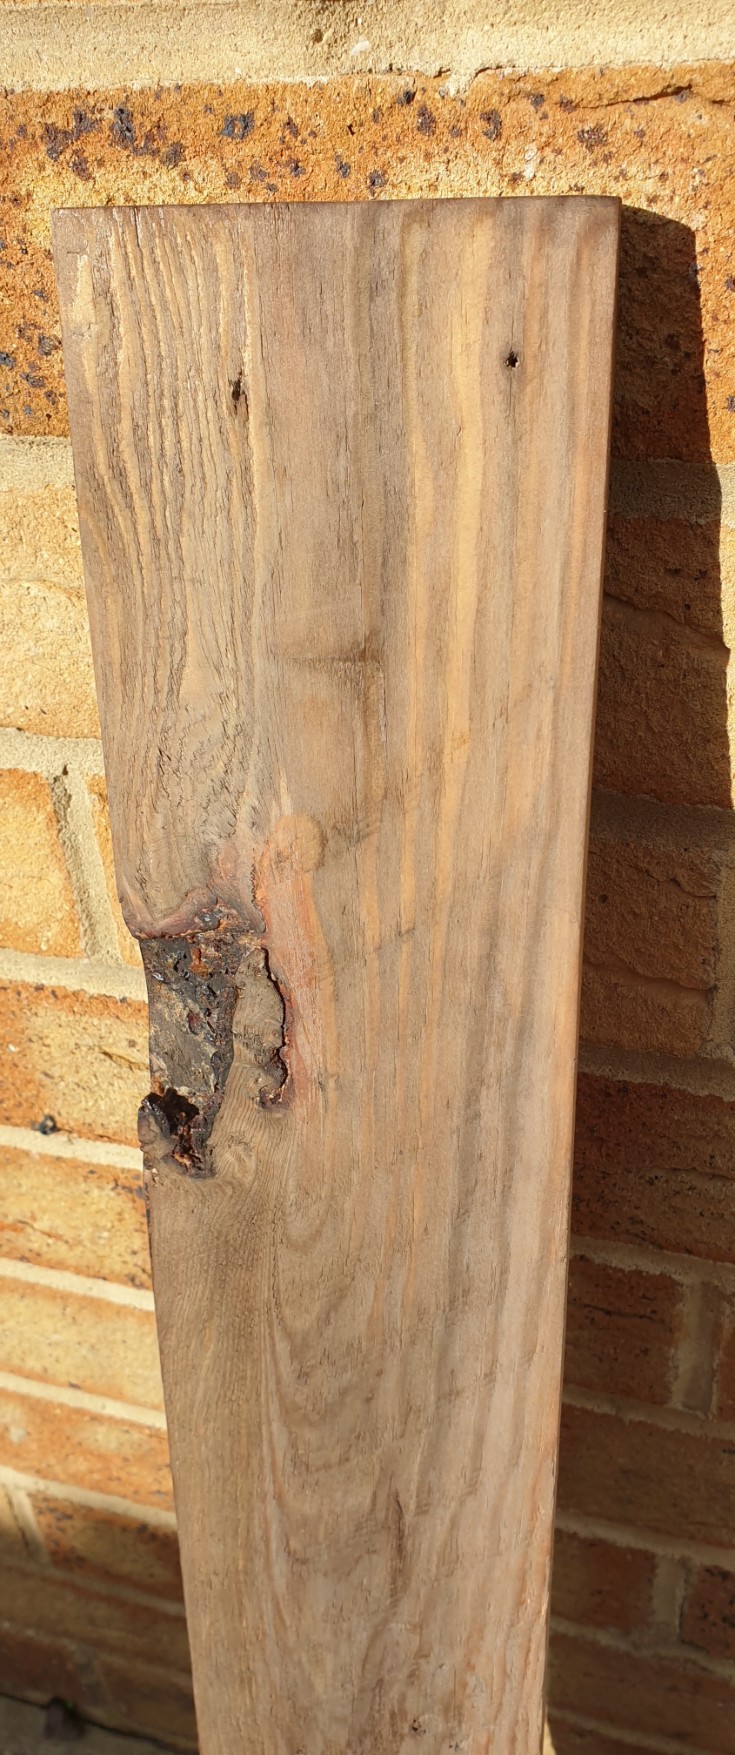

Using the homemade mix, I stained the wood. I applied the tea first and then the mixture. You could see the wood going gray straight away.
The results of this method depend mainly on the type of wood used. Some take the stain better than others and turn out beautifully.
I let it dry for a few hours. This bit takes the longest, but if you live in a warm place, put it out in the sun, and it’ll be dry in no time.
YOU MAY ALSO BE INTERESTED IN:
Wood Sanding Tips for Upcycling and Pallet Projects
Best Sander for Pallets
Best Finishing/Sheet Sander-Buying Guide and Sanders Reviews
Best Random Orbital Sander – Buying Guide and Sander Reviews
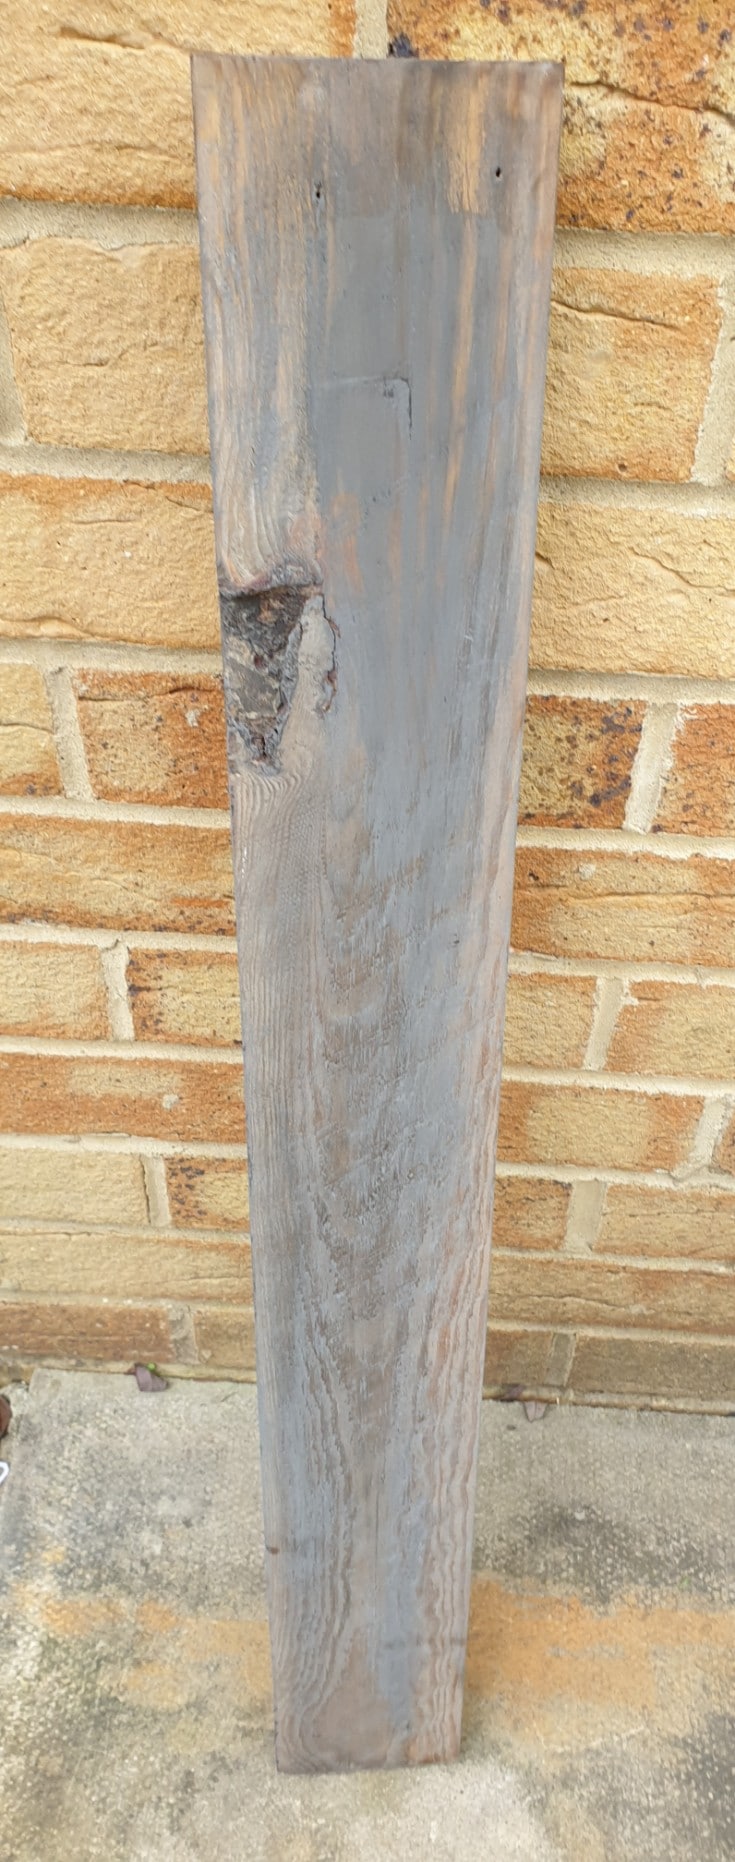
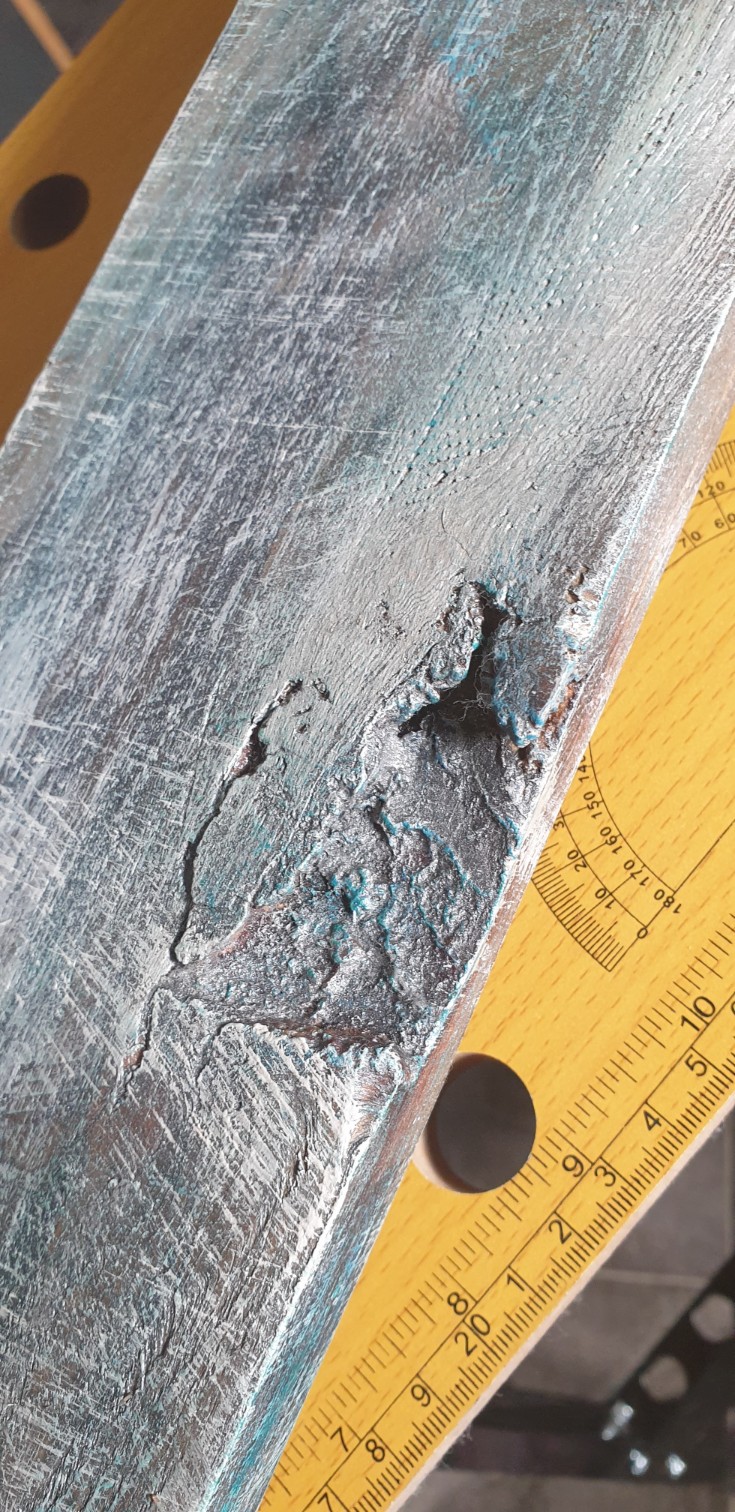
Sand the board again
This step only takes a minute. I sanded the board using a sanding sponge to turn the stain even more silvery gray. Wiped the dust with a damp rag and let it dry.
Paint the board
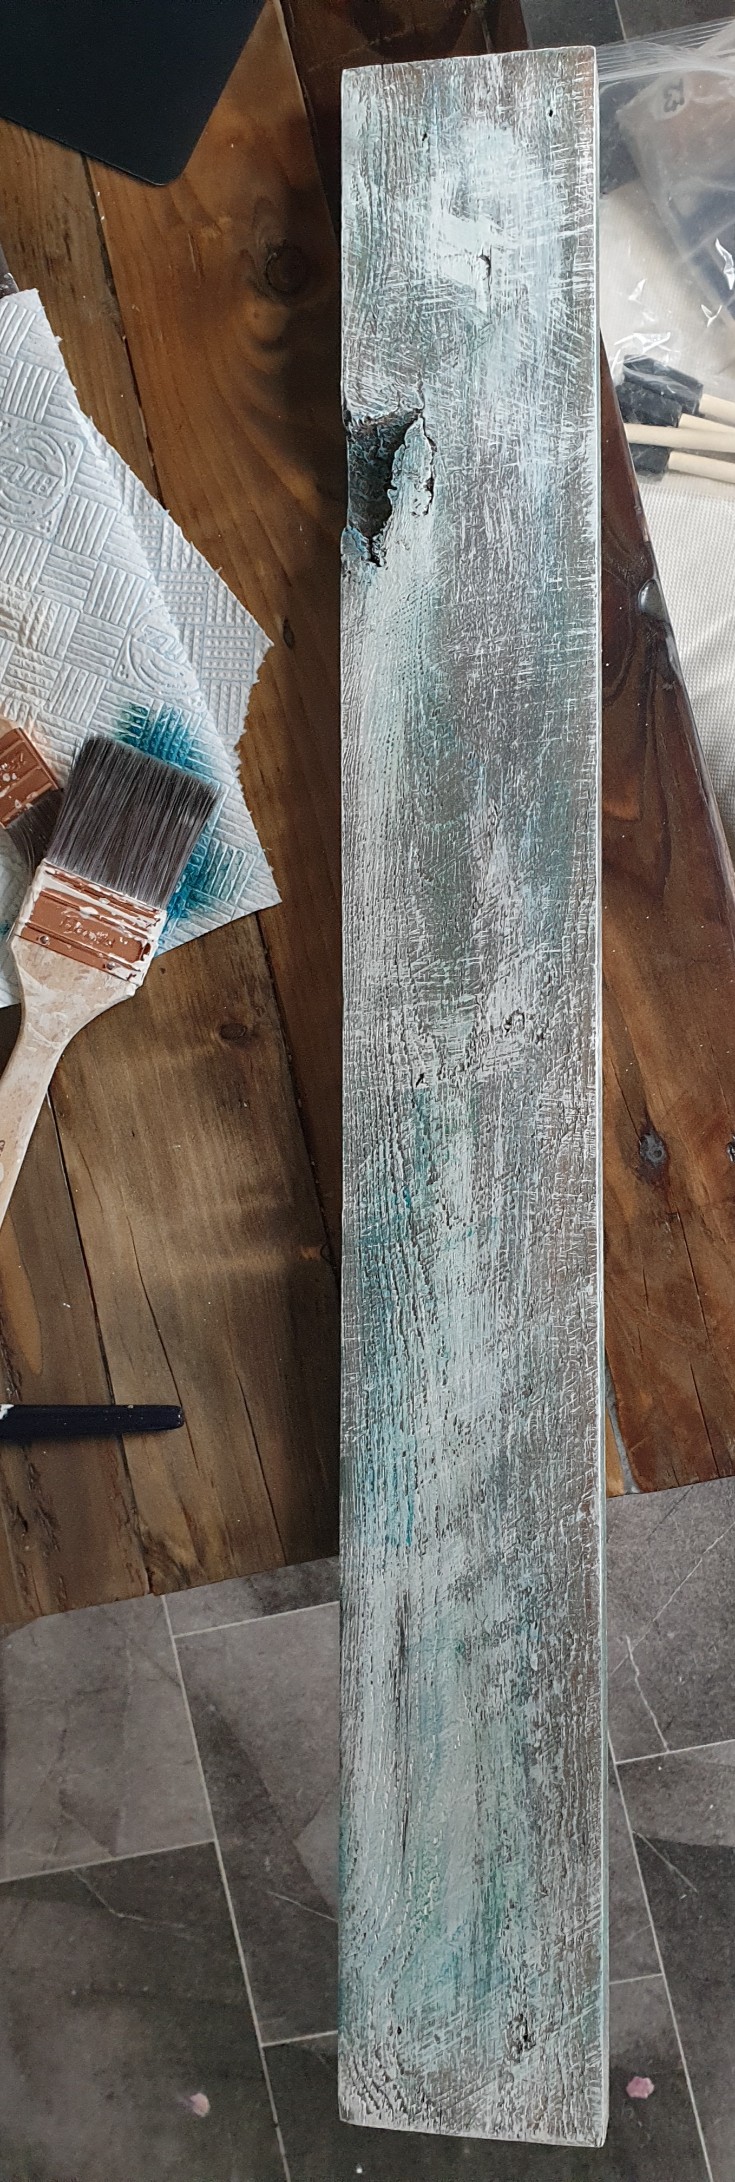
After the wood had dried, I was going to drybrush the paint colors.
I started with the charcoal and gently dry-brushed it onto the surface. Make sure your brush is virtually dry, so only use a tiny amount of paint and rub it onto a paper towel.
After the paint was dry, the next color that went on was white. With a tiny amount of paint, I dry brushed it onto the wood going in all directions. Don’t forget the sides. I left the back untouched(just stained).
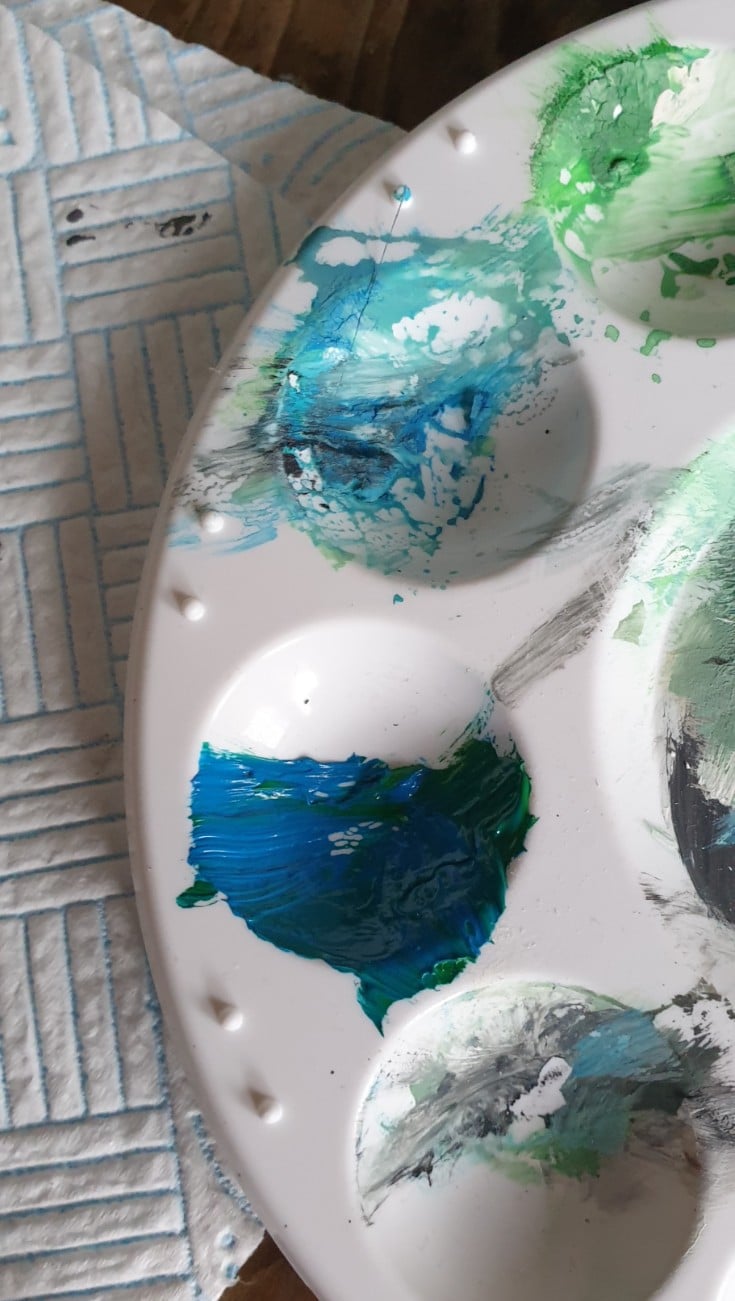
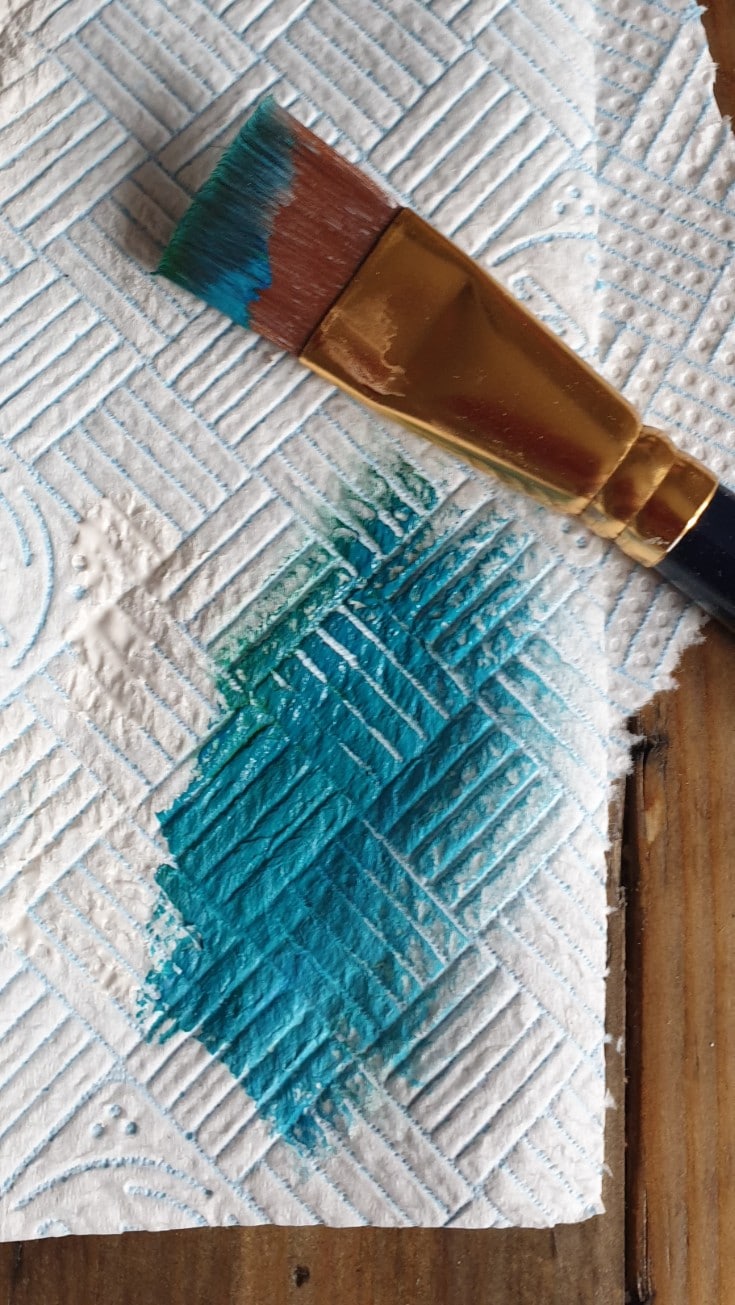
The next color that went on was the blue/green mix with some white, so it looked like turquoise. I applied it using the same technique. Then I left it to dry.
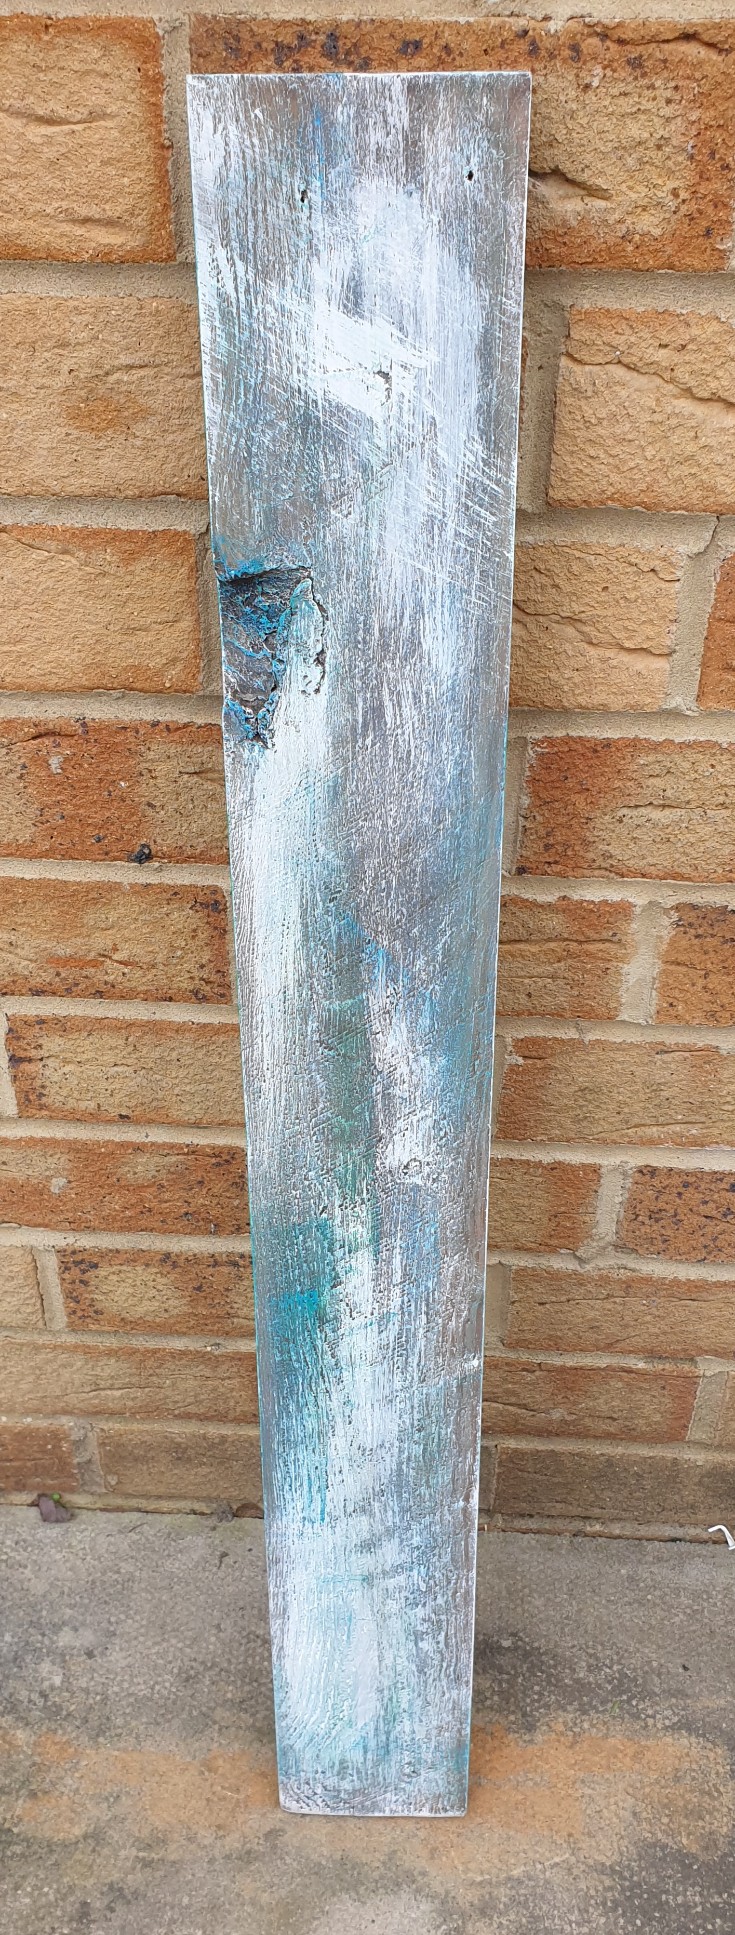
Topcoat – waxing
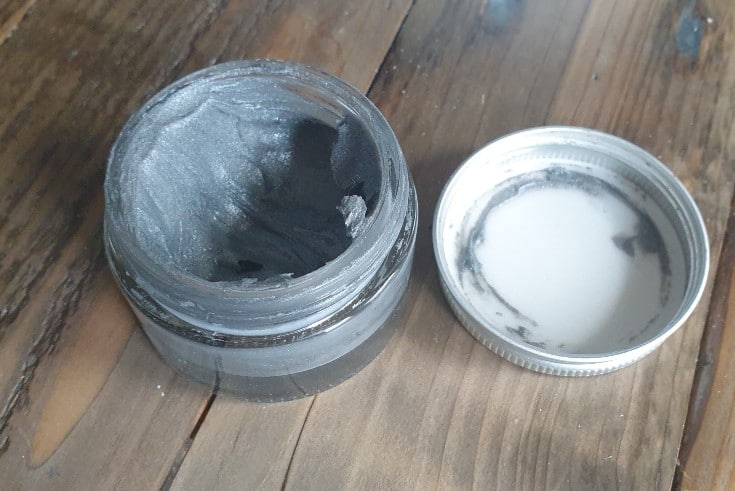
The next step is to apply the wax or any other finish you want. I mixed some mica powder in silver-gray with the clear furniture wax. I wasn’t sure how it would turn out on the paint, so I tested it first at the back. It came out beautifully.
I absolutely loved it. Use an old clean rag or a wax brush to apply the wax.
This tip for making a cheap version of metallic-colored wax comes from Anita from uniquecreationsbyanita.com. She’s a fantastic creator worth checking out. The final step was to buff the wax and let it cure for a while.
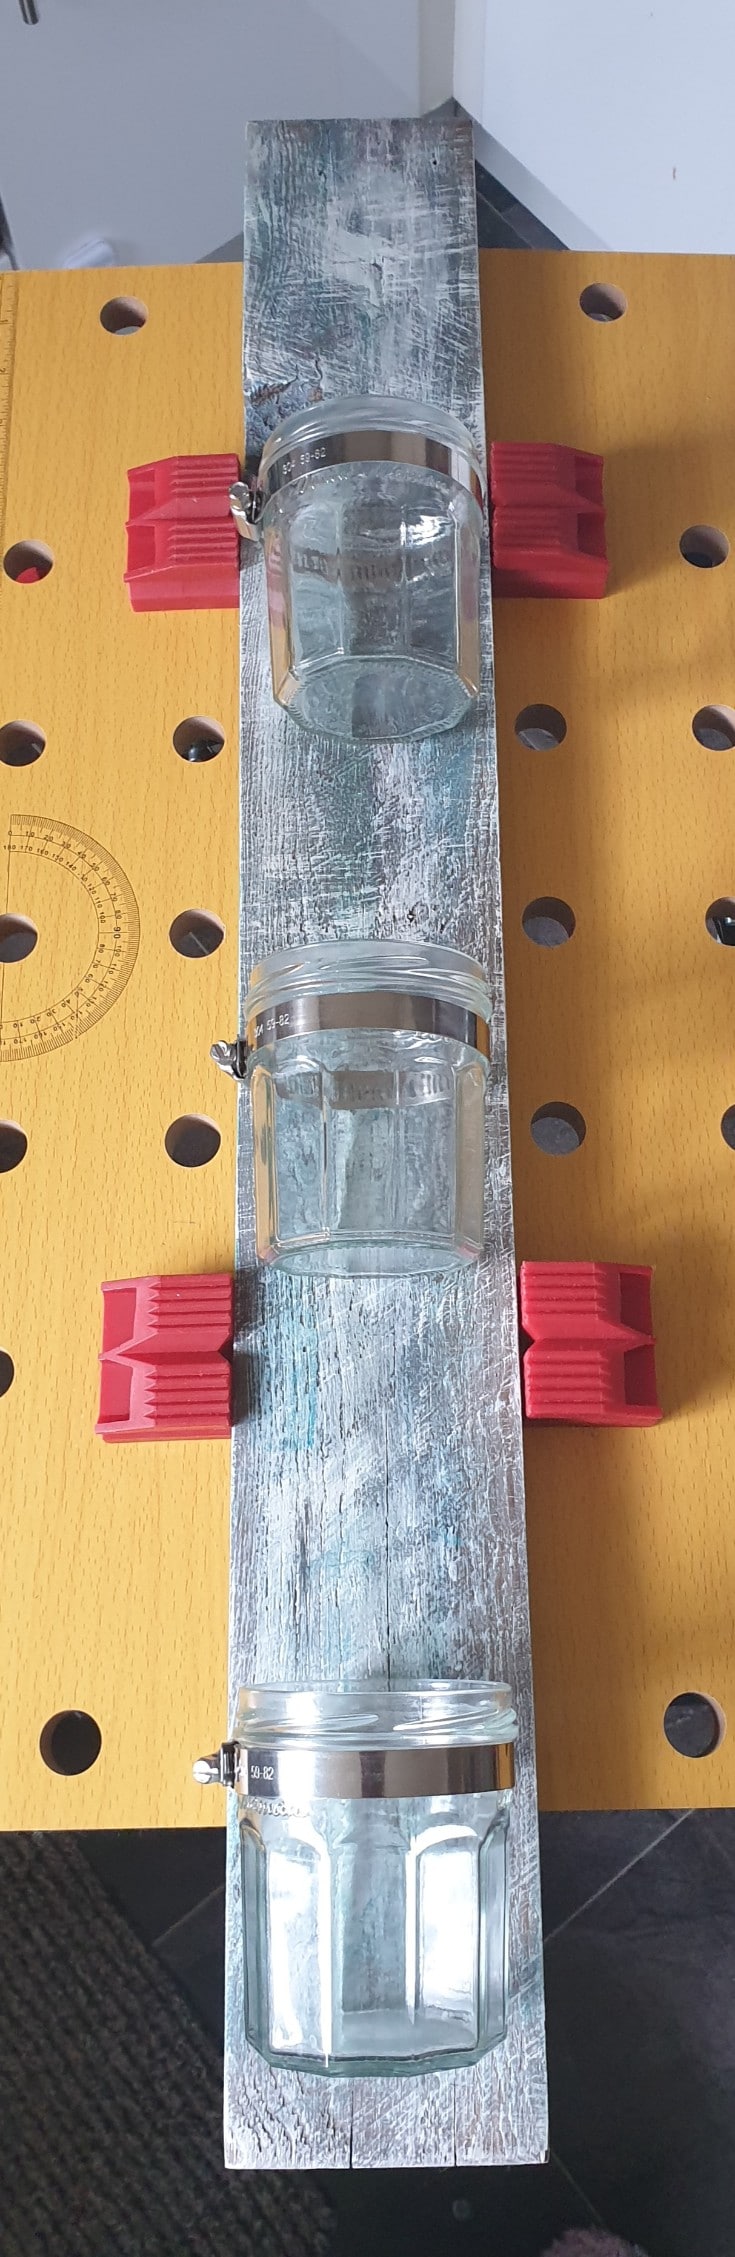
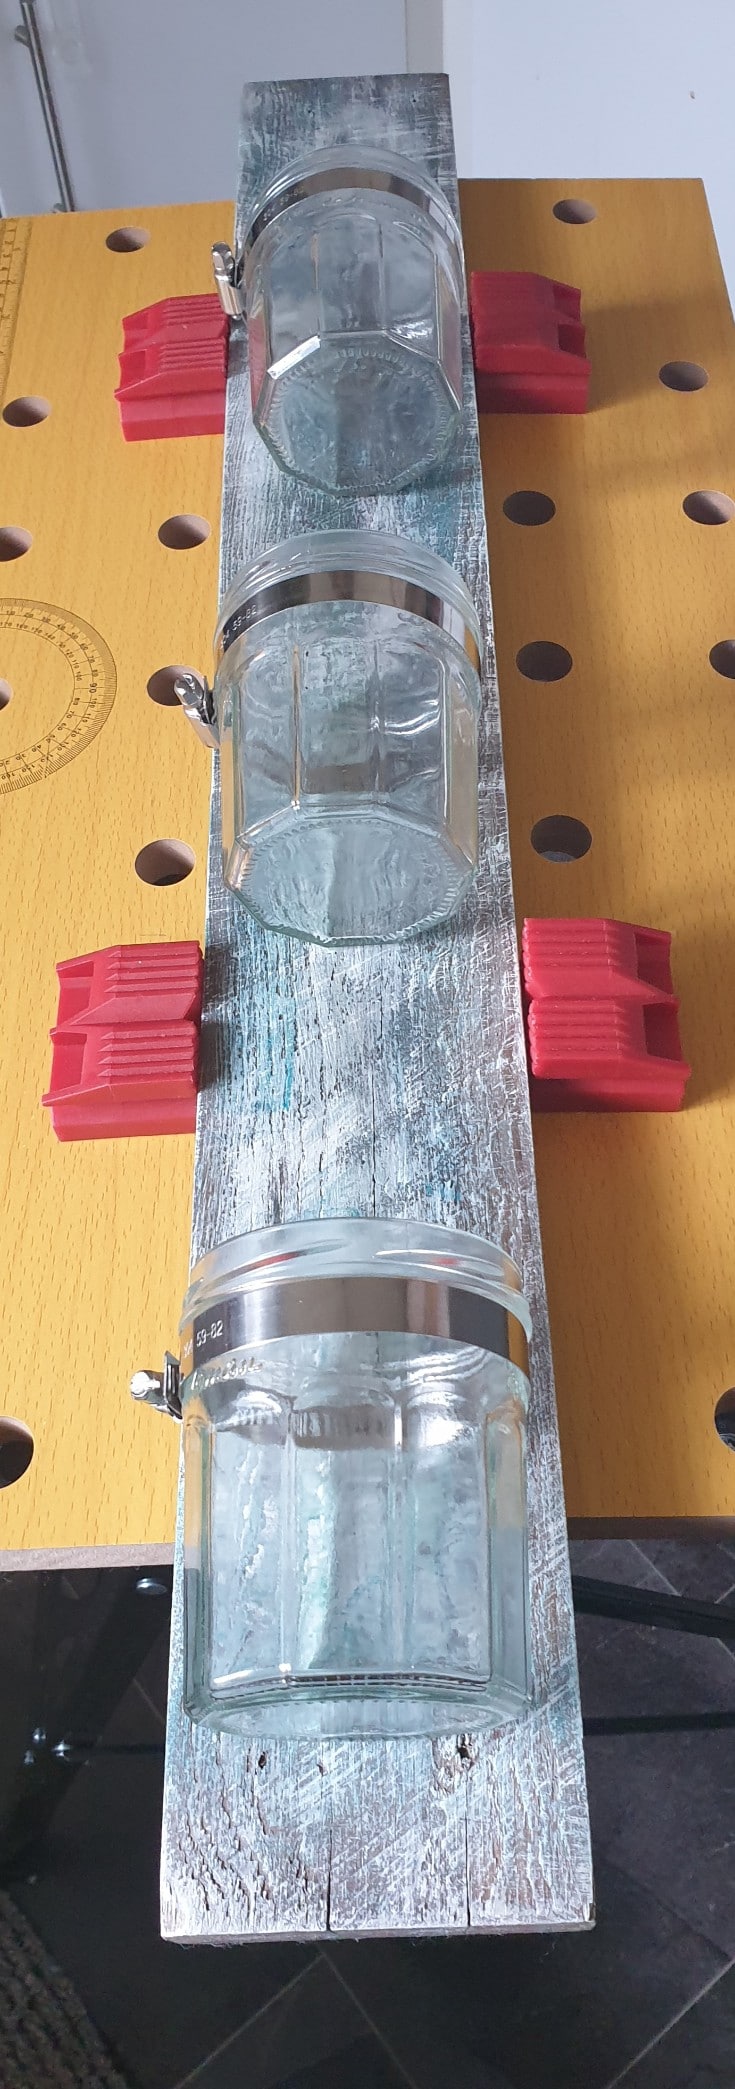
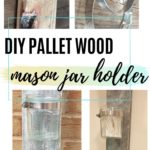
Mounting the jars
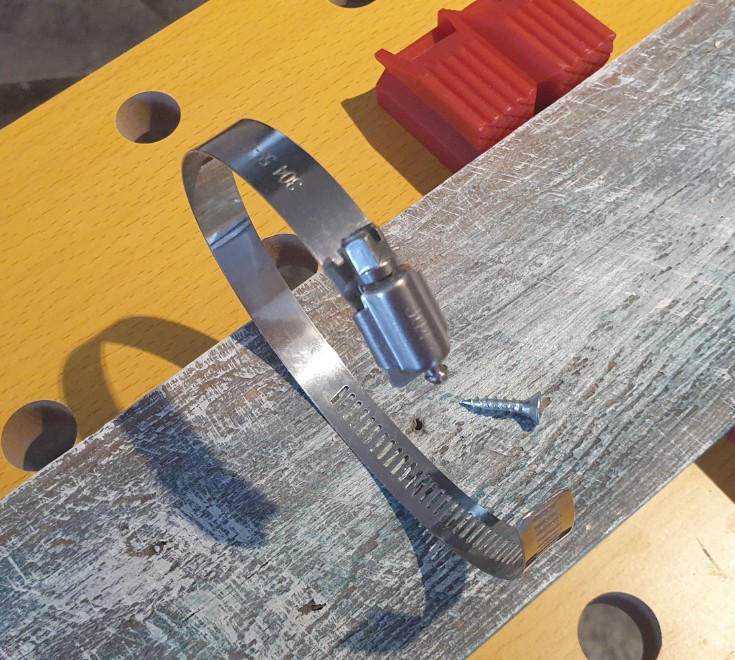
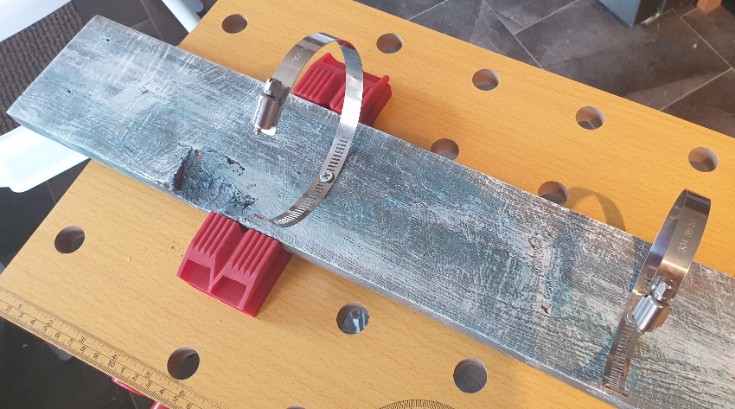
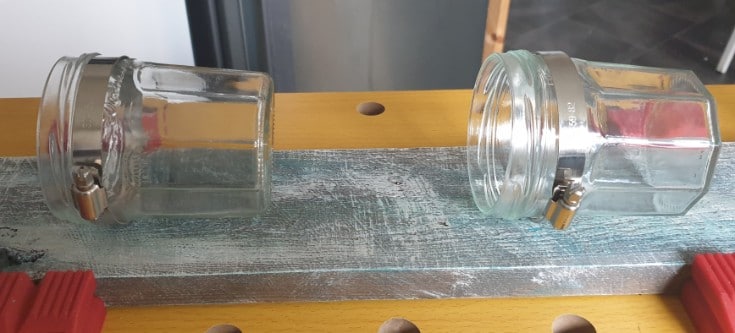
The clamps I bought had the perfect size for my jam jars. If you’re not sure what size to buy, you can either measure the jar’s diameter or buy a clamp set where you get to cut the metal clamp to the size you want.
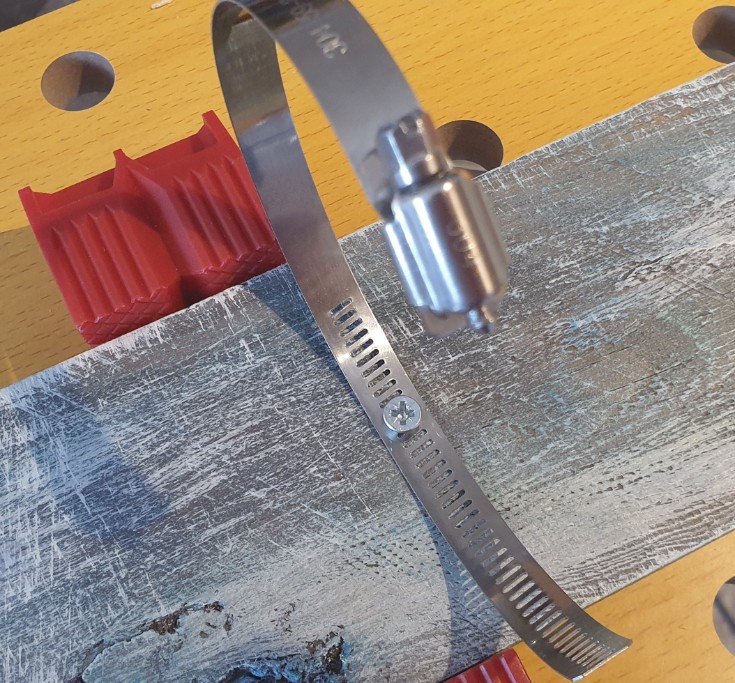
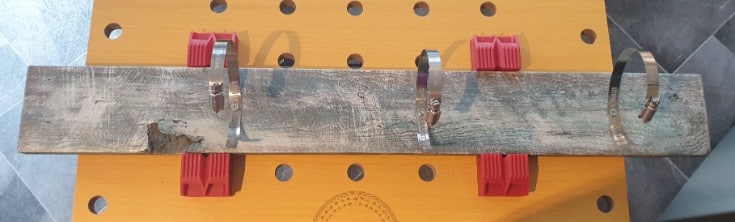
To attach the clamps, all you need to do is to screw them into the board unlocked. Then mount the jars and lock the clamps.
Hanging the storage board
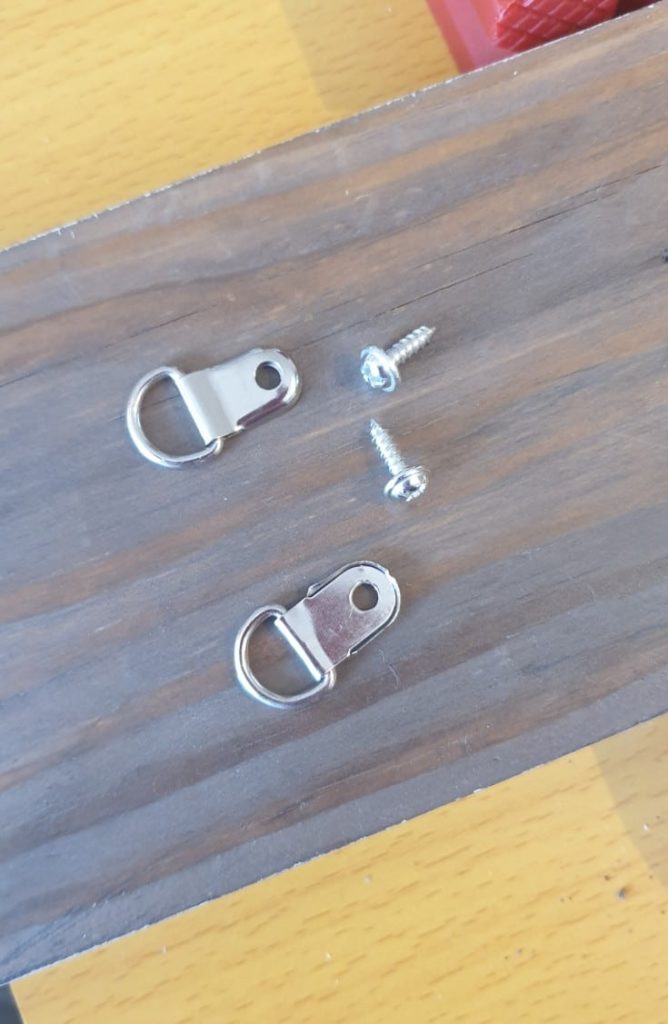
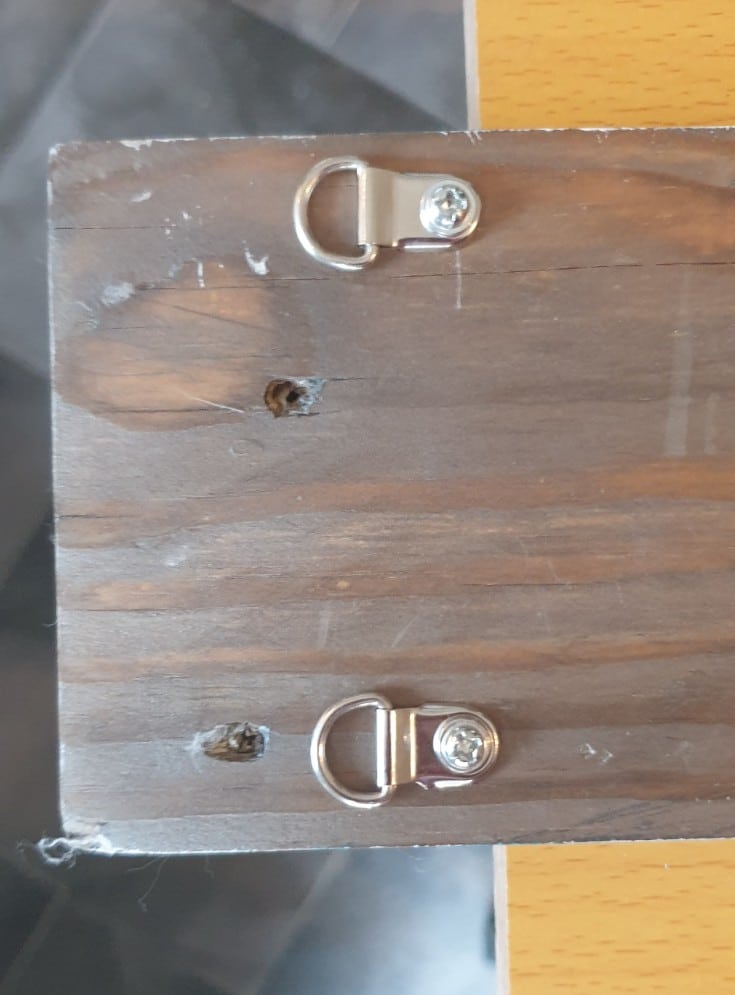
I used a couple of D-ring hangers and a metal wire to hang it. This way, I could easily adjust the height I wanted the board to be hung.
I hope you liked this quick DIY bathroom storage project. If you have any questions, please leave a comment in the box below. Also, don’t forget to pin it to your pallet projects board. Thanks!


Subscribe To My FREE DIY Newsletter!
Stay in touch and receive things like updates, special offers, new projects, tips, gear reviews, and more. No spam, promise!
By entering your email address, you agree to get an email newsletter from UpcycleThisDIYThat. I’ll respect your privacy, and you can unsubscribe at any time. For more details, review our Privacy Policy.

I absolutely love this project and will be featuring it on my blog Tuesday evening. Thank you for sharing at Party In Your PJ’s.
Thank you for your kind words, Ann! And thank you for hosting yet another amazing party 🙂