
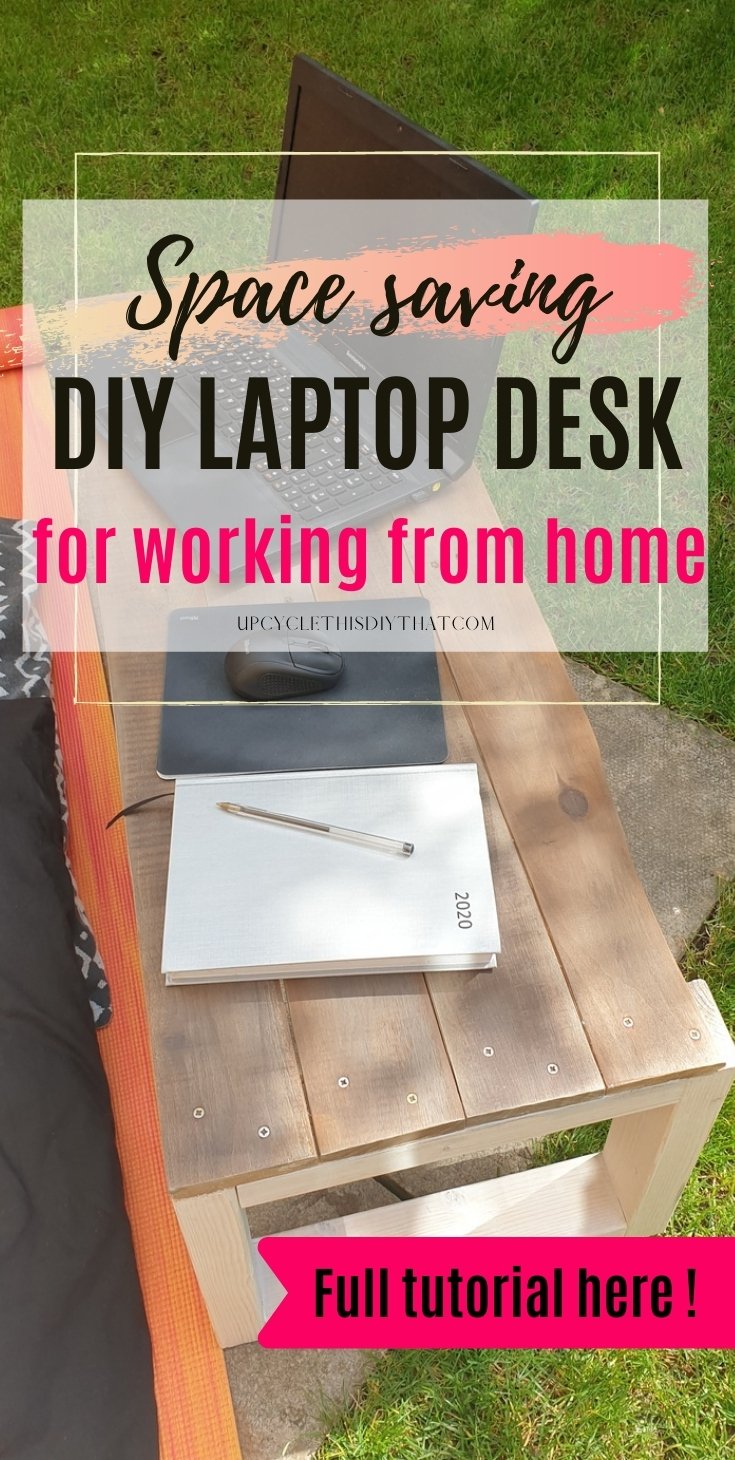
DIY Laptop Desk/Stand- Easy Reclaimed Wood Project
This post includes affiliate links. If you decide to make a purchase through my link, I might get a small commission for it at no additional cost to you. Thank you for supporting Upcycle This DIY That!
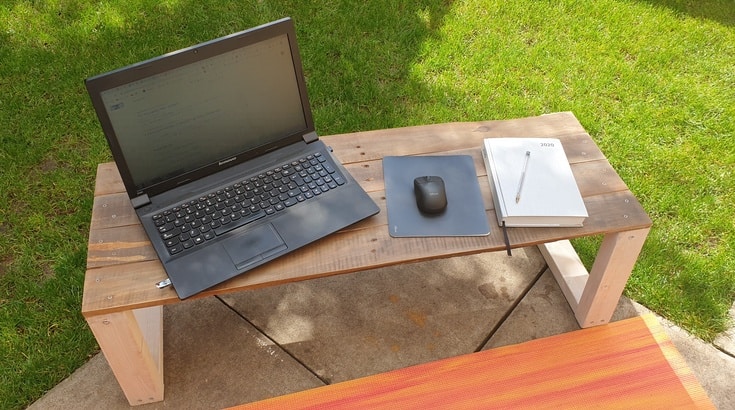
Since I’ve been spending a lot of time in front of the computer recently, my husband has been nagging me to build a small DIY laptop desk to work outdoors.
And since sitting on the ground is supposed to be healthier than in a chair or on the sofa, I’ve decided to make a laptop stand so I could sit cross-legged comfortably.
It was supposed to be long enough to have room for a mouse pad, my planner, a coffee mug, and other small bits and bobs.
YOU MAY ALSO BE INTERESTED IN:
IKEA hack standing desk
How to Build a Pallet Coffee Table Step by Step
Workspace: 17 Stunning DIY Desk Ideas You Can’t Miss!
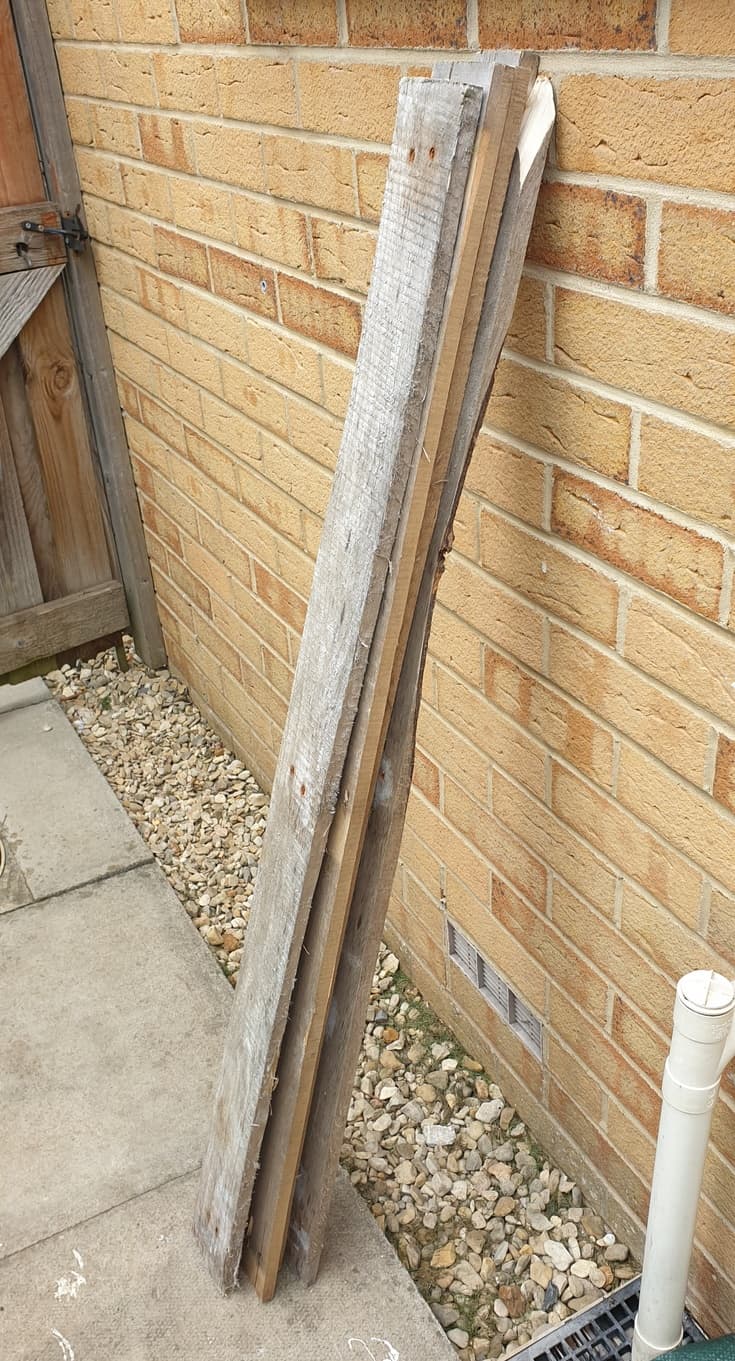
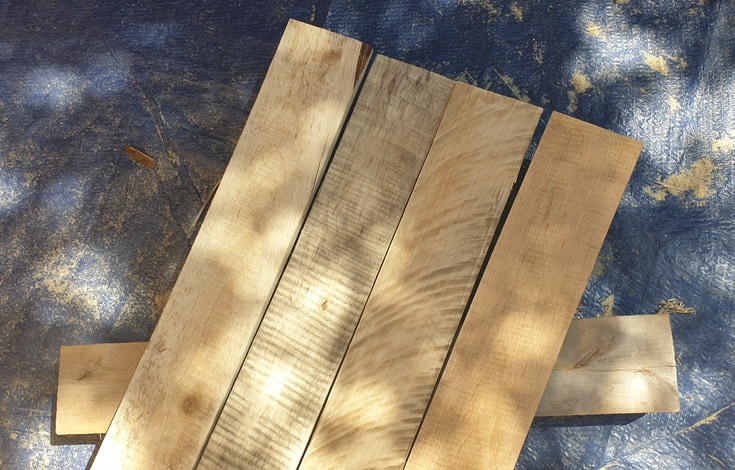
We had a couple of pallets collecting dust in the garage, as well as some pine timber from previous projects, so for this project, I used those.
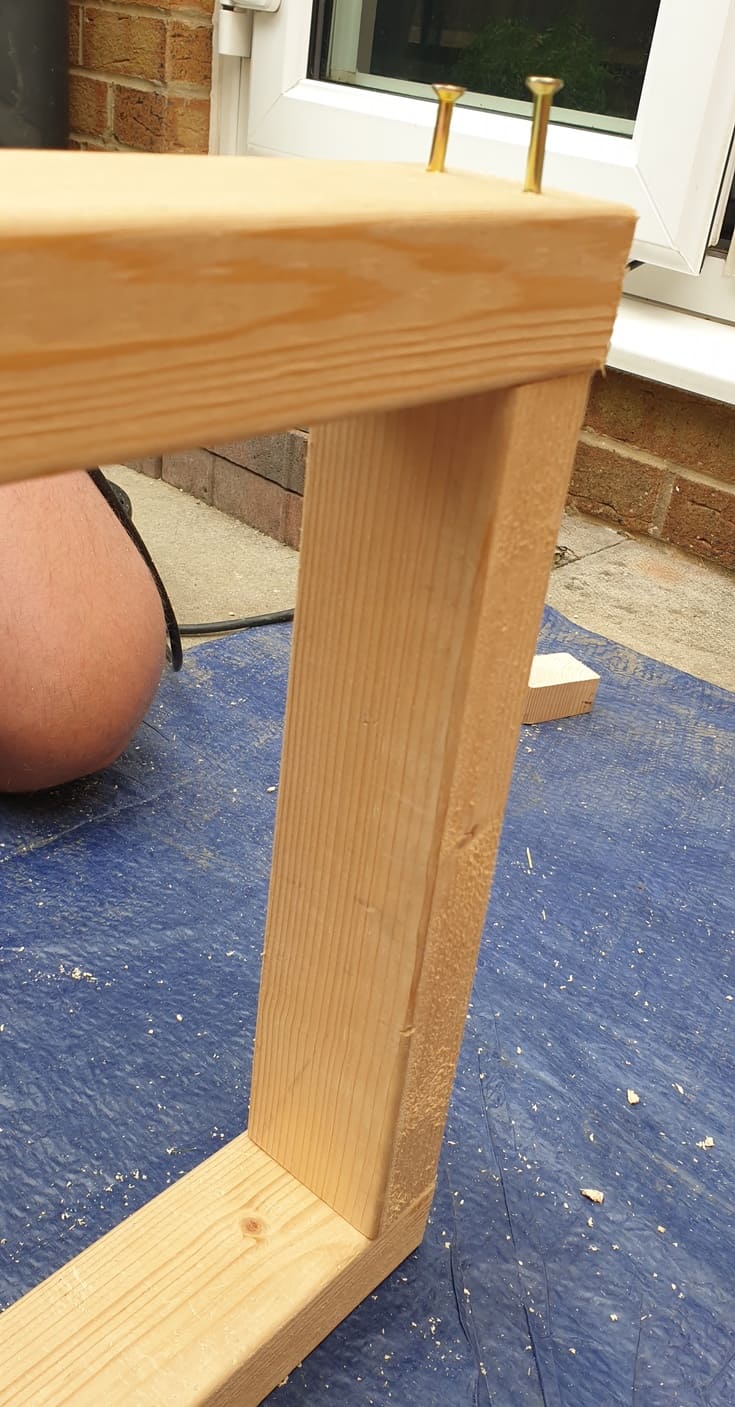
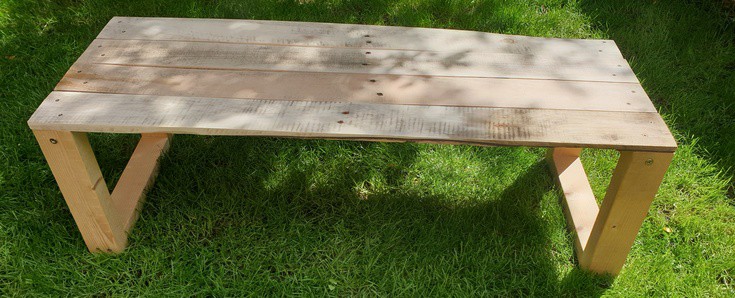
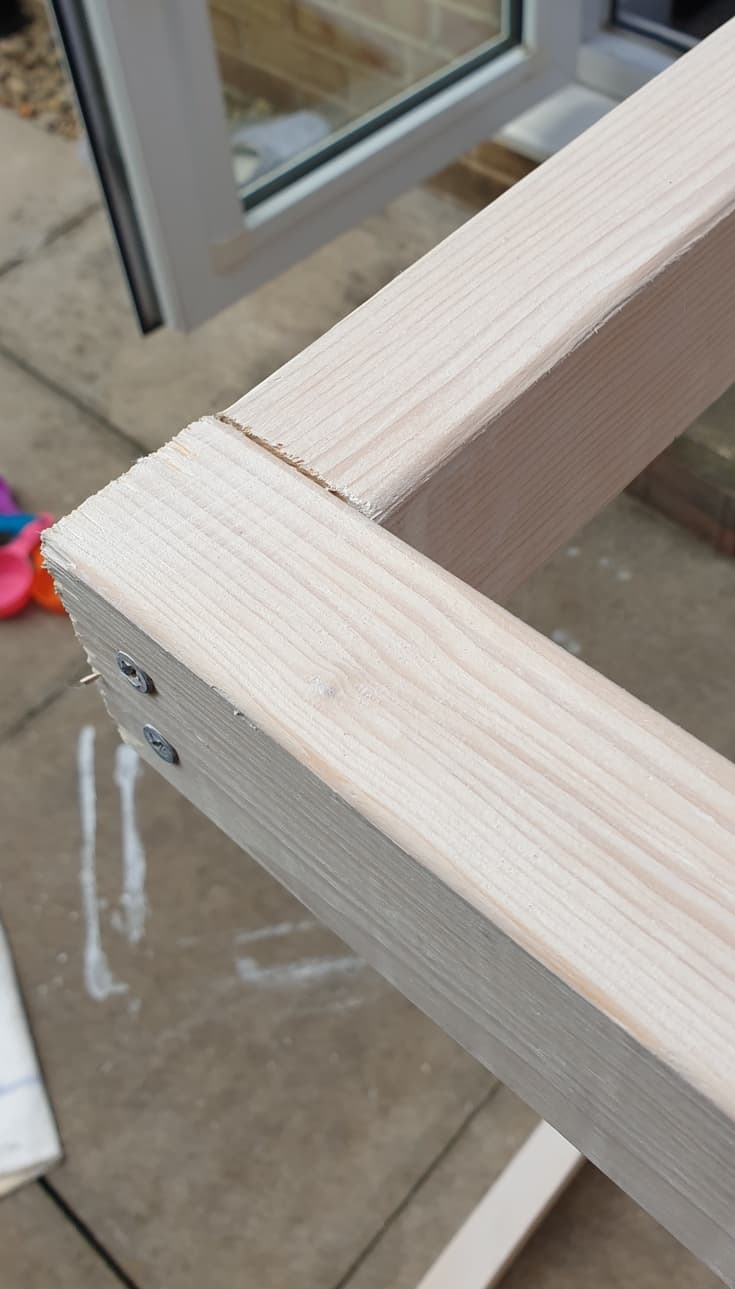
The design was simple. Four pallet boards on top of the set of legs built from 2x3s. The legs were formed in a rectangular frame, making them more rigid and stable.
For the finish, the plan was to make the pallet planks nice, weathered gray, and the legs whitewashed, creating an interesting contrast.
To achieve the weathered gray effect, I used the steel wool, vinegar, and hydrogen peroxide combo. For the legs, chalk paint is watered down to a 2:1 water-paint ratio.
But enough chit-chat. Let’s get into the details.
How to make a DIY laptop Desk/Stand
tools and Materials needed
- 4 pallet planks – the number depends on the width of the plank
- 2×3 or any other dimensional lumber you like
- 4 5x60mm zinc&yellow passivated wood screws
- 8 4.5x45mm zinc&yellow passivated wood screws
- 16 3.5x35mm zinc&yellow passivated wood screws
- Chalk paint(or any latex paint/DIY chalk paint would do)
- Steel wool
- Vinegar- I used distilled
- 2 Glass jars
- Strong tea teabags
- Topcoat to finish
- A circular saw/miter saw
- Drill and drill bits
- Random orbital/sheet sander
- Paintbrushes
- Rags
- Clamps
Getting the wood ready
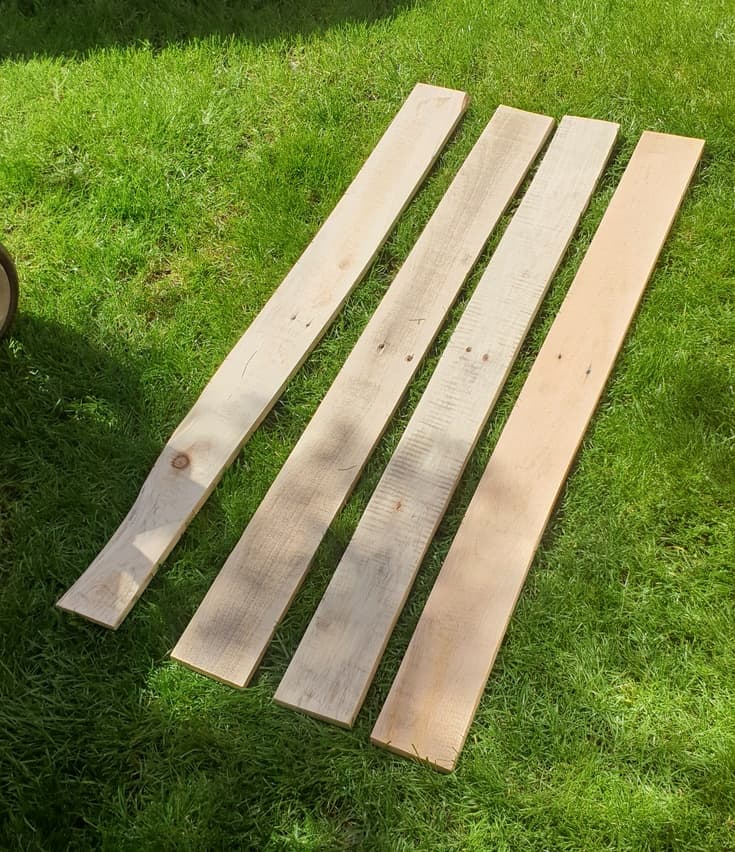
The first step was to disassemble the pallets, and I must say it was a chore. Luckily my husband volunteered, and it took roughly 20 min. I chose the best-looking ones for the desk’s top.
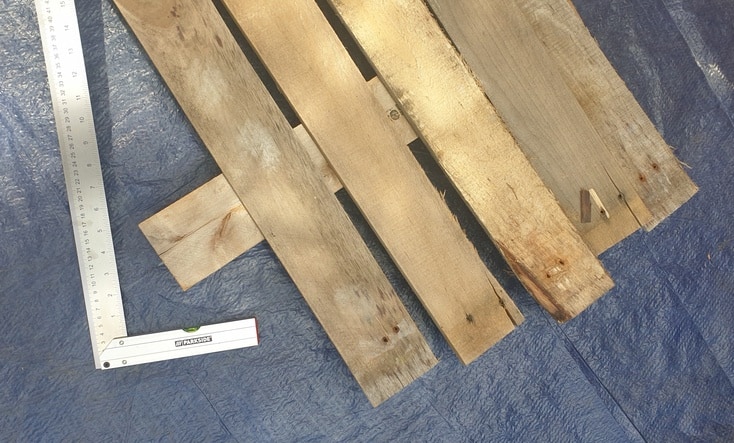
Then it was time to cut all of the wood to size using a miter saw or circular saw. This should be adjusted to your needs. It depends if you want a shorter table, a wider one, or a different height.
The pallet boards were going to be around 40in(98cm) long. The four boards together were 14.17in (36cm)wide, and that was going to be the leg frame’s width. The 2×3 were cut to fit the desired height-11.8in (30cm) and width(36cm).
I ended up with:
- 4 pallet planks 3.5×38.6in (9x98cm)- size depends on the pallets you use
- 4 2×3 11.8in (30cm) long- depends on the height you want
- 4 2×3 11.22in (28.5cm) long- depends on the size of the lumber you use and the width you want/size(width) of the pallet planks
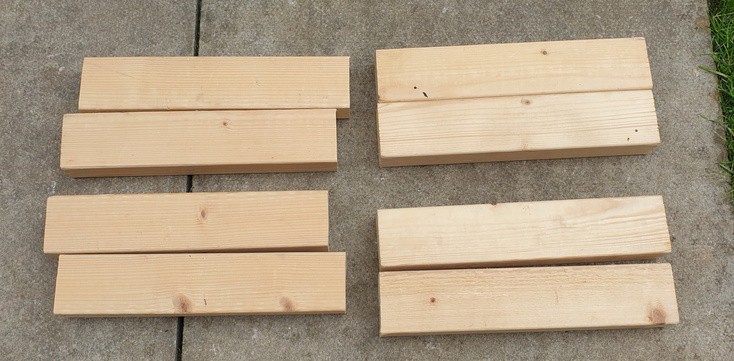
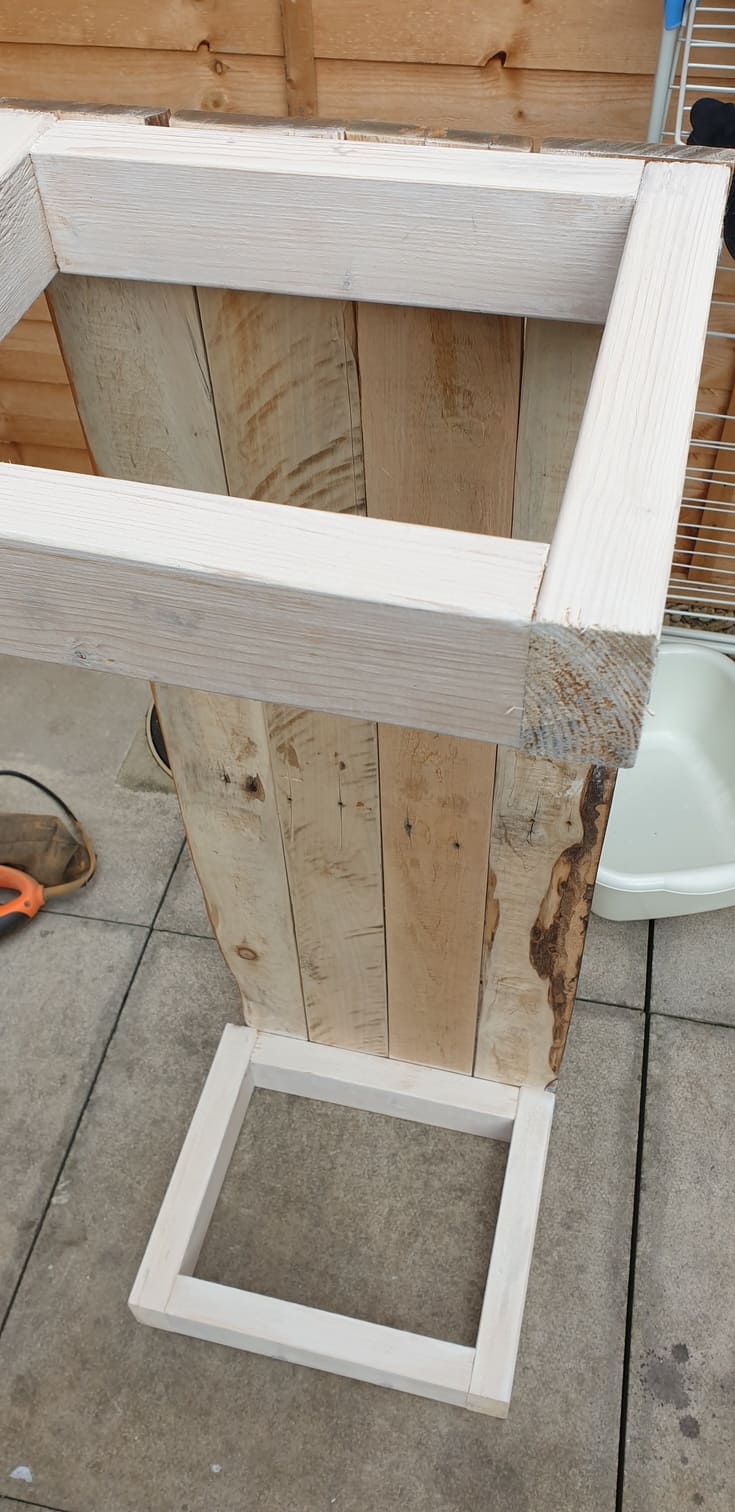
The whole frame was 11.8×14.17in (30x36cm), and I made two of them.
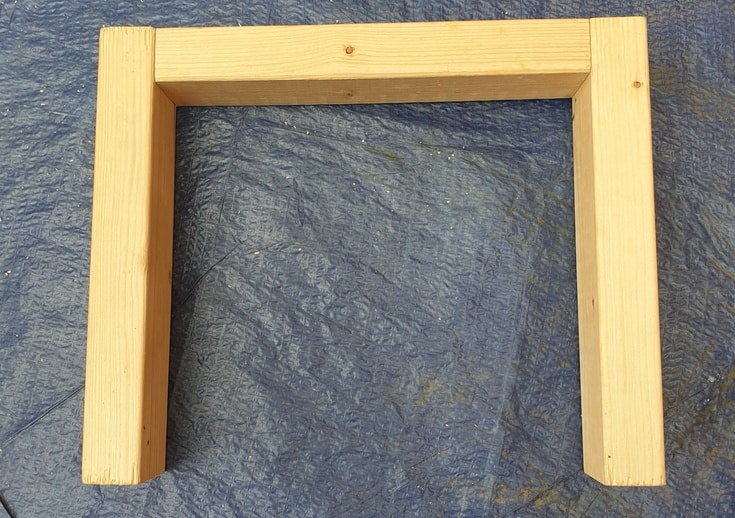
The bottom bit is missing, but I can’t find the photo with the frames fully assembled.
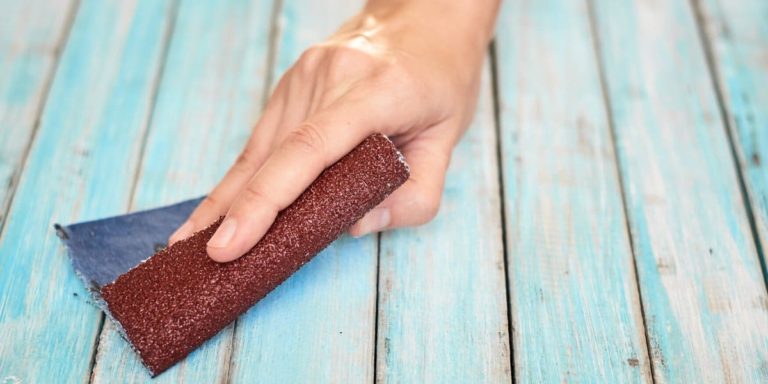
Sanding
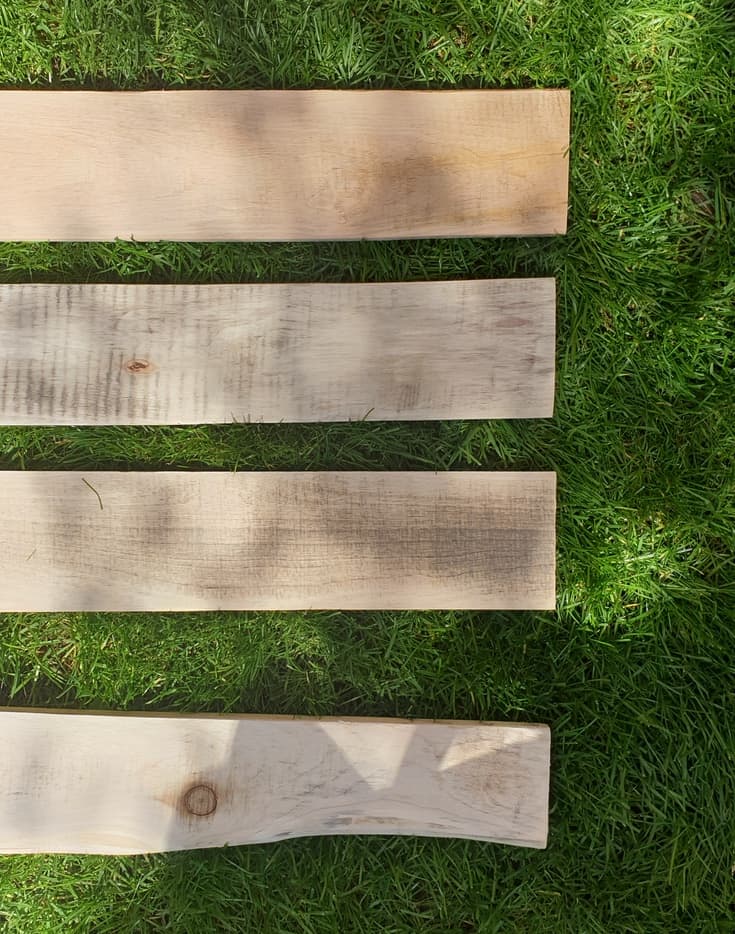
I sanded the pallet planks to get rid of most of the rough surface. I started at P40, then moved to P-60, then P-80, P120, and finally P180. As I wanted to stain the wood, I didn’t want it to be too smooth. Otherwise, the stain wouldn’t take as much.
I sanded the leg frames with P-80. For the whitewash, you don’t want the surface to be too smooth, either. The wood has to have some tooth for the paint to stick to.
After you’re done sanding, wipe the dust off with a lightly damp cloth and leave the wood to dry.
Assembly
I assembled the frames using wood screws. I used what I had on hand and didn’t bother with making pocket holes.
I used two 10×3(5x80mm) zinc&yellow passivated wood screws for each frame for the top of the frames. For the bottom 4(2 at each side of one frame), 9×1-3/4(4.5x45mm) zinc&yellow passivated wood screws for each frame.
You could easily use the smaller screws all over instead of the big ones on top. I just used what I had on hand.
To secure the planks to the frames, I used 6×1-1/2(3.5x40mm) zinc&yellow passivated wood screws – two for each side of a pallet plank. So 16 altogether.

Painting and staining
The planks I chose weren’t the best ones I’ve used in my life but decided to make the best of them. They weren’t even flat, so the desk surface is not even, but I don’t mind; it serves its purpose perfectly.
I wanted to age/weather them to get this beautiful gray color.
I was going to use a homemade stain of steel wool and vinegar enhanced with hydrogen peroxide and some tea. Check this article on how to distress wood for details.
In short, this natural stain is made of steel wool dissolved in a vinegar/hydrogen peroxide mix. Then you add the tea/coffee solution on top of the wood to turn the wood gray/weathered.
So after I left the wool in a vinegar/peroxide mixture overnight and nothing happened, I wasn’t sure why it didn’t start reacting. That was the first one. I took a bit of the wool out of the vinegar, and then it started oxidizing.
Perhaps I should have cut it into small pieces first. Anyway, It was fully dissolved after a couple of days.
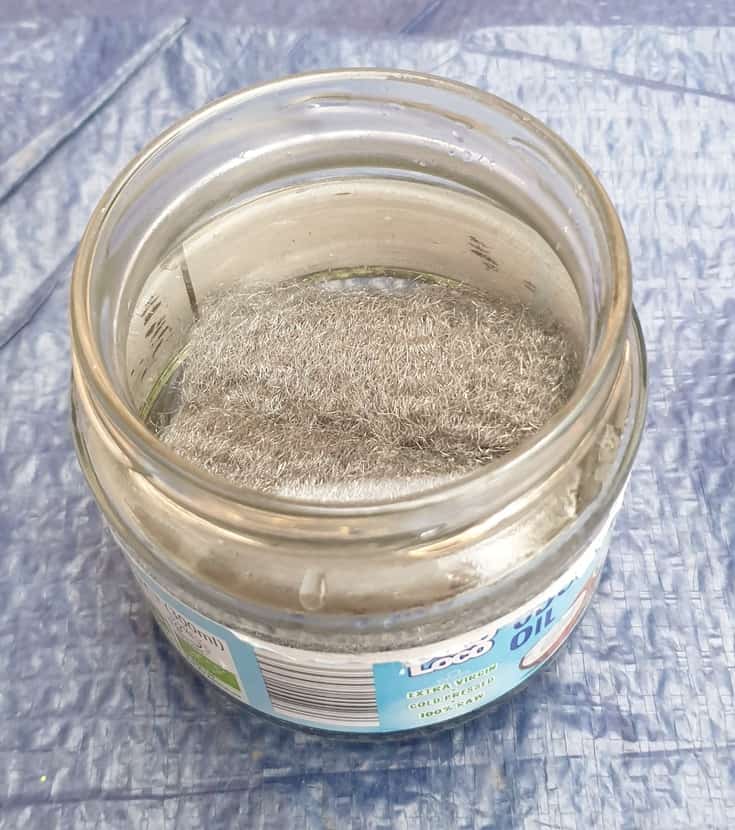
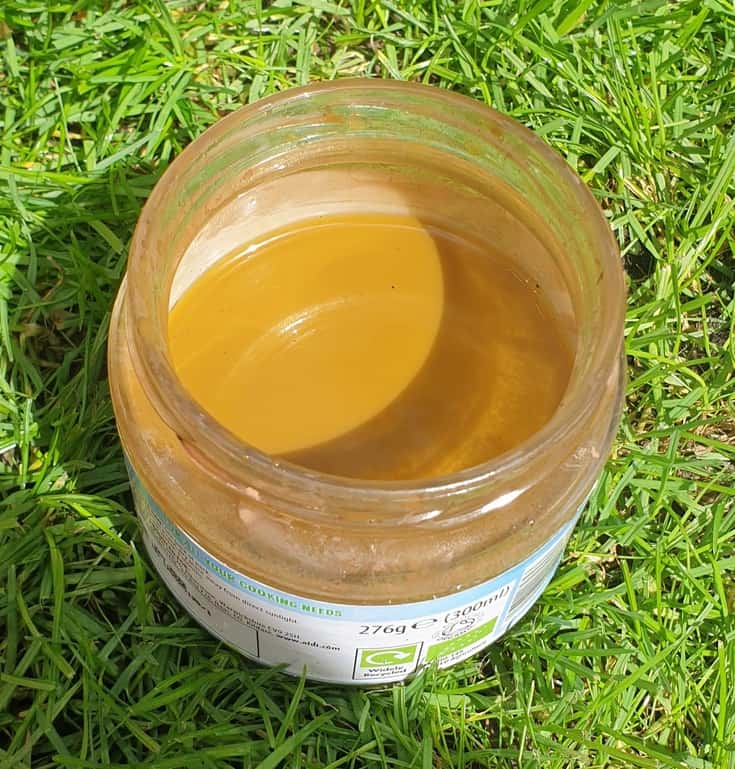
Then I drained the solution through a cheesecloth. Remember to wear rubber gloves while dealing with any kind of woodstain, or it will dye your skin. And believe me, it doesn’t look pretty. Don’t forget to prepare the tea solution ahead of time as well.

Next, you need to grab a clean cloth and soak it with the stain. Then wipe the stain onto the wood, wait a few minutes, and wipe the excess off with a clean cloth.
After you’re done with all of the planks, wait for them to dry, and then repeat the process with the tea/coffee solution.
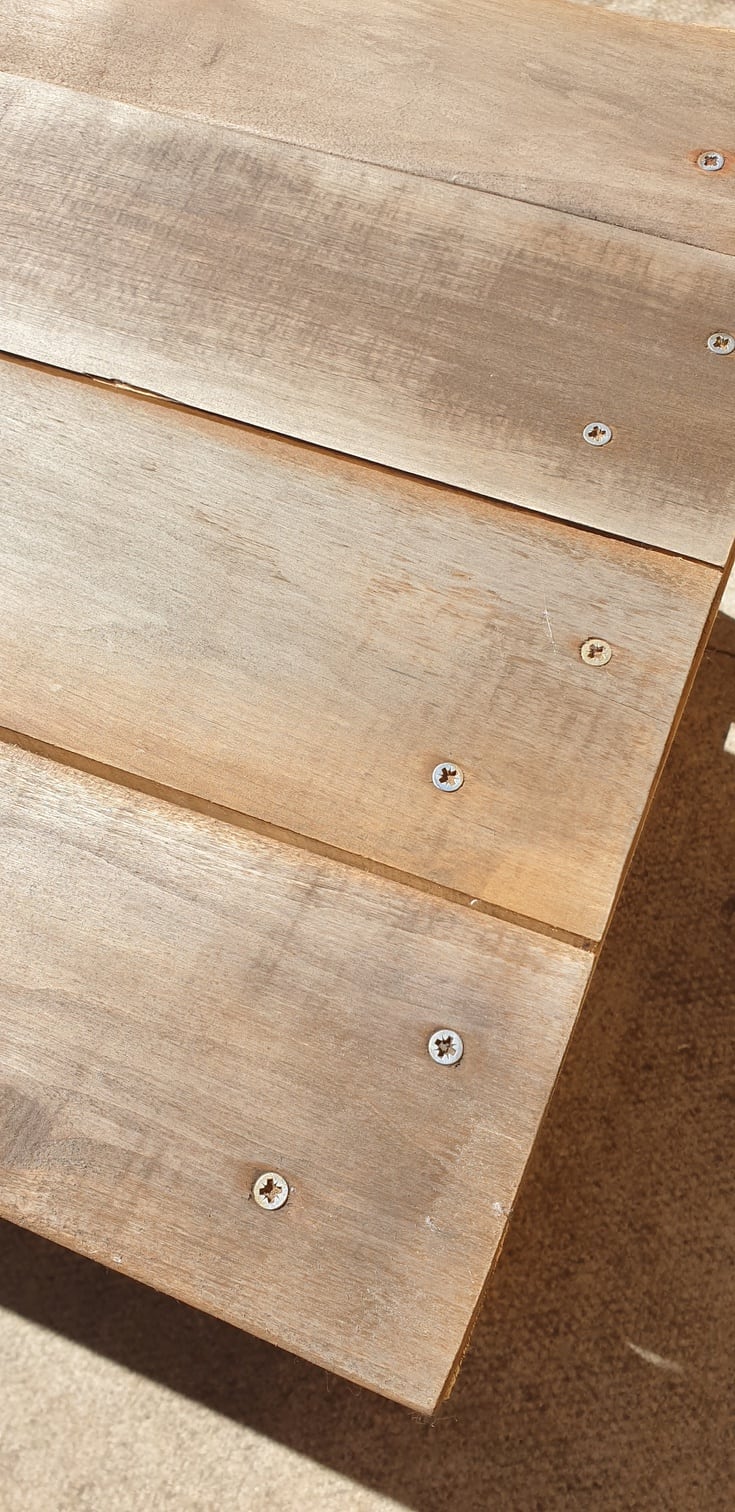
The wood should turn into a pretty shade of gray but keep in mind that the results vary dramatically depending on the type of wood. If you’re not sure what wood you’re dealing with, I recommend using some scraps to test the stain first.
You apply as many coats as you want to. The more you will, the darker the color will be. And don’t forget to sand lightly between coats as the wood fibers rise during this process.
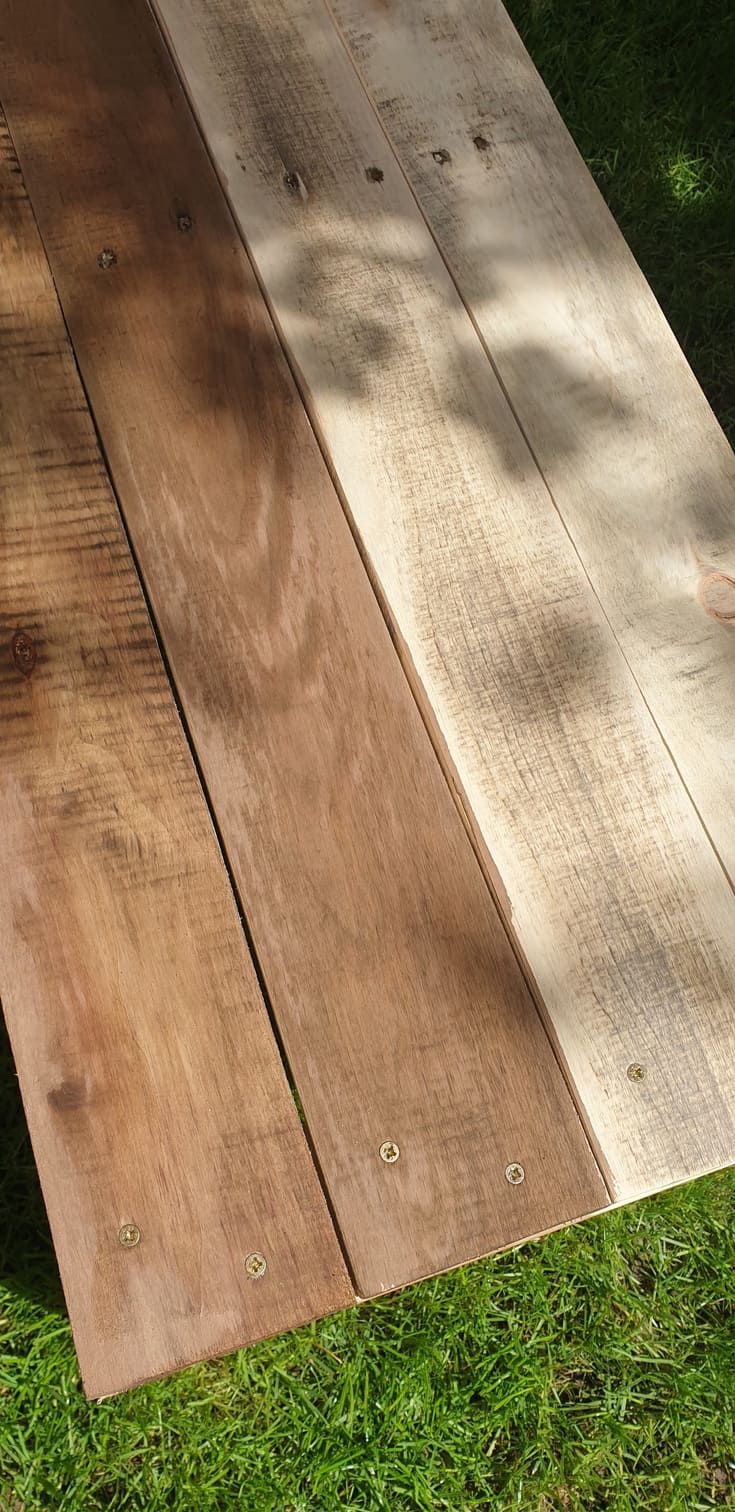
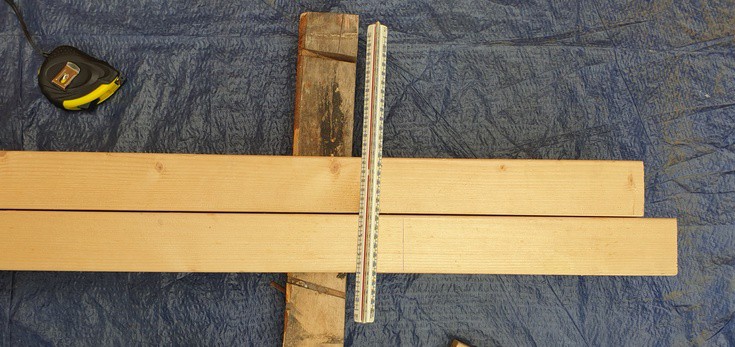
The left side with a stain, right is plain.

The final effect is more brownish than grey in full sun. It may be due to the steel wool oxidizing and dissolving rather than just dissolving in the vinegar. As I said, the results vary. I like it anyway 🙂
Tip: For gray stain results, use the vinegar mixture after 24h, and don’t let the wool dissolve. Check the posts here and here for details.
After I put the laptop stand together, I stained the pallet planks and let them dry. Then I used some chalk paint I had left to make the whitewash solution. I added roughly twice the amount of water that I had painted and stirred thoroughly.
I applied the watered-down paint to the leg frames, left it for a minute or two, and wiped the excess off. The process is similar to applying the stain.
If you need more information, check my article about whitewashing wood. I’ve included step-by-step instructions and different whitewashing techniques to choose from.
It doesn’t have to be perfect, and I left the bottom of the pallet planks untreated for now. I may seal them with clear poly in the future.
Sealing
The final step is to seal the desk with a topcoat. I used a water-based matt topcoat from Aldi for chalk paint finishes, as I wanted the wood to look as natural as possible. This finish is what I wanted.
Although it says it’s waterproof on the can, I’m not really sure how much. The time will tell, but I like that it looks super flat. I applied three coats.
I left the legs unsealed for now as I run of time. I may just put some wax on top to finish it off.
And that’s it. This little project shouldn’t take more than an afternoon if you include the drying time. I hope you liked this small DIY laptop desk/stand tutorial.
If you have any questions, don’t hesitate and leave a comment in the box below, and I’ll do my best to help out. Don’t forget to pin it for later to your DIY projects board :)Thanks for stopping by!
Subscribe To My FREE DIY Newsletter!
Stay in touch and receive things like updates, special offers, new projects, tips, gear reviews, and more. No spam, promise!
By entering your email address, you agree to get an email newsletter from UpcycleThisDIYThat. I’ll respect your privacy, and you can unsubscribe at any time. For more details, review our Privacy Policy.


Great project & really well explained, thankyou so much! I’m going to use the process to make a lower level coffee table for the deck for Spring.
I’m glad you like it, Sarah 🙂 Thanks for stopping by!