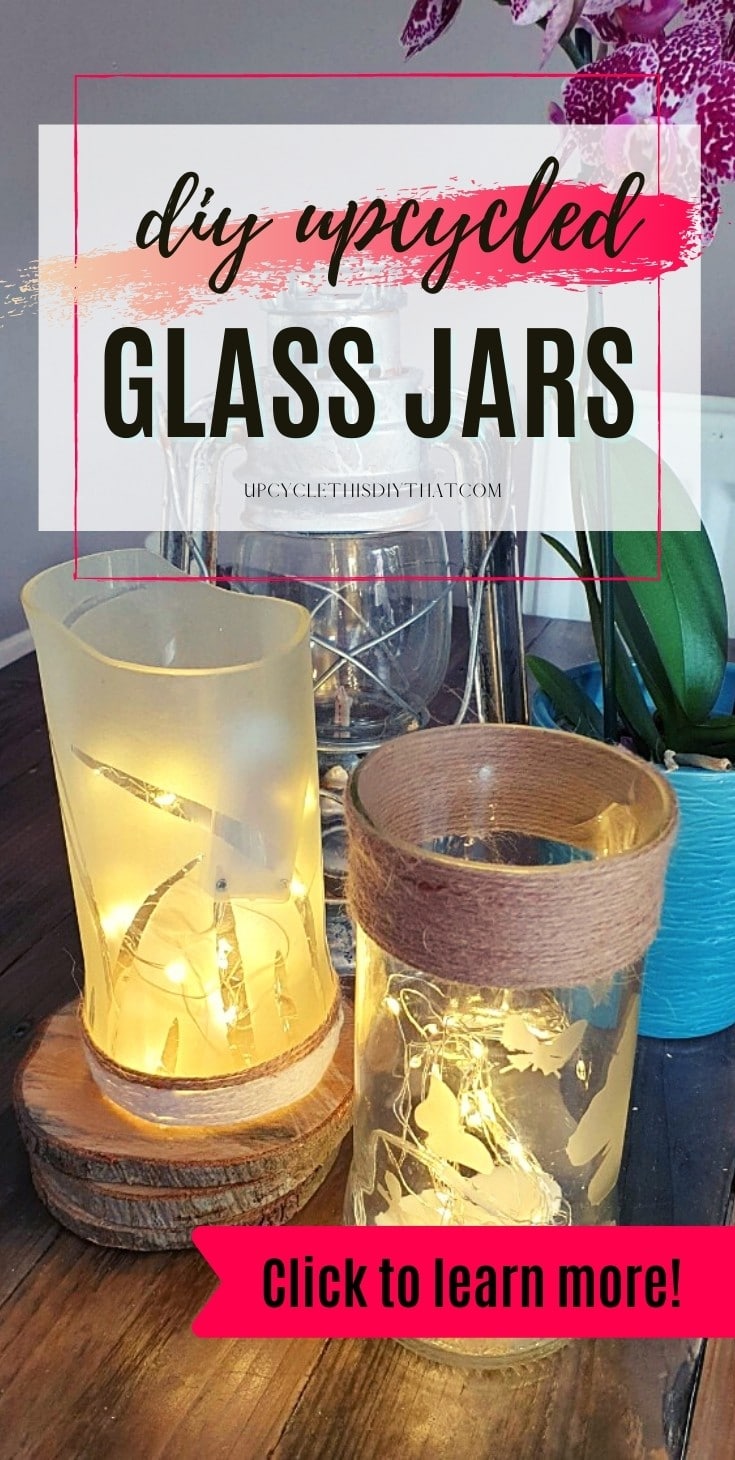
DIY Upcycled Glass Jars- Cute Stenciled Glass Vases
This post includes affiliate links. If you decide to make a purchase through my link, I might get a small commission for it at no additional cost to you. Thank you for supporting Upcycle This DIY That!
Have you ever looked at the glass bottles or jars in your cabinet and wondered, “What can I make with these?” The answer is a lot of things. From vases to light luminaries, upcycled glass jars and bottles are versatile and fun projects to make.
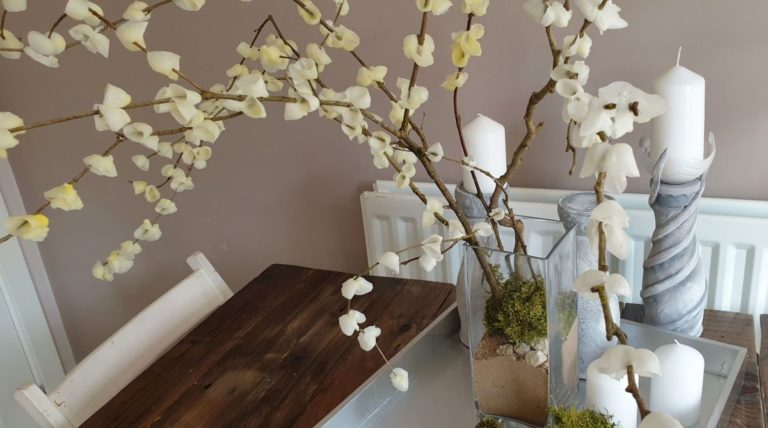
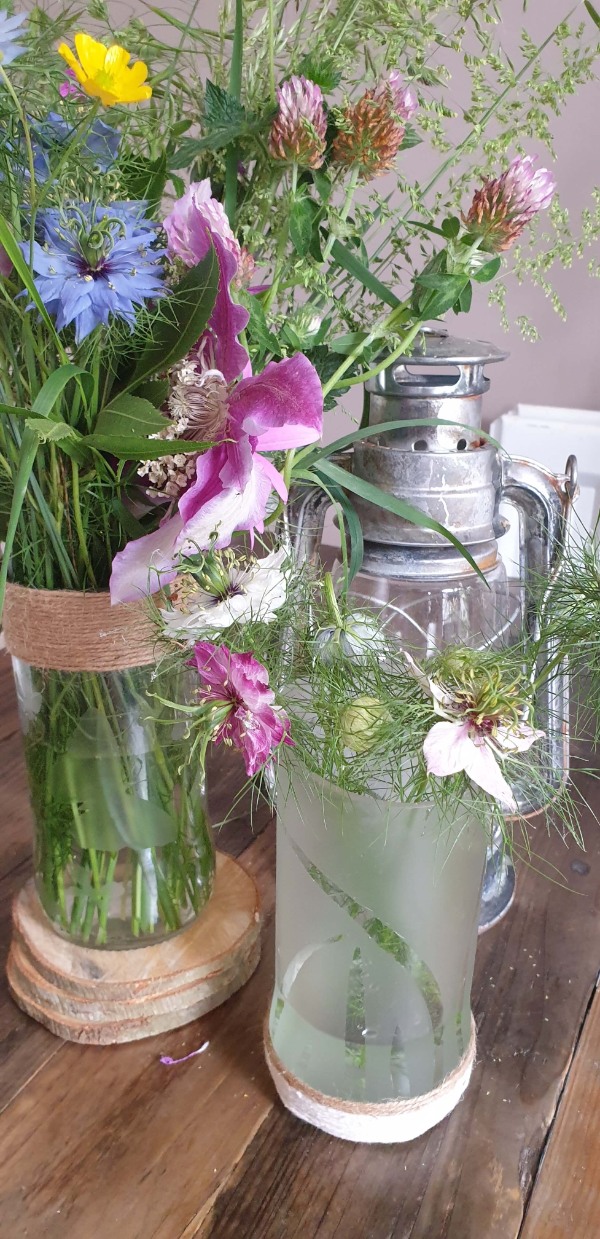
This project turns passata jars into flower vases/luminaries. But you can use any glass bottles like wine/spirit bottles, for that matter. I used stencils and frosted glass spray to decorate them, but you can leave them plain or perhaps use glass paint and stain them in your favorite color.
How to make upcycled glass Jars vases
The process is pretty simple but keep in mind that glass can be temperamental and can break even if you follow the instructions to the letter.
And please keep in mind safety precautions- so use gloves, goggles, and a respirator for protection. You can totally skip the cutting and sanding part and just use whole jars or bottles
Tools and materials
- Glass bottles/jars
- Glass cutting tool/bottle cutter or
- Wooden blocks/screws/drill
- Wet/dry sandpaper P60-P2000
- Stencil- a paper printout is fine
- Hot glue gun and glue sticks
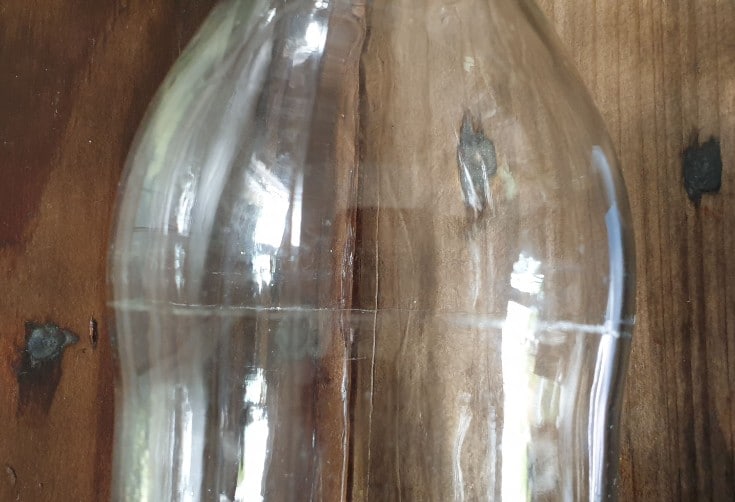
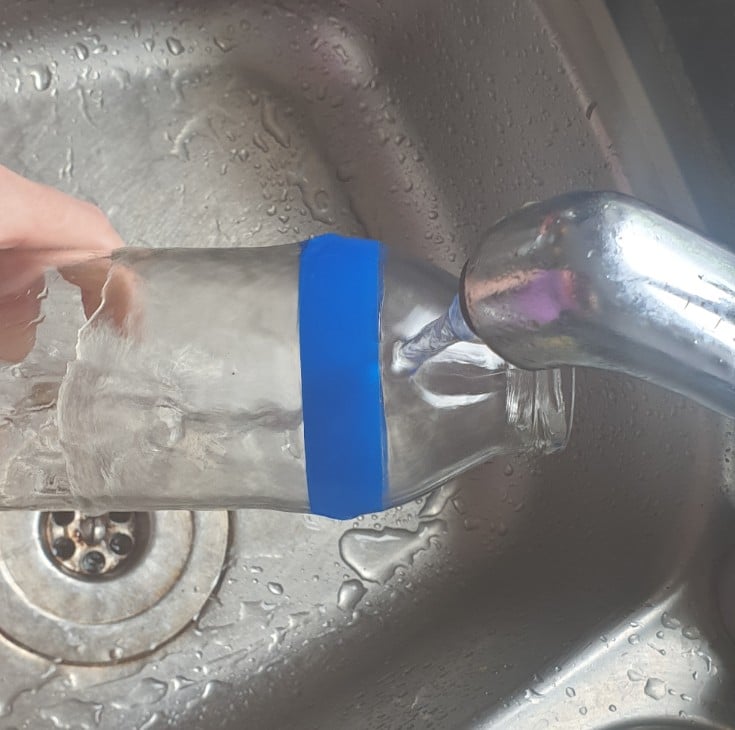
Prep the bottles
To make sure the bottles are clean and ready to use, wash them thoroughly. Remove labels/ stickers and glue residue before moving on to the next step!
Make a cutting block
In order to make an even cut, it is essential that the cutting surface is at a consistent height. To do this, you can use scrap woodblock to which you mount the glass cutting blade.
If you haven’t got anything of the sort, you can always use a glass/mug placed upside down. Then secure the blade to the top of it with the duck tape. Check the video below to see how it’s done.
I’ve come up with a way to score the glass using a pen glass cutter, a work table, and a small vice. I’ve got a short tutorial on how to cut glass bottles worth checking out to learn all the details.
Cutting the jar or bottle
> Score the glass
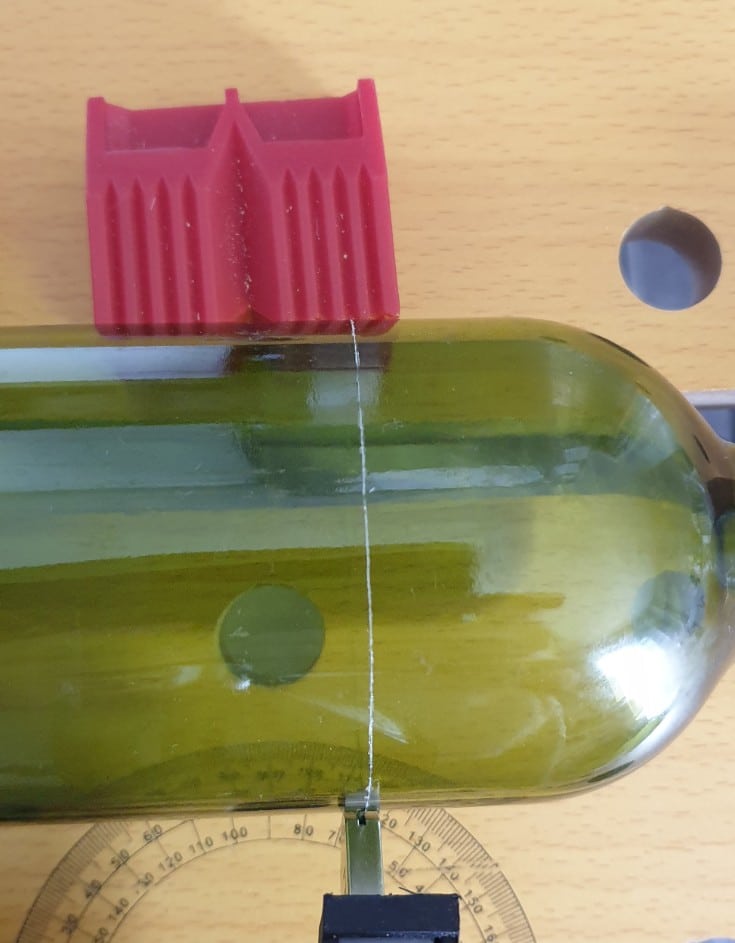
This process is actually so easy! Score the glass with your blade using light pressure, and try to do it in one go without going over the line again- less really does work better than more in this case. This step is crucial for a clean break.
> Pour boiling hot water over score mark
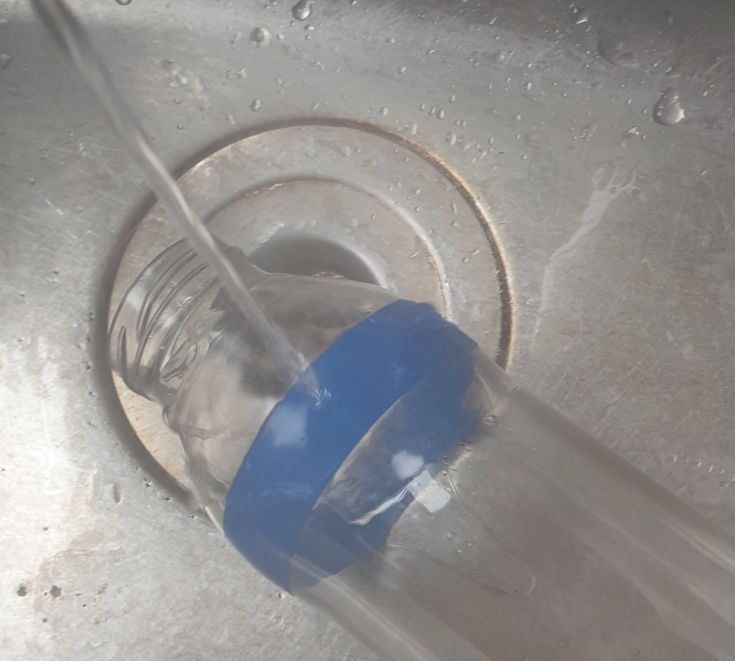
Next, pour hot water over the scored line. Do it a couple of times pretty slowly and try not to pour too much water at once. Be careful! Wear eye protection and watch your fingers to avoid getting burned.
> Next, pour cold water over the score mark.
Cold tap water is fine. You should hear the glass crack. Repeat until the glass breaks
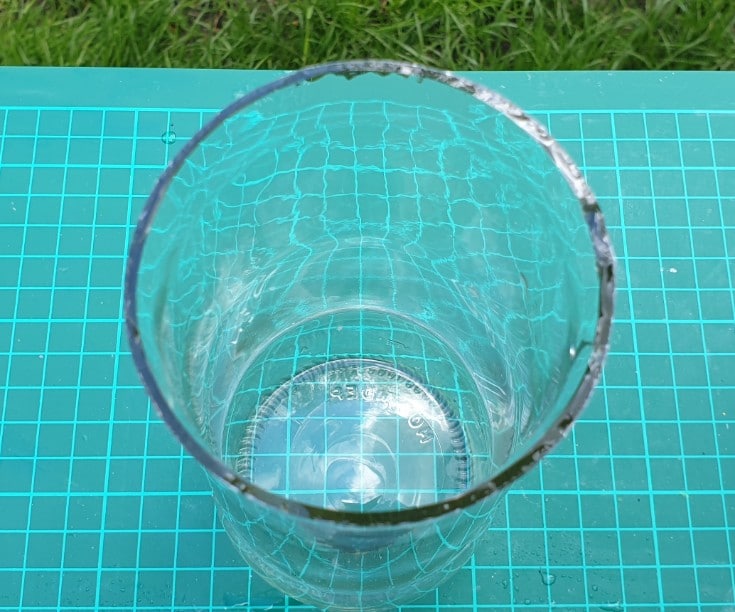
Polish the edges
The best way to avoid health hazards while sanding glass is by wet sanding the surface. This will keep all particles from escaping and spreading into your nearby environment, so it’s essential that you wear eye protection AND a face respirator when doing this task!
- Start with coarse-grit sandpaper- P60/80 to smooth the edges
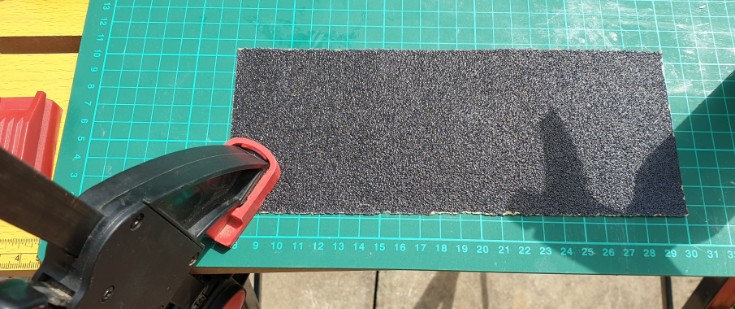
To get the perfect edges, there are a few steps to keep in mind. First, you’ll want to wet coarse-grit sandpaper and place it on a flat surface before using circular motions to smooth the rough edges.
Then using the same paper or a sanding sponge smooth out the inner and outer edge.
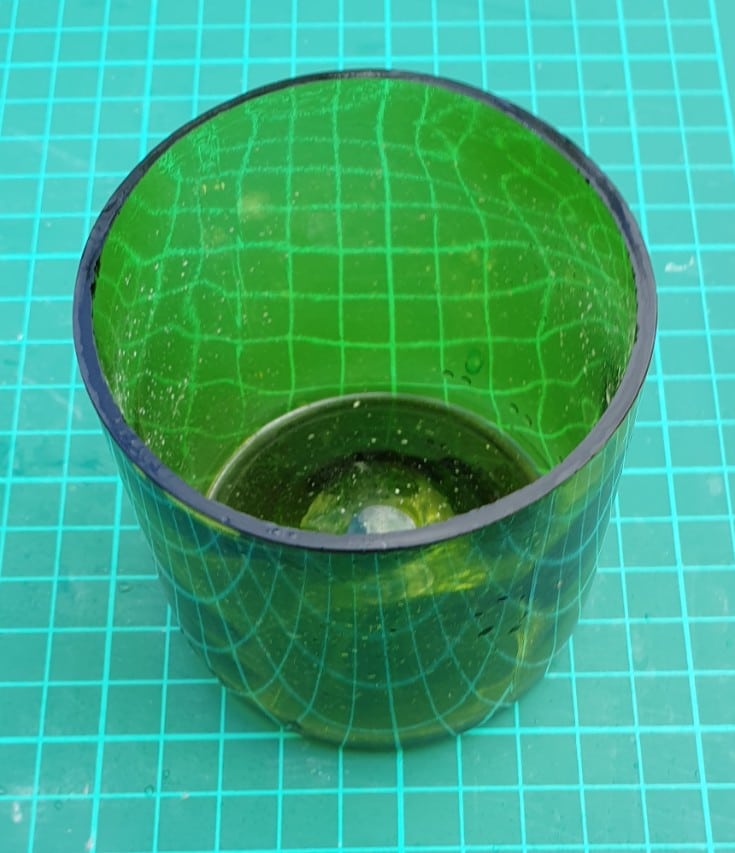
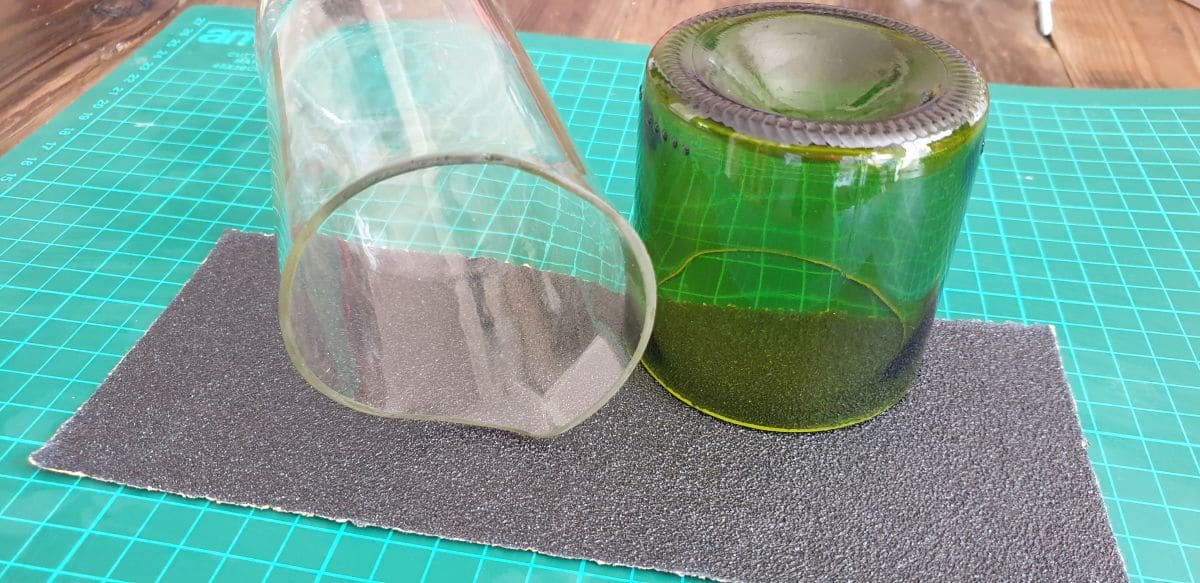
Next, move up the grits until you are happy with the result and smoothness of the glass. You can go as granular as you want- P120, P180, P240, P320, P400, etc up to P-2000. Check this article on polishing glass edges for more details.
Some people use P-80 and then go straight to polishing with P240/P400. I like the glass to be super smooth and then polished so use a few more steps/grits.
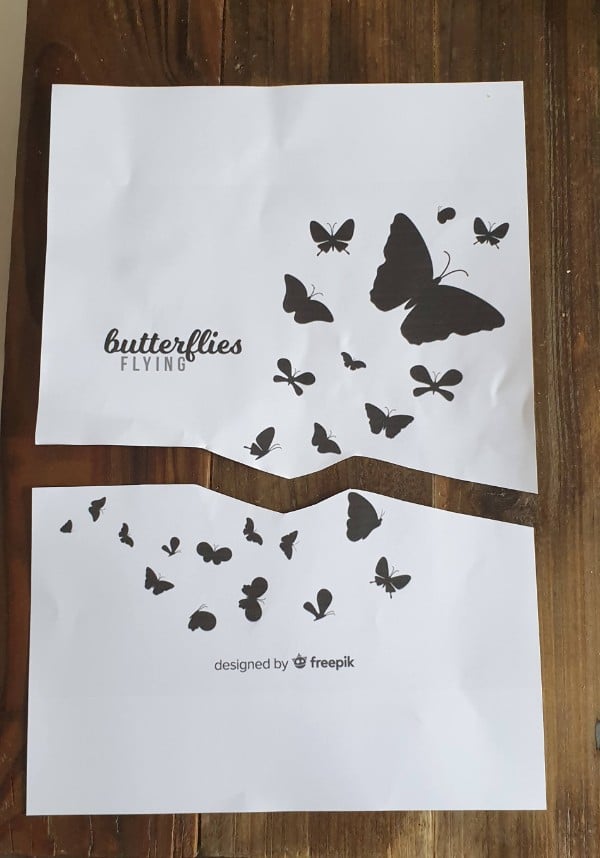
Prep the stencil
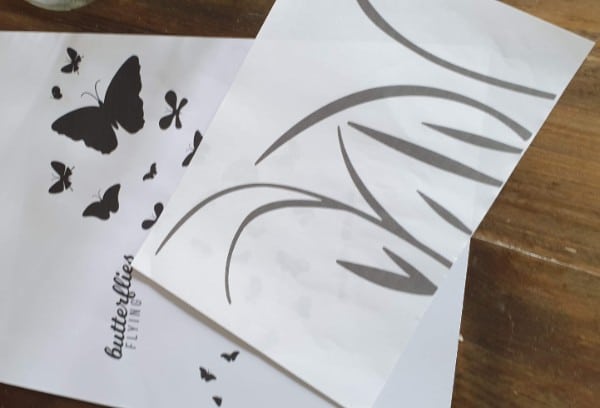
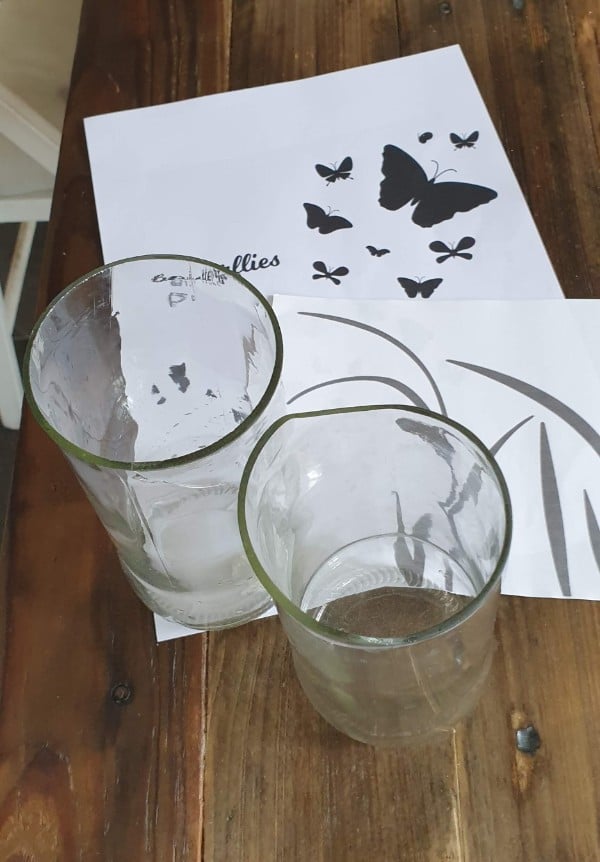
You don’t have to buy stencils. You can easily make them yourself. Find a design that you like. Then print it on regular paper and cut it out. Make sure you use regular printer paper that can be easily placed/folded around the bottle/jar.
Prep the jars
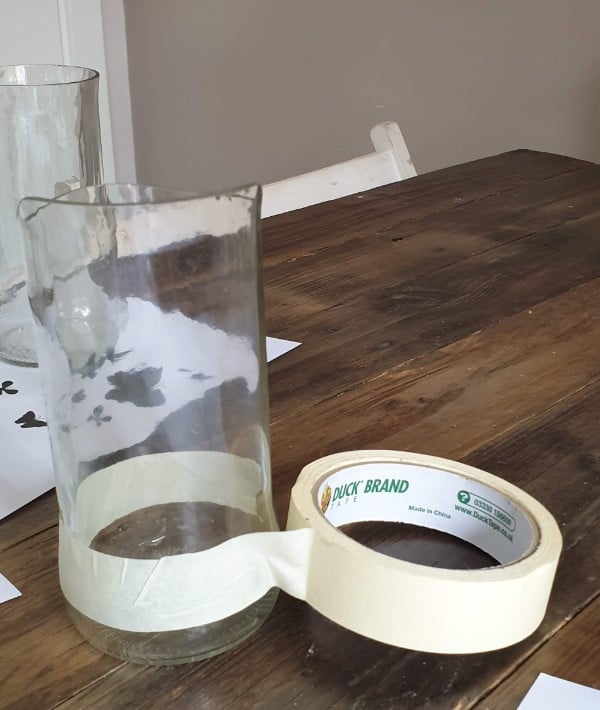
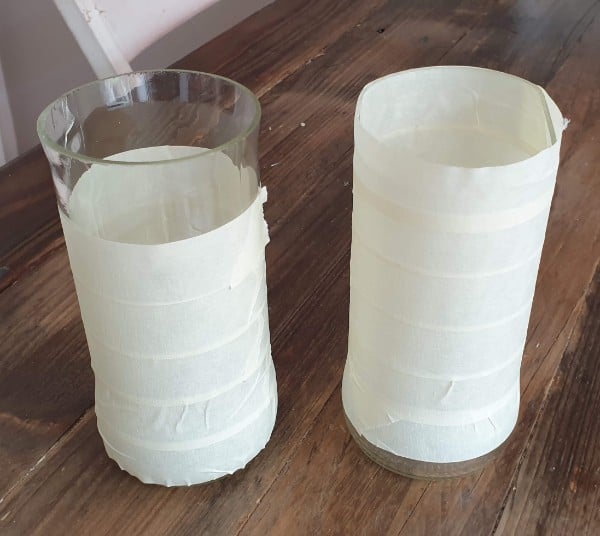
Cover the place where you want the stencil with painter’s tape. I cover it all mostly because the stencil was going around the jar, and I wasn’t sure where it ends up eventually.
attach the stencil to the jars/bottles
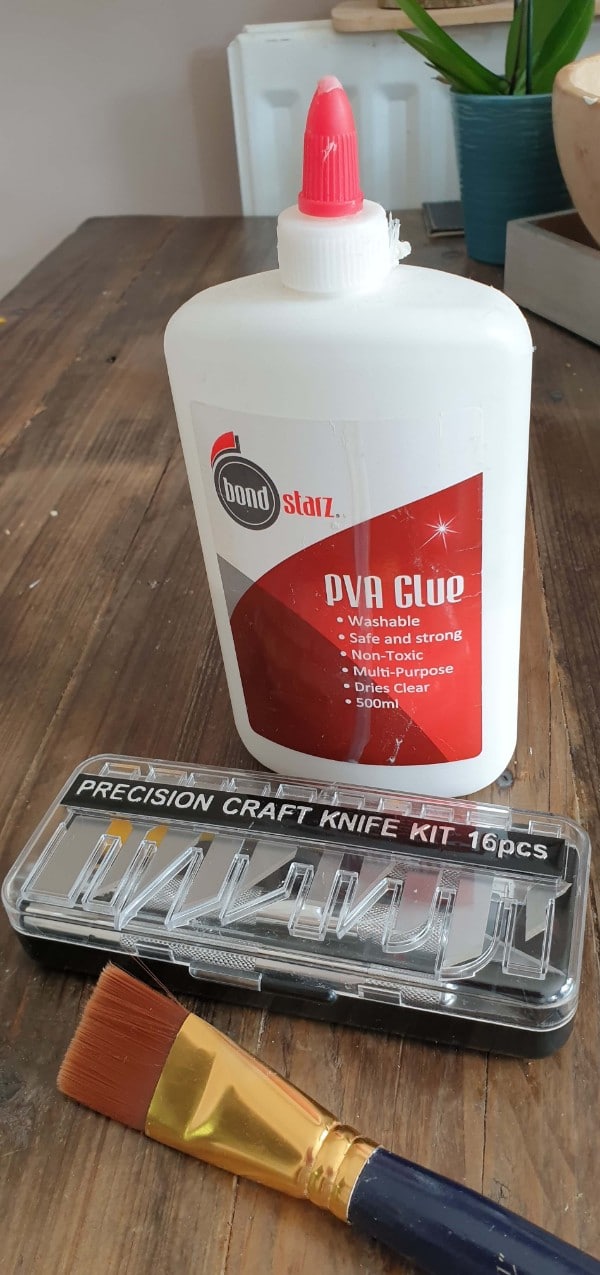
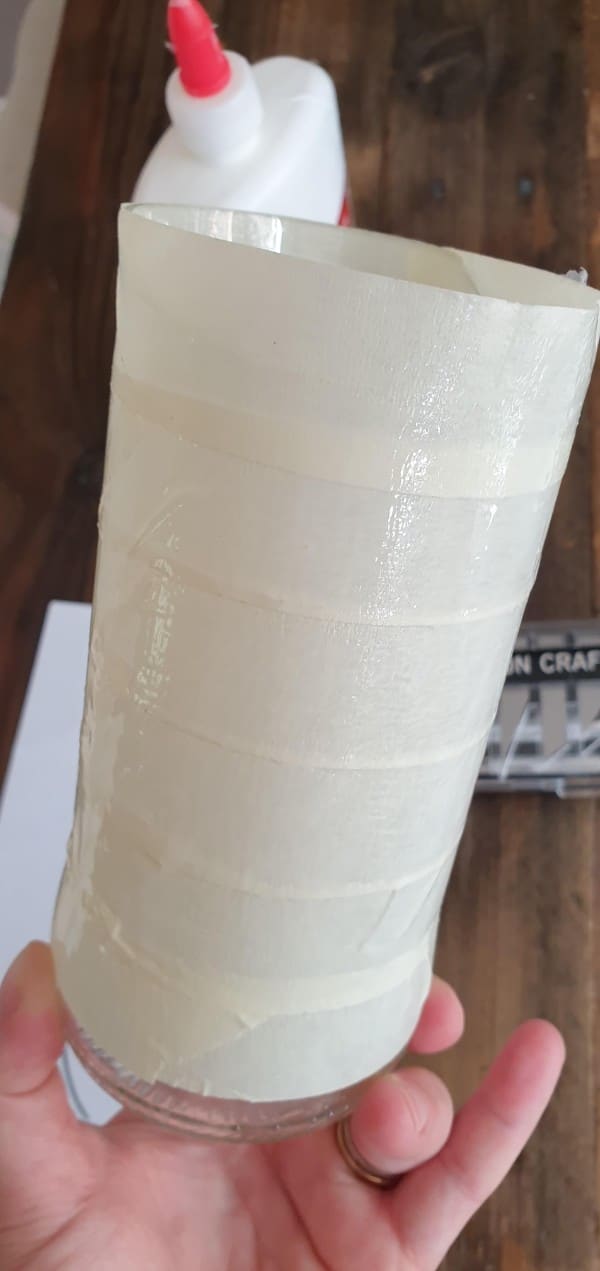
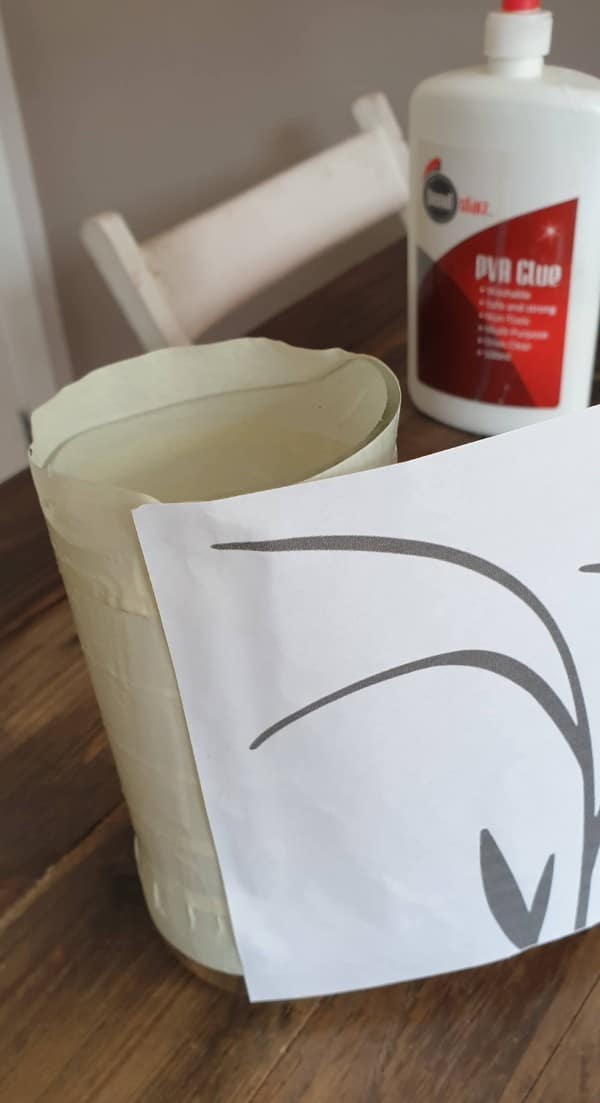
Glue the stencil to the tape using PVA glue. Make sure that the glue dries completely. Here you can see how the paper was glued to the jar wall that is not straight. It caused the paper to wrinkle.
That was fine as I was able to cut out the pattern properly in the paper and the painter’s tape.
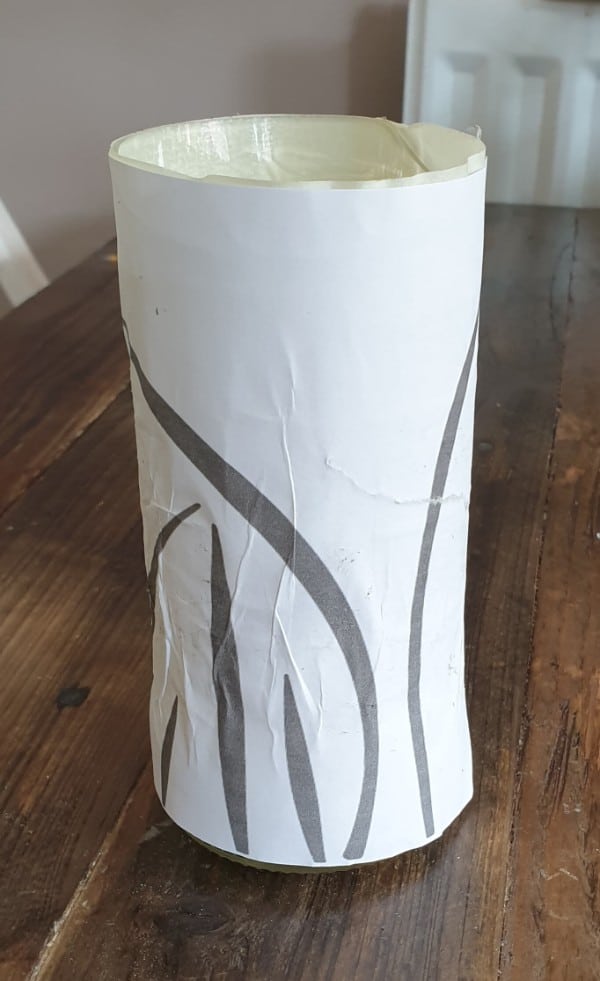
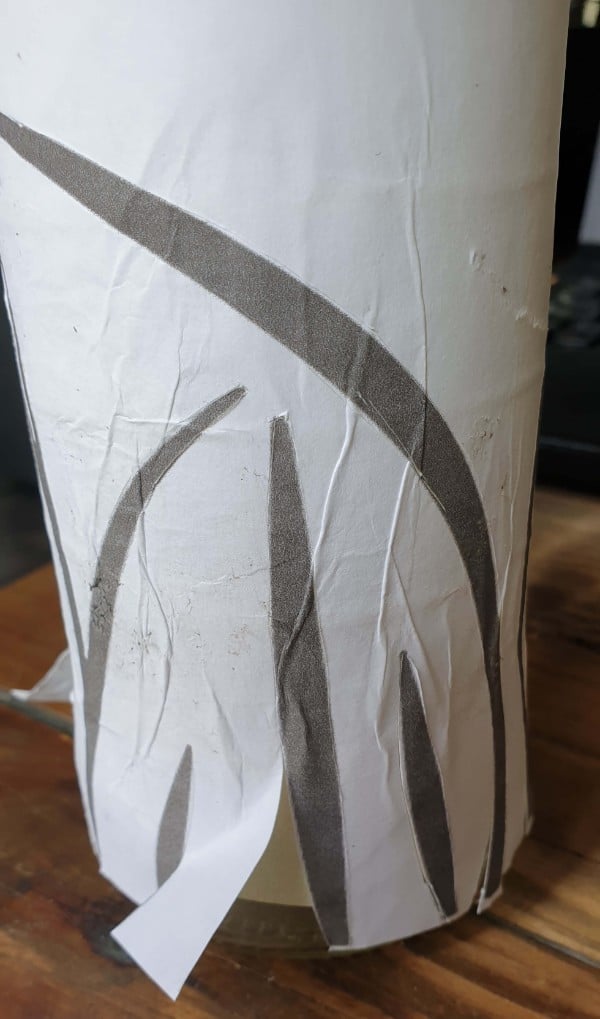
Cut the pattern
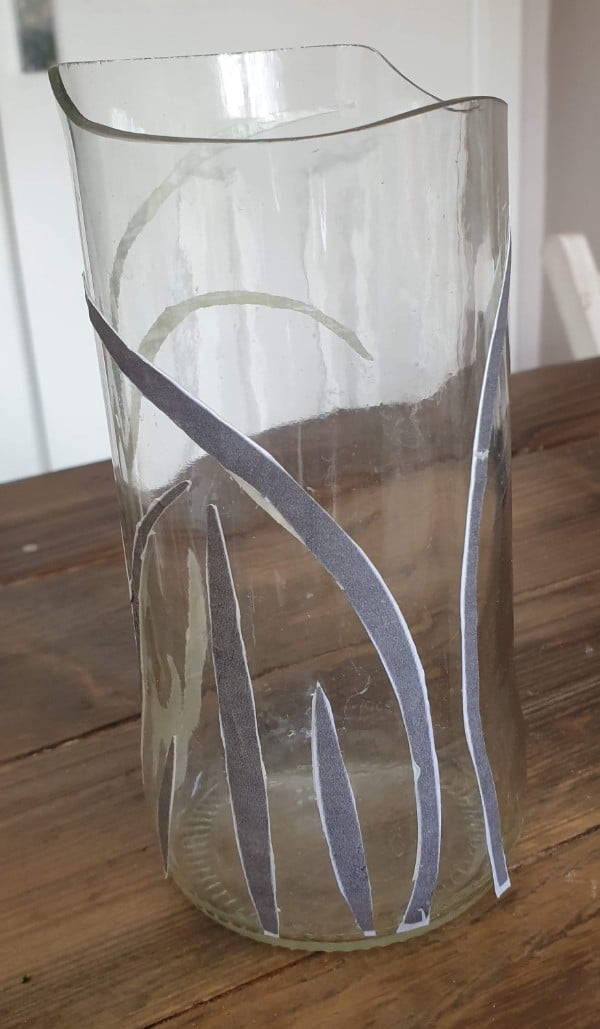
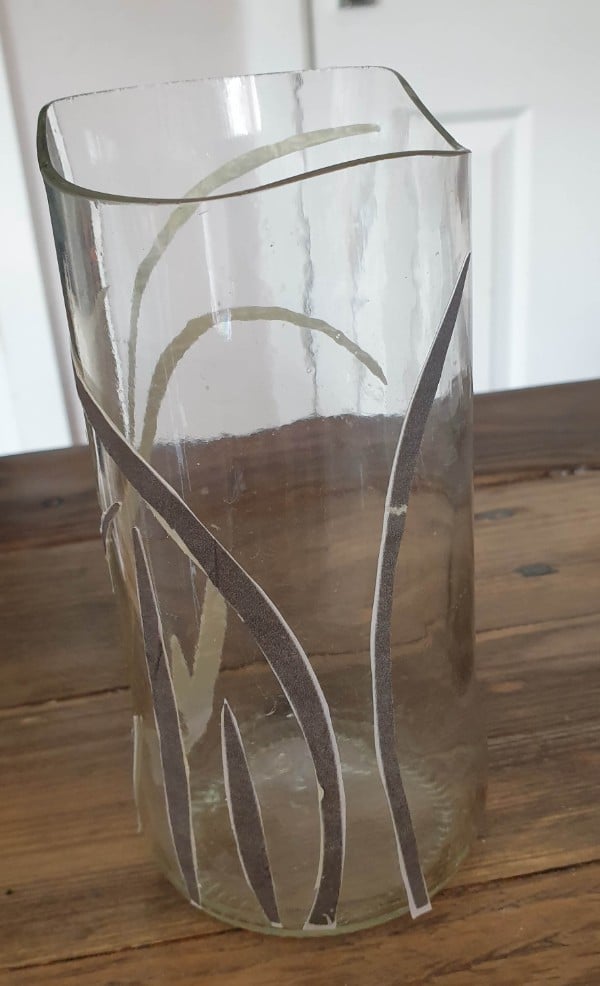
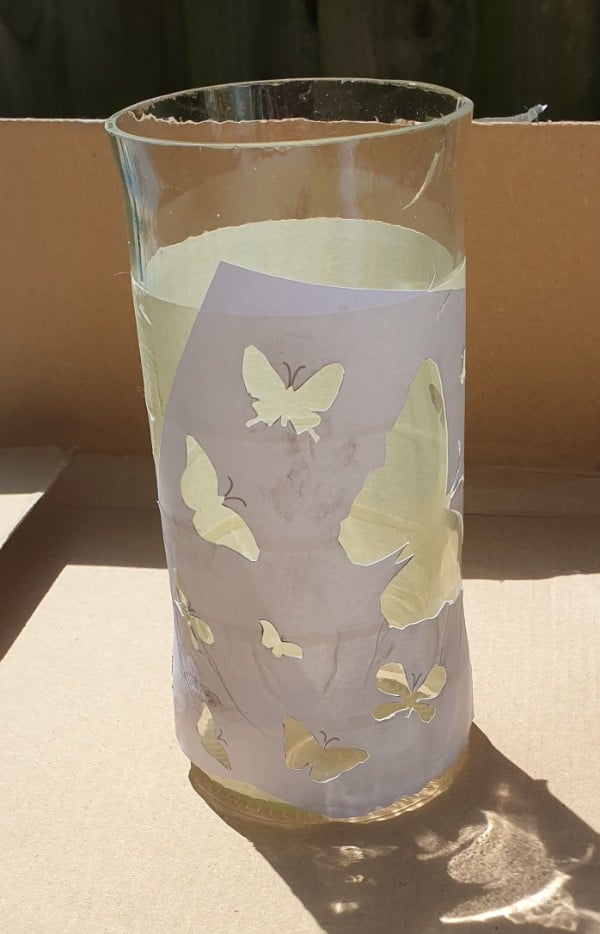
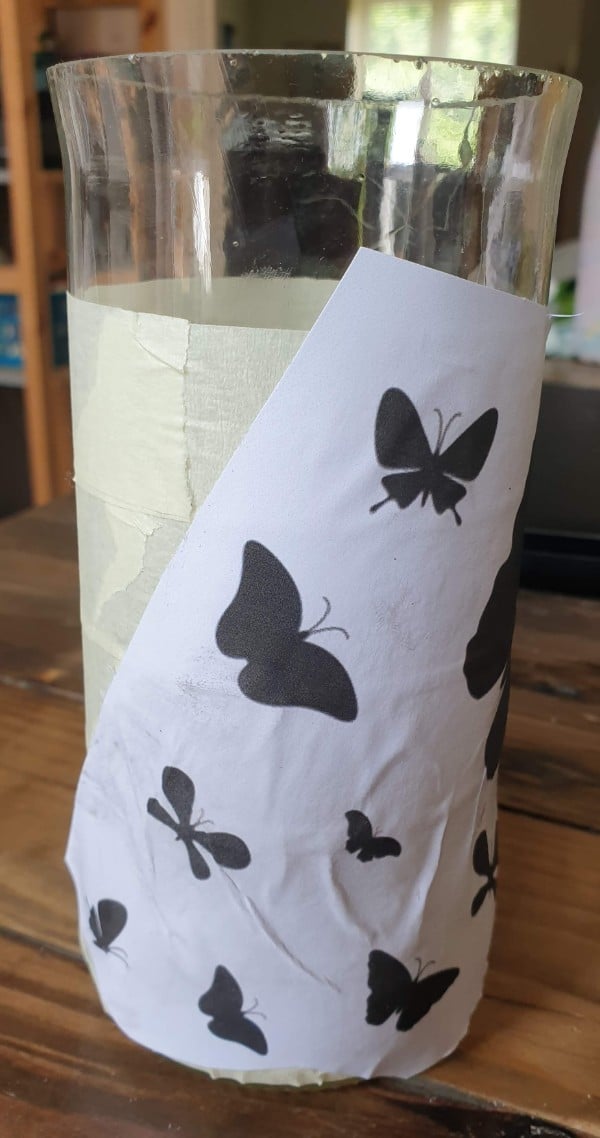
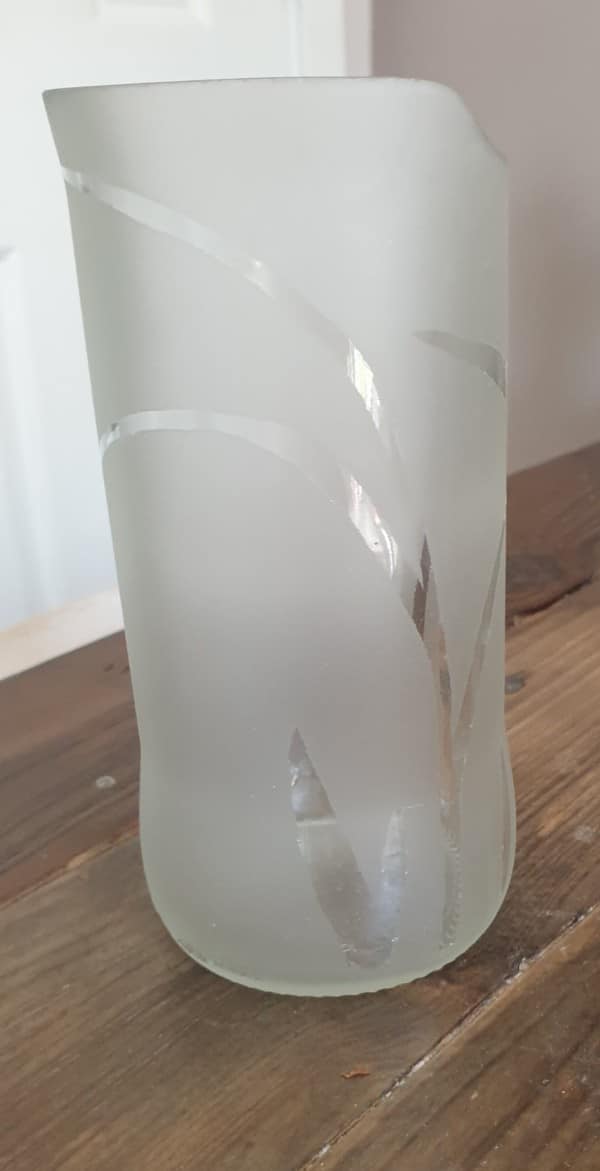
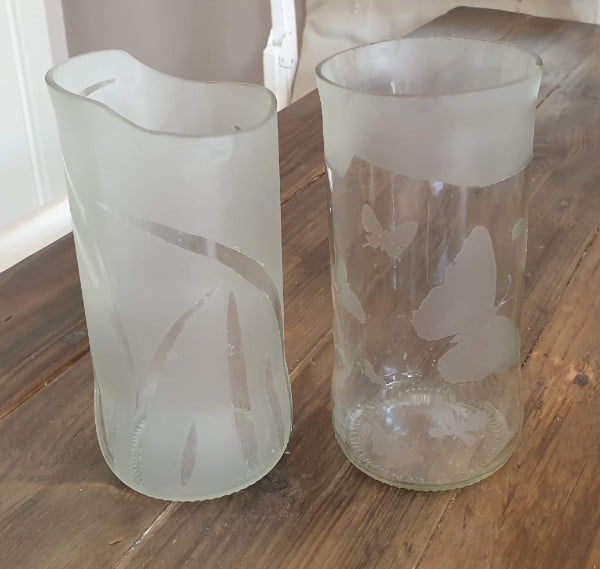
Cut out the shape of the stencil using a sharp knife. For the first jar, I wanted the stencil to be clear, so I cut out everything but the stencil shape.
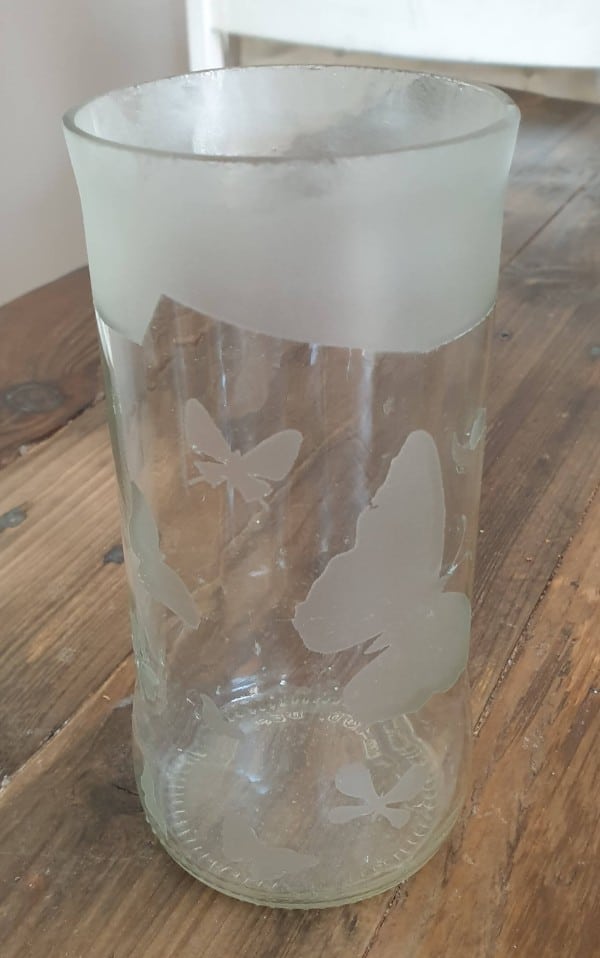
And for the second, the stencil shape was going to be sprayed, so I cut out the shapes(butterflies in this case). Remove the cut-out tape.
Spray the jars
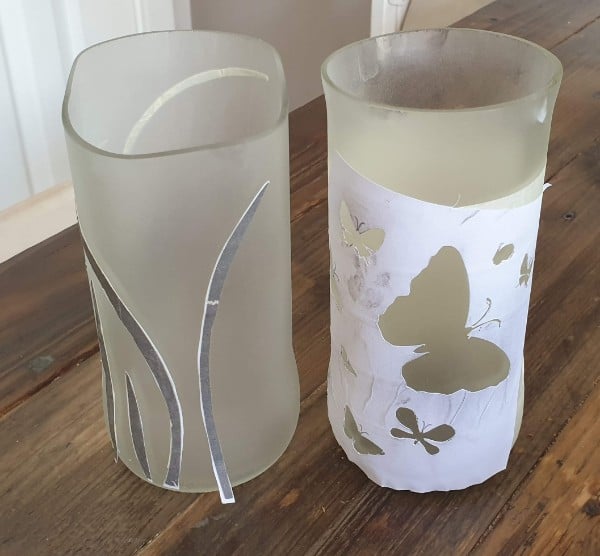
Spray the bottle with spray paint. I used the frosted glass effect. Make sure you’re working in a well-ventilated area, and use eye protection and a face respirator. For working indoors, use a spray tent
Let it dry and repeat until desired coverage. Two coats were enough for me.
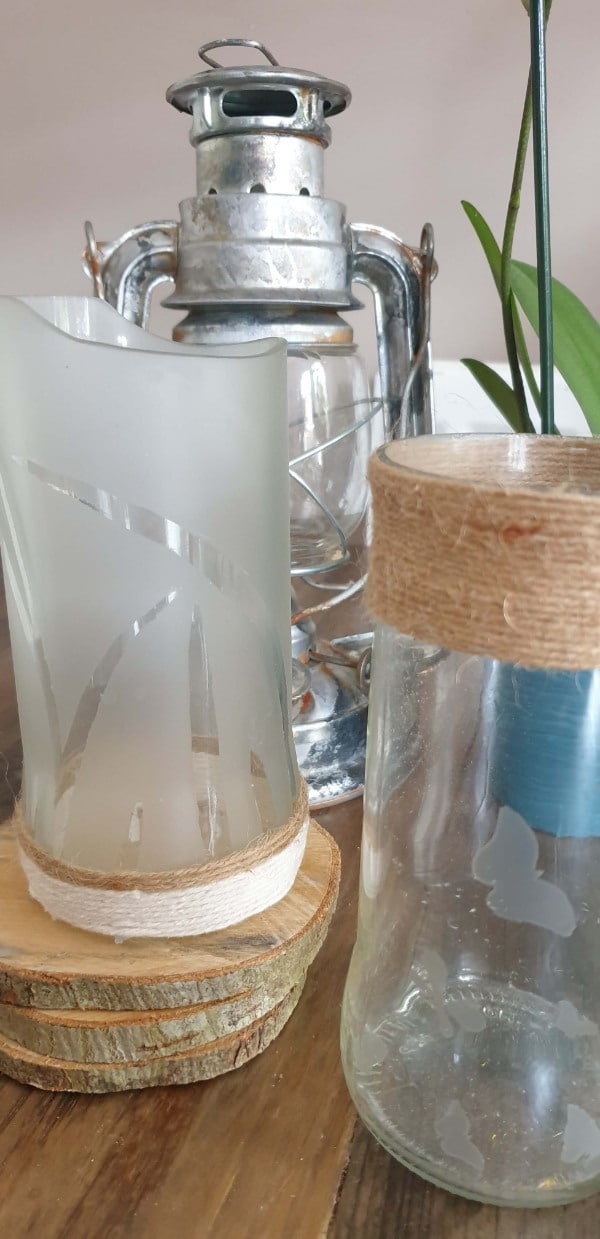
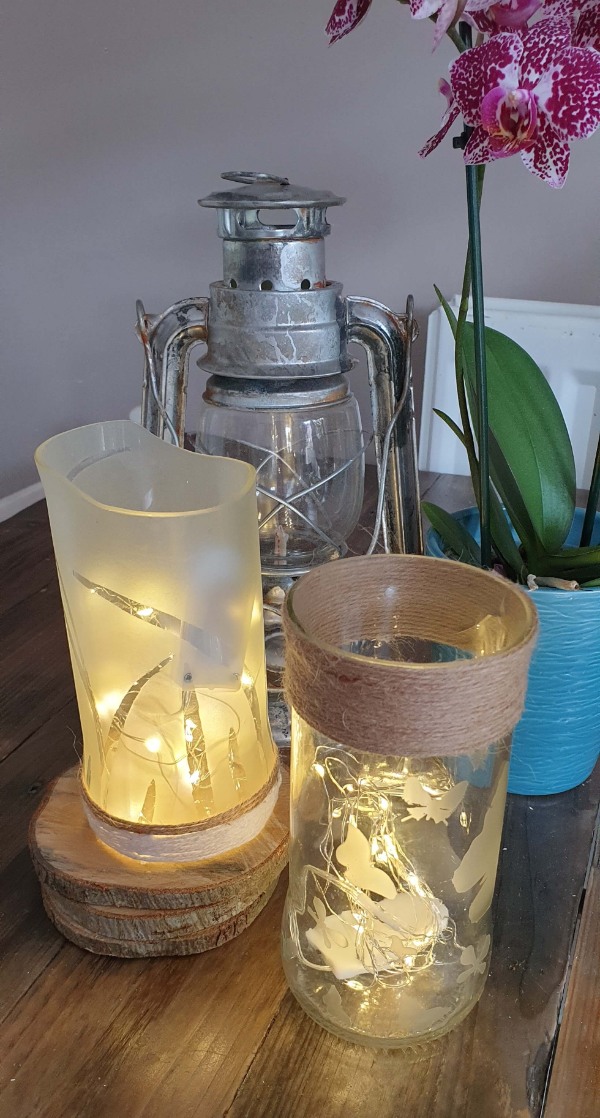
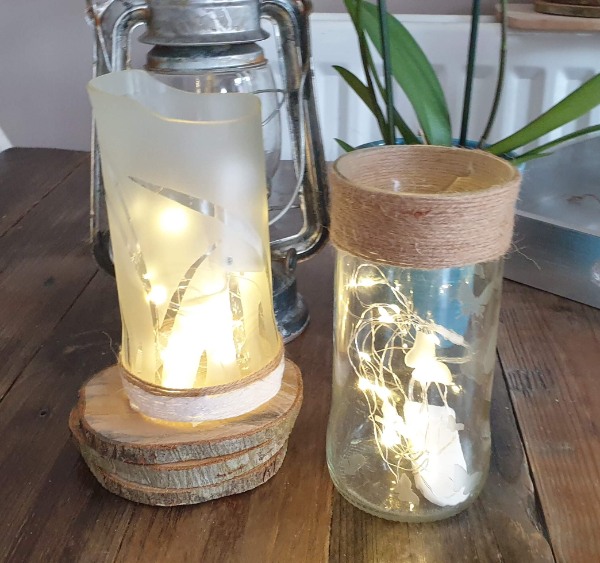
Remove the stencil
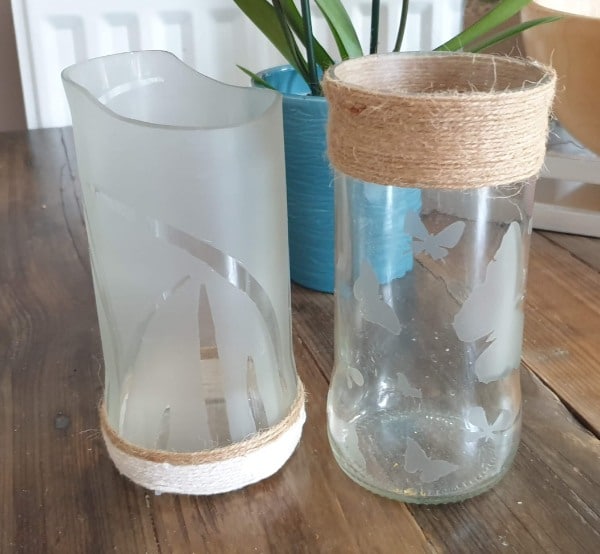
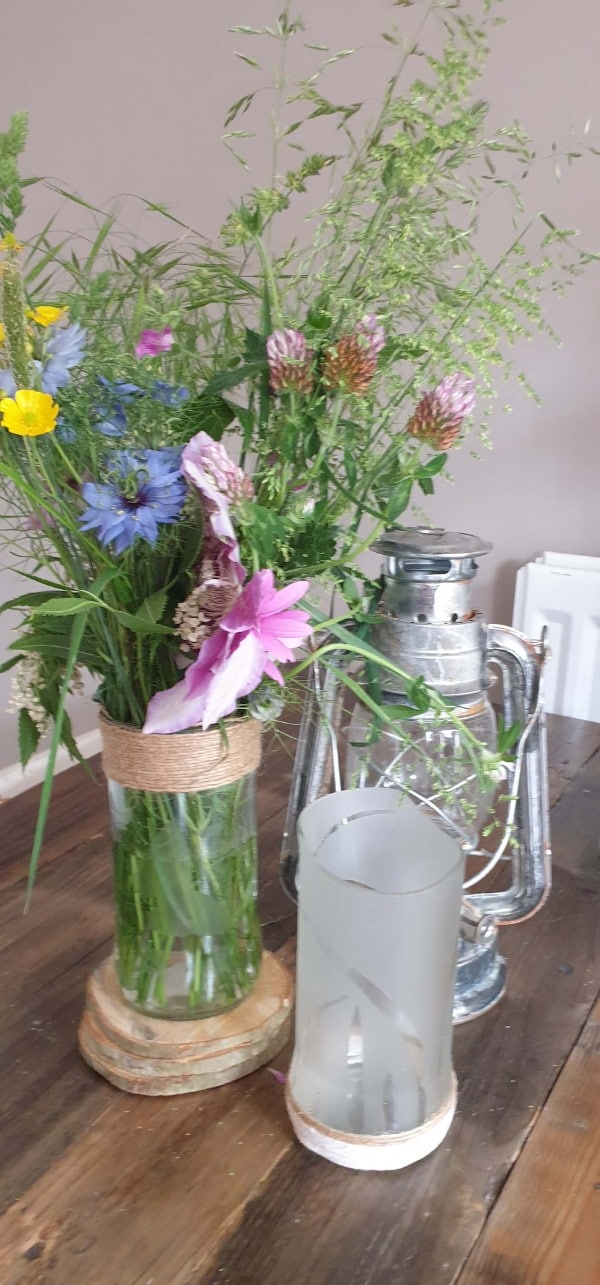
Remove the rest of the stencil and tape. Additionally, I used some twine/rope to finish off the vases using hot glue. You can use them for flowers or put some battery-operated fairy LED lights and use them as luminaries for decoration.
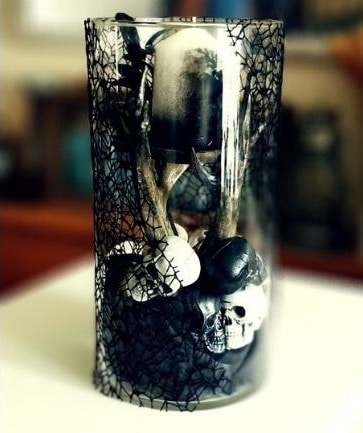
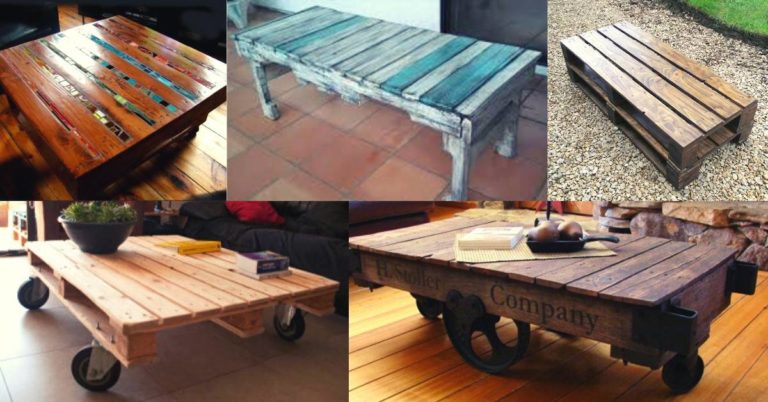
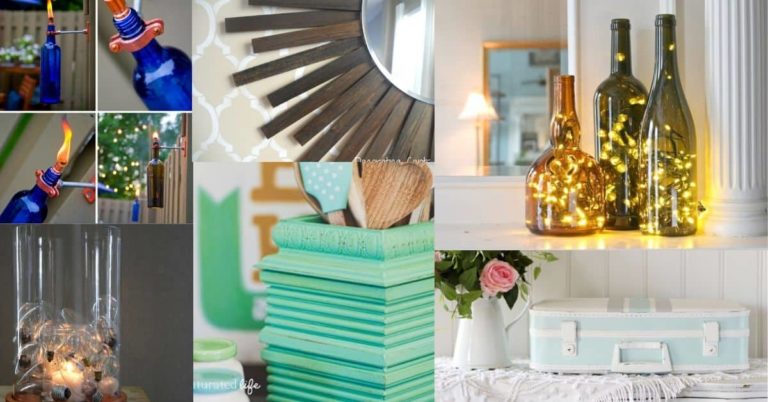
I hope you have enjoyed this post about making stenciled vases out of glass jars. If you are interested in trying your hand at it, be sure to get the supplies and tools first! You may also want to try these other DIY projects that use recycled materials.
If you’re looking for a way to add a personal touch to your home decor, give these upcycled glass jars project a try.
With some creativity and DIY skills, these stenciled vases will be the perfect addition! I would love to hear how they turn out for you. Leave a comment below to let me know!


Subscribe To My FREE DIY Newsletter!
Stay in touch and receive things like updates, special offers, new projects, tips, gear reviews, and more. No spam, promise!
By entering your email address, you agree to get an email newsletter from UpcycleThisDIYThat. I’ll respect your privacy, and you can unsubscribe at any time. For more details, review our Privacy Policy.